Your first group ride
Choose the right first road-cycling group ride, arrive prepared, ride predictably, communicate clearly, and know what to do if the pace or spacing feels wrong.
 Field guide / your-first-group-ride
Your first group ride should be chosen, not survived. Pick the easiest honest ride, arrive early, introduce yourself as new, ask how the group handles pace and regrouping, then ride predictably with more space than experienced riders use.
The short answer: start with a beginner-paced no-drop ride, not the fastest ride you think you might manage. Bring your own repair kit, food, water, and route. Stay near the back, hold a steady line, avoid sudden braking, never overlap wheels, repeat important calls, and treat dropping back, skipping a pull, or leaving early as good judgment.
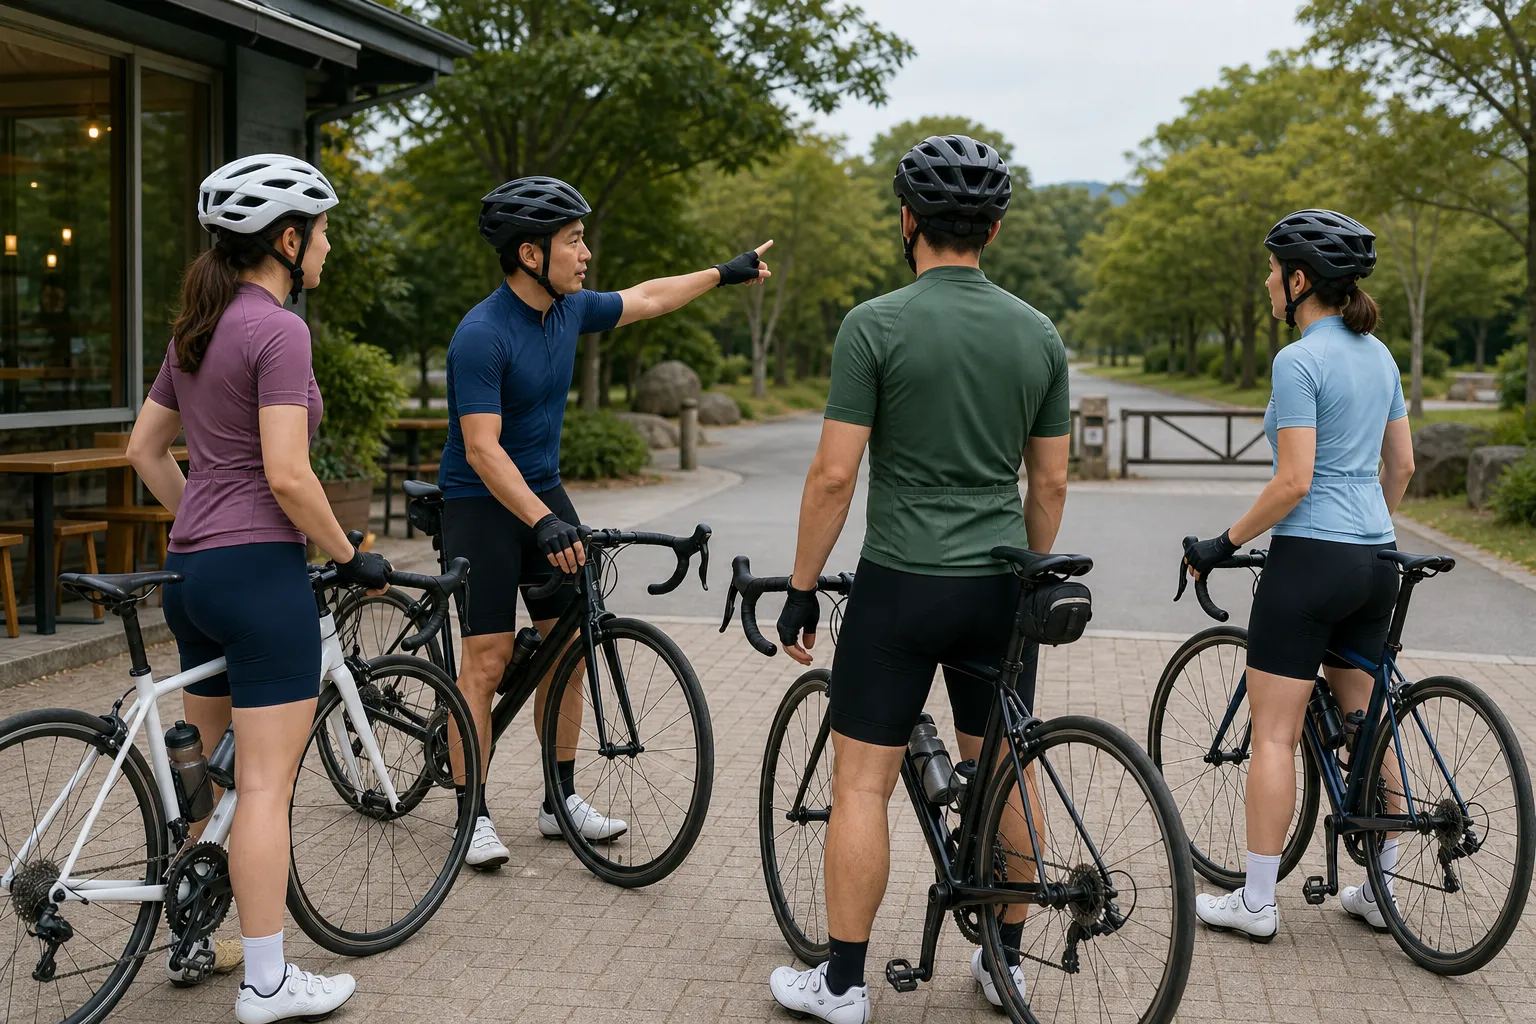
What beginners are really worried about
First-group-ride questions rarely sound like performance questions. They sound social and safety-related: “What etiquette do I need?”, “What if I get dropped?”, “How close do I ride?”, “Do I need to pull at the front?”, and “How do I avoid being dangerous?”
Recent community wording backs that up. A current r/cycling thread from last month focused on group ride etiquette and quickly turned to holding a line, not braking suddenly, and avoiding wheel overlap. Another recent r/cycling thread from two weeks before this guide was published asked about being newer to road riding and group rides, with replies emphasizing telling the leader you are new, learning local calls, riding at the back, and not overlapping wheels. Older but still useful first-ride threads repeat the same concerns around no-drop rides, being self-sufficient, and choosing the slower group first (first group ride etiquette, first group ride nerves).
That is the right set of worries. A group ride is not just a solo ride with more people nearby. Your speed changes affect other riders, your line becomes someone else’s available space, and your communication helps riders who cannot see the hazard yet.
This guide is for a first ordinary road-cycling group ride: club intro rides, shop rides, social road rides, beginner no-drop rides, and small community rides on paved roads. It is not a racing pack guide, criterium lesson, advanced paceline clinic, or permission to follow any group through traffic moves that feel wrong.
Choose the right ride before training for it
The best first group ride is usually the one that feels slightly too easy on paper. That leaves attention for spacing, calls, turns, traffic, route changes, and social learning.
Cycling UK’s beginner group-riding guide says group rides can range from a few friends on a short ride to serious race-training rides, and that you should be honest about your fitness and choose the right group. British Cycling’s guide to club rides makes the same practical point: many clubs split rides into different ability groups, with easier social groups often better suited to newcomers.
Before you show up, look for:
- Pace: average speed, expected cruising speed, hill pace, and whether the listed pace assumes drafting.
- Distance and elevation: total distance, climbing, and whether there is a shortcut.
- Drop policy: no-drop, regroup at turns, sweep rider, or everyone responsible for themselves.
- Route: posted route, familiar roads, complex junctions, exposed descents, and stop options.
- Surface and weather: wet roads, gravelly lanes, darkness, wind, heat, or construction.
- Culture: beginner ride, social ride, training ride, race simulation, women-only ride, club induction, or shop ride.
If a ride listing says “spirited,” “drop ride,” “fast rolling,” “chaingang,” “race pace,” or “experienced riders only,” save it for later. If it says “intro,” “social,” “C group,” “beginner,” “conversation pace,” “no-drop,” or “regroups,” it is more likely to be useful for learning.
No-drop still has limits. It usually means the group has an intention to wait or regroup, not that you can arrive unprepared, ignore the route, or ride far beyond your current ability. Treat no-drop as a safety net, not a substitute for choosing honestly.
Prepare like you may need to finish alone
A supportive group may lend a hand, but you should still arrive self-sufficient. USA Cycling’s group-ride best practices advise riders to be on time and prepared with food, fluids, tools, layers, a tube, and inflation, and to introduce themselves so everyone understands the route and expected pace. That is exactly the beginner standard.
Bring:
- a helmet and clothing suitable for the weather;
- a bike that passed the five-minute pre-ride bike check;
- a spare tube that fits your wheel and valve length, or a tubeless plug kit if you use tubeless;
- tyre levers and a pump or inflator you know how to use;
- water and food appropriate for the ride length;
- phone, ID, payment, and emergency contact information;
- front and rear lights when visibility may be poor or local law requires them;
- the route loaded, saved, printed, or understood well enough to get home.
If you have not fixed a puncture before, practise once at home with how to fix a puncture on a road bike and practise one puncture repair at home. A group can help, but learning the basic sequence before a roadside stop removes a lot of anxiety.
Avoid bringing new complications to the first ride. Do not make it your first ride with clipless pedals, a new saddle position, unfamiliar brakes, a new navigation mount, or fresh tyres installed five minutes before rollout. If you are still learning clipless pedals, read clipless pedals without the fear and consider flats until group spacing feels ordinary.
Arrive early and say the useful sentence
Arrive 10-15 minutes early. That gives you time to find the leader, check your bike, fill a bottle, listen to the briefing, and avoid making the group wait while you solve a small problem.
Say this:
“Hi, I’m new to group rides. Is this the right pace for a first one, where should I ride, and how do you regroup?”
That sentence does more than ask for help. It tells the group how to interpret your riding. Experienced riders would rather know you are learning than guess why you are leaving extra space, skipping pulls, or asking about signals.
Ask these before rollout:
| Question | Why it matters |
|---|---|
| “Is this no-drop, and where do you regroup?” | You know what happens at hills, junctions, flats, and splits |
| “What pace do you actually ride on the road?” | Listed averages can hide fast sections and drafting |
| “Do new riders stay at the back?” | Many groups prefer beginners to observe from a calmer place |
| “What signals and calls do you use?” | Local wording varies |
| “Do you rotate, and am I expected to pull?” | A social ride and a paceline ride are different jobs |
| “What should I do if I need to stop?” | You get a plan before the ride becomes stressful |
Cycling UK’s guide to taking part in a group ride tells new group riders to let the leader know, because they can keep an eye on you or assign someone to do so. That is not weakness. It is how a decent beginner ride works.
Start near the back
For a first ride, the back is usually the classroom. You can watch how the group starts, stops, signals, rides through junctions, handles hills, and regroups without being responsible for setting pace at the front.
The back also lets you leave more space without creating a gap inside the group. If the group is very large, ask whether there is a sweep rider or a beginner subgroup. If the ride is small, ask whether someone experienced is happy to sit with you for the first few kilometres.
Do not hide silently if you are struggling. Say “I’m new, I’ll sit at the back,” or “I’m going to leave a bit more space.” That makes your behavior predictable rather than confusing.
Ride one job at a time
In the first half hour, your job is not to impress anyone. Your job is to be smooth.
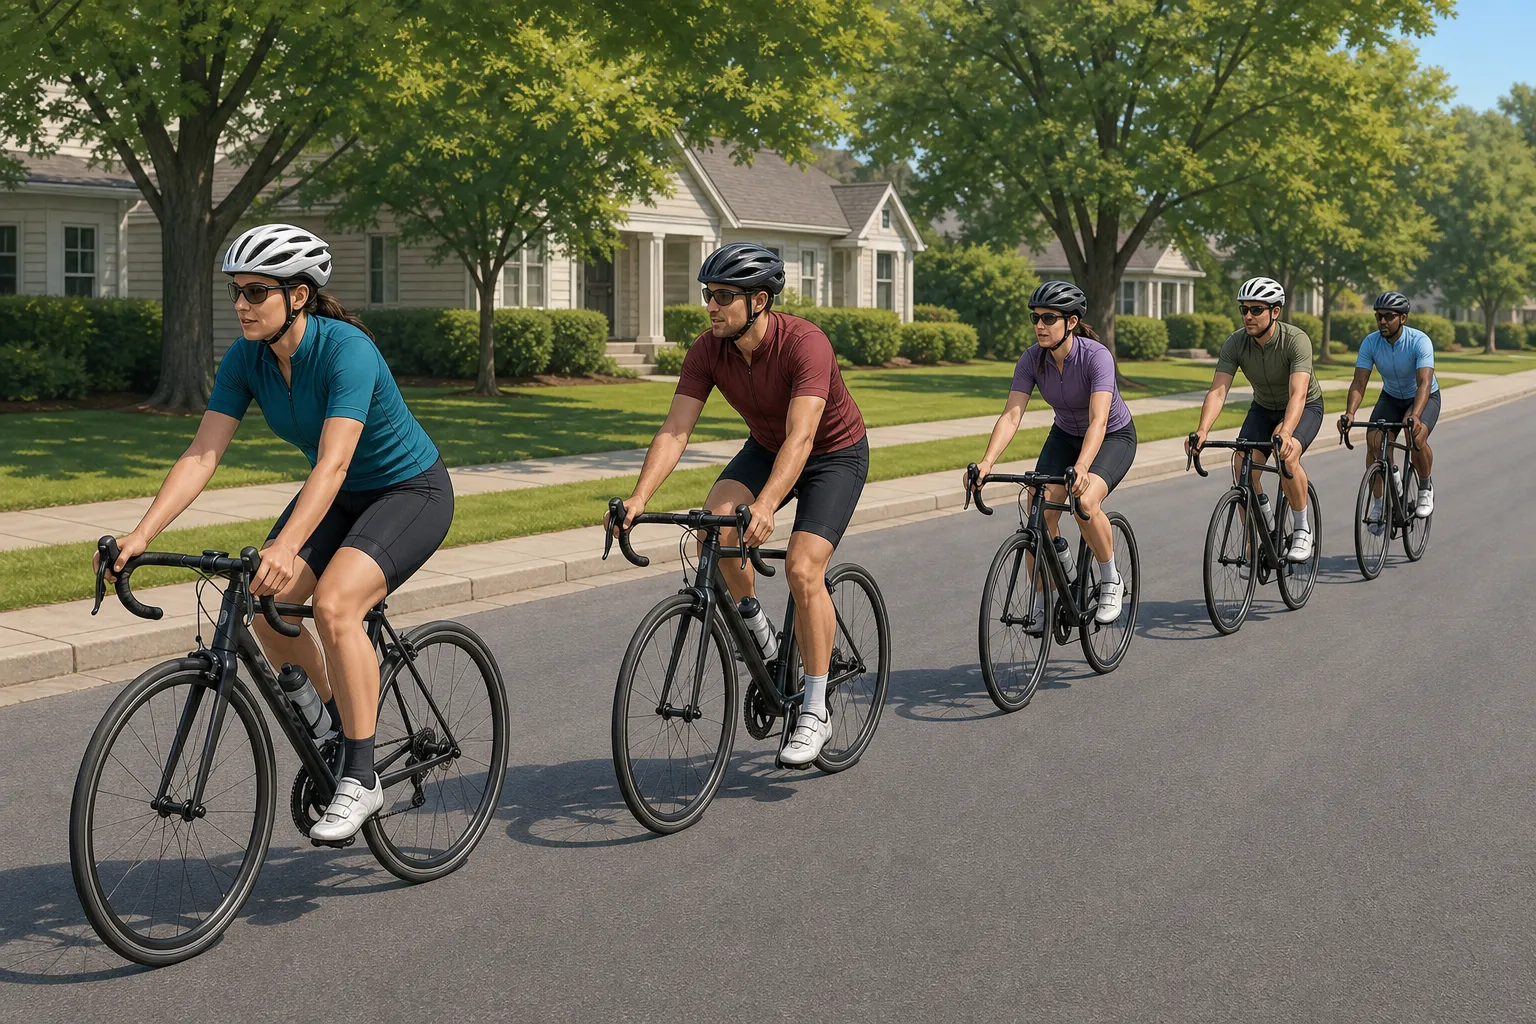
Use this priority order:
- Hold your line.
- Look through the group and down the road.
- Keep hands near the brakes.
- Leave a gap you can manage.
- Repeat important calls.
- Match the group’s pace smoothly.
- Learn the local rhythm.
British Cycling’s group-riding tips are blunt about the core skills: relax, ask, communicate, look through the group, do not overlap wheels, go easy on the brakes, and avoid half-wheeling. USA Cycling’s paceline tips similarly tell riders to ride straight, avoid overlapping wheels, avoid abrupt braking, look ahead for hazards, signal when slowing or turning, and only ride as close as feels safe.
For a beginner, that means you do not need to sit inches from a wheel. Leave more space, especially on descents, near junctions, on rough surfaces, in wind, or behind a rider whose style you do not yet trust.
Never overlap wheels
Wheel overlap means your front wheel sits beside or slightly ahead of the rear wheel of the rider in front. It can happen when you drift to one side, close a gap too quickly, or stare at the bike ahead instead of the road.
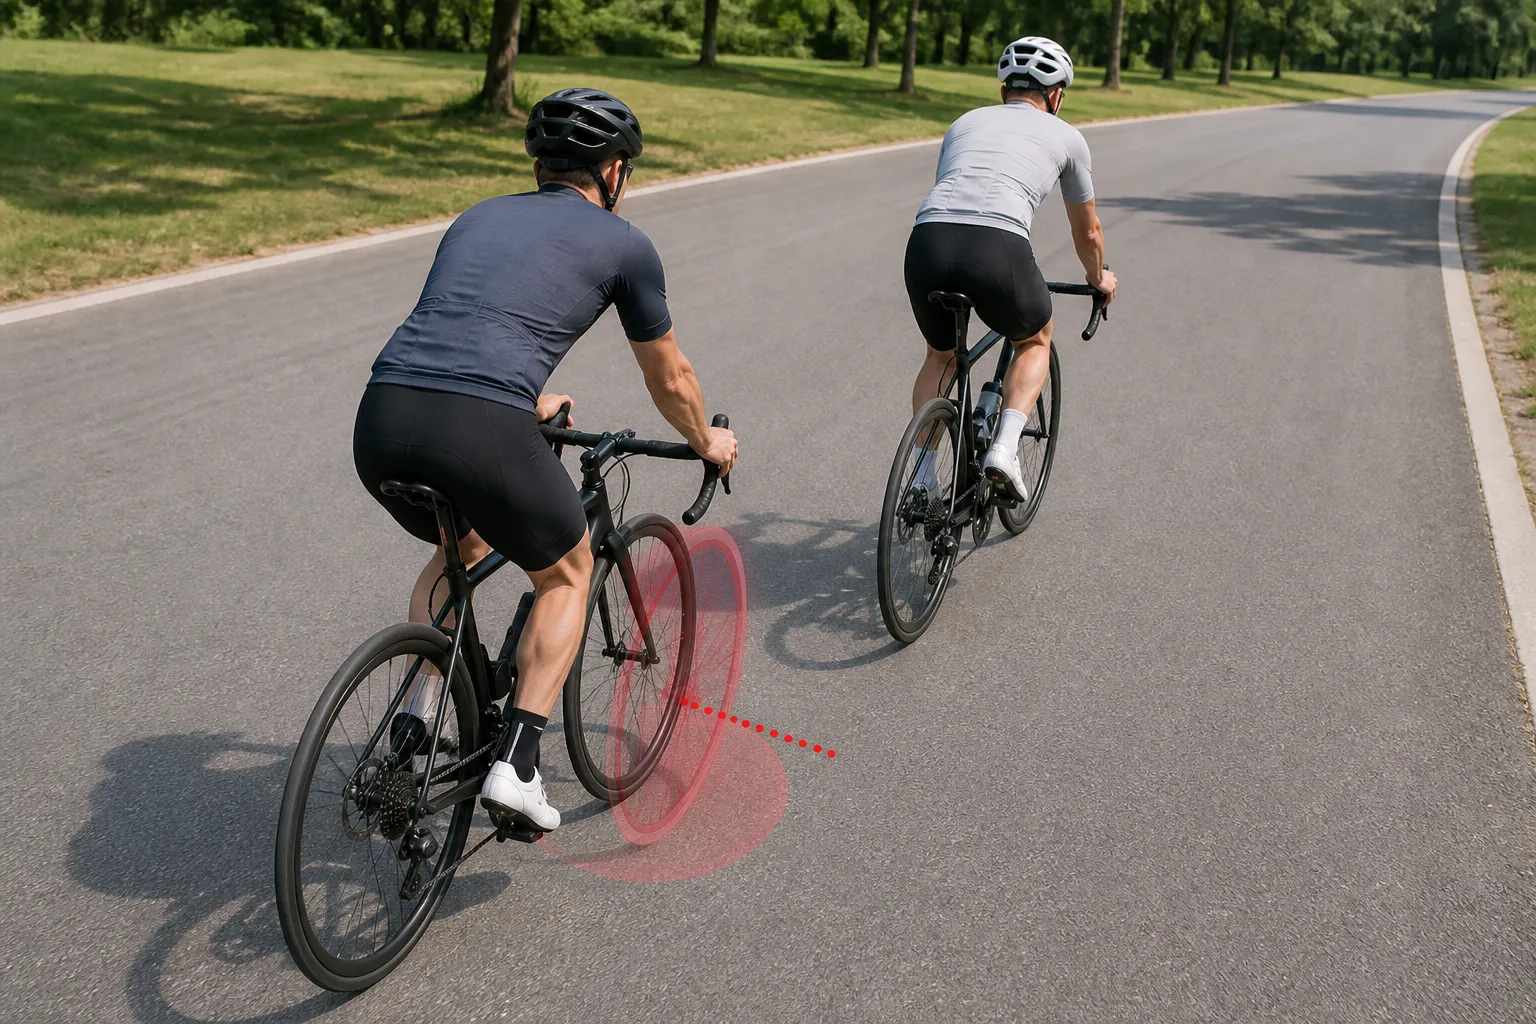
This is one of the clearest first-ride boundaries. British Cycling warns against overlapping because if the rider ahead swerves or loses concentration, they can take out your wheel. USA Cycling also names overlapping wheels as something to avoid in pacelines.
Use these habits:
- Keep your front wheel behind the rider’s rear wheel.
- If you are offset, leave enough gap that a sideways move will not touch wheels.
- Close gaps gradually, not with a sprint.
- Look past the rider ahead, not only at their tyre.
- Do not ride between two riders unless the group has invited that formation and you understand it.
- If the gap feels too tight, move to the back rather than pretending.
Half-wheeling is different. In a side-by-side pair, half-wheeling means one front rider keeps edging slightly ahead, making the other rider chase and slowly raising the pace. Do not do that either. Match the other rider smoothly or drop back.
Brake less abruptly
You can and should brake when needed. The problem is surprise braking. In a line of riders, one hard brake check can ripple backward into panic, swerving, or wheel contact.
For small speed changes:
- stop pedalling for a moment;
- sit a little taller to catch wind;
- soft-pedal instead of surging;
- feather the brakes lightly if needed;
- say “slowing” if the change matters to the rider behind.
For real hazards, brake properly and communicate. Control comes before etiquette. The point is not to avoid the brakes forever; it is to avoid using them as a nervous on-off switch.
If you feel you must brake constantly to avoid the wheel ahead, your gap is too small for your current skill or the group’s pace is too uneven. Move back, leave more space, or choose an easier ride next time.
Learn signals, but do not perform them blindly
Signals and calls vary by country, club, and ride leader. The useful categories are direction, slowing, stopping, hazards, and traffic or people ahead or behind.
Cycling UK’s guide to group-ride hand signals and calls advises riders to scan for obstacles, be clear and loud, pass messages along, listen to the leader, communicate vehicles from behind when at the back, and use judgment rather than pointing out every tiny bump. Bicycle Network’s group riding basics also emphasizes predictable riding, communication, and hand signals or calls.
Use the local version the group teaches you, then keep the safety boundary:
- Signal early enough to help.
- Say the plain word if voice is clearer.
- Repeat important calls once down the line.
- Keep both hands on the bars when braking, turning, rough surface, or control matters more.
- Never roll through a junction just because someone called “clear.”
For the compact signal primer, read five group-ride signals worth learning first.
Do not pull at the front unless invited
“Pulling” means riding at the front where you take more wind and set pace for the riders behind. It is useful in experienced groups, but it is not a first-ride duty.
If the group rotates and the line brings you forward, ask what they want before the ride starts. On a beginner ride, it may be fine to sit out the rotation. On a steadier paceline, you may be asked to pull through briefly and smoothly. On a social ride, there may be no formal pulling at all.
If you do reach the front:
- keep the same pace, not a hero pace;
- look ahead for hazards and turns;
- do not surge after junctions or small hills;
- take a short turn if you are unsure;
- check before moving off the front;
- return to the line smoothly.
USA Cycling’s group-ride advice is useful here: adjust time at the front, not the pace. If you are strong, stay longer rather than speeding up. If you are new or tired, keep it short rather than slowing the line.
Handle hills by giving the group information
Hills stretch groups. That is normal. Stronger climbers drift ahead, newer riders need easier gears, and the back of the group can become a very different ride from the front.
Before the first climb, leave more space. Shift early, keep your line, and do not stand abruptly if someone is close behind. USA Cycling warns that standing without managing gear and momentum can make the rear wheel appear to kick back toward the rider behind, especially when wheels are close.
If you climb more slowly, say it early: “I’ll climb at my pace and regroup.” A good beginner ride should have a plan for that. If it does not, ride your own safe effort instead of burning out to stay attached.
Use how to ride hills without burning out for the climbing skill itself, and walking a steep hill is a cycling skill if stopping or walking is the safer choice.
Know what to do if you get dropped
Getting dropped means you lose contact with the group. It can happen because the ride was too fast, a climb split the group, a junction delayed you, a gap opened, or someone misdescribed the pace. It is information, not a personal verdict.
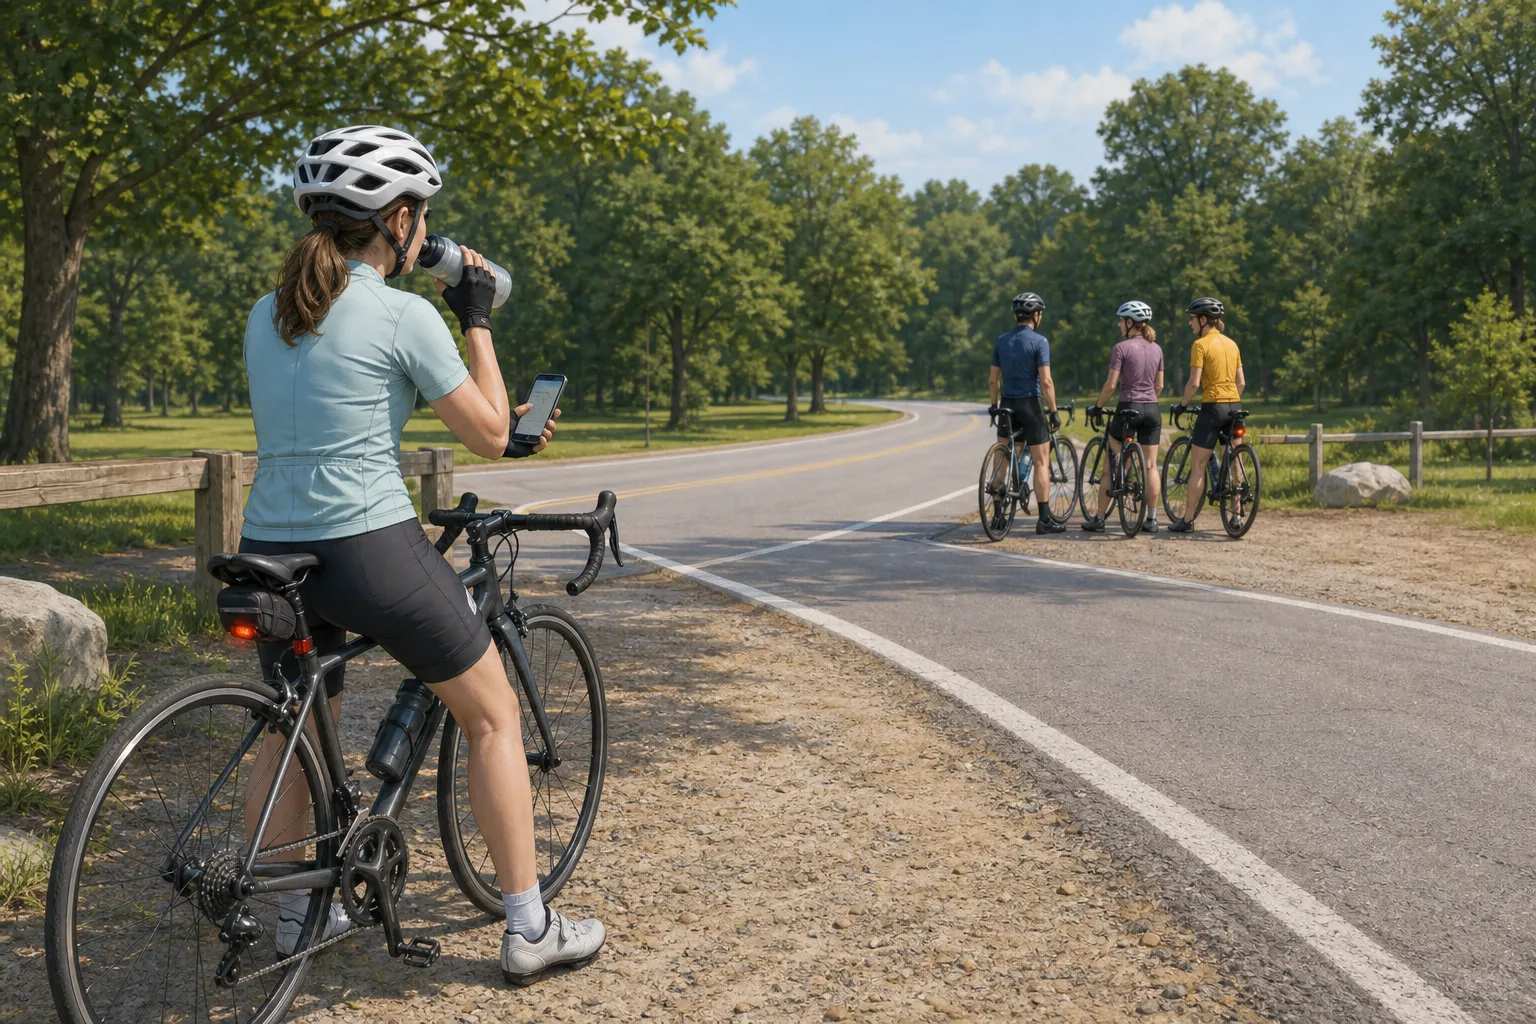
Use this order:
- Keep riding predictably; do not sprint through traffic panic.
- Let the gap grow if closing it would make you unsafe.
- Follow the posted route only if you can navigate without rushing decisions.
- Stop somewhere safe if you need to check the map, message the leader, eat, drink, or reset.
- Use the planned shortcut, pickup, transit, or solo return if continuing with the group no longer makes sense.
If it was advertised as no-drop and the group repeatedly leaves beginners stranded without clear regrouping, choose a different group. That is not you failing group riding. That is the wrong learning environment.
Use this first-ride decision table
| Moment | Good beginner choice | Avoid |
|---|---|---|
| Before signing up | Choose the easiest honest pace and a no-drop or intro ride | Joining a fast ride to prove fitness |
| At rollout | Introduce yourself and ask where to ride | Staying silent and guessing the rules |
| In the line | Leave a manageable gap and hold a steady line | Overlapping wheels or constantly braking |
| At hazards | Call or signal clearly when safe | Swerving first and explaining later |
| At junctions | Obey local law and make your own scan | Following blindly because the group moved |
| On climbs | Ride your pace and regroup as planned | Sprinting until you blow up |
| At the front | Keep pace steady or skip the pull | Surging to impress the group |
| If dropped | Use the route and safe exit plan | Chasing through unsafe traffic |
Common first group ride mistakes
Choosing too hard a ride. Fitness on solo rides does not automatically transfer to group riding. Start slower than you think you need, then move up after you understand the skills.
Staring at the wheel ahead. You need to know where that wheel is, but your eyes should also look through the group and down the road.
Braking every time the gap changes. Small speed changes can often be handled by soft-pedalling, sitting up, or easing pressure. Use brakes smoothly when needed.
Riding too close because everyone else does. Experienced riders may use tighter spacing because they know each other and have practised. Your safe gap can be bigger.
Forgetting local law. Group habits do not override traffic signals, stop signs, lane rules, light requirements, or your own scan. NHTSA bicycle safety guidance reminds riders to obey road signs and signals, ride with traffic where required, use a working bike, and avoid distraction.
Trying to be invisible. New riders sometimes avoid asking questions because they do not want attention. A short honest introduction usually makes everyone safer.
After the ride, decide what to repeat
Do a two-minute review before the memory fades:
- Was the advertised pace honest?
- Did the group explain signals, regrouping, and route shape?
- Did you feel safe with the spacing?
- Were other riders predictable?
- Did you eat, drink, and carry enough?
- Which moment made you tense?
- Would you repeat this ride, choose an easier one, or practise one skill first?
If the ride was welcoming but hard, that is useful. Return to the same beginner group, sit near the back again, and let the habits become ordinary. If the ride felt chaotic, aggressive, unsafe, or dismissive of new riders, find a different group. The right group makes learning easier; it does not turn every mistake into a public trial.
Your next step
Find one beginner-paced or no-drop road ride and message the organizer with three questions: “Is this suitable for a first group ride?”, “What pace and regroup plan should I expect?”, and “Where should a new rider sit?” If the answers are clear and kind, prepare your bike, load the route, and show up early.
If traffic is still the main worry, read road cycling safety and road positioning first. If your worry is the calls, read five group-ride signals worth learning first. If the distance is the question, use how far should a beginner cyclist ride? before choosing the group.
Sources and further reading
- USA Cycling: 9 best practices for group rides
- USA Cycling: tips for pacelines
- British Cycling: riding in a group - top 10 tips
- British Cycling: what to expect on a cycling club ride
- Cycling UK: beginners’ guide to cycling in a group
- Cycling UK: how to take part in a group ride
- Cycling UK: hand signals and calls used on a group ride
- Bicycle Network: group riding basics
- NHTSA: bicycle safety
- r/cycling reader context: group ride etiquette
- r/cycling reader context: newer to road riding and group rides
- r/cycling reader context: first group ride etiquette
- r/bicycling reader context: first group ride nerves