Practise one puncture repair at home
Do one calm flat-tyre rehearsal before your next ride so the tube, tyre levers, pump, valve, and safety checks are familiar before the roadside version.
 Field guide / practise-one-puncture-repair-at-home
Before you buy
Check the starter kit first
Print the one-page buying brief for helmet, lights, water, phone, and repair compatibility before comparing upgrades.
You do not need to wait for a rainy roadside flat to learn puncture repair. Practise one tube change at home, using only the tools you plan to carry, and the real ride problem becomes slower and less mysterious instead of completely new.
The short answer: take one wheel off at home, remove one side of the tyre, pull the tube out, inspect the tyre and rim, reinstall the tube carefully, inflate slowly, and check that the bead and brakes are safe before riding. The rehearsal is not about speed. It is about making every step familiar.
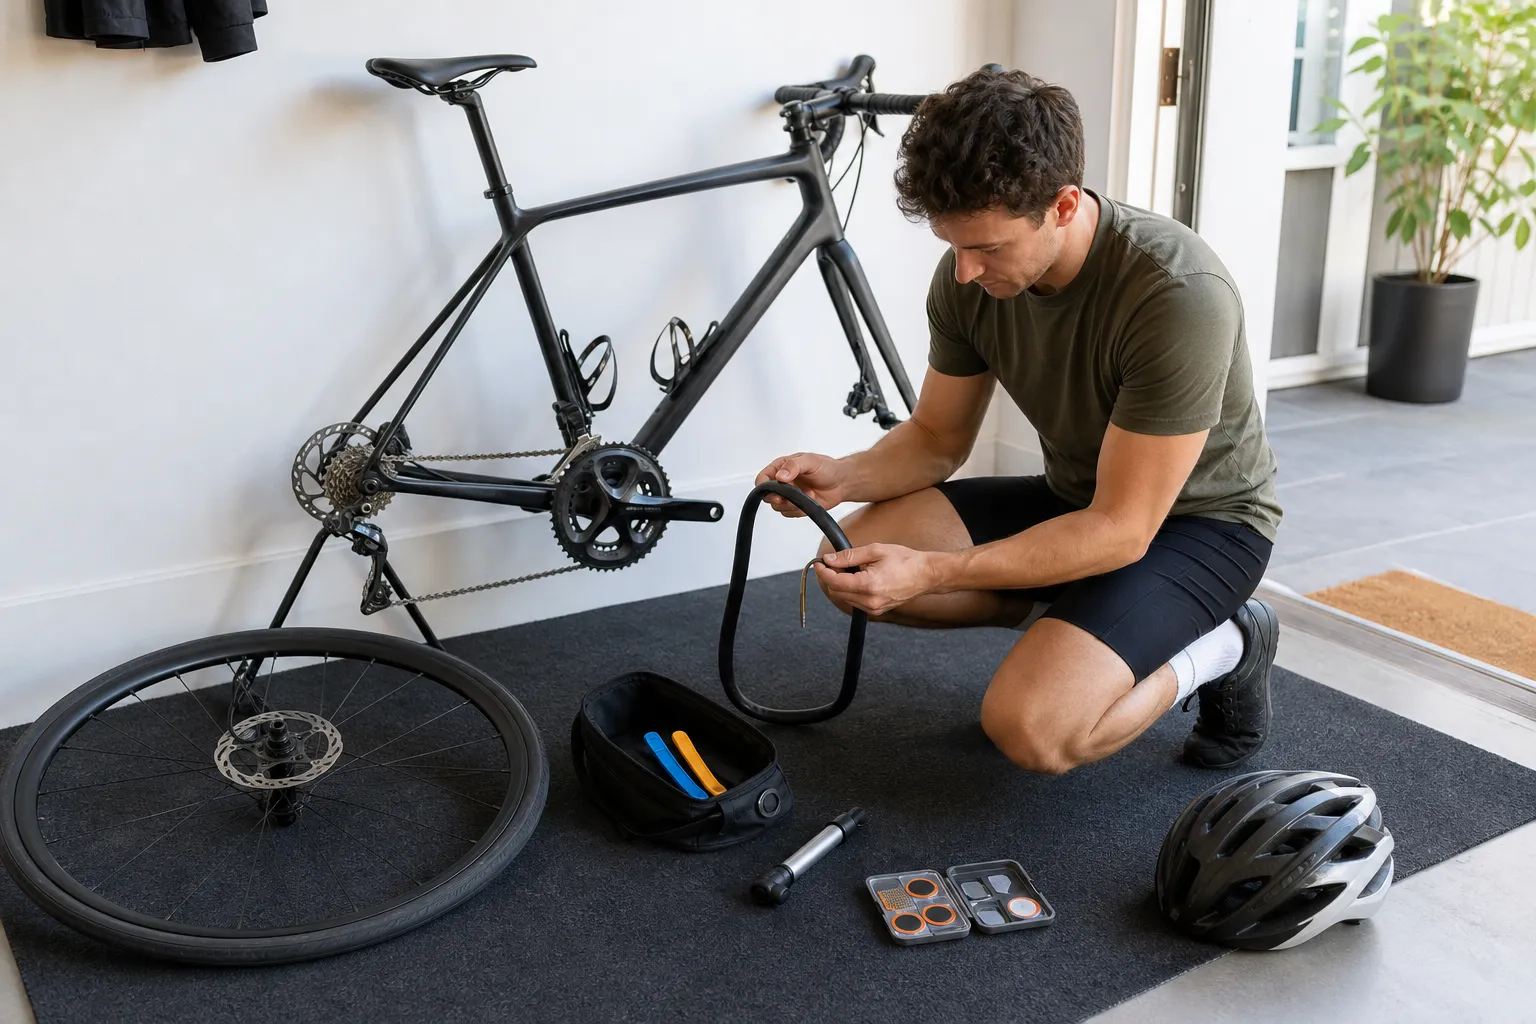
Why this is worth doing before a flat
Beginner flat-tyre anxiety is rarely just about the hole in the tube. It is the stack of small unknowns: which wheel comes out, how the brake clears, whether the pump fits the valve, how hard the tyre bead feels, and what “safe to ride” looks like afterward.
That matches the language riders use in communities. In a recent r/cycling thread, a new road-bike rider described getting a flat on a first ride and wondering whether that was normal. A recent r/bikewrench commuter thread asked about getting better at tyre changes, choosing a pump or CO2, and avoiding a pinched tube. Those are reader signals, not repair instructions; for the actual steps, use bike and repair authorities.
REI’s flat-tyre guide breaks the repair into the same broad sequence you should rehearse: remove the wheel, remove the tube, find the cause, patch or replace the tube, and reinstall the wheel. REI also says practice at home makes the roadside version easier, and that if the flat happens somewhere unsafe, you should move away from danger before starting the repair.
Use the tools you will actually carry
Do not rehearse with a track pump, work stand, toolbox, and perfect lighting if your normal ride kit is a mini pump, two levers, and a spare tube. The rehearsal should expose packing problems.
For a short beginner road ride, start with:
- One spare inner tube in the correct size and valve type.
- Two plastic tyre levers.
- A pump or CO2 inflator that fits your valve.
- A patch kit as backup, or for fixing the old tube later.
- A small multi-tool if your wheel or axle system requires it.
REI’s repair-kit advice lists a spare tube or patch kit, tyre levers, and a pump or CO2 inflator as flat-repair essentials. It also notes that road tyres often fit tightly, which is why tyre levers are especially useful. If you are still deciding what belongs in a small saddle bag, start with essential road cycling gear before buying more accessories.
Before you start, look at the tyre sidewall and the spare tube box. The wheel diameter and tube size range should match the tyre. The valve should also match the rim and your pump head. A tube you cannot inflate is just rubber luggage.
Rehearse the order, not a heroic speed run
Choose the rear wheel if you want the most useful practice, because the chain and derailleur make it more awkward. Choose the front wheel if you are anxious and need the first attempt to feel simpler. Either is fine for the first rehearsal.
- Shift to a small rear sprocket if you are removing the rear wheel.
- Open or release only what your bike requires for wheel removal. If you do not understand the axle, brake, or thru-axle system, stop and read the bike or wheel manual first.
- Deflate the tyre fully.
- Push the tyre bead toward the center channel of the rim.
- Use plastic tyre levers to lift one side of the tyre off the rim, starting away from the valve.
- Pull the valve out carefully, then remove the tube.
- Inspect the tyre, tube, rim tape, and valve area before putting anything back.
That inspection step is the one beginners skip when they are stressed. Skipping it can mean installing a fresh tube against the same tiny thorn, glass point, sharp rim edge, or displaced rim strip that caused the first flat.
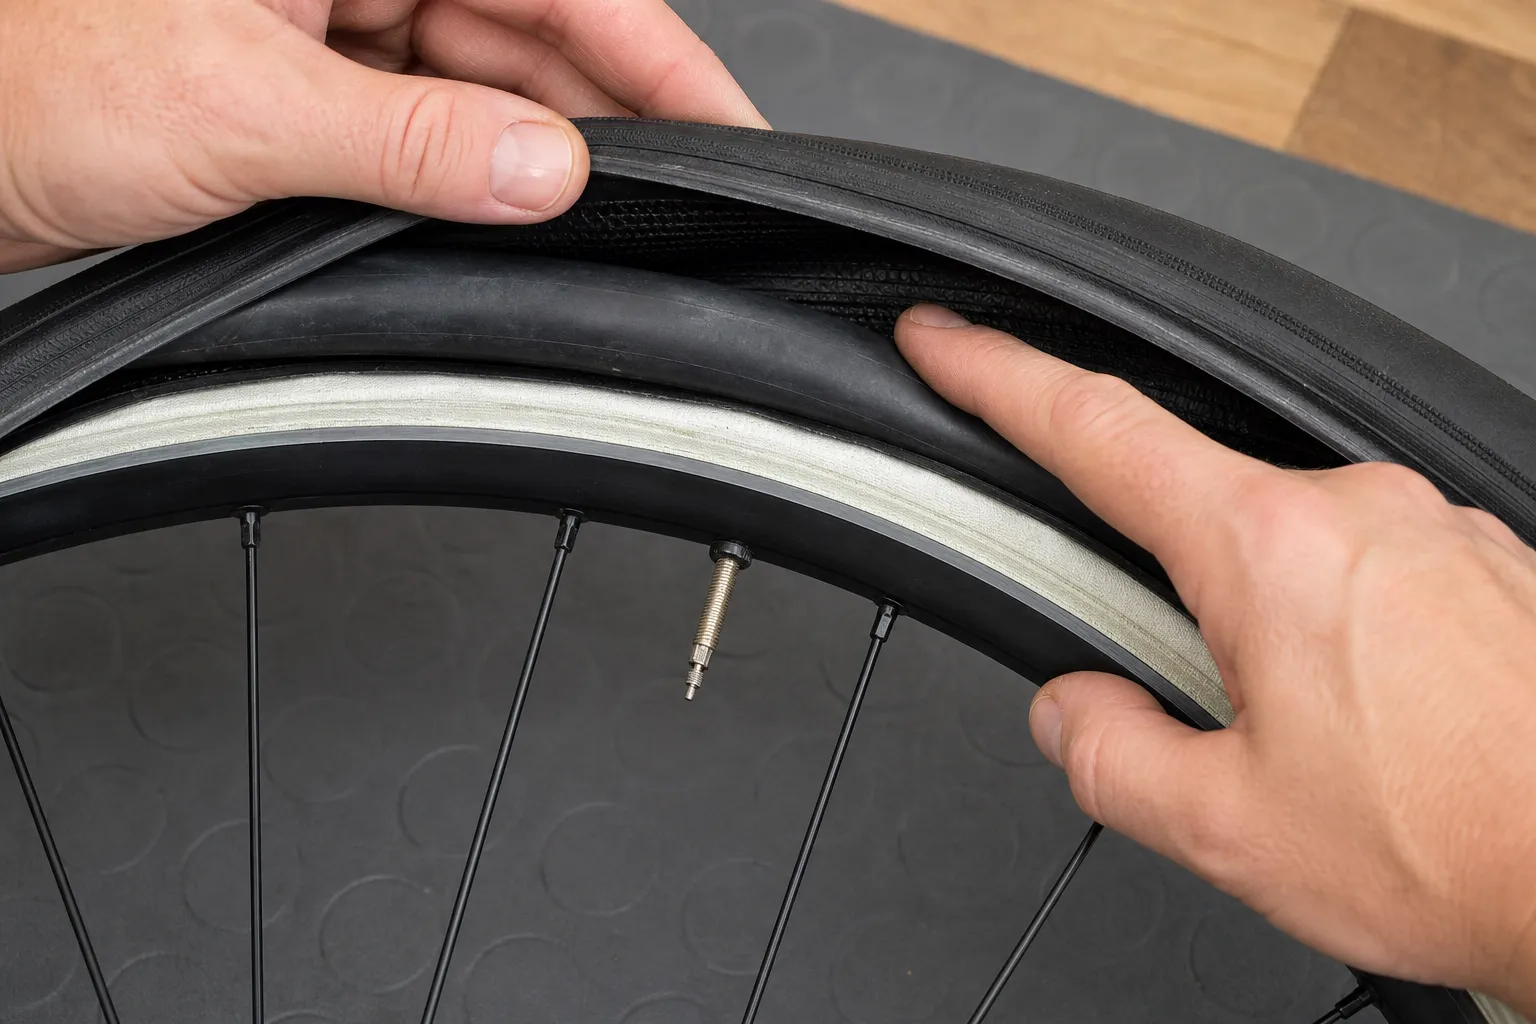
REI’s repair guide specifically calls for inspecting the tyre, tube, valve, and rim to find the cause of the flat. It suggests feeling the inside of the tyre and checking the tube at the same approximate location if you find something embedded. Do this slowly and avoid dragging a bare finger hard across an unknown sharp object; use sight first and tweezers if you carry them.
Make the tube easy to install
A completely flat tube can twist and hide under the tyre bead. A fully inflated tube will fight you. The useful middle is just enough air to give the tube shape.
Continental’s clincher and folding tyre instructions say to inflate the inner tube lightly until it takes a round form, insert the valve into the rim, unfold the tube fully inside the tyre, and prevent folds. Continental also says to work the tyre on evenly toward the valve, keep the tube from being pinched between tyre and rim, and use plastic tyre levers carefully if you cannot finish by hand.
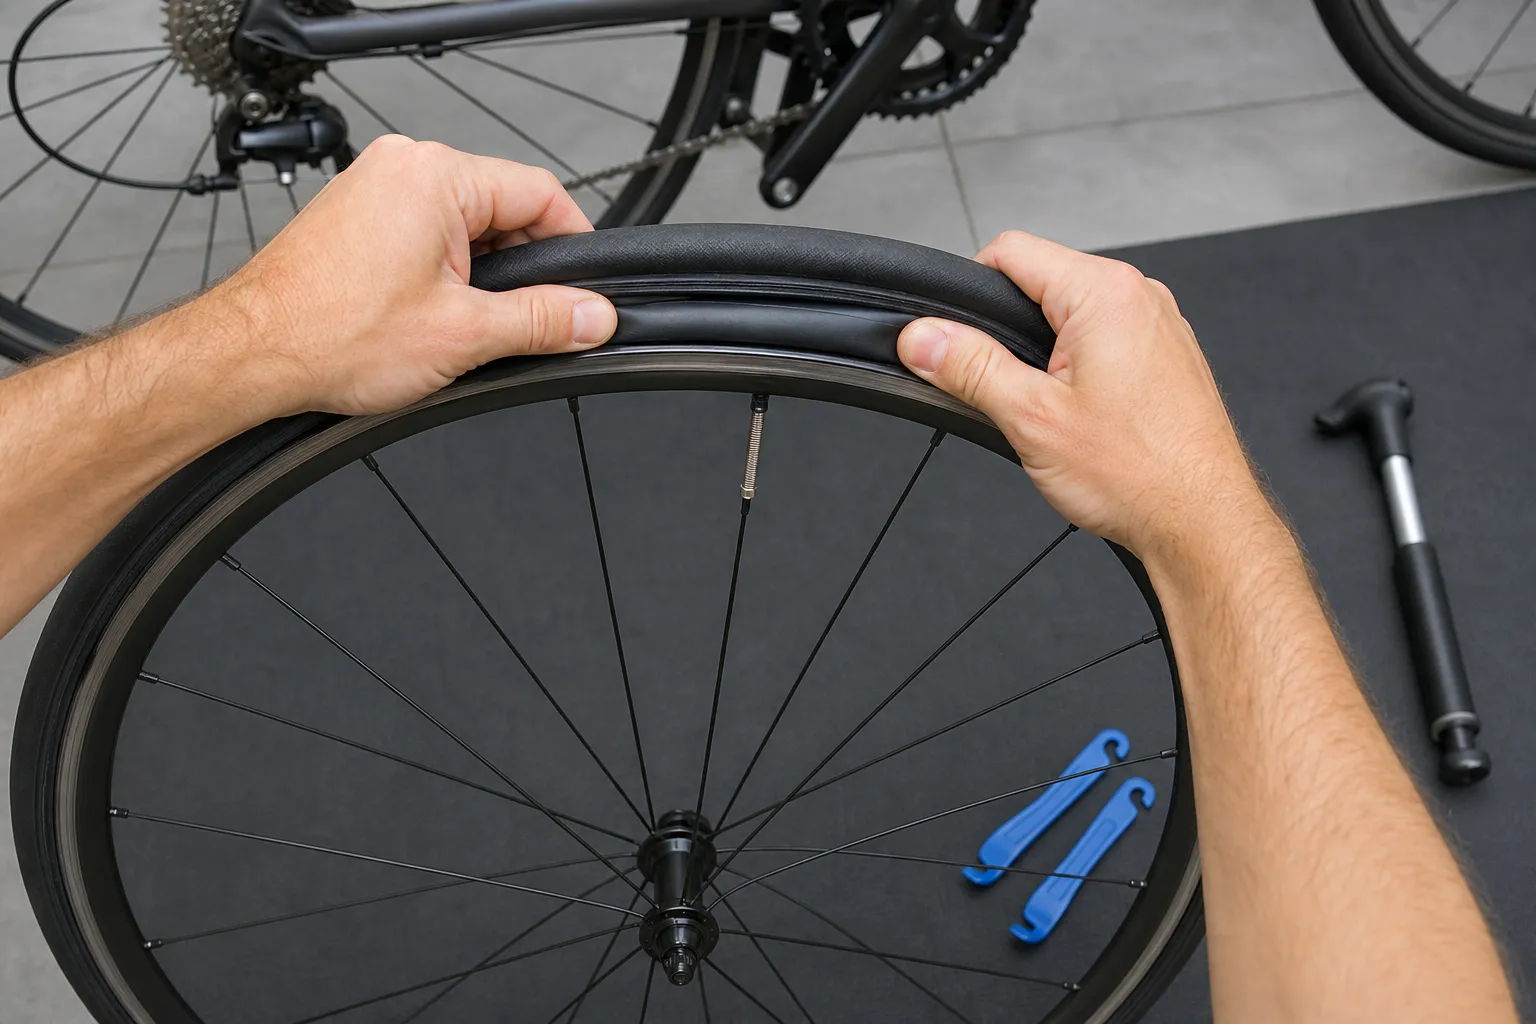
Use this calmer reinstall sequence:
- Put one tyre bead on the rim if it came off completely.
- Add a little air to the tube so it holds a soft round shape.
- Insert the valve straight through the rim hole.
- Tuck the tube inside the tyre all the way around.
- Starting opposite the valve, press the second bead into the rim.
- As the last section gets tight, push already-mounted bead sections into the rim’s center channel.
- Use levers only carefully and only if your thumbs cannot finish the job.
- Before inflating fully, check both sides for trapped tube.
If the valve sits crooked, if the tube bulges out, or if the last section needs violent force, back up. A slower second attempt is better than pinching the new tube during the repair.
Do the safety check before calling it done
The rehearsal is complete only after the tyre is seated and the bike is rideable. Inflate slowly. Watch both sides of the tyre as pressure rises. The bead line should look even around the rim, and the valve should stand straight. Continental tells riders to check the tyre’s proper seat using the witness line above the rim flange and to make sure the distance from that line to the rim is even.
Then reinstall the wheel and check the bike before riding:
- Is the axle or quick release fastened according to the bike or wheel instructions?
- Did you reconnect or reset any rim brake release you opened?
- Does the wheel spin without rubbing the frame, fork, brake pads, or brake caliper?
- Are brake tracks or disc rotors free of lubricant and handling grime?
- Do both brakes work in a standing test?
Continental’s instructions also call for checking that brake surfaces or discs are free of grease or lubricant after mounting, checking brake-pad contact, checking wheel fastening, and doing a standing brake test before setting off again. If you are not confident with the part names, road bike anatomy for beginners will make the checks easier.
What not to practise on your first attempt
Keep the first home rehearsal simple. Do not make it a lesson in tubeless plugs, tyre boots, sealant cleanup, torn sidewalls, carbon-rim compatibility, or emergency roadside improvisation. Those are real topics, but they add too many variables when the basic tube-change sequence is still new.
Do not ride a tyre with a large cut, exposed casing, a bulge, a badly seated bead, a damaged rim strip, or an axle you are unsure about. Continental warns that damaged or displaced rim strip can lead to sudden pressure loss, and REI recommends replacing rather than patching a tube when the damage is too extensive, when a patch fails, or when the valve is damaged.
Your first win is smaller: prove that your kit works, your pump fits, your spare tube is right, and you can reinstall the wheel calmly.
One focused next action
Before your next ride, set a timer for 30 minutes and do one no-pressure puncture-repair rehearsal at home. Put the same tools back into the same saddle bag afterward. The best roadside repair is the one that feels like a repeat, not a surprise.