How to ride hills without burning out
Ride road-bike hills more calmly by pacing the start, choosing easier gears early, staying seated when it helps, and knowing when to reset.
 Field guide / how-to-ride-hills-without-burning-out
Before you buy
Check the starter kit first
Print the one-page buying brief for helmet, lights, water, phone, and repair compatibility before comparing upgrades.
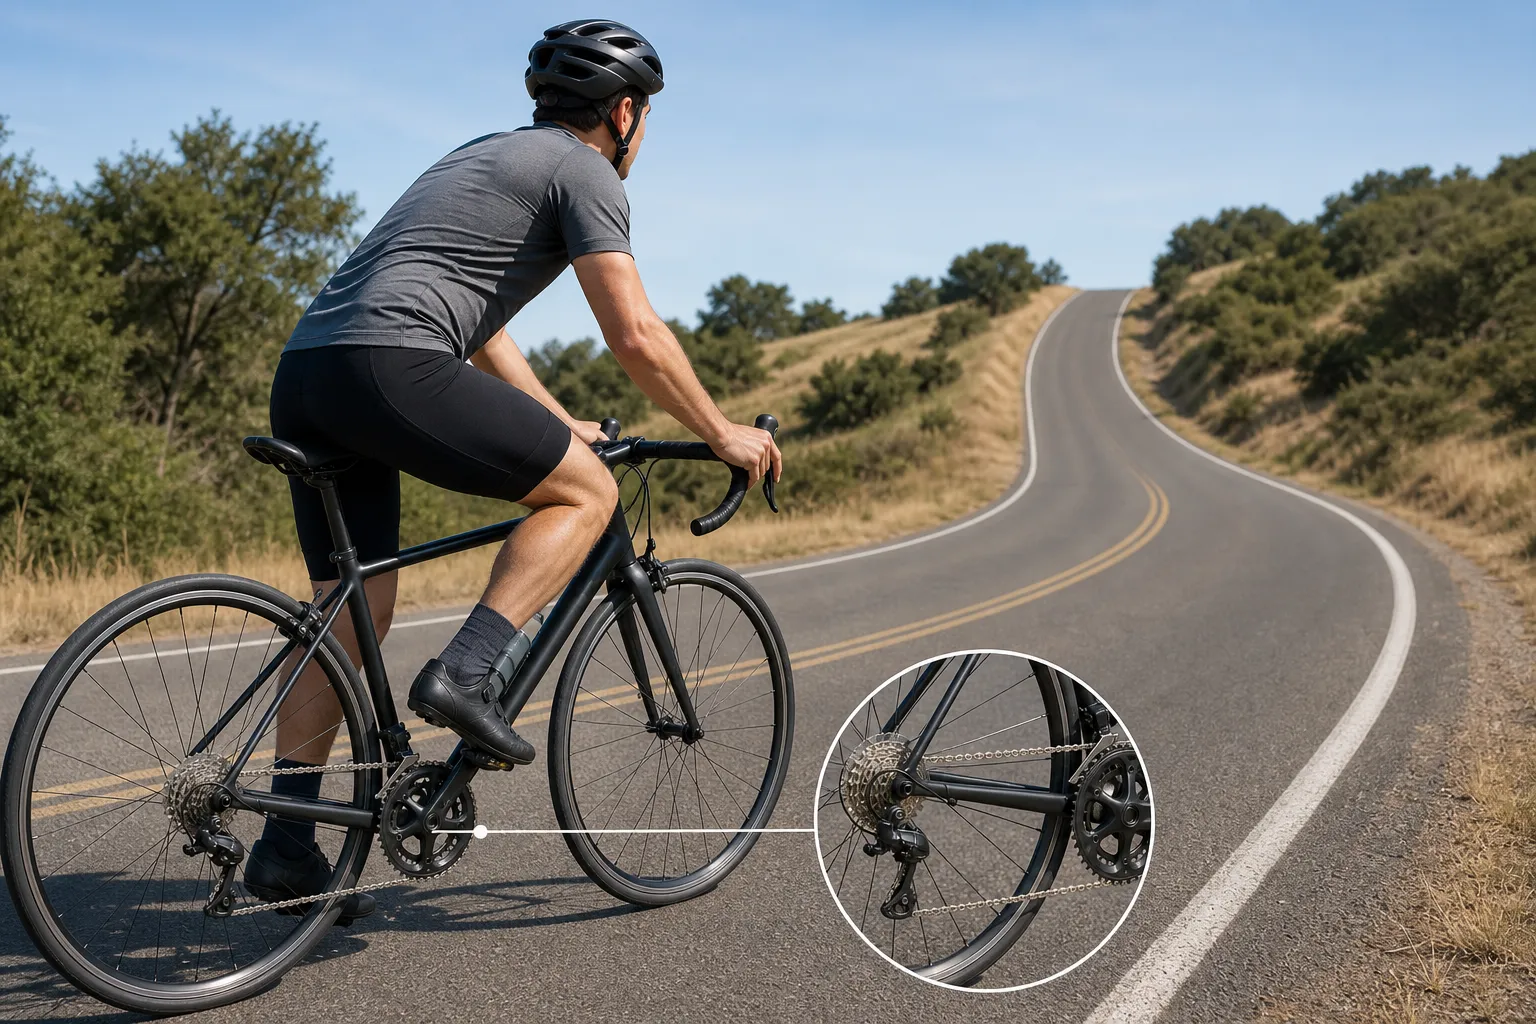
The easiest way to ride hills without burning out is to make the climb feel almost too easy at the bottom. Shift before the road gets steep, let the bike slow down, keep your effort conversational at first, and save walking, stopping, or turning around as normal options rather than emergencies.
The short answer: start the hill in an easier gear than your pride wants, stay seated with quiet shoulders, keep a steady line, and judge success by control instead of speed. If your breathing, balance, traffic space, or bike setup stops feeling manageable, reset before the hill makes the decision for you.
Why hills feel so hard at first
Beginner climbing questions usually sound personal: “Why am I terrible at hills?”, “Am I in the wrong gear?”, “Should I stand up?”, “Why does the easier gear still feel hard?”, and “What do I do about the descent?” Current cycling threads show the same pattern. Riders ask whether to avoid hills completely, how to make a lower gear feel less exhausting, and whether a steep descent should be ridden, braked, or walked (r/cycling hill context, r/cycling lower-gear context, r/bicycling descent context).
That wording is useful because hill trouble is rarely one thing. It can be pacing, gears, fitness, bike condition, road choice, traffic pressure, fear of stopping, or a descent you are already worrying about while climbing.
This guide is for ordinary beginner road riding: short climbs, rolling routes, overpasses, local hills, and early longer rides where hills interrupt your rhythm. It is not a racing-climbing guide, a mountain-descending clinic, or a training plan for a major alpine event.
Choose the hill before choosing the effort
A climb is easier to learn when the road gives you room to think. NHTSA bicycle safety guidance tells riders to choose routes with less traffic and slower speeds when riding on the road, and that a safer route may be away from traffic in a bike lane or bike path. That matters on climbs because a tired rider can wobble more, shift late, or need a safe place to stop.
For early hill practice, look for:
- a short hill you can see most of the way up;
- clean, dry pavement;
- low traffic or a car-free path;
- enough space to stop without blocking anyone;
- a gentle descent or easy way home after the climb;
- a route where walking is allowed and practical if needed.
Avoid making your first hill session a busy commute, a narrow road with no escape, a blind bend, a wet descent, or a climb followed immediately by a technical corner. That adds judgment problems before the basic skill is settled.
If your only local hills are awkward, make the route smaller. Ride to the base, do one calm attempt, turn around somewhere safe, and go home with information rather than turning the whole ride into a test.
Start slower than feels necessary
Most beginner blowups happen in the first third of the hill. Flat-road speed fades, the gear suddenly feels heavy, breathing jumps, and the rest of the climb becomes damage control.
Use the first minute as a throttle, not a scoreboard:
- Back off before the slope begins.
- Shift into an easier gear while the pedals are still turning smoothly.
- Let speed drop without chasing it.
- Settle into an effort where you could speak in short phrases.
- Hold that effort until you can see whether the hill is really as hard as it looked.
The CDC’s intensity guidance explains the talk test as a simple way to judge relative effort: moderate activity often lets you talk but not sing, while vigorous activity makes speaking more difficult. That is not a cycling prescription, but it gives beginners a practical check. If you are gasping too early to make decisions, the climb is already costing more attention than it should.
The goal is not to climb dramatically. The goal is to arrive at the top with enough control left to shift, signal, brake, drink, look ahead, and decide what comes next.
Shift early, then keep pressure light
Hills punish late shifting. When the pedals are already heavy, the chain is under more load, and a front shift can become clumsy at exactly the wrong moment.
Cycling UK advises riders to shift smoothly and drop down one gear at a time rather than struggling in too high a gear (Cycling UK climbing guide). British Cycling gives a similar climbing cue: use gears to maintain cadence, think ahead, and avoid shifts, especially between chainrings, when under heavy load because of the chain-drop risk (British Cycling climbing tips). The League of American Bicyclists puts it simply: when pedalling gets harder, shift into an easier, lower gear (League shifting guide).
For a beginner, the practical sequence is:
- shift to the small front chainring before the steep part if you will need it;
- use the rear gears for smaller changes as the slope changes;
- ease pedal pressure for a moment while the shift happens;
- keep pedalling, but do not stomp through the shift;
- avoid shifting both front and rear at the same instant;
- accept slower speed as the trade for lower pedal force.
If you run out of gears, the answer is not to prove you can grind forever. Sit tall enough to breathe, keep the bike straight, and decide whether to keep spinning slowly, stop safely, walk, or choose a different route next time.
For the controls themselves, use how to use road bike gears and shift before the hill, not during the struggle.
Sit steady before standing
Standing can help for a short ramp, a change of position, or a few harder pedal strokes. It can also burn matches quickly if you use it because the climb has already gone wrong.
British Cycling describes seated climbing as generally more efficient and sustainable, with a relaxed grip, head up, and stable upper body (British Cycling climbing tips). That is the best default for most beginner road climbs.
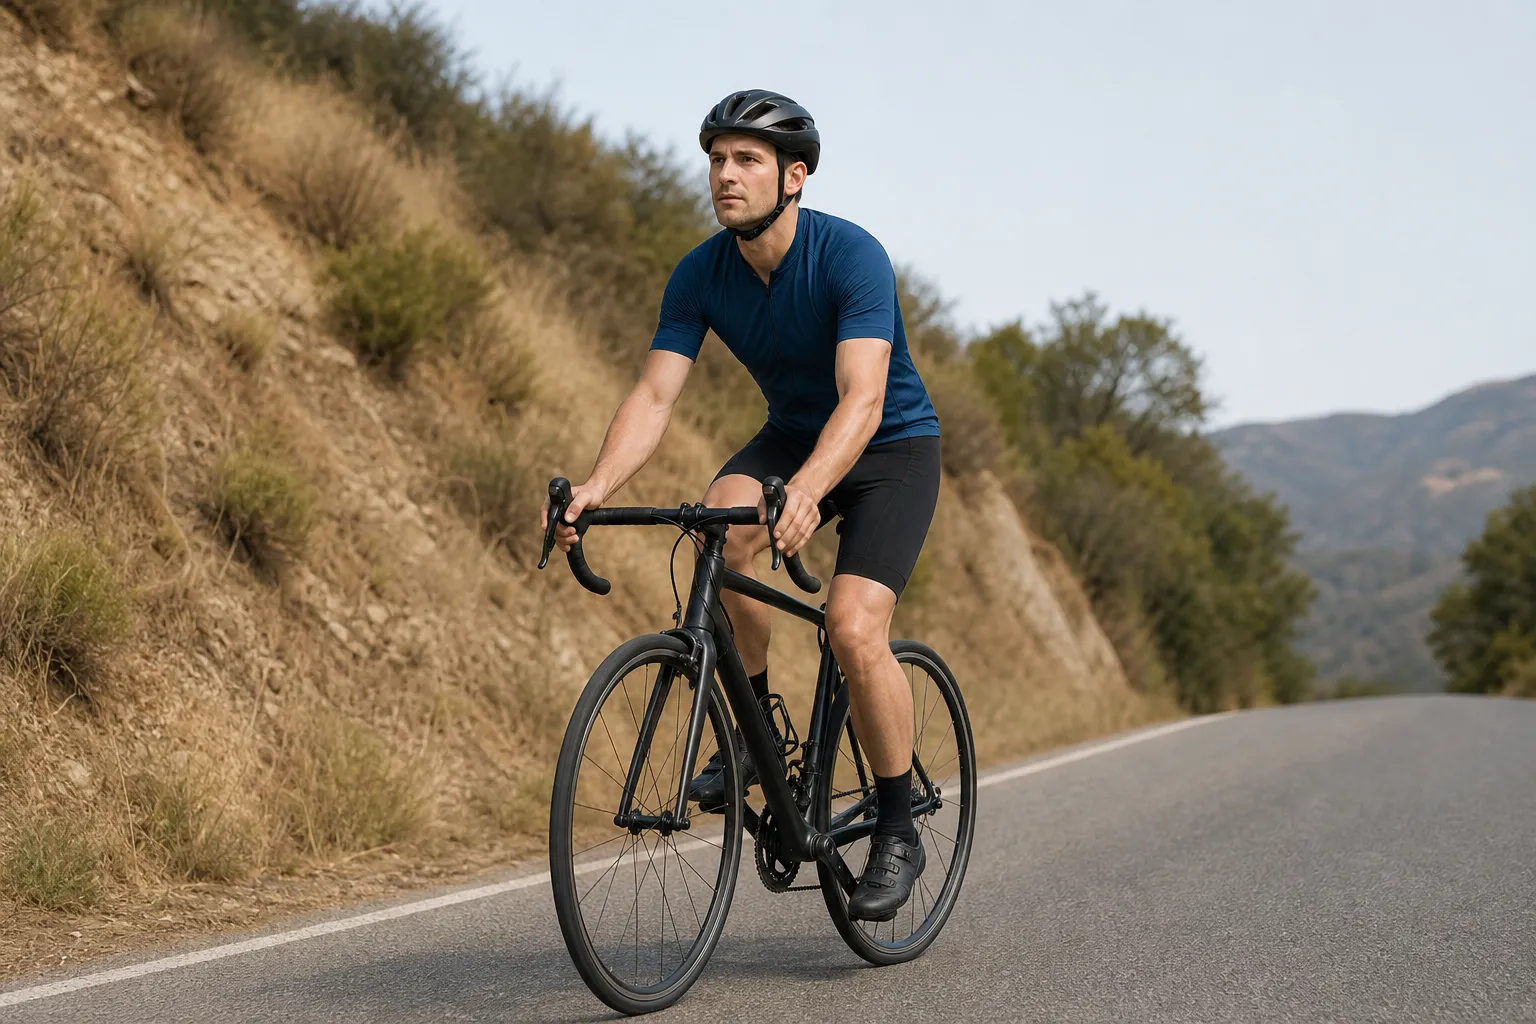
Use seated climbing when:
- the hill is long enough that you need to conserve effort;
- traffic, narrow lanes, or rough surfaces make balance important;
- you are still learning gears;
- your breathing is already high;
- standing makes the front wheel wander.
Try standing only as a controlled variation. Shift to a gear that gives enough resistance, rise smoothly, keep your hips over the bike rather than yanking on the bars, and sit back down before it turns into a wrestle. If standing makes you surge, wobble, or lose the ability to unclip or stop, it is not the useful choice yet.
Let speed be the thing you give up
An easier gear does not make the hill free. It changes the problem. Each pedal stroke asks for less force, but the bike may move more slowly, and your legs may turn more often. That can still feel hard if you try to preserve the same speed.
This is where many beginners accidentally burn out. They shift down, notice the bike slowing, then pedal faster or harder to rescue the number. The gear changed, but the effort did not.
Instead, pick one climbing rule:
- First attempt: keep the effort easy enough that you can think.
- Second attempt: hold the same effort a little longer.
- Later attempt: only then ask whether speed can rise.
Average speed is a poor judge here, just as it is for early flat rides. Wind, stops, gradient, surface, and route choice all change the number. Average speed is a poor beginner scoreboard explains why repeatability and calm control are better early signals.
Use the road in small pieces
Long hills feel bigger when you stare at the top. Break the climb into visible pieces instead.
Choose one marker: a tree, driveway, lamp post, bend, driveway entrance, or patch of shade. Ride to that marker at controlled effort. When you reach it, choose the next one. This does not make the hill physically easier, but it keeps your attention on the next useful decision instead of the whole remaining climb.
On changing gradients, reset early:
| What the hill does | What to do |
|---|---|
| The road kicks up ahead | Shift easier before you reach it |
| The slope briefly flattens | Relax or shift slightly harder if your legs are spinning empty |
| The road bends blind | Slow the effort and protect your line |
| The surface gets rough | Stay seated, soften your arms, and avoid sudden moves |
| Traffic narrows the space | Prioritize predictability and consider stopping if needed |
| You can see the crest | Do not sprint unless you still have control for the other side |
If a climb includes a blind bend, parked cars, or a narrow pinch point, use the same road-positioning judgment from road cycling safety and road positioning. A slower, steadier rider is easier for everyone to understand than a rider who swerves under effort.
Practise with short repeats, not heroic climbs
The fastest way to make hills less dramatic is to repeat a small, safe version until it becomes ordinary.
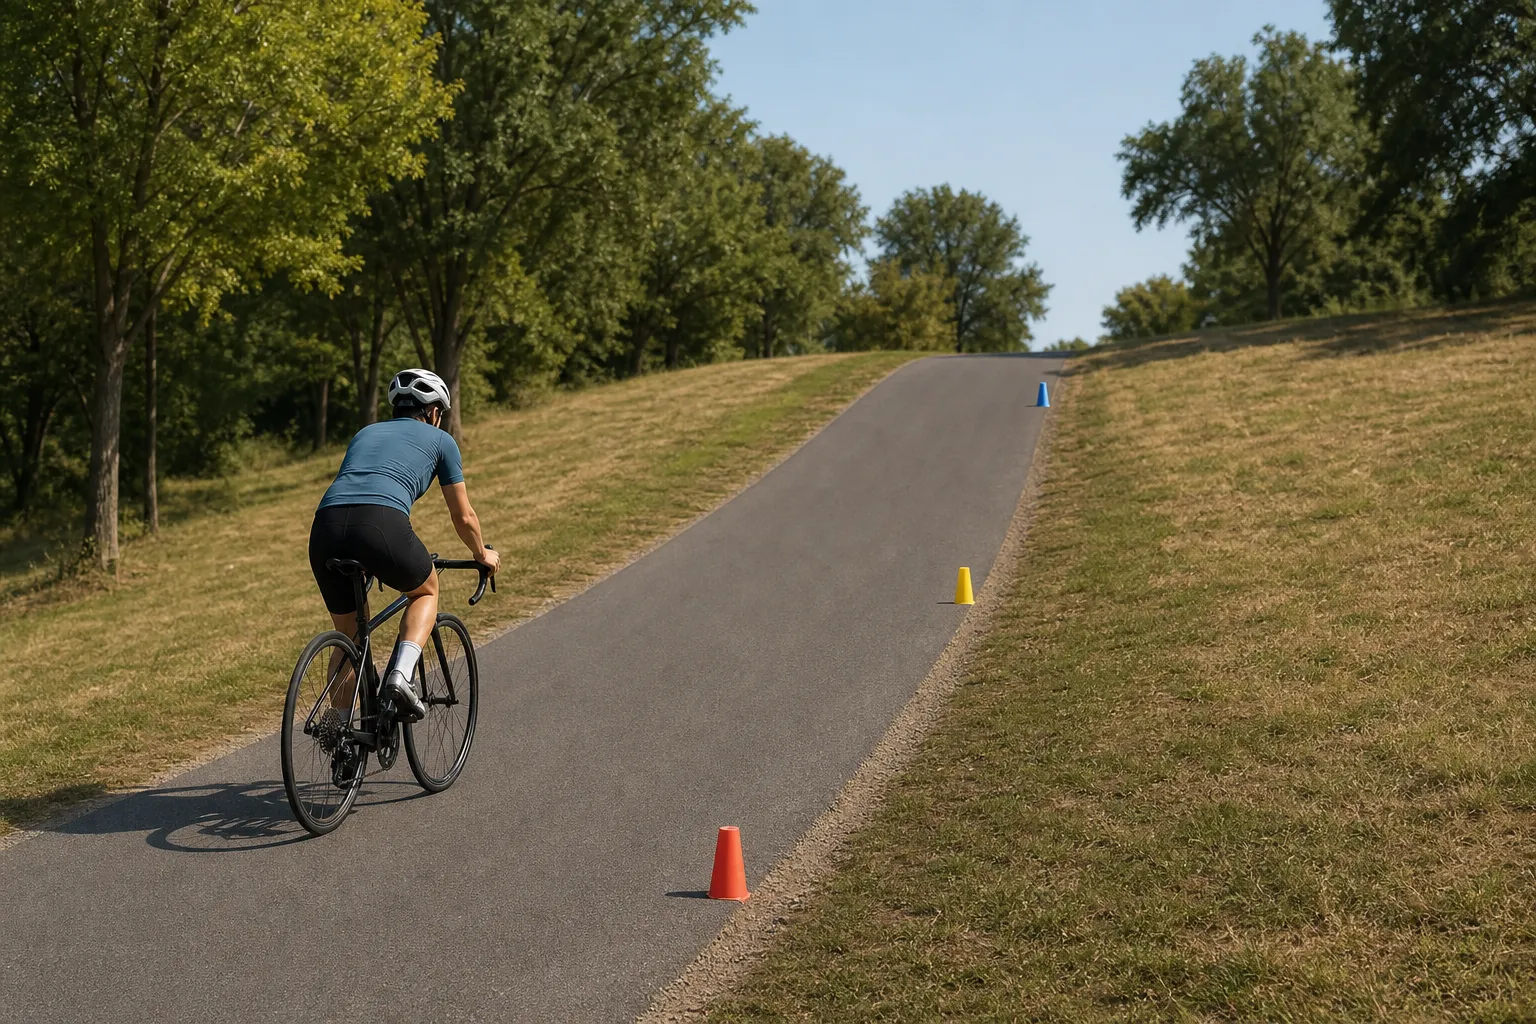
Try this once a week, not every ride:
- Choose a short hill that takes less than a few minutes at easy effort.
- Ride the first attempt deliberately too easy.
- Notice which gear you used at the steepest point.
- Recover fully on flat ground or at the top.
- Repeat once or twice only if the first attempt stayed controlled.
- Stop while you still want another go.
Do not turn beginner hill practice into interval training by accident. If every repeat becomes a gasping effort, you are mostly practising suffering. If the repeats stay calm, you are practising the skill you actually need on normal rides.
Check the bike before blaming your legs
If every climb feels awful, inspect the bike before turning the problem into a fitness verdict.
Use the five-minute pre-ride bike check before hill practice, then pay special attention to:
- tyres at a sensible pressure, checked with a gauge;
- wheels that spin freely and do not rub the brake;
- brakes that stop confidently but release cleanly;
- a chain that shifts into the easiest rear sprocket;
- no skipping, clunking, or grinding under load;
- saddle height that does not leave your knees cramped or hips rocking.
If the bike will not reach its easiest gear, the chain skips when you press, or a brake rubs all ride, stop treating the climb as a character test. Get shop help. A small mechanical issue can make a normal hill feel like a wall.
Also check whether your lowest gear suits where you ride. A road bike built for flat fast riding may have a harder lowest gear than a beginner wants for steep local roads. A mechanic can check chainrings, cassette range, derailleur capacity, chain length, and compatibility before you buy anything.
Know when to stop, walk, or turn around
Stopping early is a skill. Walking is a skill. Turning around is also a skill when the climb, road, weather, descent, or your body is giving clear information.
Use this boundary:
- If you are breathing hard but still steering straight, shift easier and settle.
- If the bike is weaving, look for a safe place to stop.
- If traffic pressure removes your margin, stop or walk from a safe edge.
- If you feel unusual symptoms, stop riding and get appropriate help.
- If the descent is the part you fear, choose a route that does not force it today.
The companion post walking a steep hill is a cycling skill covers the no-shame boundary in more detail. Here, the key point is that stopping is best when it is chosen early, not when the bike has nearly stalled.
Hard breathing can be normal on a climb. Chest discomfort, faintness, pain or discomfort in the jaw, neck, back, arm, or shoulder, shortness of breath that feels unusual, nausea, vomiting, or unusual tiredness are not hill-practice goals. The CDC lists those as possible heart-attack symptoms and says to call 911 if you notice symptoms in yourself or someone else.
Crest the hill before celebrating
The top of the hill is not the end of the skill. Many beginners reach the crest tired, leave the bike in its easiest gear, stop paying attention, and roll into a descent or junction before they have recovered.
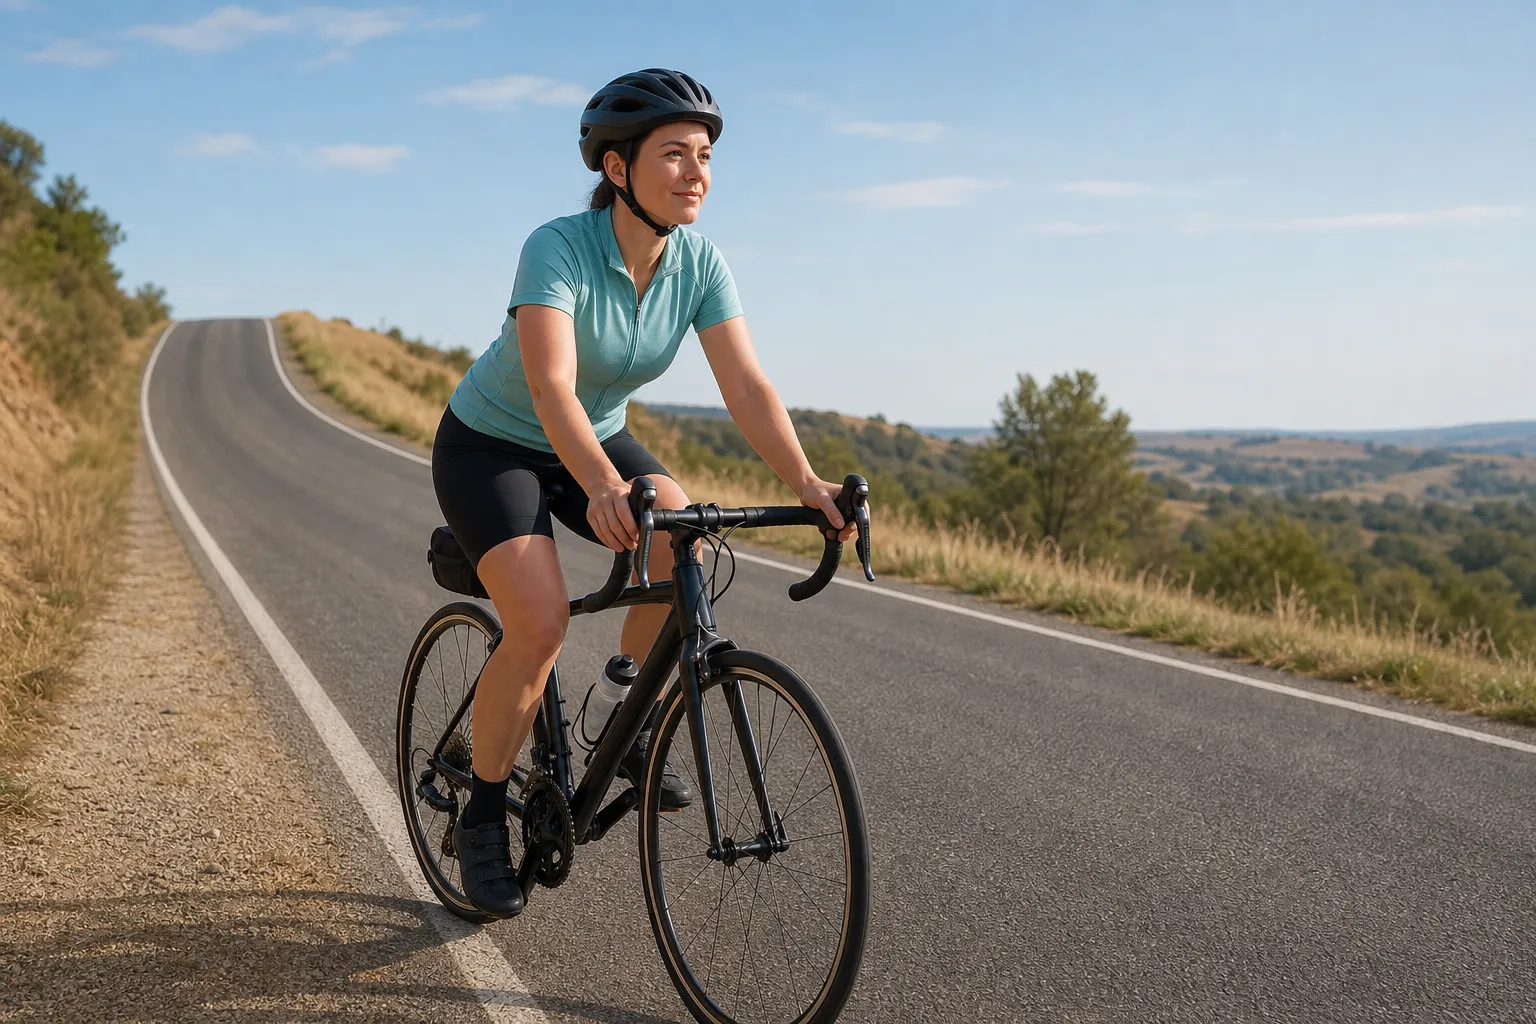
At the top:
- Keep both hands secure on the bars.
- Look beyond the crest before speeding up.
- Breathe and let the bike settle.
- Shift a little harder once pedalling feels too light.
- Cover the brakes before any descent, bend, junction, or rough surface.
- Stop somewhere safe if your hands, breathing, or focus need a reset.
For descending, the beginner rule is the same as cornering: choose speed before the road demands it. Trek’s riding guidance warns that continuous braking can build heat in rims and brake parts, and advises releasing brakes occasionally to let surfaces cool (Trek riding tips). On a beginner route, that supports a simple decision: if you need to drag the brakes constantly to feel safe, the descent may be too much for today.
Use braking and cornering with confidence before adding fast or unfamiliar descents.
What to eat and drink for hilly beginner rides
Short local hill practice usually needs water and a sensible meal pattern more than special sports products. Longer hilly rides can feel harder than the same distance on flat ground because climbs raise effort and descents may limit relaxed eating and drinking.
Use plain planning:
- Bring water if the ride is long enough, warm enough, or remote enough that thirst would affect judgment.
- Eat normally before the ride rather than starting hungry.
- Carry a simple snack for rides that may stretch longer than planned.
- Practise eating and drinking on easy roads, not during a hard climb or tricky descent.
- Choose a route with refill or bailout options while you are learning.
What to eat and drink on beginner rides gives the fuller food-and-fluid plan. For hills, the key is not waiting until you are shaky, distracted, or stuck on the wrong side of the climb.
Common beginner mistakes
| Mistake | Why it burns energy | Better habit |
|---|---|---|
| Starting hard at the bottom | You spend your best effort before the steep part arrives | Begin easier than feels necessary |
| Shifting only when desperate | Heavy chain load makes shifts rougher and riskier | Shift before the road steepens |
| Fighting to keep flat-road speed | Speed becomes the hidden effort target | Let the bike slow down |
| Standing because it looks powerful | It can raise effort and make the bike wander | Sit steady first, stand briefly only if controlled |
| Looking at the summit | The hill feels like one huge task | Ride to the next visible marker |
| Ignoring the bike | Rubbing brakes or poor shifting can mimic weak legs | Check tyres, brakes, chain, wheels, and lowest gear |
| Forgetting the descent | You arrive tired before another control problem | Recover at the crest and choose descent speed early |
Your next step
Pick one short, quiet hill and ride it once this week with one goal: reach the top in control, not fast. Shift before the slope, start easier than you think you need, stay seated, and choose a safe reset point before you begin.
After the ride, write down only three things: the easiest gear you used, where your breathing became hard, and whether the descent felt manageable. That tiny note gives you a better next ride than any argument about what a beginner “should” climb.
Sources and further reading
- Cycling UK: a beginners’ guide to climbing hills on a bike
- British Cycling: how to climb - 10 top tips for beginners
- League of American Bicyclists: shifting gears
- NHTSA: bicycle safety
- CDC: how to measure physical activity intensity
- CDC: about heart attack symptoms, risk, and recovery
- Trek owner manual: riding tips
- r/cycling reader context: hills as a beginner
- r/cycling reader context: more effort going uphill in lower gear
- r/bicycling reader context: descending steep hills