The five-minute pre-ride bike check
Use a simple five-minute road-bike check for tyres, wheels, brakes, chain, lights, and one slow roll before beginner rides.
 Field guide / the-five-minute-pre-ride-bike-check
Before you buy
Check the starter kit first
Print the one-page buying brief for helmet, lights, water, phone, and repair compatibility before comparing upgrades.
The useful pre-ride bike check is not a workshop service. It is a short routine that catches the problems most likely to stop a beginner ride before the first junction, descent, or traffic decision.
The short answer: before every road ride, check that your tyres have enough air and no obvious damage, both wheels are secure, both brakes stop the bike, the chain runs normally, lights and essentials are with you, and the bike feels ordinary during one slow roll and stop. If a control or safety-critical part feels unfamiliar, loose, damaged, or newly wrong, fix it before riding.
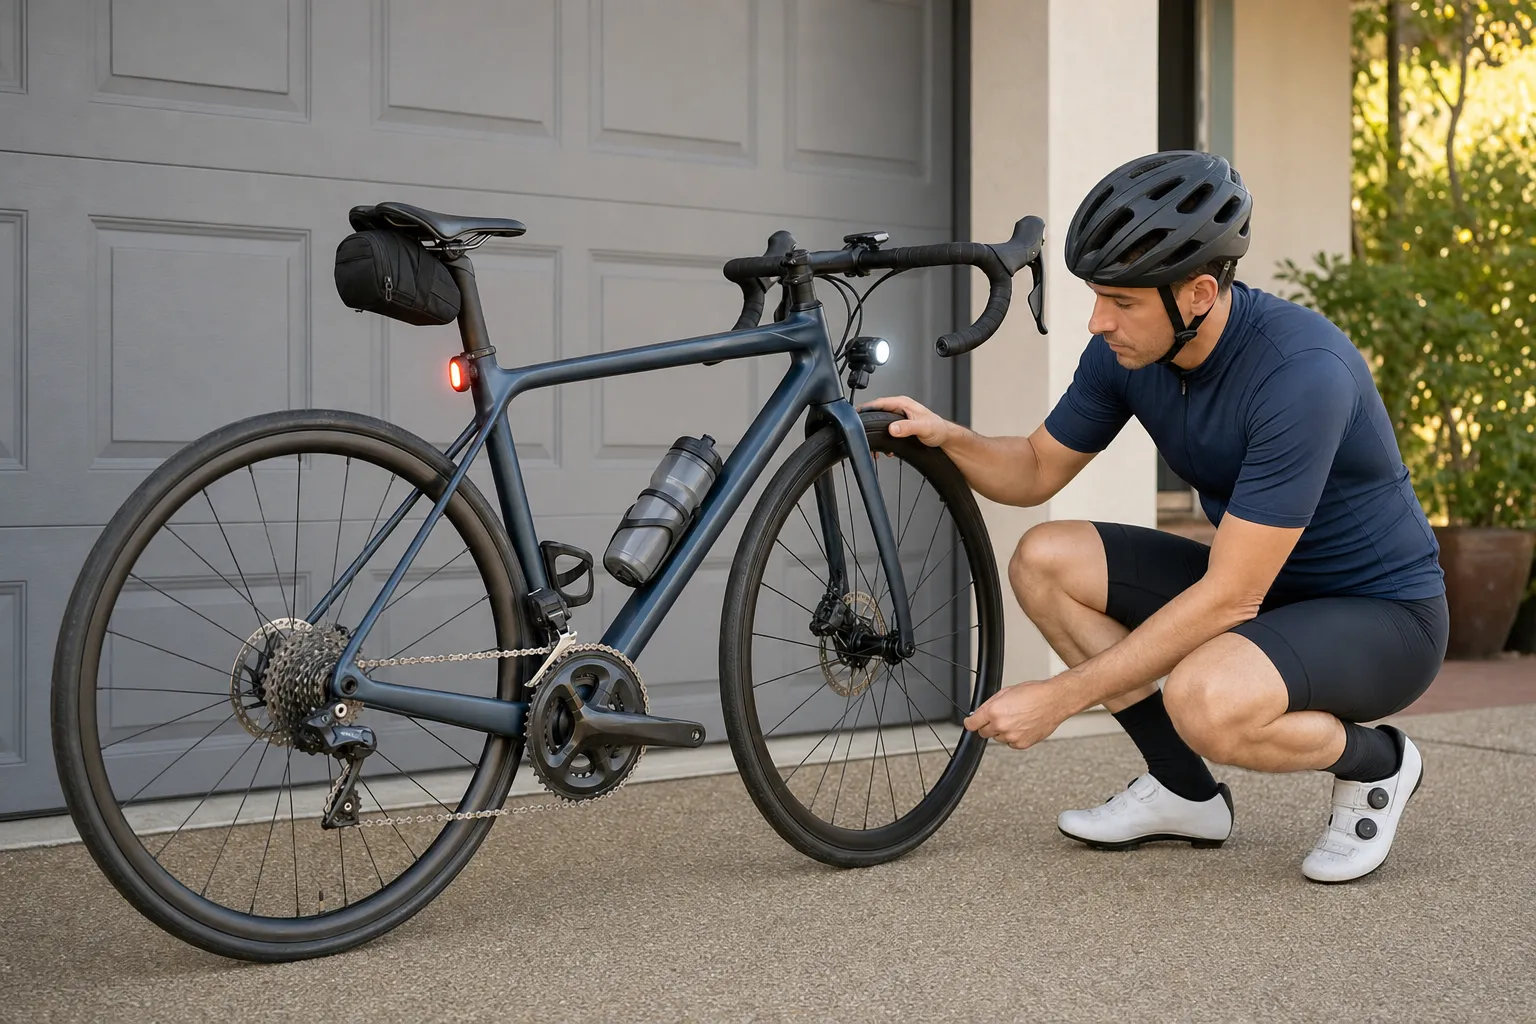
Why this check deserves its own routine
Beginner riders often ask for the “minimum pre-ride check” or say they only squeeze the tyres before leaving. That community wording is useful because it exposes the real need: a check short enough to repeat, but not so short that it misses brakes, wheel security, lights, or a chain problem.
NHTSA’s pre-ride safety check tells riders to do a quick A-B-C check every time: air, brakes, and chains, plus a test ride. The League of American Bicyclists teaches the same ABC Quick Check and explicitly adds quick releases and a slow brief ride.
That is the beginner standard for this guide. You are not checking every bolt on the bike before every short spin. You are asking, “Is this bike safe and normal enough to start?”
If you want the narrower tyre-pressure angle, read the quick tyre squeeze is not a full bike check after this. This page is the full routine.
First, make the ride kit visible
Start with the things that do not require touching the bike. This takes less than a minute and prevents the common mistake of discovering a missing light, water bottle, phone, or repair kit only after you are already committed to the route.
Before the bike check, confirm:
- Helmet fitted and fastened.
- Front and rear lights charged, attached, visible, and legal for the conditions.
- Water carried in a bottle or pack that will not fall out.
- Phone, ID, payment or transport option, and route access.
- Repair kit matched to the bike: tube or tubeless plan, levers, pump or inflator, and any axle tool your bike requires.
- Clothing, laces, straps, and bags clear of the chain, wheels, and lights.
This is not about carrying every accessory. Essential road cycling gear explains how to match equipment to ride consequences. The check here is simpler: will the things you chose actually come with you and stay out of the bike’s moving parts?
1. Air: use the squeeze as a clue, then look
Road tyres can lose air between rides, and a soft tyre can feel vague, corner poorly, or pinch the inner tube against the rim. But tyre pressure is only one part of the air check.
Do this for both tyres:
- Squeeze the tyre so you notice whether it feels much softer than usual.
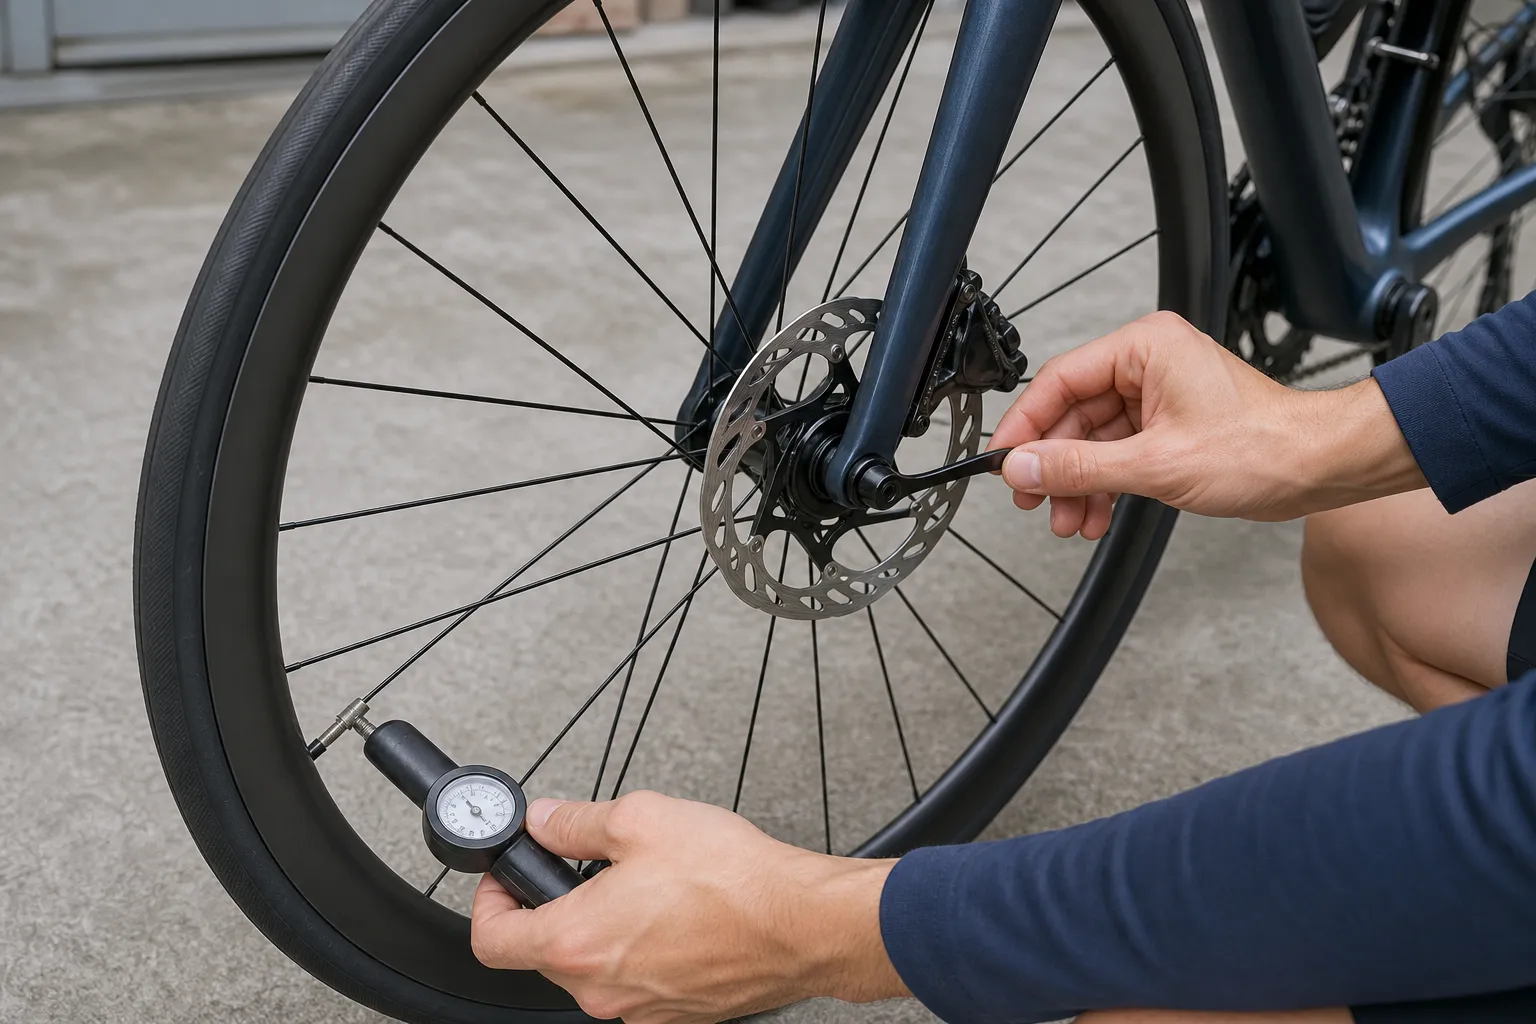
- Use a pump gauge if the tyre feels low, if you have not checked recently, or if the ride is longer, faster, loaded, or remote.
- Look around the tread and sidewalls for cuts, bulges, glass, thorns, exposed casing, or unusual wear.
- Check that the valve is straight and not obviously damaged.
- Stop if a tyre will not hold air or if the bead does not sit evenly on the rim.
USA Cycling’s pre-ride advice recommends visually spinning each wheel to check tyres for debris, cracks, cuts, excessive wear, exposed casing, squared-off wear, and an even bead at the rim. Trek’s owner manual tells riders to use a pump with a gauge and stay within the pressure limits of the tyre and rim, using whichever maximum is lower.
Do not treat the highest number on the tyre sidewall as a target. It is a limit. A proper starting pressure depends on tyre width, total system weight, rim limits, setup, surface, and conditions; a dedicated tyre-pressure guide can handle that without pretending one number fits every rider.
2. Wheels: confirm they are seated and secured
Wheel security is not glamorous, but it is safety-critical. The check changes slightly by axle type, so use your own bike or wheel instructions if you are unsure.
For a beginner pre-ride check:
- Look that both wheels sit straight in the frame or fork.
- Check that quick-release levers are fully closed or thru-axles are secured according to the maker’s instructions.
- Make sure no lever, axle handle, bag, fender, or accessory can touch spokes or a disc rotor.
- Lift each wheel just enough to spin it if you can do that safely.
- Listen for brake rub and watch for a wobble that is new or severe.
The safety boundary is clear in manufacturer instructions. Trek warns that an improperly secured wheel attachment can let the wheel loosen or come off, and its manual says to check wheels before every ride. Shimano’s quick-release manual says the lever must swing from open to close and must not be tightened by rotating it like a nut.
If you do not know whether your bike uses quick release, thru-axles, or bolt-on axles, pause here and learn that before riding. Road bike anatomy for beginners will help with the part names, but the axle instructions for your specific bike still matter.
3. Brakes: test before the road tests them
Do the first brake test while standing still on level ground. One hand on the bars, one hand ready to hold the bike steady is fine.
Use this sequence:
- Squeeze the front brake lever and gently push the bike forward.
- Squeeze the rear brake lever and repeat.
- Squeeze both levers and notice whether the feel is firm and even.
- Check that neither lever pulls close to the handlebar.
- Spin each wheel if safe and listen for rubbing that was not there before.
NHTSA’s checklist says brakes should stop the bike when the handles are squeezed, brake pads should not be worn down, cables should not be damaged or loose, and brakes should not rub while the wheel spins, turns, or rides. Cycling UK’s routine check guide also says an immediate pre-ride check should confirm both brakes work with a hard squeeze on each lever.
Stop if the lever feels weak, sticky, spongy, uneven, or newly unfamiliar. If the problem is skill rather than the hardware, your front brake is not the enemy and braking and cornering with confidence give calm practice progressions.
4. Chain and drivetrain: look for ordinary movement
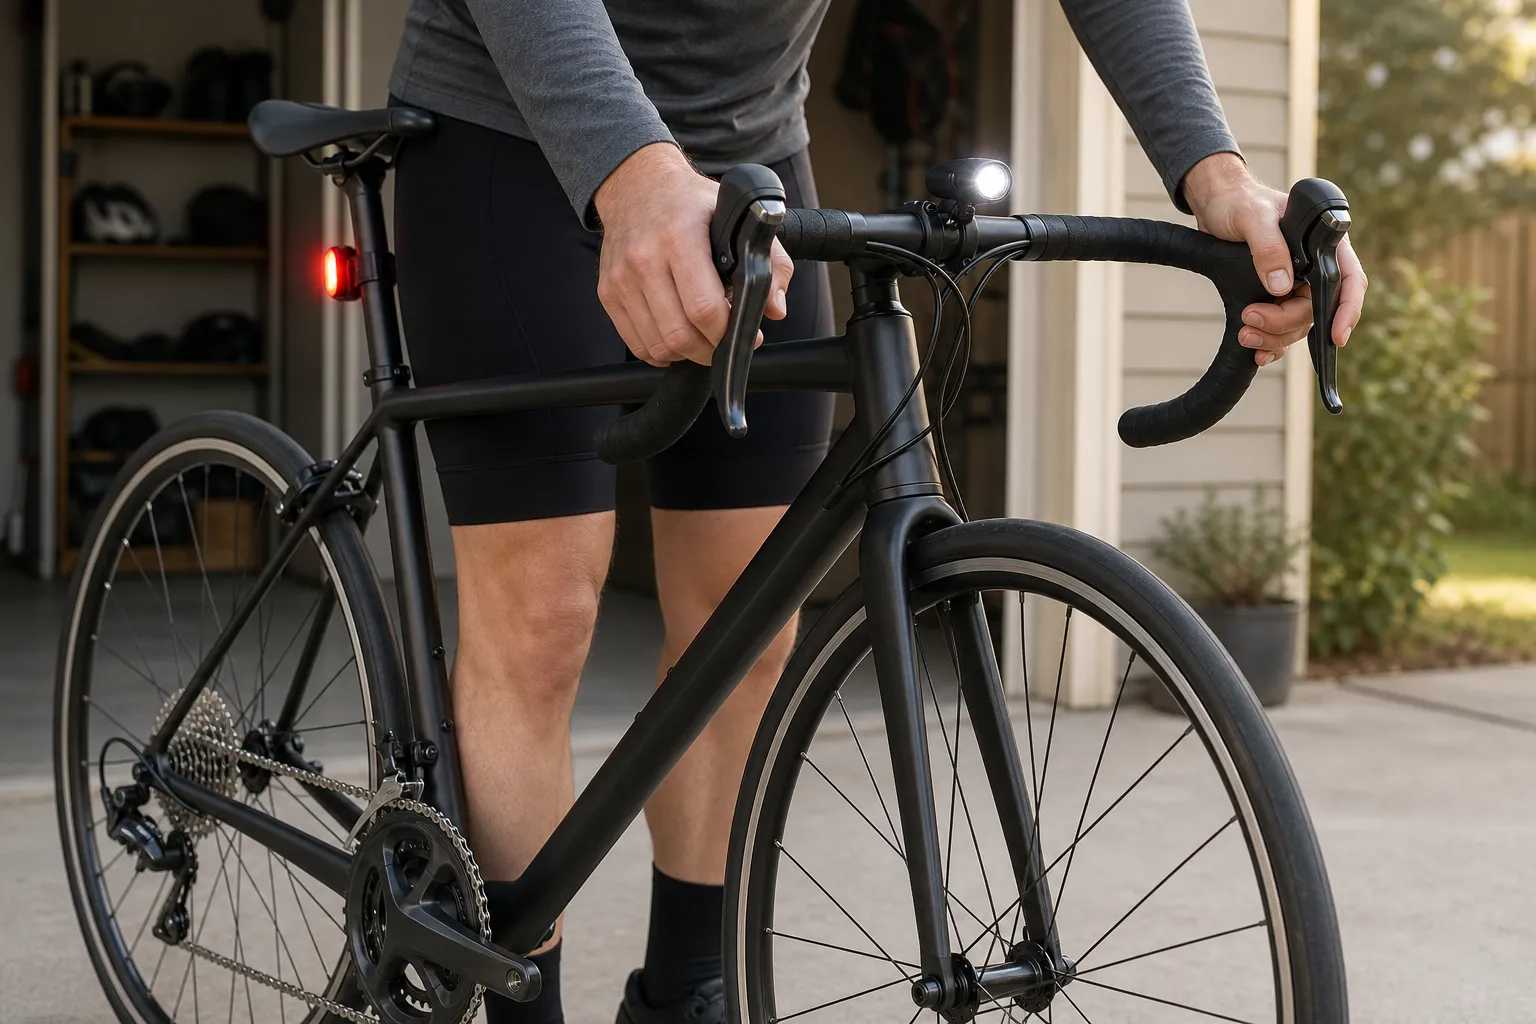
You do not need a spotless drivetrain before every beginner ride. You do need a chain that is present, reasonably lubricated, moving freely, and not trying to leave the gears.
Check:
- The chain is on the chainrings and cassette, not dropped beside them.
- It is not visibly rusty, kinked, dry, broken, or packed with heavy dirt.
- The pedals turn the chain smoothly if the bike is safely supported.
- A light test shift works without violent skipping or jamming.
- Nothing loose can fall into the chain, crank, spokes, or derailleur.
NHTSA says the chain should be tight, clean, lubricated, rust-free, and able to move freely when changing gears. Trek’s manual also tells riders to check for kinks, rust, and broken chain parts before riding.
If the chain skips once during a casual shift, that may be a technique or adjustment clue. If it jumps repeatedly, jams, drops, or sounds like metal grinding, do not turn a short ride into a roadside repair lesson. Stop and investigate.
5. Contact points and steering: catch loose things you touch
A road bike can pass the tyre and brake check and still feel wrong because something you touch is loose. Keep this fast and practical.
Check:
- Handlebars point straight and do not twist independently of the front wheel.
- Hoods, bar tape, grips, and brake controls feel secure enough to steer and brake.
- Saddle is straight and does not twist, tilt, or slide under hand pressure.
- Pedals are attached and turn normally.
- There is no obvious new crack, dent, sharp edge, or dangling cable.
Trek’s pre-ride checklist covers handlebars, grips, handlebar ends, saddle and seatpost, wheels, tyres, brakes, chain, cables, reflectors, lights, and accessories. That full list can sound long, but most items become a glance or a touch once you know the bike.
One extra check is useful if the front of the bike feels odd: hold the front brake and gently rock the bike forward and back. Cycling UK describes this as a way to feel headset play. If you feel clunking or movement that you do not understand, get help before riding.
6. The slow roll: prove the bike feels normal
The last step is not a lap around the block at speed. It is a slow roll somewhere safe, with a deliberate stop before you join traffic.
Do this:
- Roll at walking speed.
- Shift once or twice lightly if there is room.
- Brake gently with both brakes.
- Turn the bars slightly left and right.
- Listen for rubbing, clicking, scraping, or rattling.
- Stop and look again if anything feels different from your normal bike.
The League’s ABC Quick Check ends with a slow brief ride to confirm the bike works properly. That small moving test matters because some problems only appear when the bike is loaded by a rider.
If the slow roll feels wrong, the ride has already given you useful information. The next good decision is not “it will probably be fine.” It is stop, inspect, fix, ask a mechanic, choose a shorter route, or postpone the ride.
The five-minute version to repeat
Use this exact order until it becomes boring:
- Kit: helmet, lights, water, phone, route, and repair kit.
- Air: tyre squeeze, pressure if needed, tyre and valve look-over.
- Wheels: axles or quick releases secured, wheels straight, no new rub.
- Brakes: each lever stops the bike and does not pull close to the bar.
- Chain: chain present, moving freely, not dry, rusty, jammed, or dropped.
- Touch points: bars, hoods, saddle, pedals, and loose accessories feel secure.
- Roll: one slow ride and stop before leaving.
That is more than a tyre squeeze, but it is still not a workshop service. It is the habit that lets a beginner start with attention available for the road.
Common beginner mistakes
| Mistake | Why it misses problems | Better habit |
|---|---|---|
| Checking only the front tyre | The rear tyre often carries more rider load and can hide a slow leak | Check both tyres |
| Pumping without inspecting | Air does not fix cuts, bulges, worn casing, or embedded debris | Look before and after pumping |
| Forgetting wheel fasteners after transport | A removed wheel can be reseated poorly or left loose | Check axles or quick releases every time |
| Testing brakes only once moving fast | The first real test may arrive too late | Squeeze and push while stationary, then slow-roll stop |
| Ignoring a new rub or clunk | New sounds often mean something changed | Stop and inspect before speed or traffic |
| Carrying tools you have never tried | An incompatible pump or axle tool does not help at the roadside | Practise at home with your ride kit |
When to do more than five minutes
Do a longer check if the bike has been transported, crashed, left outside, borrowed, serviced, cleaned deeply, fitted with new parts, or unused for weeks. Also slow down if you are riding in rain, darkness, remote areas, group traffic, steep descents, or with bags attached.
For an older, used, or unfamiliar bike, this five-minute check is not enough to prove condition. It is a departure routine, not a substitute for a mechanic’s inspection.
Your next step
Before your next ride, put the bike on level ground and do the five-minute version once without rushing. If you find a soft tyre, loose wheel, weak brake, rubbing part, or missing essential, fix that before leaving.
After a few rides, pair this routine with your first month of road cycling so preparation, controls, and easy routes start to feel like one calm system.