How to use road bike gears
Master shifting road bike gears smoothly, understand front and rear controls, avoid cross-chaining, and pace hills with confidence.
 Field guide / how-to-use-road-bike-gears
Before you buy
Check the starter kit first
Print the one-page buying brief for helmet, lights, water, phone, and repair compatibility before comparing upgrades.
Learning how to shift gears efficiently is the single most transformational skill for a new road cyclist. When you select the right gear, steep hills become manageable, flat roads feel effortless, and your legs save energy for longer, more comfortable rides.
The short answer: On most 2x road bikes, your left-hand controls shift the front chainrings (big changes in range), while your right-hand controls shift across the rear cassette (small adjustments). The exact lever or button action varies by groupset. Shift before terrain changes, ease up slightly on pedal pressure when shifting, and avoid extreme diagonal chain positions known as cross-chaining.
Control orientation
Left changes the range. Right fine-tunes it.
This left/right pattern applies to most road bikes with two front chainrings. The exact lever or button you press depends on the shifter system fitted to your bike.
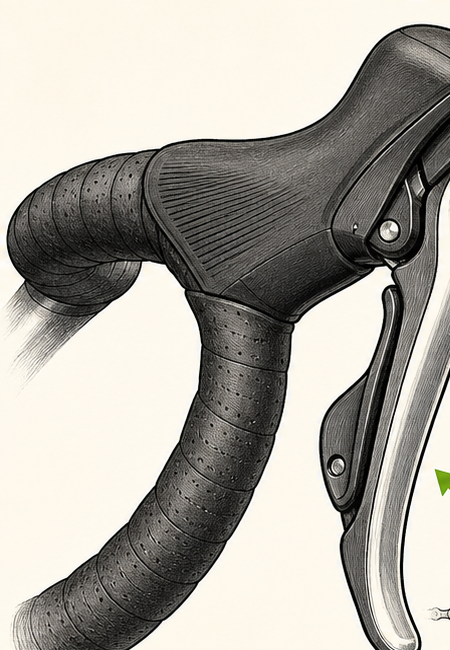
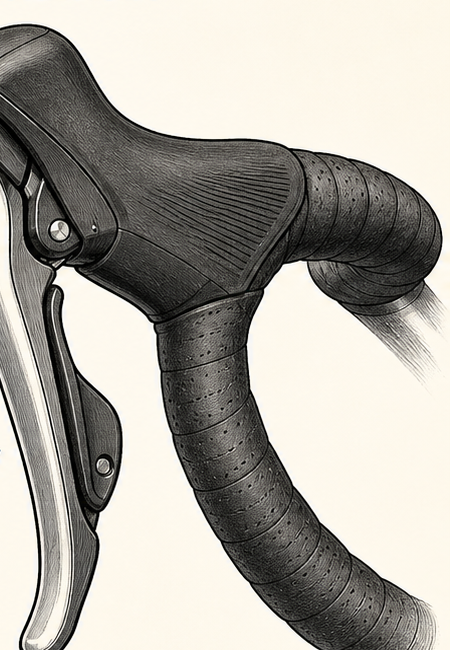
Front derailleur
Changes the front chainring
Use it for the big change between an easier climbing range and a faster cruising range.
Explore gear ratios interactively
Use the interactive simulator below to test how different front chainrings and rear cassette cogs affect pedalling effort, mechanical gear ratios, and chain alignment.
Gear-Change Playground
Select your front chainring and rear cassette sprockets to see how gear combinations affect pedalling effort, chain alignment, and real-world riding scenarios.
Drivetrain Feedback
With a 34T front and 24T rear, one full pedal rotation turns the rear wheel 1.42 times.
1. How road bike shifters work
Unlike flat-bar hybrid bikes, modern road bicycles usually combine the brake lever and gear controls into integrated units on the drop handlebars. “STI” specifically refers to Shimano’s version; other manufacturers use different names and control patterns.
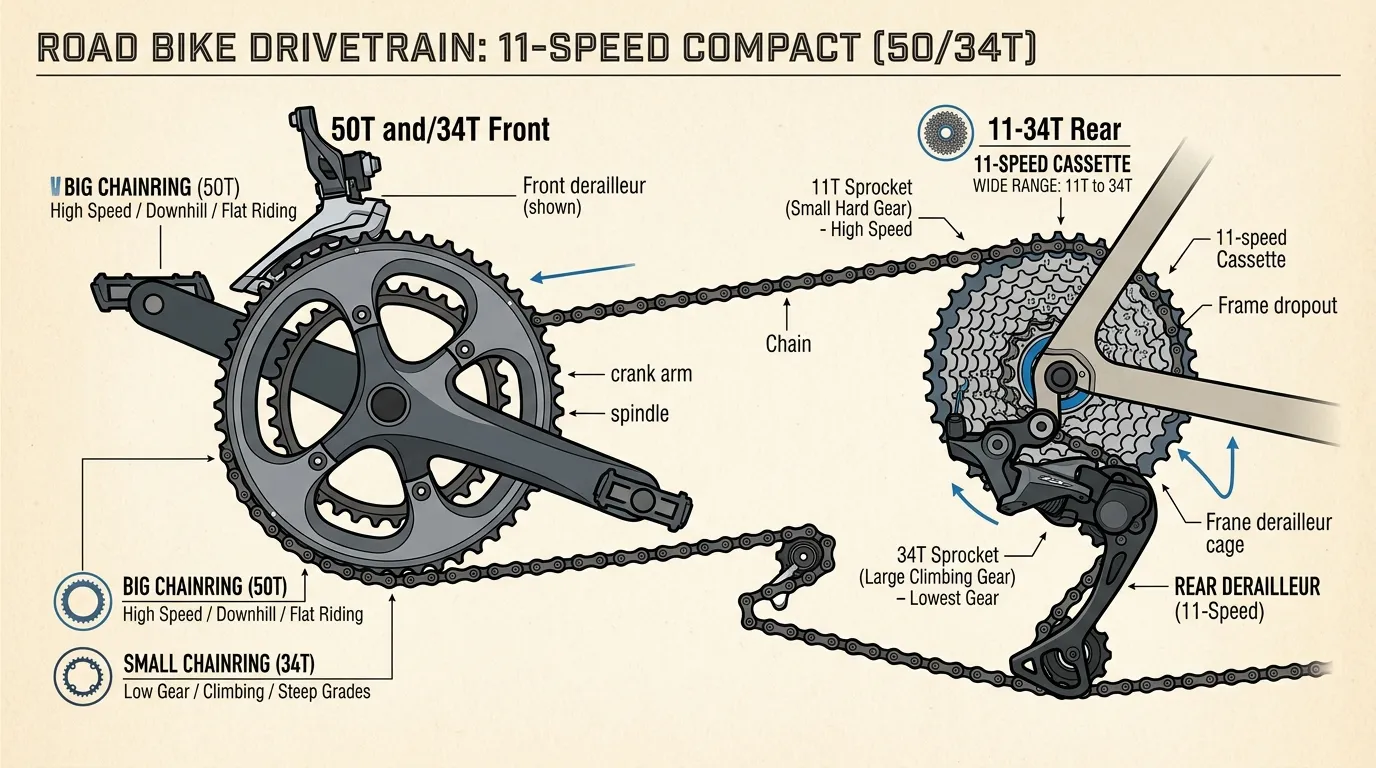
Left hand = front chainrings (major shifts)
- What it does: Moves the chain between the two big metal rings attached to your pedals (the chainset).
- Smaller chainring: Gives you an easier range for climbing and lower speeds.
- Larger chainring: Gives you a harder range for faster riding.
Right hand = rear cassette (fine adjustments)
- What it does: Moves the chain across the 9 to 12 sprockets on the rear wheel hub (the cassette).
- Larger rear sprocket: Makes pedalling easier.
- Smaller rear sprocket: Makes pedalling harder.
Your shifter may use a moving brake blade, a separate inner paddle, a thumb lever or electronic buttons. Check the maker’s instructions or test the bike safely before relying on a particular lever action.
2. Understanding gear ratios without the math
Forget complicated mechanical formulas. Think of your gears as a system for keeping your legs spinning at a comfortable, efficient rhythm (your cadence), usually between 80 and 90 revolutions per minute (RPM).
- When pedalling feels too heavy (grinding): Shift to an easier gear using the appropriate right-hand control.
- When pedalling feels too light (spinning out): Shift to a harder gear using the appropriate right-hand control.
3. Avoiding cross-chaining
Cross-chaining occurs when the chain runs at a severe diagonal angle between the front chainring and rear cassette sprockets.
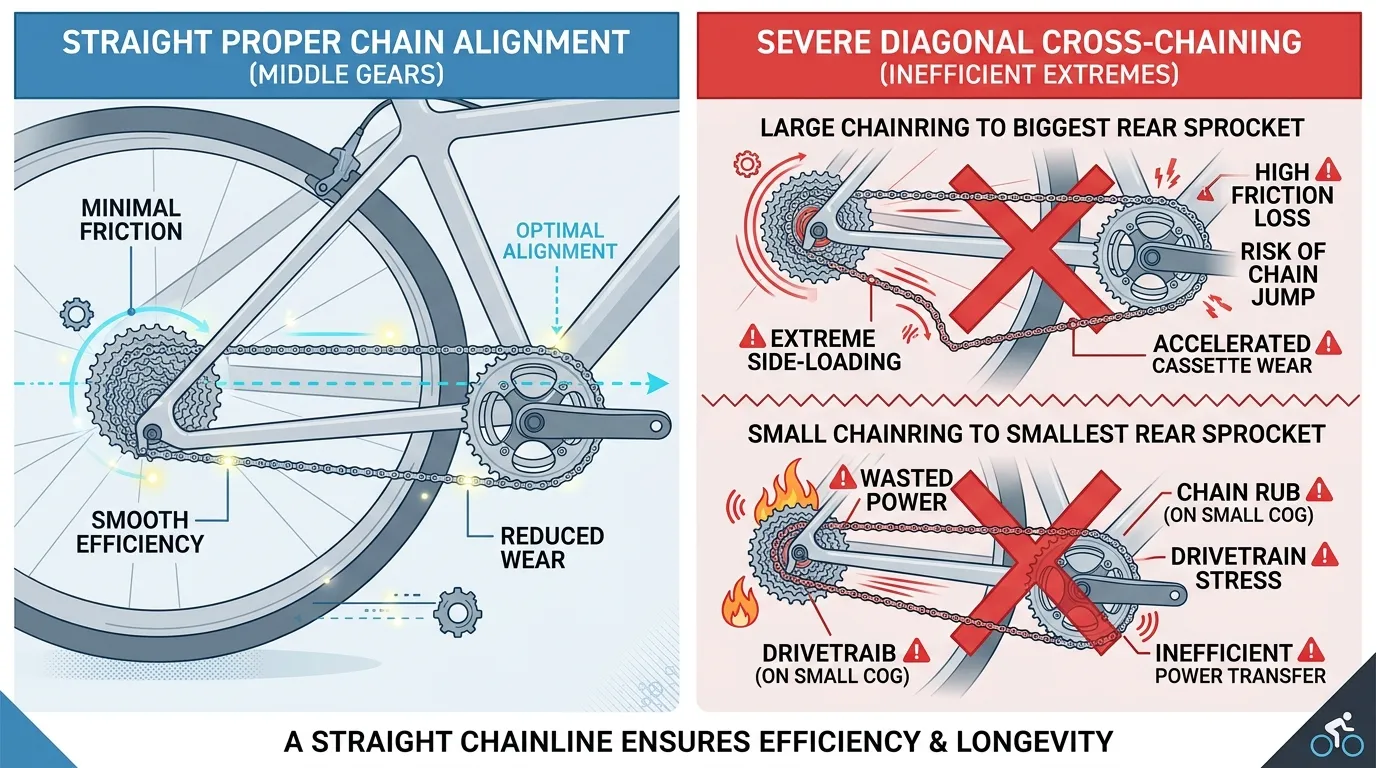
The two combinations to avoid:
- Small Chainring + Smallest Rear Cog (Small-to-Small): The chain sags, rubs against the front derailleur cage, and creates unwanted noise.
- Big Chainring + Largest Rear Cog (Big-to-Big): Stretches the rear derailleur cage forward to its mechanical limit, accelerating chain and cassette wear.
Rule of thumb: If you are in the Small front ring, stick to the inner 7–8 rear gears. If you are in the Big front ring, stick to the outer 7–8 rear gears.
4. Master the golden rule: shift before the hill
The most common mistake new road cyclists make is waiting until they are halfway up a steep climb before trying to shift into an easier gear.
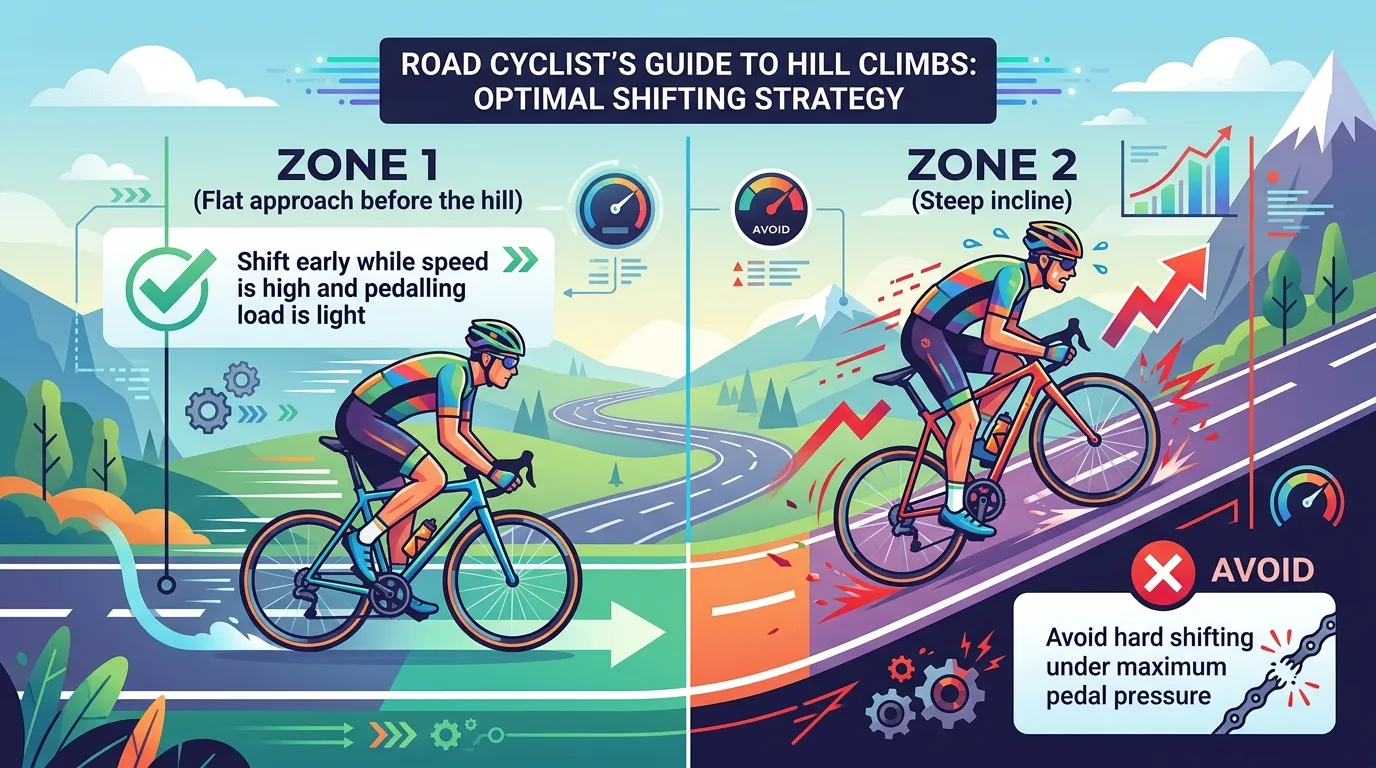
How to shift smoothly under load:
- Anticipate terrain changes: Scan the road 50–100 metres ahead. When you see a hill or stoplight coming, shift into your easier gears before your speed drops.
- Ease off pedal pressure for half a second: Derailleurs shift smoothest when the chain is moving but under light tension. Ease up on leg force as you click the shifter, then resume normal pedalling once the chain settles.
5. Three essential shifting routines for beginners
Routine A: Starting from a red light or stop sign
As you brake to a stop, click your right shifter 2–3 times into easier gears. When the light turns green, you can accelerate smoothly without standing on the pedals.
Routine B: Approaching a steep climb
Shift your left hand to the Small front ring while you still have momentum on the flat approach. Then use your right hand to fine-tune rear sprockets as the slope increases.
Routine C: Cresting the hill onto a flat or descent
As the road flattens out, build speed in the small ring first. Once your leg cadence speeds up, shift your left hand into the Big front ring and click 1–2 rear gears harder for cruising speed.
Practical exercise for your next ride
Find a quiet, traffic-free street or park path. Spend 15 minutes practising the following:
- Shift through all 11 rear gears one by one while maintaining a steady 15 km/h speed. Notice how your leg cadence speeds up or slows down.
- Practice front shifts: Switch between Small and Big front chainrings while pedalling smoothly.
- Practice soft pedalling: Try shifting while pushing hard on the pedals, then try shifting while easing pedal tension. Feel the dramatic difference in shift smoothness!
Your next step
Now that you understand gear selection and shifter controls, test your bike maintenance check with the five-minute pre-ride bike check or review road bike anatomy for beginners.
Sources and further reading
- Shimano Technical Documentation: Dual Control Lever Operation and Maintenance (2024).
- SRAM Technical Guides: Road Drivetrain Setup & Chainline Geometry.
- Park Tool Education: Understanding Bicycle Gear Ratios and Shifting Technique.