Braking and cornering with confidence
Learn how to slow before turns, use both road-bike brakes smoothly, choose a simple cornering line, and practise bike control safely.
 Field guide / braking-and-cornering-with-confidence
Confident braking and cornering is not about taking turns fast. It is about entering ordinary bends slowly enough that you can look ahead, keep the bike settled, and leave yourself options.
The short answer: do your real braking before the corner while the bike is upright, use both brakes smoothly rather than grabbing one lever, look through the turn, keep the inside pedal up, put gentle weight through the outside pedal, and practise on flat empty pavement before adding traffic, hills, wet roads, or tight bends.
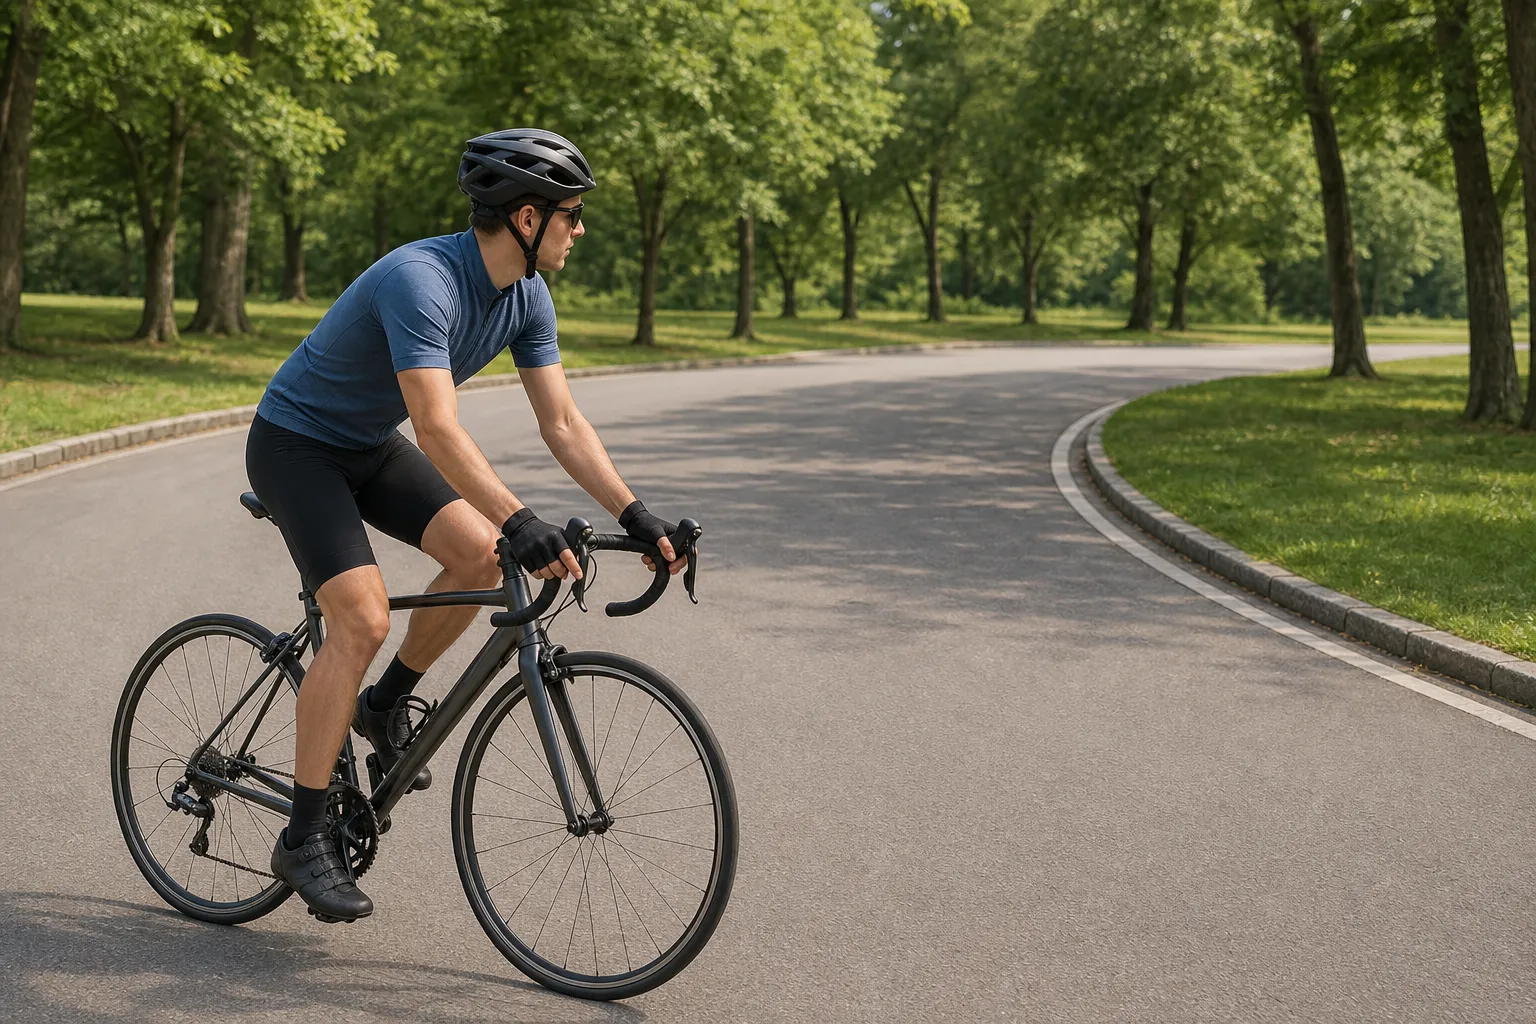
What this guide is for
This is a foundation guide for normal road riding: slowing for junctions, bike paths, park roads, wide bends, quiet descents, and surprise moments that ask for judgment rather than bravery. It is not a racing descending guide, a wet-weather skills clinic, or a substitute for in-person coaching.
The beginner goal is simple:
- you can slow the bike without panic-grabbing the levers;
- you know why the front brake matters without being frightened of it;
- you enter corners at a speed you can already handle;
- you can describe when a corner is too much for today.
If the front brake itself is the scary part, read your front brake is not the enemy first or alongside this guide. If your hands cannot comfortably reach the levers from the hoods, fix that before practising harder stops; beginner road bike fit and comfort explains brake access as a fit and control issue.
Start with the boring safety checks
Skill practice only works if the bike and setting are predictable. NHTSA bicycle safety guidance tells riders to use a bike that fits, ride a bike that works, wear protective and visible equipment, keep both hands on the bars except when signaling, and choose lower-traffic routes when riding on the road.
Before a braking session, do this:
- Put on your helmet.
- Squeeze each brake lever while walking beside the bike and confirm which wheel it controls.
- Check that both brakes stop the wheel firmly before the lever reaches the handlebar.
- Choose flat, dry, clean pavement with no traffic pressure.
- Practise at walking or jogging speed first.
Shimano’s brake lever manual also warns that every bicycle can handle differently, wet roads increase braking distance and reduce traction, oil or grease on brake surfaces can make brakes fail, and disc brake rotors can be hot or sharp. The practical beginner translation is this: do not use a hard-skills practice session to diagnose a questionable brake.
If something feels wrong, stop and get help from a shop. Confidence built on a faulty brake is false confidence.
Brake smoothly before you turn
Most beginner cornering problems start before the corner. You arrive too fast, stare at the thing you do not want to hit, then ask the brakes, tyres, and steering to solve everything at once.
Keep the job order cleaner:
- Look ahead and notice the bend early.
- Stop pedalling if you need to slow.
- Squeeze both brakes gradually while the bike is still mostly upright and straight.
- Release most braking pressure before leaning the bike.
- Roll through the corner at a speed that feels almost too easy.
Trek’s riding tips say lever-brake bikes should be braked with both brakes at the same time, that too much front brake can lift the rear wheel, and that hard braking during a turn can make wheels skid. Liv’s road-bike cornering advice gives the same cornering sequence: slow while still travelling straight, then start leaning after speed is under control.
That does not mean a tiny speed adjustment mid-corner is impossible. It means the beginner habit should be to make the corner easy before you enter it.
Use the front brake with respect, not fear
The front brake is powerful because your weight moves forward as the bike slows. That extra load on the front tyre is why the front brake does much of the stopping work. It is also why a sudden front-brake grab can feel violent or lift the rear wheel.
Cycling UK describes the front brake as the most effective stopping brake and recommends gentle, gradual pressure for smooth stops. The Pennsylvania Bicycle Driver’s Manual teaches riders to practise strong stops in an empty parking lot and to use rear-wheel feedback as a signal for how much front-brake force is too much.
For a beginner, that becomes three useful rules:
- Squeeze, do not snatch.
- Keep the bike upright and straight for firmer braking.
- If either wheel skids, reduce brake pressure rather than trying to overpower it.
Do not try to memorize a universal front-to-rear percentage. Tyres, brake type, rider weight, surface, slope, weather, and bike setup all change the feel. Learn the feel slowly, on clean flat ground, with both brakes available.
Choose a simple cornering position
You do not need dramatic body language to turn a road bike. You need a stable setup that keeps the inside pedal away from the ground, keeps your attention on the exit, and avoids sudden steering or braking inputs.
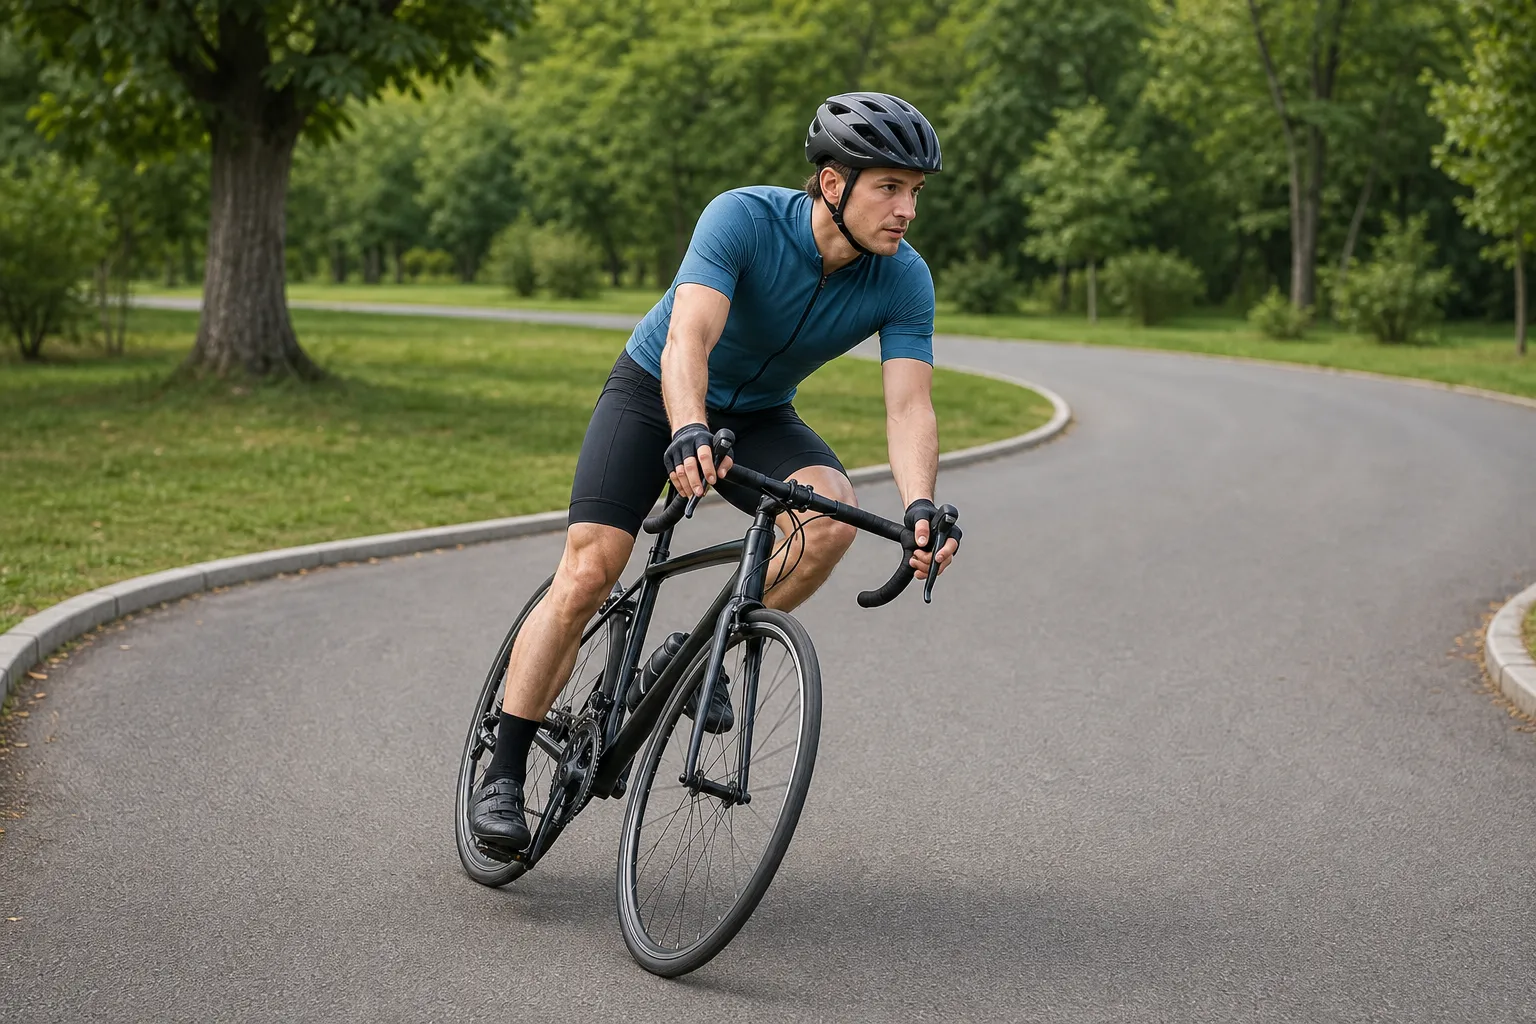
Use this position for normal paved corners:
- Keep your hands on the hoods or drops, wherever you can securely steer and brake.
- Look through the bend toward the exit, not at the kerb or pothole you are worried about.
- Put the inside pedal up so it cannot strike the ground.
- Let the outside pedal sit down and feel gently weighted.
- Keep your elbows soft and your grip relaxed.
- Hold a smooth line instead of making several small corrections.
Trek’s cornering guidance uses the outside-foot-down cue and advises staying relaxed with weight centered on the bike. That is enough for a beginner. Speed, apex choice, and descending technique can wait until your basic turn feels boring.
Pick the easiest safe line
A cornering line is simply the path your wheels take through a turn. On open roads, beginners should not copy racing lines that cross lane markings, surprise drivers, or use space they cannot see. Your first responsibility is the legal, visible, predictable path for your local road and conditions.
Use this scan before each corner:
- Surface: Is there gravel, water, leaves, paint, metal, potholes, drain covers, or broken pavement?
- Sight line: Can you see the exit, or is the bend blind?
- Traffic: Could a driver, rider, pedestrian, dog, or parked car enter your path?
- Space: Do you have enough room to turn without cutting across another lane or path user?
- Fallback: If the corner tightens, can you slow more or stop safely?
If the answer is uncertain, enter slower. The line that lets you see, be seen, and stay predictable is better than the line that looks clever.
What if you enter too fast?
This is the moment many new riders worry about. The answer is not one magic trick; it is a priority order.
First, look where you want to go. Your hands often follow your eyes, so staring at the kerb, ditch, centreline, or obstacle makes the problem worse.
Second, avoid a sudden front-brake grab while leaned over. If there is room, gently reduce speed and make the bike more upright before asking for more braking. If the corner is mild and the surface is clean, a small smooth speed adjustment may be enough. If the turn is tight, wet, loose, downhill, or crowded, the safer answer is usually to enter slower next time, not to improvise deeper into the bend.
Third, give yourself permission to stop learning from that corner today. Turn around, find flatter ground, or walk a section if conditions exceed your skill. Good cycling judgment includes deciding not to practise something under bad conditions.
A 20-minute practice session
Do this in an empty parking lot or similarly quiet space. Use cones, bottles, or harmless markers only if they will not create a trip hazard for anyone else.
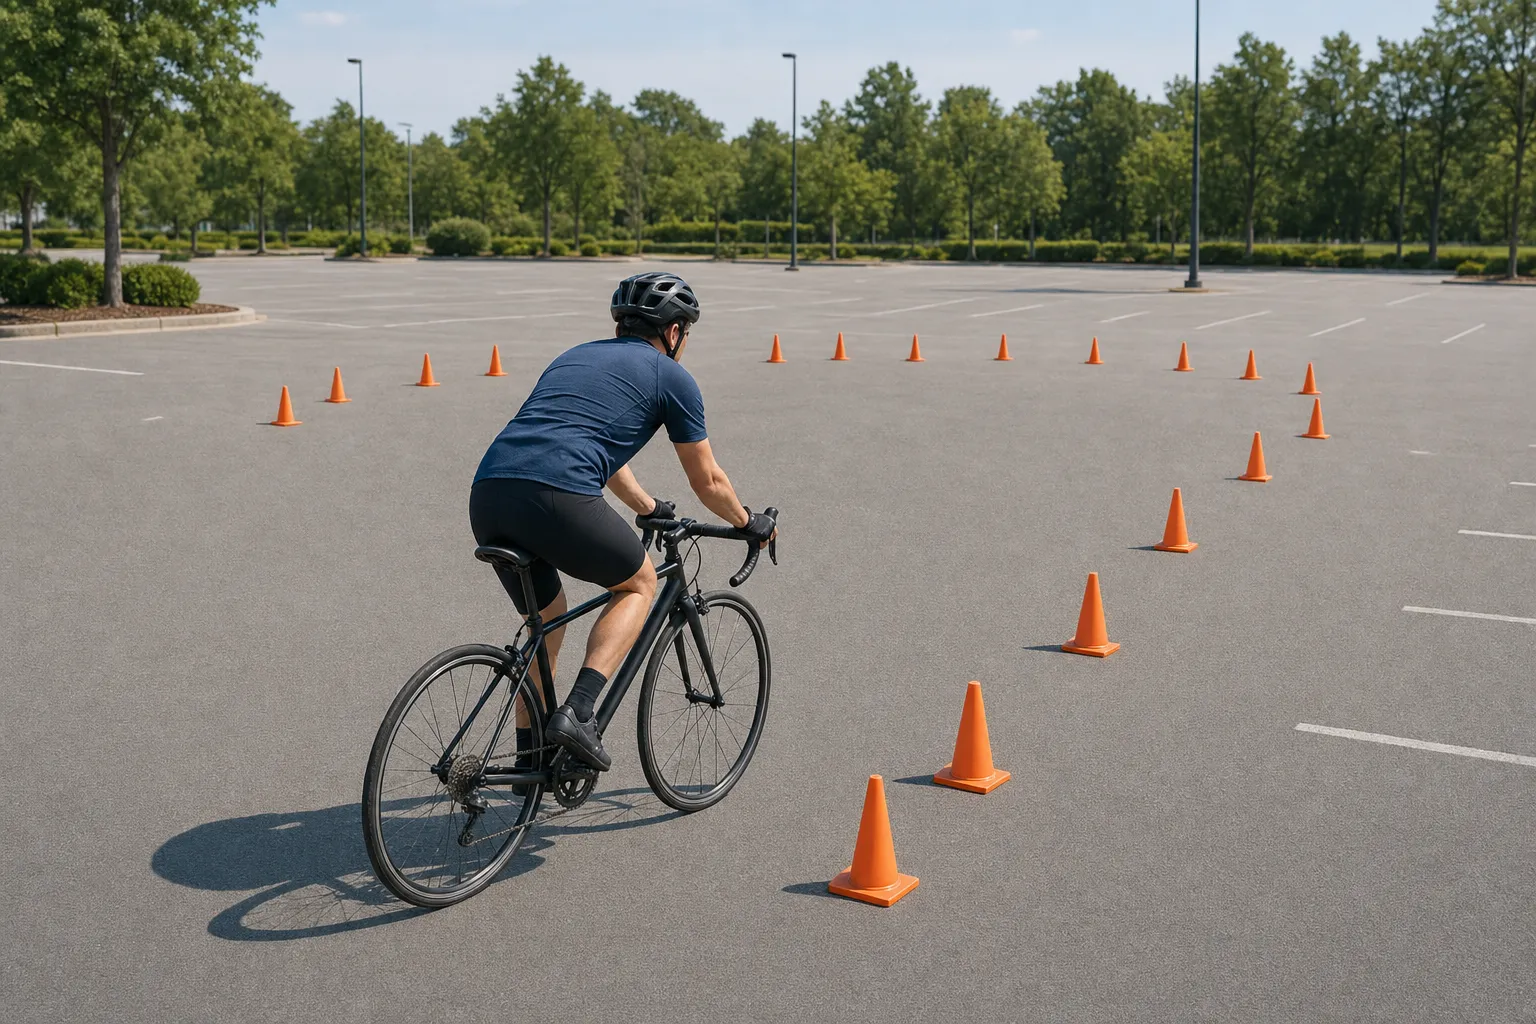
1. Lever check, two minutes
Walk the bike. Squeeze the left lever and watch which brake moves. Squeeze the right lever and check the other. Then roll slowly and stop with both brakes together.
The point is to remove uncertainty. Your hands should know the controls before your speed rises.
2. Straight-line stops, five minutes
Ride at jogging pace toward a marker. Stop before the marker using both brakes. Start gently, then add pressure in stages. Keep your eyes up and the bike straight.
Repeat until you can stop without swerving, skidding, locking your elbows, or holding your breath. If the rear wheel skids or lifts, reduce force and move back to an easier speed.
3. Wide turns without braking, five minutes
Set a very wide U-turn. Enter slowly enough that you do not need the brakes inside the turn. Look through the exit. Put the inside pedal up and the outside pedal down.
Make the turn wider than your ego wants. Wide, boring turns teach more than tight, nervous ones.
4. Brake, release, turn, five minutes
Add a straight approach before the wide turn. Brake before the turn, release most brake pressure, then roll through. The sequence should feel like three separate actions: slow, settle, turn.
If you feel rushed, move the turn farther away or lower your entry speed.
5. Easy exit gear, three minutes
Before the turn, shift to a gear that lets you pedal smoothly after the corner. This is the same anticipation habit from how to use road bike gears: choose the control setting before the road demands it.
Common beginner mistakes
| Mistake | Why it causes trouble | Better habit |
|---|---|---|
| Braking late | You arrive at the turn while still solving speed | Slow earlier while the bike is upright |
| Grabbing the front brake | Sudden force can lock the wheel or lift the rear | Add lever pressure gradually |
| Avoiding the front brake completely | The rear brake alone can skid and may not stop you well | Practise both brakes together on flat ground |
| Looking at the hazard | The bike often follows your eyes | Look through the safe path |
| Pedalling through a lean | The inside pedal can hit the ground | Inside pedal up, outside pedal down |
| Copying racing lines | Public roads need predictability and legal lane position | Choose the line that is visible, legal, and simple |
| Practising on descents first | Gravity increases speed and pressure | Learn on flat pavement first |
When conditions change
Treat wet roads, loose surfaces, painted lines, metal covers, leaves, potholes, darkness, traffic, group rides, and unfamiliar descents as separate difficulty upgrades. Do not add them all at once.
On wet roads, Shimano tells riders to reduce speed and brake early and gently because braking distance is longer and tyres can lose traction. That is enough reason to keep a beginner rule: if the surface is not clean and dry, enter corners slower than you think you need to.
On descents, speed can build faster than your confidence. Use shorter, earlier braking before bends instead of dragging the brakes continuously all the way down. Trek warns that continuous braking can build heat in rims and brake parts. If a descent feels beyond you, stop somewhere safe, rest your hands, and choose an easier route next time.
Your next step
Before your next normal road ride, spend 20 minutes on the practice session above. Your goal is not to corner faster. Your goal is to make the sequence automatic: look ahead, brake smoothly before the turn, release, inside pedal up, outside pedal down, and roll through at a speed that leaves options.
After that, use your first month of road cycling to place this skill inside easy rides rather than turning every outing into a test.