How to make a bike safe after long-term storage
Use this inspection order before riding a bike that has sat for months or years: tyres, wheels, frame, controls, bearings, drivetrain, brakes, then a short test ride.
 Field guide / bike-after-long-storage-safety-check
A bike that has sat for months or years needs an inspection, not just air and chain oil. Dry indoor storage is encouraging, but it does not prove that tyres, brake parts, cables, bearings, fasteners, or rubber seals are ready for a 15-mile ride.
The short answer: clean enough to see the bike, inflate the tyres only after inspecting them, check every safety-critical connection, operate both brakes and every gear while stationary, then take a short low-speed test close to home. If any structural, steering, wheel, or brake check is uncertain, book a service before the real ride.
Why a stored bike deserves more than a quick spin
A recent r/cycling question asks whether two bikes stored in a dry basement for two years need a tune-up before a 15-mile ride. That is a recurring and useful question, but replies on a forum cannot establish the condition of a particular bike.
Time affects parts differently. A butyl inner tube can slowly lose air without being punctured. Tyre rubber can crack or harden. A steel chain can corrode. Brake cables may bind, hydraulic systems may leak, and a bike may also have entered storage with wear that nobody recorded. A dry room reduces weather damage; it does not certify the bike.
Trek’s owner manual advises a level-ground safety check before every ride and says a failed item should be fixed before riding. Cycling UK’s M-check covers tyres, wheels, frame, saddle, drivetrain, pedals, bars, brakes, and headset. The sequence below expands that ordinary check for a bike whose recent history is unknown.
First decide whether this is a shop job
Arrange a professional inspection before riding if any of these apply:
- The bike was crashed, dropped heavily, transported badly, flooded, or stored damp.
- A carbon frame, fork, bar, stem, seatpost, or wheel has a crack, deep gouge, crushed area, bulge, or suspicious impact mark.
- Rust has deeply pitted a frame, fork, spoke, fastener, brake cable, or chain.
- A wheel, crank, headset, bar, stem, saddle, or pedal moves where its bearing or clamp should hold it securely.
- A hydraulic brake leaks, a brake lever reaches the bar, or either brake cannot stop its wheel firmly.
- The tyres are split to the casing, the wheel is badly out of true, or spokes are loose or broken.
- You do not have the maker’s instructions, correct torque information, or skill for the work required.
Do not “test ride to see” a suspected structural or brake fault. A gentle ride still loads the fork, frame, wheels, and controls.
1. Clean only enough to inspect
Wipe dust and loose dirt away with a damp cloth and mild cleaner. Avoid spraying high-pressure water at bearings and never coat brake rotors, rims, pads, or tyres with polish or lubricant.
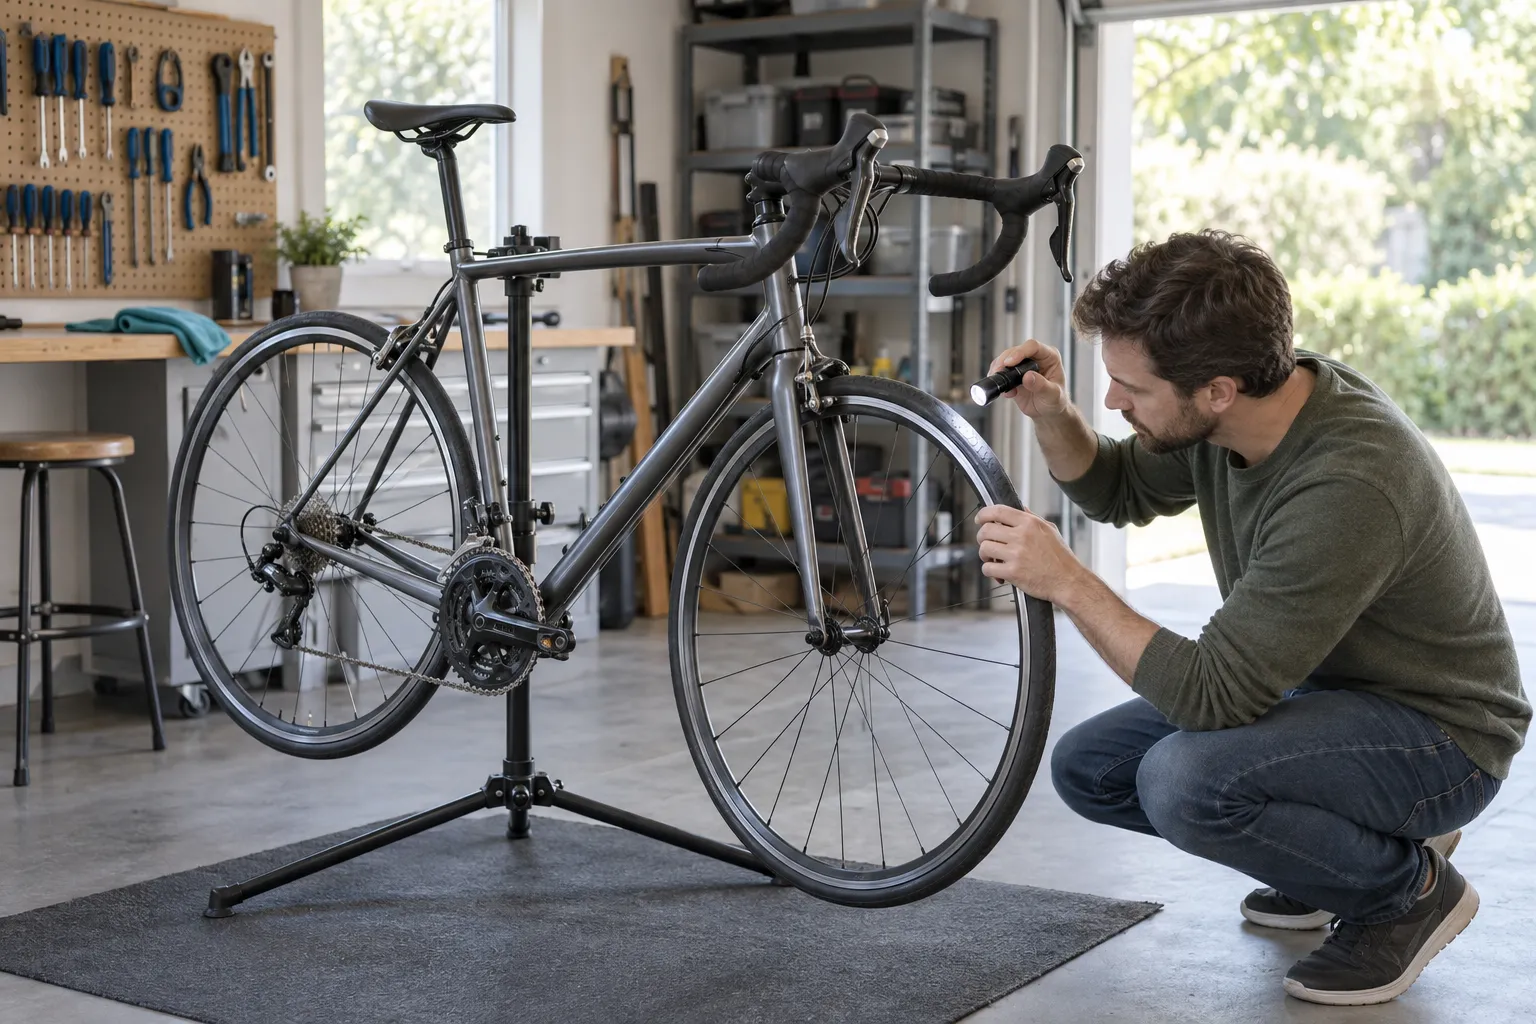
Use a flashlight to inspect the frame and fork, especially around welds, joints, dropouts, brake mounts, bottom bracket, head tube, and areas hidden by cables. Look for cracks, corrosion, dents, delamination, lifting paint, or rub deep enough to expose material.
A paint line is not automatically a structural crack, but uncertainty belongs with a mechanic. Our paint crack versus frame crack guide explains what to photograph and why internet inspection has limits.
2. Inspect tyres before adding pressure
Flat tyres after long storage do not automatically need replacement. First inspect both sidewalls and tread while they are soft. Rotate each wheel slowly and look for:
- cracks that open when the tyre flexes;
- exposed casing threads, cuts, bulges, or distortion;
- a tyre bead that is damaged or no longer seated consistently;
- hardened, glazed, or crumbling rubber;
- glass, wire, thorns, or other embedded debris.
Replace a tyre with exposed casing, a bulge, damaged bead, or meaningful sidewall split. A tube patch cannot repair a failed tyre casing. Use when to replace road-bike tyres for the complete decision.
If the tyres pass visual inspection, inflate gradually within the tyre and rim makers’ limits. Make sure both beads remain evenly seated. A tube that will not hold pressure needs diagnosis; repeatedly topping it up is not a safety check.
3. Check wheels, axles, and spokes
Confirm each wheel is fully seated and its thru-axle, quick release, or axle nuts are secured by the maker’s method. Lift one end of the bike and spin the wheel. It should turn freely without a large side-to-side or up-and-down wobble.
Gently push the rim sideways at the top. Noticeable hub play, grinding, a damaged rim, or loose and broken spokes needs attention. Do not tighten random spokes until the wheel appears straight; spoke tension and wheel truing are connected jobs.
If you cannot tell whether the movement comes from the tyre or the wheel, use the wheel-versus-tyre wobble guide.
4. Check every contact point and bearing
Stand over the front wheel, hold it between your knees, and apply gentle twisting pressure to the handlebar. The bar and stem must not rotate independently of the wheel. Do not exceed component torque in an attempt to make a loose part safe.
Hold the front brake and rock the bike gently forward and back. A knock at the headset may mean looseness; rough or notchy steering may indicate bearing damage or cable interference. Then check that:
- the saddle and seatpost do not rotate or drop;
- both pedals turn securely without looseness at the crank;
- the crank has no side-to-side play and turns without binding;
- handlebar tape or grips are secure and bar ends are plugged;
- all cables and hoses move freely through the full steering range.
Use the loose-headset guide or crank side-play guide to identify the fault, but stop before an adjustment that exceeds your tools or experience.
5. Inspect and lubricate the drivetrain
Look along the chain for orange corrosion, stiff links, damaged plates, and an incorrectly closed joining link. A lightly dirty chain may only need cleaning and lubricant. A deeply rusted, damaged, or worn chain should be replaced with a compatible one.
Measure wear with the correct chain checker rather than judging by colour. A worn chain can accelerate cassette and chainring wear; our chain-wear guide covers the measurement.
If the chain is serviceable, apply one drop of suitable lubricant to each roller, let it penetrate, then wipe the outside almost dry. Oil on the outside attracts dirt; oil near brake surfaces creates another problem.
Turn the cranks by hand and shift one gear at a time. Stop if the chain tries to enter the spokes, falls off repeatedly, jams, or the derailleur appears bent. Do not begin with limit screws just because shifting is imperfect.
6. Treat brakes as a pass-or-fail system
Identify which lever operates which brake, then squeeze each one separately while stationary. The lever should build firm, predictable resistance without reaching the handlebar. Push the bike forward and confirm each brake can hold its wheel.
For rim brakes, inspect pad material, pad alignment, cables, and the rim braking surface. Replace cracked, hardened, contaminated, or worn pads. For disc brakes, inspect pad thickness, rotor condition, hose or cable condition, and leaks. Do not touch a rotor or pad surface with oily hands.
Noise alone does not identify the fault. Weak braking may come from wear, contamination, cable friction, poor adjustment, air or leakage in a hydraulic system, or an incompatible part. If either brake is doubtful, the bike does not pass.
Use when to replace rim-brake pads or how to inspect disc-brake pads for the relevant system.
7. Make the first ride a controlled test
After every stationary check passes, choose a dry, flat, traffic-free area close to home. Wear your normal safety equipment and carry your phone. Test in this order:
- Walk the bike and operate each brake.
- Ride at walking pace and stop with both brakes.
- Make wide turns and check that steering is free.
- Shift through the middle gears under light load.
- Increase speed modestly and repeat controlled stops.
- Listen for rubbing, clicking, knocking, or creaking and stop to investigate.
Do not make the first test the planned 15-mile trip, a fast descent, a busy road, or a group ride. Recheck tyre pressure, wheel security, and any serviced fastener after the short test.
What a tune-up should solve
“Tune-up” is not a universal package. Ask the shop what inspection and labour are included. Describe the storage conditions and request a safety-first assessment before optional performance work.
A useful estimate separates:
- inspection and adjustment labour;
- mandatory safety parts;
- worn but currently serviceable parts;
- optional upgrades.
That distinction prevents a neglected brake from being treated like an aesthetic preference and stops an old but sound bike from becoming an unnecessary shopping project. If the repair estimate approaches the bike’s practical value, use is an old road bike worth repairing? before deciding.
Your next step
Put the bike on level ground and run this inspection from tyres to brakes today. If every item passes, complete a ten-minute traffic-free test and then use the first-ride checklist before extending the route. If one safety-critical item fails, write it down and book the specific repair instead of attempting the longer ride.