How to check road-bike disc-brake pad wear
Inspect disc-brake pads safely, measure the correct layer, use the exact manufacturer limit, and recognise wear, contamination, glazing, and rotor problems.
 Field guide / how-to-check-disc-brake-pad-wear
Do not wait for a disc brake to sound like metal scraping metal. Identify the brake model, inspect both pads in good light, remove them if the friction layer cannot be seen clearly, and compare the correct measurement with that manufacturer’s limit.
The short answer: wear limits are system-specific. Shimano’s referenced road manual calls for replacement when friction material reaches 0.5 mm; some SRAM manuals specify total pad-plus-backing-plate thickness instead. Never apply one brand’s number to a different pad. Replace the pair, not one pad, and investigate uneven wear or contamination.
Why sound and lever feel are not wear gauges
A high-engagement maintenance discussion on r/cycling recently prompted many beginners to ask where basic maintenance should start. Brake-pad condition belongs near the top, but sound alone is unreliable.
Worn pads may remain quiet. Squeal may come from water, contamination, vibration, glazing, alignment, or the pad compound rather than low thickness. Hydraulic systems compensate for pad wear, so the lever can continue to feel normal while the friction layer becomes thin. Mechanical systems may need adjustment before the pad is exhausted.
The dependable method is inspection against the exact service limit.
Identify the brake before removing anything
Find the lever and caliper model numbers. They may be printed or etched on the components. Use the manufacturer’s current dealer or service manual for that exact family and confirm:
- the compatible pad shape and compound;
- whether the stated limit measures friction material alone or total pad thickness;
- the correct wheel-removal method;
- pad pin, clip, cotter pin, bolt and torque instructions;
- piston-reset and bedding procedure;
- the rotor’s minimum thickness and compatible rotor type.
Do not choose a replacement by appearance alone. Similar-looking pads can differ in width, backing plate, spring, compound and caliper compatibility.
Start with a clean in-caliper inspection
Work with the bike stable and the brake cool. Keep chain lubricant, degreaser, spray cleaner and dirty rags away from the brake.
Shine a light through the caliper and look at both pad edges. A white card held behind the caliper can improve contrast. You are trying to distinguish the friction material from its metal backing plate.
Remove the pads for a closer check if:
- the friction layer is too thin to judge in place;
- one side appears thinner;
- the wear surface looks slanted;
- there is a shiny, oily or patchy area;
- braking has weakened or become inconsistent;
- the retaining spring appears close to the rotor.
An in-caliper glance is a screening check, not permission to guess a borderline measurement.
Remove the pads without creating a new fault
Follow the brake manual, but the safe principles are consistent:
- Shift or position the bike so wheel removal is controlled.
- Remove the wheel using its correct axle procedure.
- Do not squeeze the brake lever with the wheel or pad spacer absent.
- Fit the specified pad spacer if the manual calls for one.
- Clean your gloves or change them before touching pad hardware.
- Remove the retaining clip, pin or bolt exactly as shown in the manual.
- Keep the spring and left/right pad orientation organised.
- Hold pads by the backing-plate tabs or edges, not the friction face.
Do not insert screwdrivers against a rotor, pry pistons with a sharp tool, or spray solvent into an assembled caliper. Brake-fluid systems and piston materials differ.
Measure the right thing
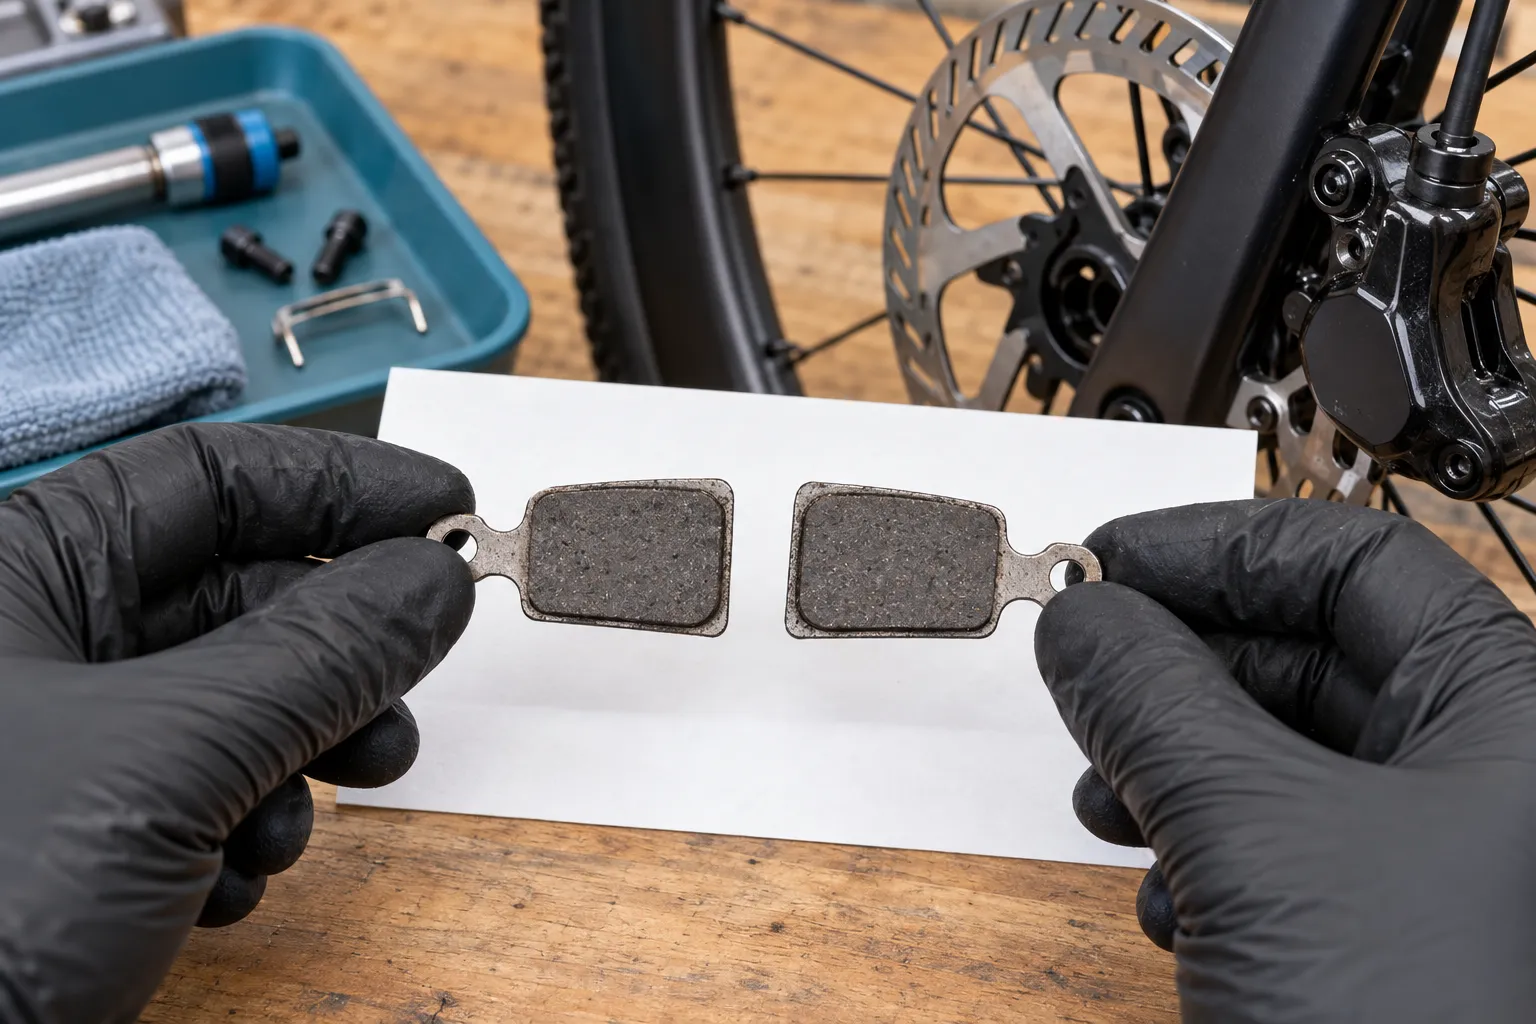
Lay the pads on clean white paper. Identify:
- friction material: the dark layer that contacts the rotor;
- backing plate: the metal plate supporting it;
- spring: the separate piece that keeps pads positioned;
- wear ridge or taper: evidence that thickness is not uniform.
Shimano’s road disc-brake dealer manual says to replace the pads when the pad material is 0.5 mm thick, when oil adheres to the pads, or when the pad presser springs interfere with the rotor. That 0.5 mm value is for the applicable Shimano system in the manual—not a universal bicycle number.
Some SRAM manuals instruct replacement using the combined thickness of backing plate and friction material. The threshold can also vary by brake generation. This is why a generic “replace at X millimetres” post can be dangerously incomplete.
Use a clean measuring tool only if the manual specifies a measurable surface and you can reach it squarely. Measure the thinnest working area, not the unworn edge. If the pad is borderline, uneven, damaged, or impossible to measure reliably, replace it or ask a mechanic.
Replace pads for more than ordinary wear
Thickness is only one failure mode. Replace the pair if you find:
- friction material detached, cracked, crumbling or deeply chipped;
- oil, grease, hydraulic fluid or polish on the friction face;
- severe glazing with poor braking that correct bedding does not resolve;
- a spring or backing plate contacting the rotor;
- strongly tapered wear;
- a pad worn much more than its partner;
- the wrong pad shape or compound for the caliper and rotor.
Do not sand or burn contaminated pads as a default safety repair. Results are uncertain, absorbed contamination may return with heat, and new compatible pads cost less than another failed stop. Find and fix the source—leaking caliper, careless chain spray, dirty handling, or contaminated rotor—before fitting replacements.
Our contaminated-disc-brake guide covers that diagnosis.
Uneven wear is evidence, not just inconvenience
If one pad is markedly thinner or the surface is wedge-shaped, inspect the system before installing a fresh pair. Possible causes include caliper misalignment, a sticky piston, incorrect mechanical-pad adjustment, a rotor that is not centred, or a wheel not seated consistently.
New pads installed into the same unresolved fault can wear badly again. Take photographs, note which side was inboard and outboard, and use the maker’s alignment procedure. If a piston does not move or retract correctly, stop rather than forcing it.
Check the rotor at the same time
Pads and rotor work as a system. With the wheel removed or secured as the manual directs, inspect the rotor for:
- minimum-thickness marking and measured thickness;
- cracks, deep scoring, warping or blue heat damage;
- oily residue or embedded contamination;
- a pronounced wear lip;
- loose rotor fasteners or play at the hub interface.
Do not measure across a raised unworn edge and call that the rotor thickness. Use the manufacturer’s method and limit. A new pad does not make an undersize or cracked rotor safe.
Install, secure, pump and bed in
Replacement steps vary, so the exact manual wins. In general, both pads and their spring are replaced as a set, pistons are reset with the specified clean tool and method, retention hardware is secured correctly, and the wheel is fully seated.
Before riding:
- Pump the lever until the pads return to their working position.
- Confirm the lever is firm and does not reach the bar.
- Spin the wheel and check alignment.
- Test each brake while walking the bike.
- Bed in the new pads using the brake maker’s controlled-stop procedure.
Do not begin bedding on a steep hill or in traffic. New pads can feel weaker before their surfaces transfer material evenly to a clean compatible rotor. Use how to bed in road-bike disc brakes for a safe practice sequence.
How often should you look?
There is no honest universal mileage. Pad wear changes with rider and load, terrain, braking technique, pad compound, rotor size, grit, rain and heat.
Build inspection around exposure:
- glance through the caliper during routine cleaning;
- inspect before a long or hilly trip;
- inspect after sustained wet or gritty riding;
- inspect promptly after lever feel, power or sound changes;
- measure at intervals short enough to learn your own wear rate.
Record the date and thickness when you inspect. Your own trend is more useful than another rider’s replacement mileage.
Your next step
Photograph the model number on each caliper and download its current service manual. Inspect both pad pairs in bright light today; if either is close to the specified limit, order the exact compatible pads before the next long ride. Add the result to your road-bike maintenance schedule.