How to set road-bike saddle angle without chasing discomfort
Measure a repeatable saddle angle, start from the manufacturer's neutral reference, and test small changes without confusing tilt with height or reach.
 Field guide / how-to-set-road-bike-saddle-angle
Set the saddle to its maker’s neutral reference, measure it in a repeatable way, and test only a small change at a time. Nose-down tilt can relieve front pressure for some riders, but too much commonly causes sliding and extra hand load. Nose-up tilt can resist sliding but may increase soft-tissue pressure.
The short answer: there is no universal angle that suits every saddle shape and rider. Level the bicycle, find the manufacturer’s measuring datum, record the starting angle and clamp position, then test one small adjustment on the same route. Do not use saddle tilt to hide a major height, setback, reach, or saddle-shape problem.
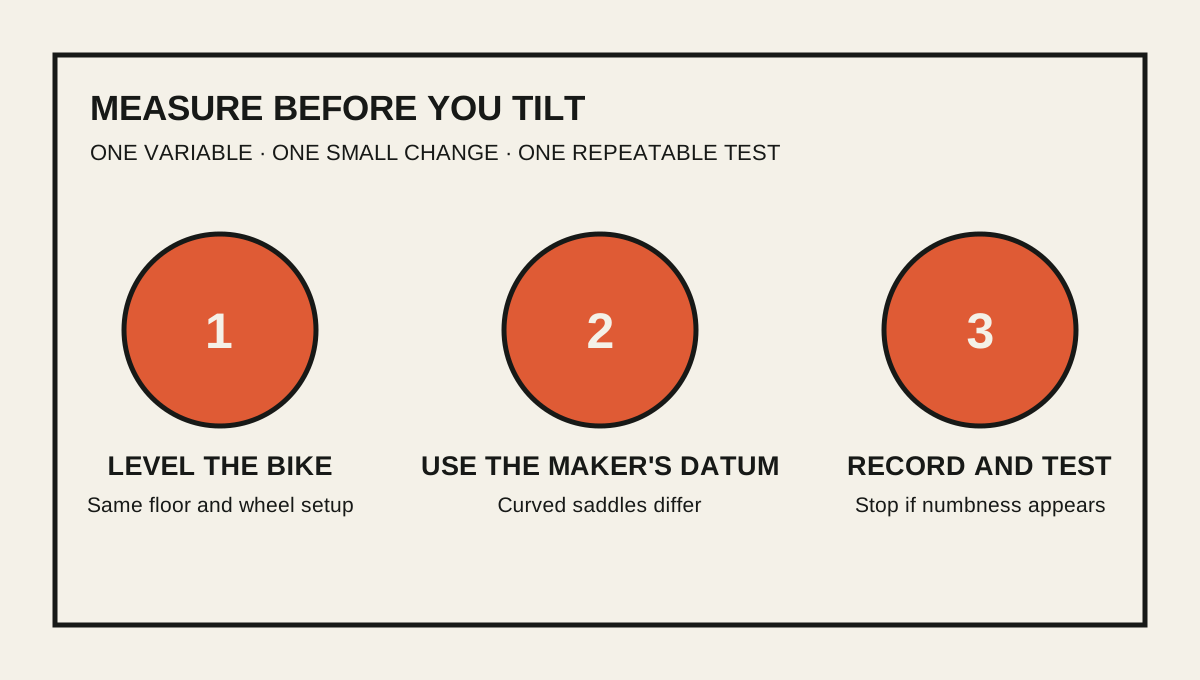
First define what you are measuring
A spirit level placed on a garage floor does not tell you the saddle angle. The bicycle itself must be level in the same way each time, usually with both wheel contact points on the same surface and the tyres at normal pressure.
Then identify the saddle’s datum: the reference surface or line its manufacturer uses. On a flat saddle this may be close to a line across the full top. On a curved or waved saddle, a full nose-to-tail line can report a misleading number. Some makers specify a central section or provide a setup illustration.
Use the maker’s instructions when available. If none exist, choose a clearly described repeatable method, photograph it, and treat the number as a personal setup reference—not a universal bike-fit rule.
Establish a neutral baseline
Before moving the clamp:
- Inflate both tyres to your normal pressures and place the bike on level ground.
- Record saddle height and fore-aft position using fixed frame references.
- Photograph the rail markings and clamp arrangement from both sides.
- Measure the saddle angle using the chosen datum.
- Mark or note the original clamp position without damaging the rails.
- Confirm the rail clamp is within the saddle’s permitted zone and the seatpost is correctly installed.
Start at the manufacturer’s neutral recommendation. “Neutral” is a baseline for testing, not proof that the entire fit is correct.
If you recently changed saddles, preserve more than the angle. Different saddle lengths and shapes can place the usable sitting area somewhere else even when their noses occupy the same coordinate.
Read the symptom as a clue, not a verdict
Saddle symptoms overlap. One sensation can have several causes.
You slide forward and push back with your arms
Too much nose-down tilt is one possibility. So are excessive saddle height, unsuitable setback, a saddle shape that does not support you, a position that is too low or long at the front, and hard pedalling that changes where you sit.
Do not automatically move the saddle farther back or tip the nose up. First restore the documented baseline and check whether you also have a saddle-height warning sign or the patterns in why you keep sliding forward.
You feel front or soft-tissue pressure
A nose-up attitude may contribute, but width, contour, cutout shape, clothing, saddle height, pelvic position, reach, and time under load also matter. Tilting down until pressure disappears can exchange one problem for wrist, hand, shoulder, or neck discomfort.
Numbness is not a harmless fit clue to ride through. Stop, relieve pressure, and use the actions in genital numbness while cycling.
Your hands become sore after an angle change
Check whether you are sliding toward the bars or constantly bracing yourself. Return to the last known position rather than adding a second change at the handlebar. If the symptom existed beforehand, work through the numb-hands guide instead of blaming angle alone.
Change one variable in a controlled test
Loosen and retighten the clamp exactly as the seatpost and saddle manufacturers instruct. Two-bolt, single-bolt, toothed, and continuously adjustable clamps do not share one universal method. Carbon rails may require a specific clamp shape and torque.
Then:
- Make the smallest repeatable angle change the clamp permits.
- Leave height, setback, stem, handlebar, cleats, and tyre pressure unchanged.
- Record the new angle and the direction of change.
- Use the same shorts and a familiar route or indoor session.
- Include sustained easy riding in your normal hand positions, not only a hard five-minute effort.
- Record when the symptom began, where it occurred, whether you slid, and whether hand load changed.
- Return to baseline if the result is worse or ambiguous.
Avoid repeated roadside adjustments. Once several variables move, neither comfort nor discomfort tells you which change caused it. Use the bike-fit change log to keep the experiment interpretable.
Do not fix handlebar reach with the saddle
The saddle establishes how you support and pedal; the cockpit establishes where your hands meet the bike. Sliding the saddle forward because the hoods feel far away also changes knee position, hip angle, weight distribution, and effective saddle height.
Set a stable saddle position first, then assess the cockpit. If the reach still feels wrong, use how to tell if road-bike reach is too long and check whether the bicycle offers a sensible adjustment range.
Likewise, do not tip the saddle radically just to reach a handlebar that is too low. A different spacer, stem, bar reach, frame geometry, or professional fit assessment may address the actual constraint.
Know when the saddle itself may be wrong
Angle cannot turn every shape into a suitable saddle. Reconsider the saddle when:
- the sit-bone support area is too narrow or too wide for stable support;
- the curve holds you in the wrong place or pushes you toward the nose;
- the cutout edge creates concentrated pressure;
- the rail adjustment limit is reached while trying to establish position;
- the saddle is damaged, bent, or incompatible with the clamp;
- every angle that relieves one area creates a serious problem elsewhere.
Choose by support, shape, position, and return policy—not padding alone. Our saddle-width guide is the useful next check.
When to stop self-adjusting
Seek qualified help when discomfort is persistent, one-sided, escalating, or associated with numbness, weakness, urinary or sexual symptoms, broken skin, or symptoms away from the bike. A clinician evaluates health; a bike fitter evaluates the bicycle-rider position. Sometimes both are appropriate.
Also stop if the clamp slips, creaks, cannot hold torque, has damaged threads, or requires a setup you cannot verify. A moving saddle is a component problem, not a comfort experiment.
Your next step
Find the saddle maker’s setup guide and document your current height, setback, datum, angle, and clamp position before touching a bolt. If you test a change, move only the angle, ride a familiar route, and return to baseline if hand load, sliding, numbness, or pain worsens.
Sources and further reading
- MERIDA bicycle manual: saddle adjustment and manufacturer torque requirements
- r/bikefit discussion: measuring which part of a saddle is level — used as a current editorial question signal, not fit evidence.
- r/bikefit discussion: nose-down tilt, sliding, and hand pressure — used as a recurring symptom signal, not a remote diagnosis.
- r/bikefit discussion: pelvic position and conflicting saddle-angle effects — used as a question signal, not medical or technical evidence.