Change one bike-fit setting at a time—and keep a fit log
Troubleshoot road-bike comfort without losing your baseline: measure the current setup, change one variable, run a repeatable test, and know when to stop.
 Field guide / change-one-bike-fit-setting-at-a-time
When you change saddle height, saddle setback, cleats, stem, spacers, and hood position together, a better ride teaches you almost nothing—and a worse ride is difficult to undo. The quickest route to a usable setup is usually slower in the moment: preserve the baseline, change one thing, and test it under repeatable conditions.
The short answer: measure and photograph the bike before touching it. Write one clear problem, choose the adjustment most directly related to it, make a small reversible change, and repeat a familiar ride. Log comfort, control, and when symptoms begin. Restore the baseline if the result is worse; escalate persistent pain or an obviously unsuitable bike instead of endlessly moving parts.
Begin with a specific problem
“My fit feels wrong” is too broad to test. Record what happens, where, and under what conditions:
- hands become numb after 45 minutes on rough roads;
- front of one knee aches during hard climbing;
- hips rock at normal cadence;
- neck tires only when riding in the drops;
- you slide toward the saddle nose during steady riding;
- braking from the hoods requires moving your hands.
Also record what does not happen. If easy one-hour rides are comfortable but hard three-hour rides are not, the solution may involve workload, conditioning, pacing, clothing, or recovery as well as position.
Do not diagnose the cause from a symptom chart alone. The same symptom can have several causes, and pain may not come from the bike at all.
Capture a baseline you can restore
Use fixed landmarks and write down how you measured them. Useful records include:
- saddle height from the centre of the bottom bracket to a defined point on the saddle top;
- saddle fore-aft position using rail markings plus a repeatable frame reference;
- saddle tilt measured on the same portion of its surface each time;
- visible spacer arrangement and stem orientation;
- hood location measured from matching handlebar landmarks;
- cleat position traced or photographed against the shoe sole;
- tyre model and pressure, shoes, insoles, pedals, and shorts used during tests.
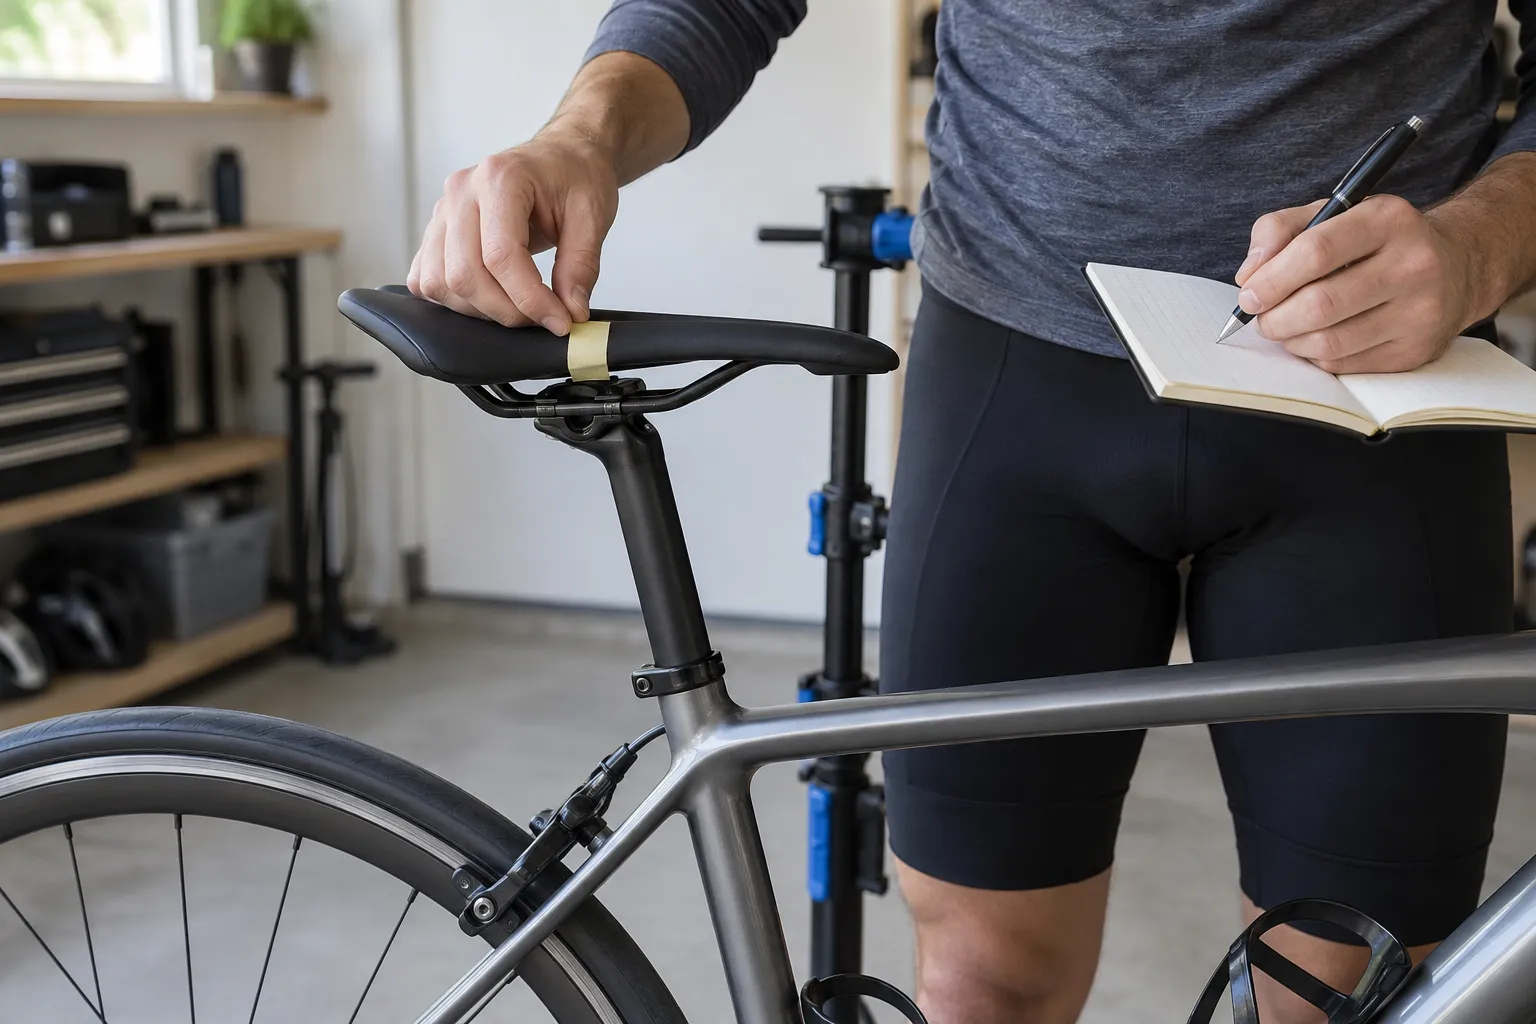
Take clear side, front, and rear photographs on level ground. Put removable tape at the original saddle-rail or hood position. Save the numbers in one note with the date.
The exact measurement method matters more than creating a universal magic number. A repeatable “before” allows a valid “after.”
Put adjustments in a sensible order
Work from the contact point most directly connected to the task, while respecting that changes interact.
- Confirm the bike is mechanically sound. Loose bearings, slipping seatposts, worn cleats, a twisted saddle, or unequal tyre pressure can imitate fit problems.
- Confirm the frame is broadly suitable. A cockpit at its adjustment limit may signal the wrong size or category.
- Stabilise shoes, cleats, and pedals. Do not compare fit while switching footwear every ride.
- Set a defensible saddle starting point. Height first, then evaluate fore-aft and tilt deliberately.
- Address cockpit height and reach. Only after the pedalling base is stable.
- Fine-tune hoods and lever reach. Preserve reliable braking from normal hand positions.
This is not a law for every body. A fitter may choose a different order based on an assessment. It is a guardrail for unsupervised troubleshooting.
Change one variable
Write the hypothesis before turning the bolt: “Lower the saddle slightly to see whether hip rocking decreases without creating excessive knee bend.” Then record the exact change.
Keep it small and reversible. Large leaps can create a new problem and make the comparison harder. Never move a component beyond its minimum-insertion, maximum-extension, clamp, torque, or manufacturer range.
One variable means one variable. Lowering the saddle and moving it forward changes height, reach to the bars, knee relationship, and weight distribution. If both changes are truly required for one planned experiment, record them as a linked setup and recognise that the result cannot tell you which part mattered.
Use a repeatable test ride
Choose a familiar 30–60 minute loop with safe places to stop, representative road texture, a gentle climb, and little traffic. Avoid comparing a calm recovery spin with a maximal group ride.
Keep these as consistent as practical:
- shoes, pedals, shorts, gloves, and hand positions;
- tyre pressure;
- route direction and approximate effort;
- warm-up;
- luggage;
- trainer versus outdoor riding.
During and after the ride, score only a few useful items from 0 to 10: symptom intensity, control, breathing freedom, pedalling stability, and overall comfort. Add the minute or kilometre at which the symptom starts. “Numbness 4/10 at 35 minutes” is more useful than “maybe better.”
Some changes deserve more than one ordinary ride before judgment; others create an immediate stop signal. Never “adapt” through genital numbness, loss of hand control, sharp pain, or worsening neurological symptoms.
Read the result without forcing a win
There are four honest outcomes:
- Clearly better: retain the setting and confirm it on another normal ride.
- Clearly worse: restore the measured baseline.
- Different but inconclusive: repeat under similar conditions before another change.
- One symptom better, another worse: the adjustment exposed a tradeoff; return to baseline and reassess the hypothesis.
Do not keep moving in the same direction merely because the first change helped. More is not automatically better. Once a setup is usable, leave it stable long enough to understand it.
Know when home adjustment has reached its limit
Get qualified help when:
- pain is persistent, severe, one-sided, worsening, or continues off the bike;
- numbness, weakness, balance changes, or loss of control occurs;
- a previous injury, surgery, or medical condition affects the position;
- the bike requires extreme component positions to become tolerable;
- you cannot reach the brakes reliably;
- you have completed several controlled tests without a clear direction;
- changes repeatedly shift pain from one area to another.
A useful fit appointment should leave you with measurements, the changes made, and a follow-up plan. Bring your log: it gives the fitter better evidence than a recreated memory of ten adjustments.
If an earlier professional fit made things worse, follow our guide to responding when a bike fit increases pain. For a basic starting setup, use the beginner road-bike fit and comfort guide.
A fit-log template
Copy this into your notes:
- Date and setup ID:
- Problem being tested:
- Baseline measurement:
- Single change:
- Reason for change:
- Route, duration, and effort:
- Equipment and tyre pressure:
- Symptom intensity and start time:
- Control and comfort notes:
- Decision: keep, repeat, restore, or seek help
Add photos to the same entry. A short log after each ride is enough; this is troubleshooting, not paperwork as a hobby.
Your next step
Do not adjust the bike yet. Take three photos, record the present saddle and cockpit positions, and write one sentence describing the problem. Your first physical change should answer that sentence—and remain easy to reverse.
Sources and further reading
- Shimano road lever instructions: preserve unobstructed brake operation and use the correct component torque
- r/bikefit reader context: multiple self-adjustments obscuring the cause of pain and lost comfort
- r/bikefit reader context: the limits and disagreement involved in judging a complete fit from a short video