How to tell if your road-bike saddle is too high
Use repeatable on-bike clues, a controlled adjustment, and a short test ride to check an over-high saddle without chasing one magic formula.
 Field guide / how-to-tell-road-bike-saddle-too-high
A saddle is probably too high when you repeatedly have to reach for the bottom of the pedal stroke instead of staying stable on the saddle. Common clues include hips rocking side to side, toes reaching down, a feeling that one leg is dropping into a hole, or discomfort that appears after the saddle was raised. No single clue proves it, so change the height in a controlled test rather than lowering it dramatically.
The short answer: mark the current position, lower the saddle by 3–5 mm, and repeat the same easy ride. If your pelvis becomes quieter and the pedal stroke feels smoother without creating cramped knees, the original setting was likely too high. Make one change at a time.
Why a formula cannot settle the question
Inseam formulas and the heel-on-pedal check can produce a starting point, but they do not include every relevant variable. Crank length, shoe-stack height, cleat position, foot angle, saddle shape, pelvic movement, and how you pedal all affect your effective leg extension.
A 2021 systematic review found strong evidence for using dynamic knee-angle measurements rather than relying only on static measurements. It also found limited direct evidence linking a particular saddle-height change to injury risk. That is why a number from a photo or formula should start a fit conversation, not end it.
If you need an initial setting, use our road-bike saddle-height guide, then judge the result while actually pedalling.
Six clues that the saddle may be too high
Look for a pattern, especially one that appeared after a bike, shoe, cleat, crank, or saddle change.
Your hips rock to reach the pedals
From directly behind, the pelvis should not visibly drop toward each pedal at the bottom of every stroke. A small amount of natural movement is not automatically a problem. Large, rhythmic side-to-side rocking suggests you may be reaching beyond the range you can control.
You point your toes to find the bottom
An ankle that extends slightly through the stroke can be normal. The useful clue is a forced, repeated toe-down reach that becomes smaller when the saddle is lowered a few millimetres.
You slide to one side or reach more with one leg
One hip may dip, one knee may straighten more, or one foot may lose smooth pressure. Do not assume saddle height is the whole explanation: leg-length differences, cleat position, mobility, injury, and saddle alignment can also create asymmetry.
You feel perched rather than supported
A too-high position can make the saddle feel like a narrow point you balance on. You may shuffle forward to shorten the reach to the pedals or struggle to keep consistent pressure on both sit bones.
The bike feels fine at low effort but unstable when tired
Compensation may be subtle for 20 minutes and obvious after two hours. Fatigue can reveal hip rocking or ankle reaching that a short indoor video misses.
The problem began after a known change
New shoes, insoles, pedals, cleats, saddle, seatpost, or cranks can change effective leg extension. Compare the old and new setup before blaming your flexibility.
Run a reversible 20-minute test
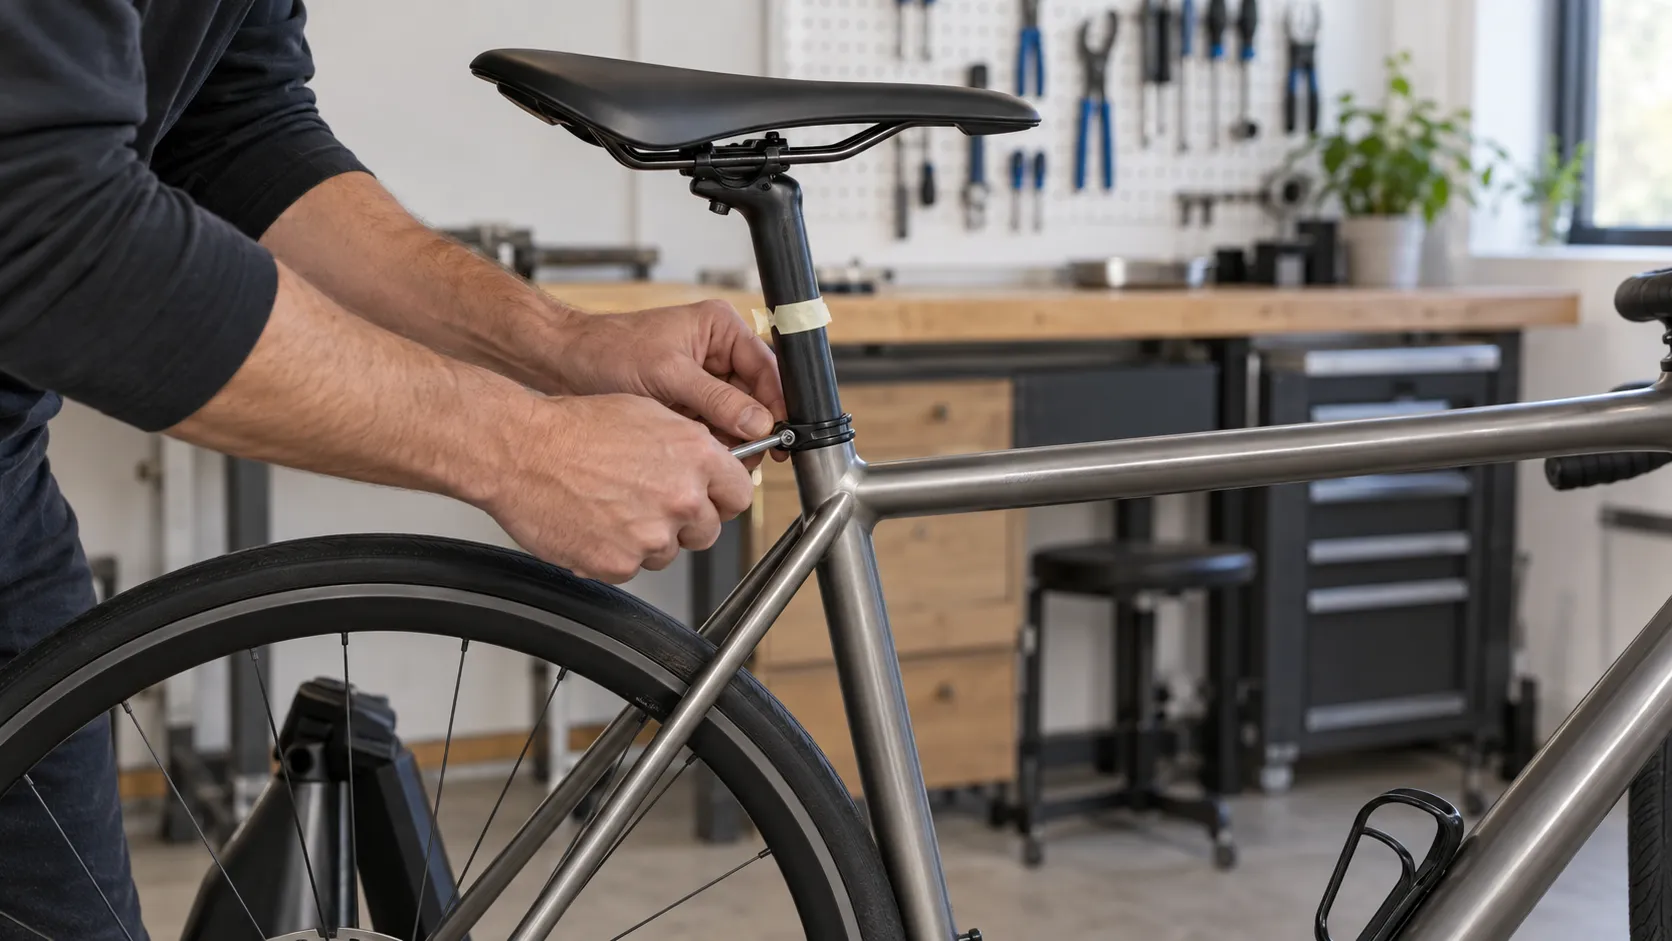
- Record the starting point. Put removable tape around the seatpost at the frame and measure from a repeatable frame point to the saddle top. Photograph the saddle angle and fore-aft position.
- Check the clamp instructions. Use the frame or seatpost maker’s torque value. Stop if the post is seized, damaged, beyond its minimum-insertion mark, or uses a mechanism you do not understand.
- Lower only 3–5 mm. Keep saddle tilt, fore-aft position, cleats, shoes, tyre pressure, and handlebar position unchanged.
- Ride an easy, repeatable route. Include steady seated pedalling but avoid hard intervals, sprints, or a new route that masks the fit change.
- Compare three things. Is the pelvis quieter? Does pressure stay more even on the saddle? Does the bottom of the stroke feel smoother rather than cramped?
- Stop changing once the evidence is unclear. A dramatic move creates a new problem and makes the result harder to interpret.
Film 20–30 seconds from directly behind and from the drive side if you can do so safely on a stable indoor trainer. Level the camera near crank height. A diagonal phone angle can make the hips and knee extension look misleading.
Do not fix reach by moving the saddle
Moving the saddle forward shortens the distance to the handlebar, but it also changes where you sit relative to the cranks. Use saddle fore-aft to support pedalling and weight distribution; address a long cockpit with appropriate handlebar, hood, and stem decisions.
Likewise, do not tilt the nose sharply down to stop sliding or relieve every pressure point. First confirm that the saddle is level according to the useful load-bearing section, then diagnose why you are moving. Our guide to sliding forward on the saddle separates height, tilt, reach, and saddle-shape causes.
When lowering the saddle is not the answer
A lower test that makes the knees feel crowded, increases pressure at the front of the knee, or removes smoothness is evidence against continuing downward. Neck, hand, back, and saddle discomfort can come from the complete riding position, training load, or equipment—not one seatpost measurement.
If you have pain, return to the last tolerable setting and reduce the aggravating load. Read soreness versus pain on a new bike and seek professional help for persistent or worsening symptoms.
Your next step
Mark today’s position and make one 3–5 mm test. Keep the change only if the same easy ride gives a clearly steadier pelvis and smoother stroke. If the result is mixed after two controlled tests, stop moving the saddle and evaluate the whole fit rather than continuing by guesswork.
Sources and further reading
- Systematic review: methods to determine saddle height and implications for performance and injury risk
- Research review: effects of bicycle saddle height on knee injury risk and performance
- r/bikefit reader context: conflicting visual clues after saddle and handlebar changes
- r/bikefit reader context: first road-bike fit and neck discomfort