Why you keep sliding forward on your road bike saddle
Fix the causes of sliding forward on a road bike saddle: saddle tilt, excessive saddle height, long handlebar reach, and slippery bib shorts.
 Field guide / why-you-keep-sliding-forward-on-saddle
Constantly pushing yourself back onto the wide part of your road bike saddle is one of the most frustrating beginner experiences. It tires out your triceps, jams pressure into your wrists, and leaves your neck and shoulders aching after only a few kilometres. Sliding forward is not a fitness flaw or a lack of core strength—it is almost always a mechanical signal that your saddle tilt, saddle height, or handlebar reach is unbalancing your pelvis.
The short answer: set your saddle between 0° (dead level) and -1° using a flat hardcover book and a smartphone level app. If your saddle is already level but you still slide forward, check whether your saddle is slightly too high or your reach to the brake hoods is pulling your pelvis forward off its sit-bone support.
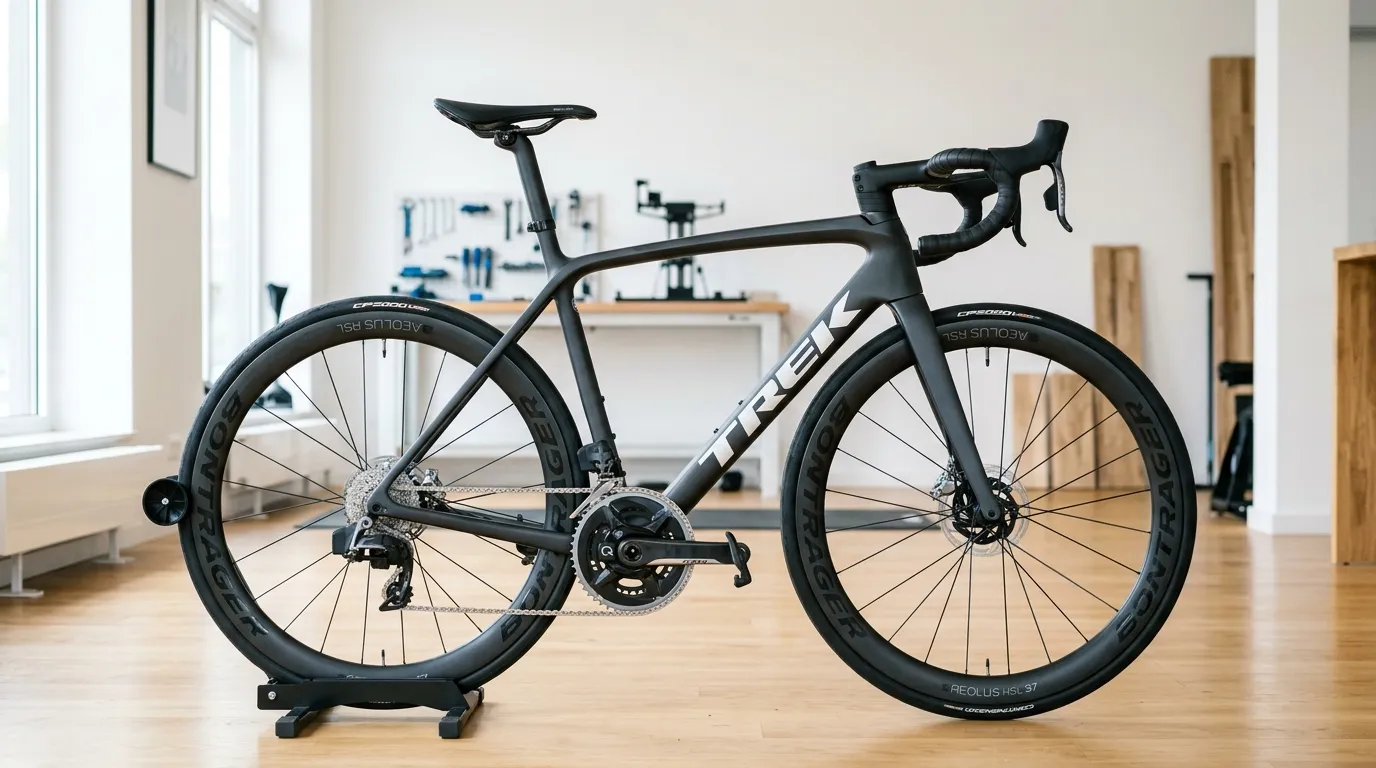
Why pelvic stability matters on a road bike
When you ride a road bike, your body weight is distributed across three contact points: your feet on the pedals, your hands on the handlebar hoods, and your pelvis on the saddle. Of those three, the saddle provides the primary foundation for your upper body and hip stability.
Your pelvis is designed to rest firmly on the wider rear section of the saddle, where your ischial tuberosities (your “sit bones”) bear the load. When your pelvis is stable:
- Your legs can pedal smoothly in circles without rocking your hips.
- Your core muscles support your torso with minimal tension.
- Your arms and shoulders stay relaxed, with soft elbows acting as natural shock absorbers.
When you constantly slide forward toward the narrow nose of the saddle, you lose that skeletal support. Soft perineal tissues get compressed, blood flow decreases, and your arms are forced to push back against the handlebars like a continuous push-up.
Understanding the root cause lets you fix the problem with simple garage tools rather than enduring painful rides.
The 4 mechanical reasons you keep sliding forward
Before buying a new saddle or assuming cycling is inherently uncomfortable, work through the four mechanical causes that account for nearly all forward slippage.
| Cause | What happens mechanically | What you feel while riding |
|---|---|---|
| 1. Downward saddle tilt | Saddle acts like a downward slide; gravity pulls body forward | Heavy hands, aching triceps, numb fingers, sore wrists |
| 2. Saddle set too high | Legs overextend at bottom of stroke; body perches forward on nose | Rocking hips, calves cramping, reaching for pedals |
| 3. Handlebar reach too long or low | Torso is pulled forward; pelvis tilts anteriorly off rear flare | Strained lower back, tight neck, shoulder blade burning |
| 4. Unsuitable saddle width or shape | Sit bones or inner thighs hit sharp edges or lack support | Chafing, groin pinch, shifting forward to avoid pain |
1. Downward saddle tilt (the ski-slope effect)
The most common culprit is a saddle tilted nose-down. Riders often tilt the nose down deliberately in an attempt to relieve groin numbness or pressure on soft tissues.
While tipping the nose down might temporarily reduce front pressure, it introduces a severe tradeoff: it creates an inclined plane. As you pedal, vibration and gravity cause your hips to slide forward down the slope. To stay seated on the supportive rear section, you must continuously push backward with your hands and arms.
A downward tilt of just 2° to 4° can transfer up to 20–30% more body weight directly into your wrists, palms, and neck muscles.
2. Saddle height is set too high
If your saddle is even 10 mm to 15 mm too high, your leg must fully straighten at the bottom of the pedal stroke (6 o’clock position).
Because your body naturally protects your hamstrings and knees from hyper-extending, your nervous system adopts one of two compensations:
- It rocks your pelvis from side to side to help your foot reach the bottom.
- It unconsciously shuffles your pelvis forward onto the narrower, lower front nose of the saddle, which effectively shortens the distance to the pedals.
If you find yourself constantly perching on the skinny nose of your saddle during hard efforts or flat cruising, your saddle may simply be too tall.
3. Handlebar reach is too long or bars are too low
A road bike’s reach is the horizontal distance from your saddle to the handlebar hoods. If your bike frame is slightly too large, your stem is too long, or your handlebar stack is slammed too low, you have to stretch excessively to rest your hands on the brake hoods.
When you stretch forward:
- Your pelvis rotates anteriorly (rolls forward).
- Your sit bones lift off the flat rear shelf of the saddle.
- The forward pull of your torso drags your hips along the saddle rail toward the bars.
Rather than your pelvis resting on the saddle and your hands resting lightly on the hoods, your upper body becomes a tense bridge spanning the gap.
4. Unsuitable saddle width, contour, or cutout
Every cyclist’s pelvic anatomy is unique. If your saddle’s rear platform is significantly wider than your sit bones, the rear flare will push into your hamstrings and inner thighs, causing you to slide forward to clear the pinch.
Conversely, if the saddle lacks an adequate central relief channel or cutout, pressure on sensitive perineal nerves will cause you to subconsciously migrate forward onto the narrow nose to escape the discomfort—even if you know you should be sitting further back.
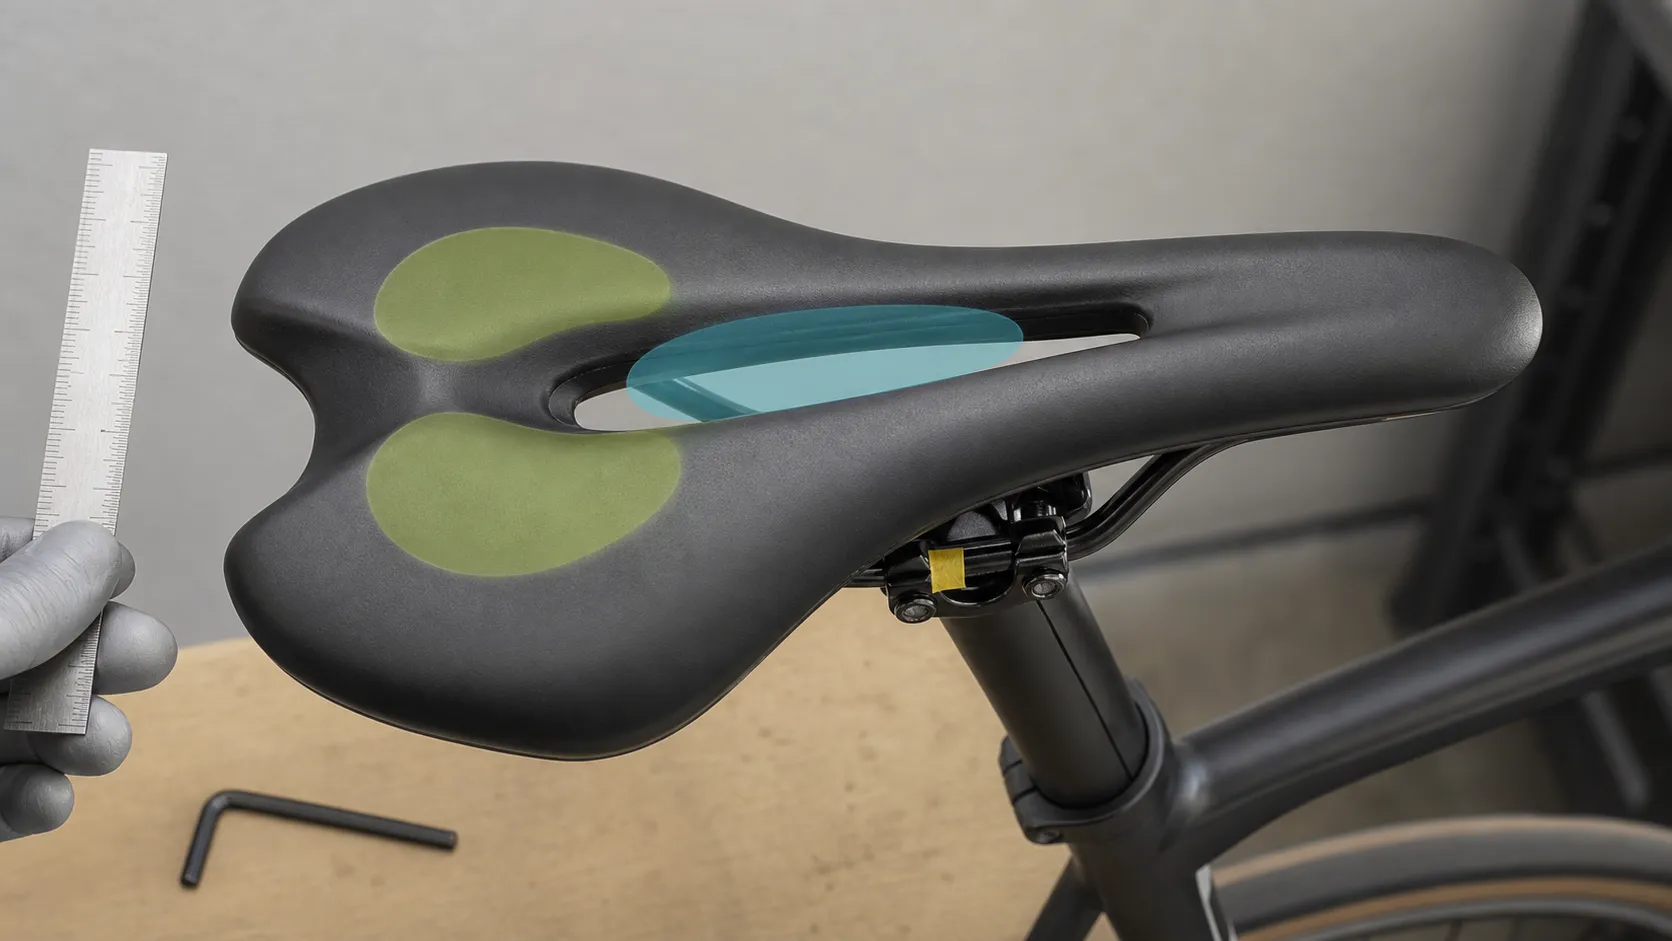
How to measure and level your saddle (The Book & Level Method)
Never eyeball saddle tilt. Modern saddles have curves, kicktails, dipped mid-sections, and dropped noses that make visual estimation wildly inaccurate. A saddle that looks level to the naked eye is frequently tilted down by 3° or more.
Follow this step-by-step leveling procedure:
Step 1: Park the bike on a truly level surface
Place your bike on a level garage floor, flat driveway, or stationary indoor trainer. Use your digital smartphone level on the floor next to the wheels first to confirm the ground is at 0.0°. If the floor has a 1° slope, take note of it so you can calibrate accordingly.
Step 2: Lay a rigid hardcover book across the saddle
Place a flat, rigid hardcover book or a stiff wooden ruler across the full length of the saddle, from the rear edge to the tip of the nose.
- The book bridges any central dips, waves, or ergonomic contours.
- It provides a continuous, flat reference plane representing the overall tilt of the saddle.
Step 3: Measure the angle with a digital level
Place a digital torpedo level or open the spirit level app on your smartphone, resting it on top of the book along the center line pointing front-to-back.
- The ideal beginner baseline: 0.0° (dead flat) to -1.0° (barely perceptible nose-down dip).
- Avoid: Anything steeper than -2.0° to -3.0° down, unless specifically prescribed by a professional bike fitter for extreme time-trial positions.
+-------------------------------------------------------------+
|                     HARDCOVER BOOK                          |
+=============================================================+
   \                                                         /
    \_______   SADDLE (BRIDGED BY FLAT BOOK)         _______/
            \_______________________________________/
Step 4: Adjust the saddle clamp bolts
Most modern seatposts use either a single side-clamp bolt or a dual front-and-rear bolt system:
- Dual-bolt rocker clamps: Loosen the rear bolt slightly (half a turn) and tighten the front bolt to tilt the nose down; loosen the front bolt and tighten the rear bolt to bring the nose up.
- Single-bolt clamps: Loosen the main bolt just enough to disengage the serrated teeth or friction cones, adjust the angle, and retighten.
Safety note: Always tighten saddle clamp bolts to the manufacturer’s specified torque (typically 5–7 Nm for dual-bolt clamps, and 10–12 Nm for single-bolt clamps). Under-tightening can cause the saddle to suddenly slip or snap upward when you hit a bump.
Checking saddle height and fore-aft setback
Once your saddle is level between 0° and -1°, check your height and fore-aft position to ensure they are not pulling you forward.
Step-by-step saddle height check
- Mount the bike on an indoor trainer or lean your elbow against a sturdy wall or doorway.
- Place your bare heels on the pedal axles while wearing your cycling shorts or bibs.
- Pedal backward slowly.
- At the bottom of the stroke (6 o’clock position), your knee should be completely straight without your hips rocking side to side.
- When you switch back to the balls of your feet (your normal riding position), you will automatically have a healthy 25° to 35° bend in your knee at the bottom of the stroke.
If your hips were rocking or you felt your leg straining to reach the bottom of the stroke, lower the seatpost by 5 mm and test again.
Adjusting fore-aft (setback)
The fore-aft position (how far forward or backward the saddle sits on its metal or carbon rails) balances your center of mass over the bottom bracket:
- Check rail markings: Saddles have etched
STOP,MIN, orMAXmarkings on the rails. Never clamp the seatpost outside these marked limits, as clamping on the curved bends can bend or fracture the rails. - Starting position: Center the seatpost clamp in the middle of the straight portion of the rails.
- The paradox of sliding forward: Beginners often push the saddle all the way forward in an attempt to reach the handlebars. Ironically, moving the saddle too far forward moves your center of gravity forward, placing more weight on your hands and making you slide down even faster. Keep the saddle centered as your baseline.
For a comprehensive guide to dialing in your full position, read beginner road bike fit and comfort.
The “Hover Test” (on-the-bike verification)
How do you know if your saddle tilt and pelvic support are balanced? Use the simple Hover Test on an indoor trainer or a flat, traffic-free stretch of road.
       HOVER TEST (2-3 CM OFF HOODS)
             \         /
              \       /    <-- Core & pelvis support weight
               \     /         (No sliding forward down the saddle)
                \   /
                 \ /
[SADDLE] <-- Sit bones locked on rear flare (0° to -1°)- Shift into a moderate gear and pedal at a steady, comfortable cadence (around 80–90 RPM) with your hands resting on the hoods.
- Maintain your normal riding posture with a flat, relaxed spine.
- Without changing your torso angle or pedalling cadence, hover your hands 2 to 3 cm off the brake hoods for 5 to 10 seconds.
Interpreting the result:
- Pass (Balanced): You can comfortably maintain the hover using your core, glutes, and pelvic contact on the saddle. You do not immediately tip forward onto your face, and your sit bones stay planted on the rear flare.
- Fail (Front-heavy): You immediately collapse forward toward the handlebars, or your hips instantly slide down the nose of the saddle the second your hands lift.
If you fail the test, your saddle is either tilted downward too much, your saddle is too far forward, or your handlebars are positioned too low.
What about bib shorts and clothing?
While mechanical fit is the primary culprit, cycling apparel plays a secondary role in pelvic stability:
- Casual shorts vs. cycling bib shorts: Loose gym shorts or cotton underwear create friction between your skin and the fabric, causing you to shift and slide around searching for relief.
- Worn or slick bib shorts: Very old lycra shorts or overly slick synthetic saddle covers can reduce friction, making minor tilt imperfections feel much more exaggerated.
- Pad thickness (Chamois): A thick, squishy gel pad is not always better. Excessive foam can bunch up in the perineal channel, creating pressure that makes you squirm forward onto the nose. A firm, high-density chamois provides cleaner sit-bone support.
Before replacing parts, make sure you test your saddle adjustments while wearing the actual cycling shorts or bibs you ride in.
Troubleshooting checklist: step-by-step fix
When troubleshooting saddle sliding, make only one adjustment at a time and complete a 15-minute test ride between changes:
[ ] 1. Park bike on level surface; verify ground angle.
[ ] 2. Place hardcover book over saddle; measure tilt with digital level.
[ ] 3. Set tilt between 0.0° and -1.0° (neutral baseline).
[ ] 4. Check saddle height using the heel-to-pedal method; lower by 5mm if hips rock.
[ ] 5. Center saddle rails within the clamp's MIN/MAX safety lines.
[ ] 6. Torque clamp bolts to manufacturer spec (5–7 Nm dual-bolt, 10–12 Nm single-bolt).
[ ] 7. Perform the 5-second Hover Test on a flat road or trainer.
[ ] 8. Take a 15-minute test ride and record comfort changes.
Common mistakes beginners make
1. Tilting the nose down to fix perineal numbness
This is the most common beginner trap. If you experience numbness in soft tissues, tilting the saddle nose down 3° or 4° seems logical. However, it cures numbness by creating severe wrist pain, shoulder fatigue, and forward sliding.
The correct solution for numbness is usually lowering the overall saddle height by 5–10 mm, switching to a saddle with a dedicated central cutout channel, or shortening the handlebar reach so your pelvis is not forced to roll forward aggressively.
2. Pushing the saddle fully forward to fix a long reach
If the handlebars feel too far away, sliding the saddle fully forward on its rails ruins your weight distribution and knee alignment. If your reach is too long, fix it at the cockpit: swap to a shorter stem (e.g., reducing from 100 mm to 80 mm) or raise the stem using headset spacers.
3. Ignoring torque specifications
Seatpost clamps experience immense dynamic leverage when you ride over bumps. Tightening bolts by “feel” without a torque key can lead to two dangerous outcomes:
- Under-tightening: The saddle tilts unexpectedly while riding, causing loss of control.
- Over-tightening: Crushed or cracked saddle rails (especially carbon rails) or stripped alloy threads.
Learn how to safely inspect your bike before every ride in the five-minute pre-ride bike check.
When to see a professional bike fitter
If you have leveled your saddle to 0°–1°, lowered the saddle to eliminate hip rocking, centered the rails, and still find yourself sliding forward after two weeks of riding, the issue is likely anatomical or bike geometry mismatch:
- Your saddle shape or width does not match your pelvic sit-bone width.
- The bike frame’s top tube or reach is fundamentally too long for your torso proportions.
- You have asymmetrical hip rotation or leg length discrepancies that require specialized shims or custom saddle selection.
If you experience persistent sharp pain, numbness lasting after the ride, or skin breakdown, review soreness versus pain on a new bike and schedule a session with a certified professional bike fitter.
Your next step
Grab a hardcover book, your smartphone’s level app, and a 4 mm or 5 mm hex wrench:
- Level your saddle to 0.0° to -1.0° today before your next ride.
- Torque the clamp bolts securely.
- Head out for a 15-minute test spin and perform the Hover Test.
Once your pelvis is firmly supported, explore our comprehensive guide on beginner road bike fit and comfort to fine-tune your handlebar height, brake lever reach, and riding posture.