How to descend steep hills safely on a road bike without panic
Descend steep road bike hills with complete confidence: drop handlebar posture, weight distribution, pulse braking before corners, and line choice.
 Field guide / how-to-descend-steep-hills-road-bike
Descending a steep hill on a road bike can feel terrifying when gravity takes over and your speed doubles in seconds. But descending safely is not about bravery or letting the bike run wild—it is an exact set of physical habits that lock the bike to the road and put you in total control.
The short answer: Move your hands into the drops for maximum braking leverage and a lower centre of gravity, push your hips slightly back over the saddle, pulse both brakes firmly on straight sections before corners rather than dragging them continuously, weight your outside pedal at 6 o’clock in turns, and keep your eyes focused far down the road toward your exit.
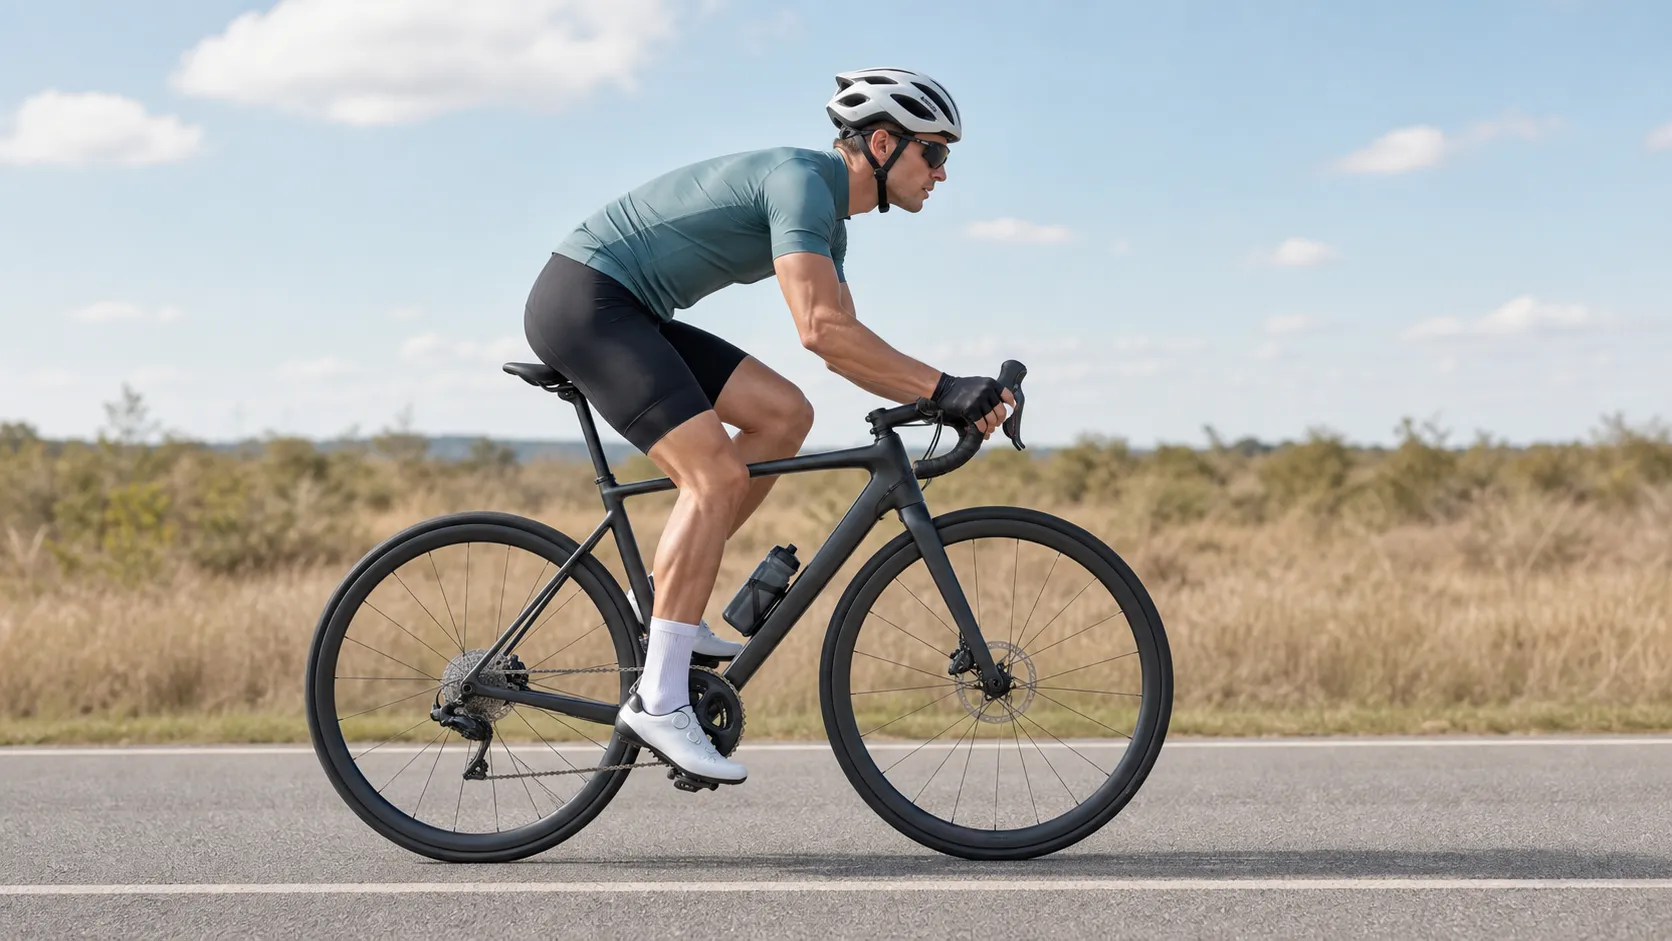
Why steep descents trigger panic (and why physics is on your side)
When you crest a steep climb—celebrating the hard work you mastered in how to ride hills without burning out—the sudden drop on the other side often triggers an instinctive fight-or-flight response. Your heart races, your hands clamp tight, your arms lock straight, and you sit bolt upright.
This panic reaction happens because of three common fears:
- The fear of runaway speed: The bike accelerates effortlessly with zero pedalling effort.
- The fear of catapulting over the bars: The steep downward slope makes you feel perched precariously over the front wheel.
- The fear of losing tyre grip in a bend: You worry the skinny tyres will slide out if you lean or touch the brakes.
The irony is that the body’s natural panic reflex—locking your arms, sitting stiff on the brake hoods, and dragging the brake levers—makes the bike harder to control. When your arms are rigid, every bump in the tarmac transfers directly into your handlebars, steering becomes twitchy, and your brakes overheat.
When you use the correct descending posture, physics works for you. A road bike at 40 km/h (25 mph) is gyroscopically stable and tracks straight. By lowering your centre of mass, pushing weight back to balance the downward slope, and softening your joints, your body acts as dynamic suspension while the tyres grip firmly into the tarmac.
The 4 golden rules of safe descending
Mastering steep descents comes down to four fundamental techniques. If you commit these to muscle memory, you can descend any hill with calm, predictable precision.
1. Move your hands into the handlebar drops
Many beginner cyclists instinctively stay on the brake hoods during descents because being lower feels faster and scarier. In reality, the drops are the safest, most stable position on the bike for descending.
Here is why dropping down is essential:
- Maximum braking leverage: In the drops, your fingers wrap around the lower tip of the brake lever, giving you mechanical leverage to stop the bike with light one- or two-finger effort. On the hoods, you are pulling near the lever’s pivot point, which requires much more hand strength and causes forearm cramp (“arm pump”).
- Grip security over bumps: If your front wheel hits a surprise pothole, rut, or cattle grid, hands resting on top of the brake hoods can bounce forward off the bars. In the drops, your hands are hooked inside the curve of the handlebar—they cannot slip off forward.
- Lower centre of gravity: Lowering your torso by 10 to 15 centimetres drops your combined centre of mass, dramatically reducing the tipping leverage of the downward slope.
- Natural elbow bend: You cannot comfortably lock your arms in the drops. Your elbows naturally bend, allowing your upper body to absorb road chatter.
If reaching the drops feels uncomfortably far or strains your neck, review beginner road bike fit and comfort to adjust your stem height or handlebar reach.
2. Slide your hips slightly back
On flat ground, your weight is distributed roughly 40% over the front wheel and 60% over the rear. On a steep 10% downhill pitch, gravity shifts that balance forward. When you apply the brakes, forward weight transfer unweights the rear tyre even further.
To counteract this:
- Slide your pelvis back 2 to 5 centimetres toward the rear of the saddle.
- Drop your heels slightly so your body weight drives down through the bottom bracket and pedals rather than pushing forward through your palms.
- Keep your chest low and relaxed.
This subtle weight shift keeps the rear tyre planted, prevents rear-wheel skidding, and completely eliminates the sensation that you might pitch over the handlebars under firm braking. For a deep dive into how weight transfer interacts with your front brake, read your front brake is not the enemy.
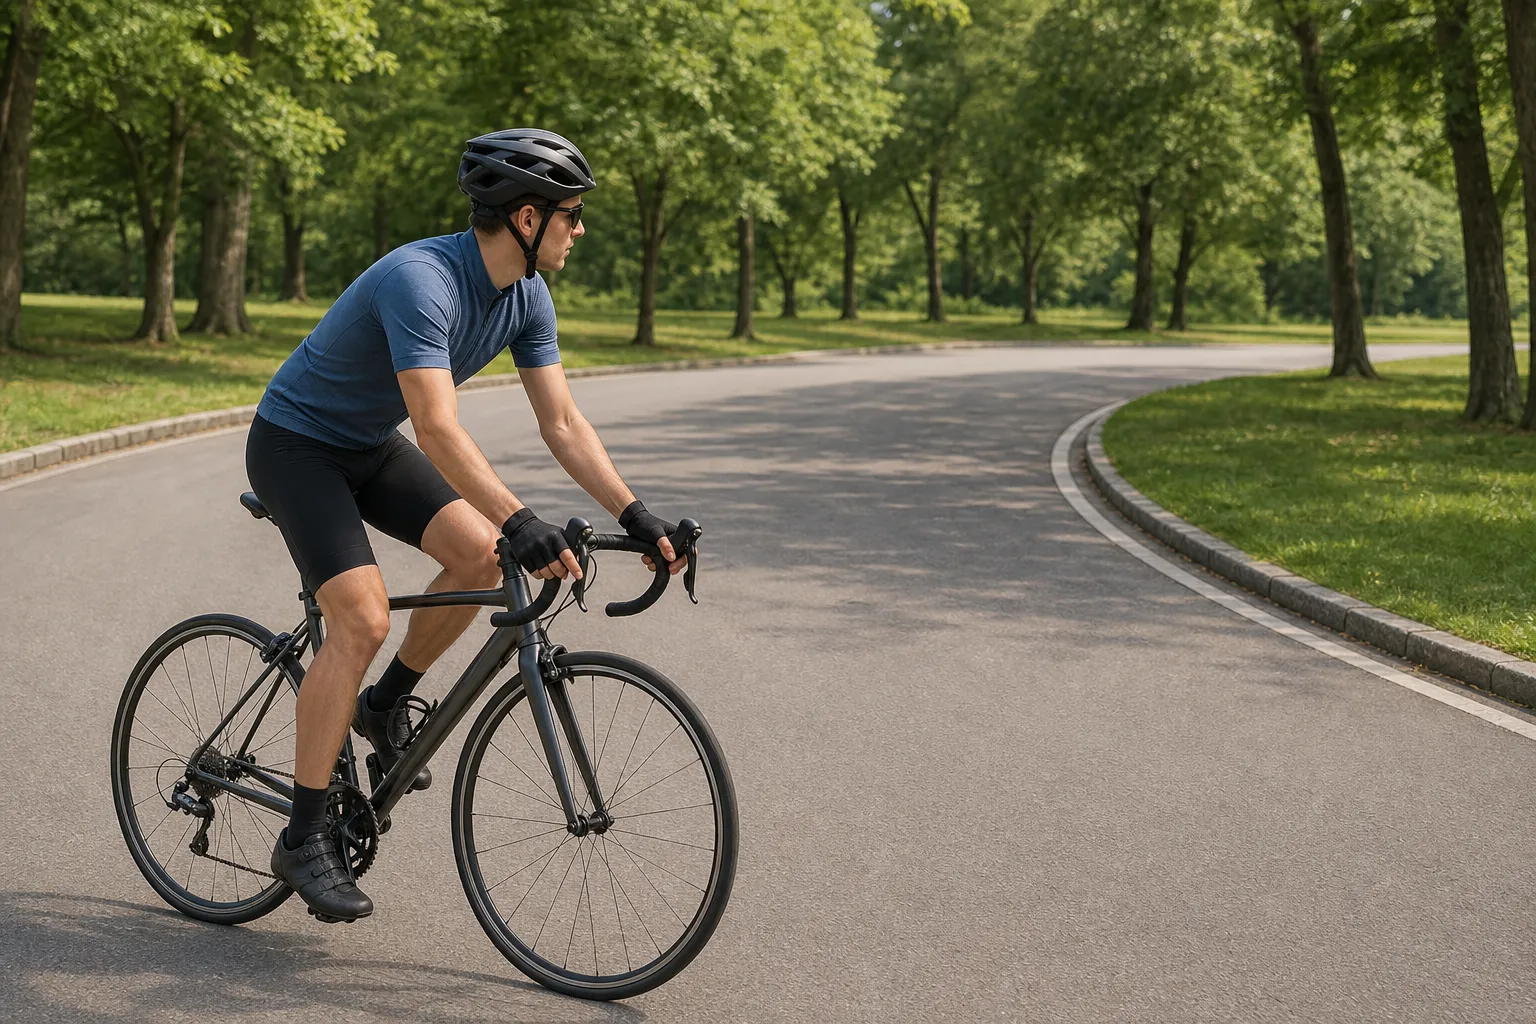
3. Pulse-brake on straight sections (never drag)
The most dangerous beginner habit on long hills is brake dragging—holding both levers continuously with light pressure from top to bottom.
Dragging brakes causes rapid heat buildup:
- On disc brakes: Continuous friction glazes the brake pads (making them glassy, noisy, and ineffective) and can boil hydraulic brake fluid, causing sudden “brake fade” where the lever pulls all the way to the bar with zero stopping power.
- On rim brakes: Continuous dragging heats the aluminium or carbon wheel rim, which can melt inner-tube rubber, cause sudden explosive blowouts, or delaminate carbon rims.
Instead, use pulse braking:
- Let the bike roll freely on straight, safe stretches at a speed within your comfort zone.
- When speed approaches your upper limit, squeeze both brakes smoothly and firmly for 2 to 4 seconds on a straight line to scrub off 10–15 km/h.
- Fully release the levers for a few seconds. The rushing airflow instantly cools the rotors, pads, and rims.
- Repeat as necessary down the entire descent.
[!WARNING] Never brake hard while leaned over in a turn. Brake hard while the bike is upright and travelling straight. Squeeze before the bend, release the levers as you initiate the turn, and roll smoothly through the apex. Read braking and cornering with confidence for the full straight-line braking sequence.
4. Look far through turns to defeat target fixation
Where your eyes look, your front wheel goes. Under stress, cyclists suffer from target fixation—staring directly at the gravel patch, the cliff edge, the guardrail, or the oncoming car. When you fixate on an obstacle, your arms freeze and steer you directly toward it.
To defeat target fixation:
- Lift your chin and point your nose toward the road’s exit point.
- Scan 30 to 50 metres ahead down the hill, not 2 metres in front of your tyre.
- As you enter a curve, turn your head and look all the way through to where the road straightens out. Your hands and bike will follow your gaze smoothly without conscious steering inputs.
Cornering on a steep descent: the outside-pedal lock
Descending corners combine slope, gravity, and lateral forces. Navigating them requires one simple foot-and-body cue: the outside-pedal lock.
    CORNERING MECHANICS ON A DOWNHILL BEND:

    Turning Left:
    [ Inside Pedal UP at 12 o'clock ]  ──> Prevents pedal from striking tarmac
    [ Outside Pedal DOWN at 6 o'clock ] ──> Push body weight down through right heel
    [ Inside Knee Points Inward ]      ──> Guides bike into lean angle
[ Eyes on Corner Exit ] ──> Tracks the smooth escape line- Set your pedals before the turn: If turning left, drop your right (outside) foot to the bottom at the 6 o’clock position. Your left (inside) foot stays raised at 12 o’clock.
- Drive weight into the outside heel: Press your weight firmly down through your outside shoe. This creates massive mechanical grip by forcing the tyre tread into the asphalt micro-texture while keeping your centre of gravity balanced over the contact patch.
- Point your inside knee toward the apex: Gently open your inside knee into the turn. This shifts your hips naturally, encouraging the bike to lean beneath you without needing to jerk the handlebars.
- Keep hands off the brakes: Roll through the bend at the controlled entry speed you set before turning. If you must trim speed mid-bend, apply a feather-light touch on the rear brake only.
Coping with wind gusts, rough tarmac, and road debris
Steep descents are rarely smooth, indoor velodromes. Mountain gaps, coastal headlands, and valley roads bring crosswinds and surface hazards.
Handling crosswinds and passing vehicles
Open descents often have fierce crosswinds, especially when passing gaps in trees or rock cuttings.
- Loosen your upper body: If you stiffen your arms and shoulders, a sudden wind gust against your torso will violently yank the front wheel. Keep your elbows bent and arms soft like cooked spaghetti. Let the wind move your jersey while the bike tracks steady beneath you.
- Stay low in the drops: A lower frontal profile catches substantially less crosswind than sitting tall on the hoods.
- Tuck your knees in: Squeeze your knees lightly toward the top tube to stabilize the frame against sudden lateral breezes.
Navigating rough tarmac, cracks, and cattle grids
- Hover off the saddle: Lift your backside 1 to 2 centimetres above the saddle. Let your bent knees and elbows absorb the impacts while the bike moves freely beneath you.
- Never brake on metal, paint, or wet leaves: Drain covers, cattle grids, white road paint, and damp autumn foliage have near-zero friction when wet. Coast across them in a straight line with neutral pedals and zero brake input.
- Maintain proper tyre pressure: Over-inflated tyres bounce violently across rough surfaces instead of conforming to the road, destroying grip. Review tyre pressure for beginner road cyclists to dial in the ideal pressure for your body weight and tyre width.
Step-by-step: How to descend a steep hill from crest to bottom
Use this 5-step mental checklist on every descent:
┌─────────────────────────────────────────────────────────────┐
│              STEP-BY-STEP DESCENDING ROUTINE                │
└─────────────────────────────────────────────────────────────┘
  1. AT THE CREST      ──> Shift chain to big ring, drop hands into drops
  2. ON THE STRAIGHTS  ──> Pulse-brake firmly in 3-sec bursts; slide hips back
  3. BEFORE THE BEND   ──> Set your cornering entry speed while bike is straight
  4. THROUGH THE APEX  ──> Outside foot down at 6 o'clock, release brakes, look ahead
5. ON THE EXIT ──> Level pedals, let bike stand upright, resume smooth spin- Prepare at the crest: Before gravity takes over, shift your front chainring into the big ring and a mid-cassette cog. Having tension in the drivetrain prevents the chain from slapping against the chainstay on rough road and gives you immediate pedal resistance if you need to pedal. Move your hands securely into the drops.
- Control speed early on the pitch: Do not wait until you are travelling at 60 km/h to start braking. Apply your first firm pulse-brake early while speed is modest (30–35 km/h) to test brake bite and road grip.
- Scrub speed before every curve: Identify your turn early. Brake in a straight line until your speed feels relaxed and manageable for the radius of the bend.
- Carve the corner off the brakes: Lock the outside foot down, look through to the exit, and roll through smoothly.
- Exit and reset: Once the bike stands upright on the exit straight, level your pedals, breathe deeply, scan for the next section, and repeat.
Permission to pull over, rest your hands, or walk
Descending steep gradients requires intense concentration, continuous grip tension, and core stabilization.
If you feel your forearms cramping, your fingers going numb, your vision narrowing from stress, or your heart hammering against your ribs: pull over safely.
- Signal, check behind you, and brake smoothly to a stop on a wide road verge, turnout, or viewpoint.
- Stand off the bike, shake out your arms and hands, drink some water, and let your brake rotors or wheel rims cool down for 2 minutes.
- Take three deep diaphragmatic breaths to reset your nervous system.
And remember: if a descent is unusually steep (e.g., a 15–20% gradient), slick with rain, covered in loose gravel, or crowded with impatient motor traffic, there is zero shame in unclipping and walking down the hill. Walking a hazardous road section is a mature cycling decision that preserves both you and your equipment. As we explain in walking a steep hill is a cycling skill, the primary goal of every ride is returning home safely.
Common beginner descending mistakes
| Mistake | Why it creates danger or panic | The correct technique |
|---|---|---|
| Dragging brakes continuously | Glazes pads, boils hydraulic brake fluid, or causes rim-brake tyre blowouts. | Pulse-brake firmly for 3 seconds on straights, then release to let components cool. |
| Descending on the brake hoods | Poor braking leverage, high hand fatigue, and hands can slip off over ruts. | Move into the drops for maximum mechanical leverage and locked-in grip. |
| Locking elbows straight | Road bumps jerk the handlebars directly, causing dangerous speed wobbles. | Bend elbows soft and wide to act as natural suspension dampers. |
| Braking hard while turning | Demands braking traction and turning grip simultaneously, causing front-wheel slides. | Complete all heavy braking while upright before leaning into the turn. |
| Inside pedal pointing down | The low pedal can strike the asphalt when the bike leans, levering the rear wheel into the air. | Outside pedal down at 6 o’clock, weighted through your heel; inside pedal up at 12 o’clock. |
| Staring at the ditch or guardrail | Target fixation steers your front wheel directly toward the hazard you fear. | Turn your chin and eyes to focus exclusively on the clean exit line. |
| Sitting stiff in the saddle | Your body acts as a dead weight bouncing over bumps and upsetting tyre grip. | Hover slightly off the saddle and keep hips relaxed and slightly back. |
Quick pre-ride descending safety check
Before tackling a route with significant descents, take 60 seconds to perform these essential bike checks (part of the five-minute pre-ride bike check):
- Brake lever feel: Squeeze both levers hard. They should feel firm and engage well before touching the handlebar grip tape.
- Brake pad thickness: Ensure you have at least 1.5 mm of brake pad material remaining above the backing plate or wear indicator line.
- Rotor / rim surface: Check that brake rotors or rim braking tracks are free of chain oil, degreaser residue, or deep scoring.
- Tyre condition and pressure: Inspect tyres for glass cuts, exposed casing threads, or embedded flint. Check pressure with a floor pump gauge according to your rider weight.
- Headset tightness: Hold the front brake firmly and rock the bike gently forward and backward. There should be zero knocking or play in the fork steering bearings.
- Eyewear: Always wear clear or tinted cycling glasses on descents to prevent high-speed wind, bugs, or dust from blinding you.
Your next step
Do not wait for a 1,000-metre alpine pass to practise your descending technique. Pick a gentle, quiet local hill with a 3% to 5% gradient and clean asphalt.
Dedicate 15 minutes to rolling down that hill three times with three specific practice goals:
- Attempt 1: Ride entirely in the handlebar drops with relaxed, bent elbows. Notice how much lighter your brake lever pull feels.
- Attempt 2: Practise pulse-braking: let your speed build to 30 km/h, smoothly scrub down to 20 km/h on a straight section, release, and feel the bike settle.
- Attempt 3: Practise the outside-pedal lock through a wide bend, driving your heel down and looking 40 metres ahead through the exit.
Once those movements become second nature on gentle slopes, steep hills will stop feeling like a test of nerve—and start feeling like one of the most exhilarating parts of road cycling.
Sources and further reading
- Trek Bicycles: Owner’s Manual & Riding Tips (Braking and Descending)
- Shimano Technical Service: Disc Brake Heat Management & Lever Operation
- British Cycling: How to Descend with Confidence on a Road Bike
- Cycling UK: Road Bike Braking and Cornering Fundamentals
- National Highway Traffic Safety Administration (NHTSA): Bicycle Safety & Equipment Standards
- League of American Bicyclists: Basic Bicycle Handling and Descent Control