Your front brake is not the enemy
Learn why the front brake matters, how to use it progressively, and a quiet practice drill that builds braking confidence without drama.
 Field guide / your-front-brake-is-not-the-enemy
The front brake is not something to avoid. It is the brake that usually does the most stopping work, so the beginner skill is learning to squeeze it smoothly, with both brakes available, before you need it in a surprise.
The short answer: use both brakes together, add pressure progressively, and practise on flat empty ground until the front brake feels like a control, not a trap. Do not grab it suddenly, especially while turning, descending, or riding on wet or loose surfaces.
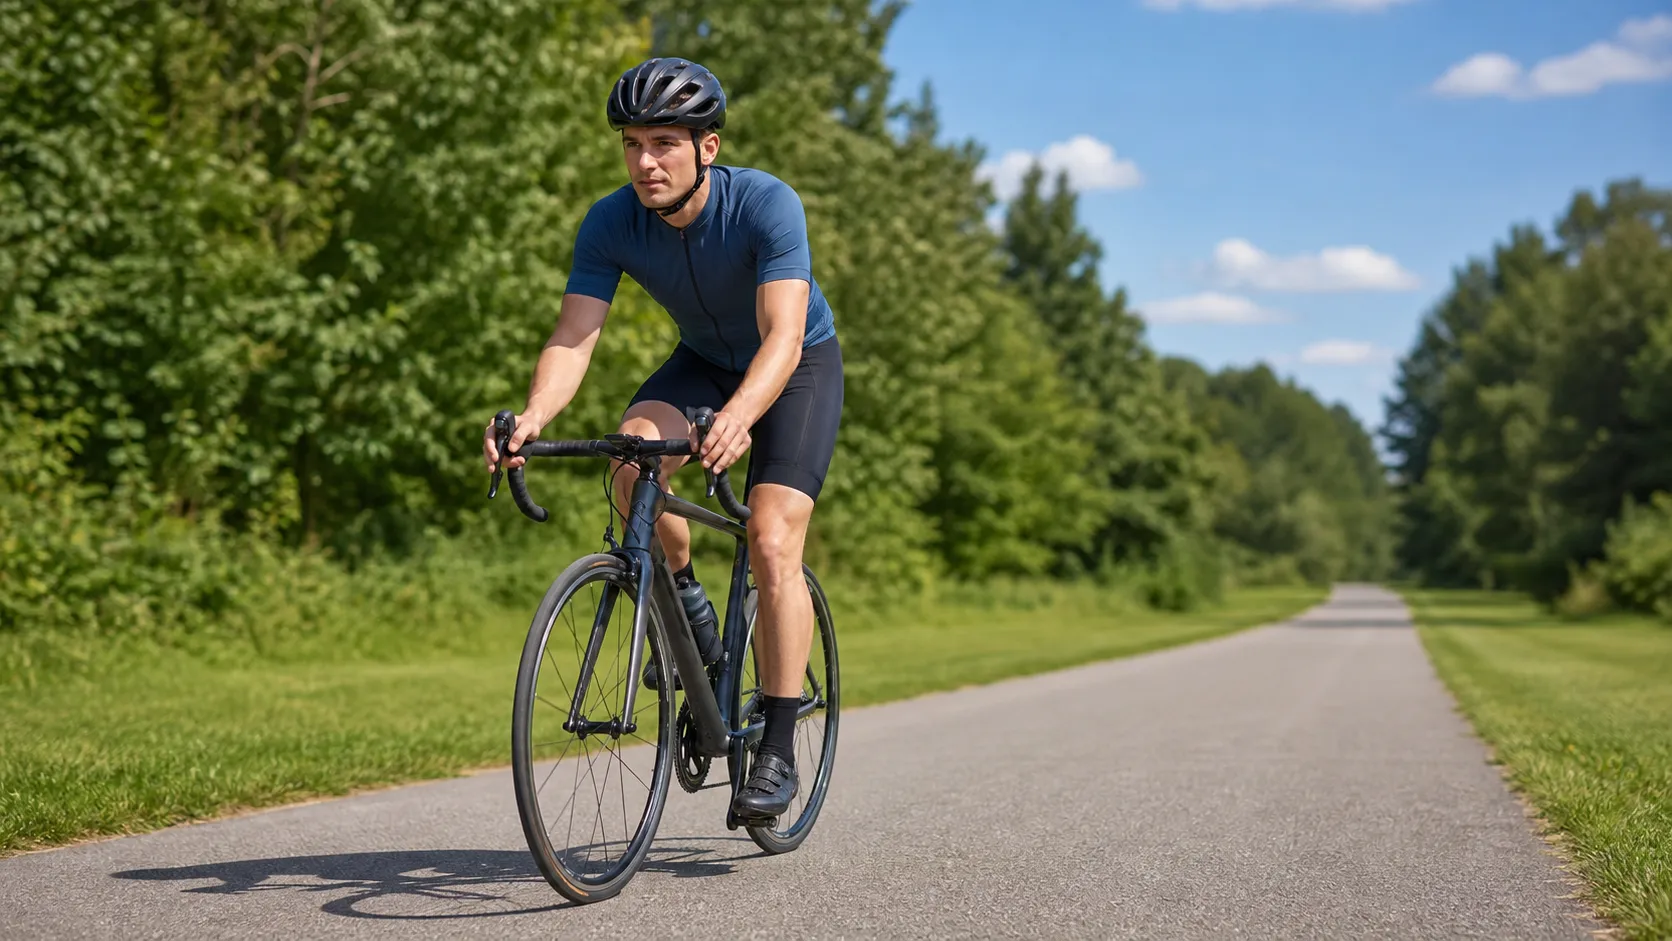
Why the front brake feels scary
Many riders first hear about the front brake as a warning: do not touch it, you will go over the bars. That warning usually comes from a real memory. Someone grabbed too much front brake too suddenly, the rear wheel lifted, or the front tyre lost grip.
The useful lesson is not “never use it.” It is “do not grab it.”
Trek’s owner manual riding tips say braking should be done with both brakes at the same time, that applying too much front brake can lift the rear wheel, and that most braking power comes from the front brake. Shimano’s brake lever manual gives the matching warning from the component side: too much front brake can lock the front wheel and pitch the bicycle forward.
So the middle ground is simple: respect the front brake because it is powerful, and learn to use that power gradually.
First, know which lever is which
Before you practise, stand next to the bike and check the levers. Squeeze one lever and watch which brake moves; then check the other. Do not rely on childhood memory, another rider’s setup, or which country you think the bike came from.
Cannondale’s bicycle owner’s manual makes this check explicit: learn and remember which lever controls which brake, then confirm it by squeezing each lever and observing the front or rear brake. If you are still learning the part names, road bike anatomy for beginners will make this easier.
This matters because your hands should not be solving a mystery during a stop.
Squeeze, do not snatch
Progressive braking means the lever pressure rises in stages: light contact, firmer squeeze, then only more force if the bike is still stable and pointed straight. It is the opposite of panic-grabbing a handful of lever.
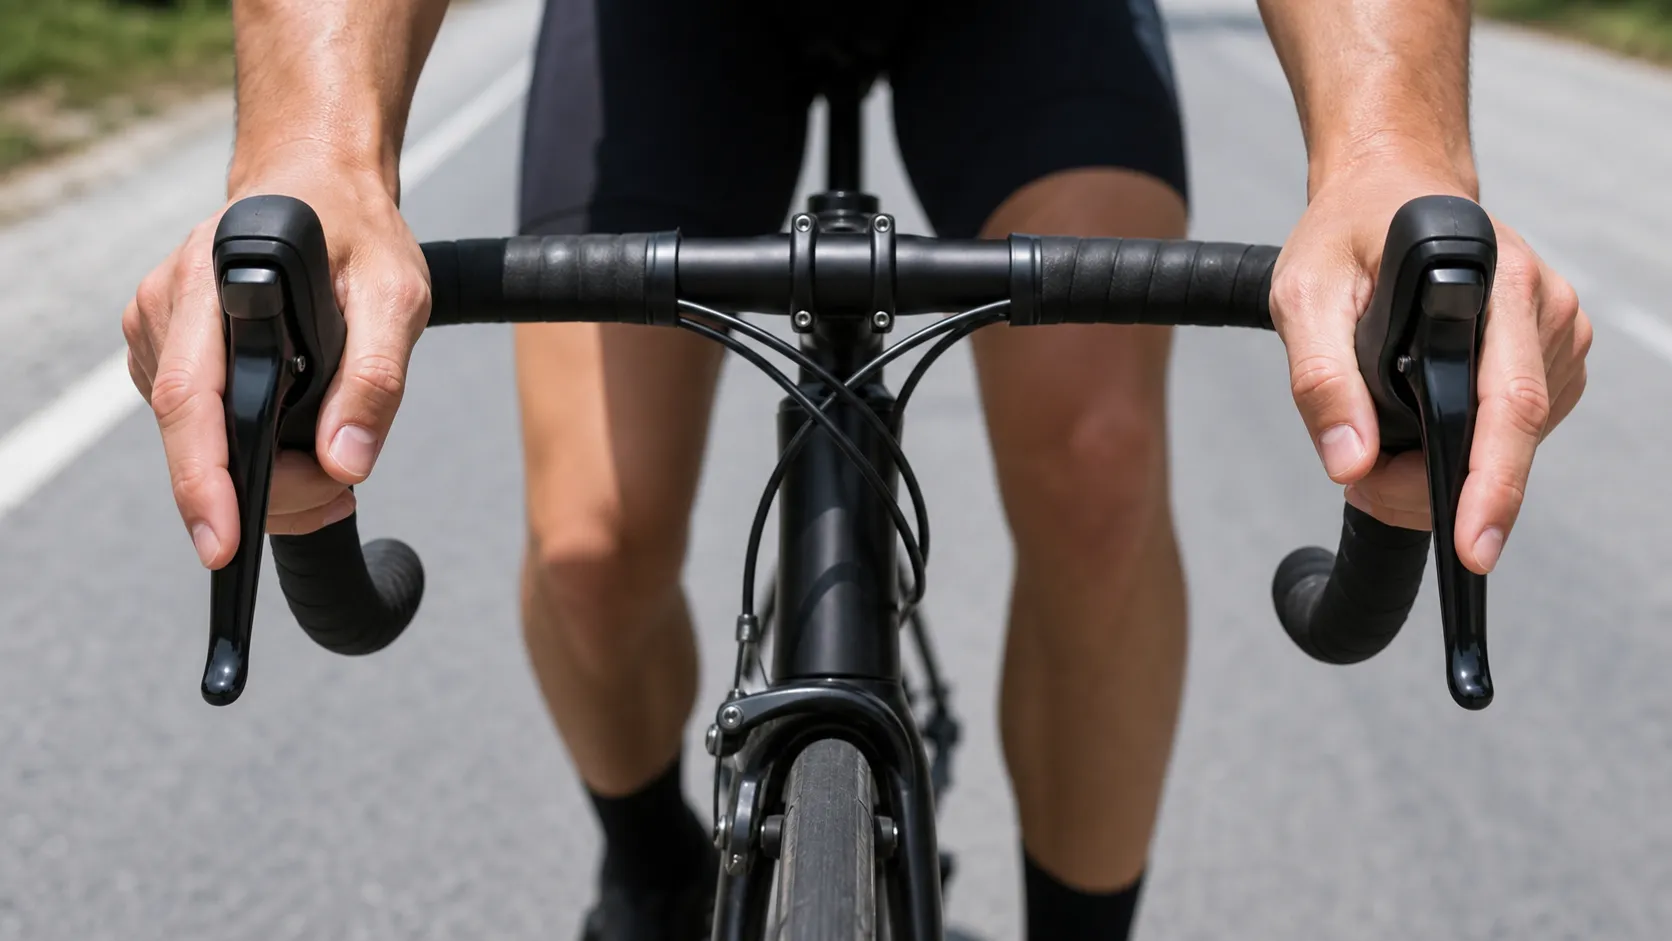
Use this sequence on a quiet flat road:
- Cover both brake levers with one or two fingers while keeping a relaxed hold on the hoods.
- Look ahead, not down at the wheel.
- Begin with gentle pressure on both brakes.
- Add a little more front-brake pressure while keeping the bike upright and straight.
- Ease off before stopping completely, then repeat at walking speed.
If the rear wheel feels light, the front tyre chirps, or either wheel skids, release some brake pressure. That is feedback, not a challenge.
Move calm weight, not dramatic body English
Under firmer braking, your weight moves forward. That is one reason the front brake can do so much work, and also why a sudden grab can feel alarming. Trek advises shifting weight rearward and staying low over the bike during heavy braking to help keep the rear wheel down.
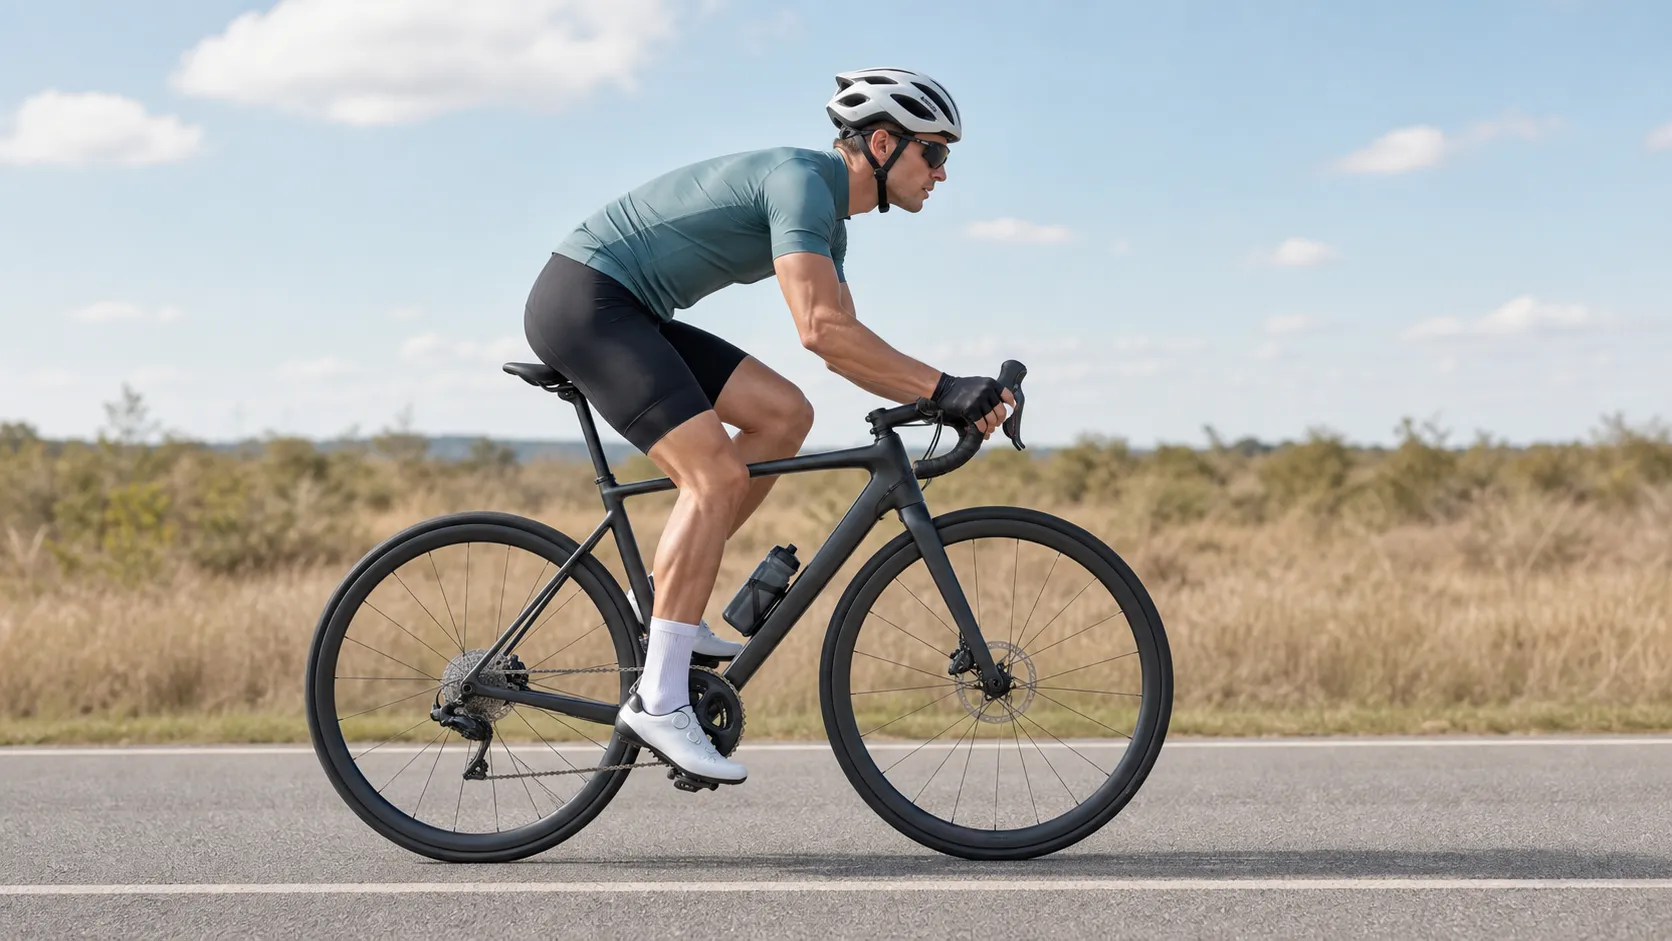
For a beginner, “weight back” does not mean hanging behind the saddle or doing a stunt pose. Start with smaller cues:
- Bend your elbows instead of locking your arms.
- Keep your chest quiet, not stiff.
- Let your hips slide slightly rearward as braking gets firmer.
- Keep your heels and pedals calm rather than bracing wildly.
- Practise only while travelling straight.
Save hard braking, steep descents, wet roads, gravel, and braking deep into corners for later instruction and safer conditions. The future full guide on braking and cornering can cover those decisions in more depth; this post is only about making the front brake less mysterious.
A five-minute confidence drill
Find a quiet, flat, open place. A car-free path, empty lot, or very quiet road is better than a busy lane.
Ride at jogging pace and choose a marker ahead. Brake gently with both brakes so you stop before the marker. Repeat three times. Then move the marker a little closer and add slightly more front-brake pressure, still smoothly. If anything feels rushed, move the marker farther away again.
Finish by doing one easy roll from the brake hoods and one from the bar tops if your bike lets you reach the brakes safely from both positions. If you cannot reach the levers comfortably, that is a fit or setup clue, not a bravery test. Revisit soreness versus pain on a new bike if reach, wrist position, or hand pressure is already bothering you.
One focused next action
Before your next normal ride, spend five quiet minutes learning exactly which lever controls the front brake and how gradually you can add pressure. The goal is not a dramatic emergency stop. The goal is to make one important control feel ordinary.