Tyre pressure for beginner road cyclists
Choose a safe, repeatable road-bike tyre pressure from tyre width, rider weight, rim limits, surface, and ride feel instead of copying a random PSI.
 Field guide / tyre-pressure-for-beginner-road-cyclists
Before you buy
Check the starter kit first
Print the one-page buying brief for helmet, lights, water, phone, and repair compatibility before comparing upgrades.
The right road-bike tyre pressure is not the highest number on the sidewall and it is not a number you copy from a stranger. Start below the lowest safe limit for your tyre and rim, use a reputable pressure guide for a first setting, then adjust in small steps based on comfort, control, road surface, and puncture risk.
The short answer: find your tyre size, check the tyre and rim maximums, use a calculator or manufacturer chart as a starting point, inflate with a gauge, and keep notes after a familiar ride. If the bike feels harsh, skittish, vague, or close to rim strikes, change pressure gradually rather than guessing from a thumb squeeze.
Why beginners get conflicting answers
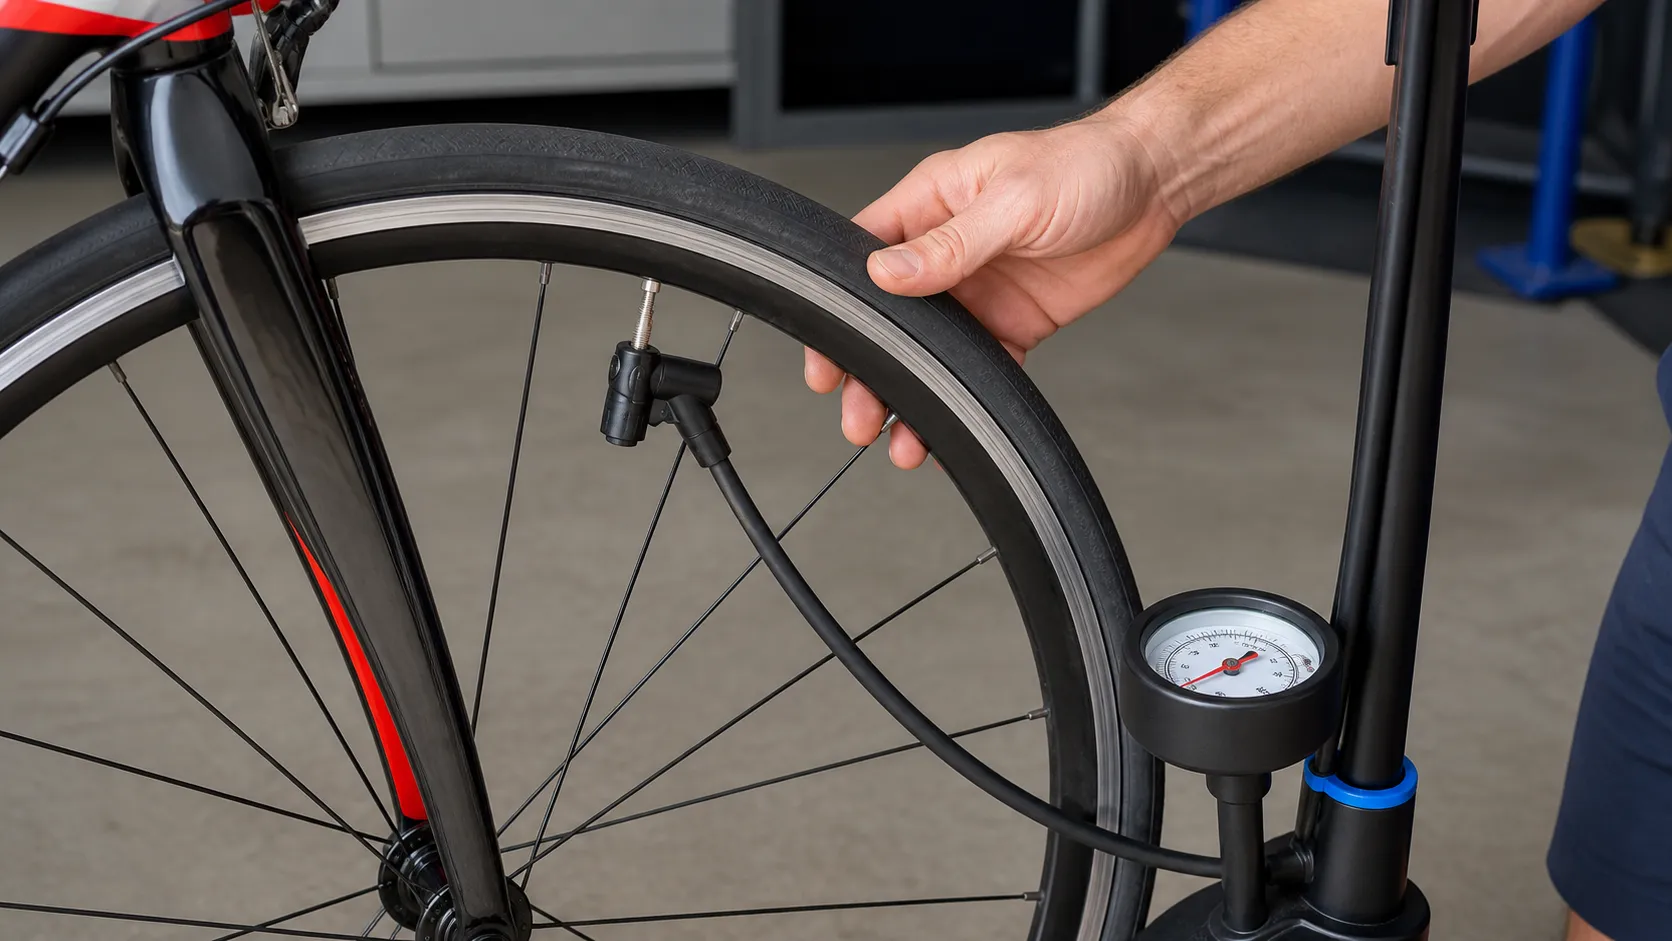
Current cycling-community questions show the same confusion from several angles. Some riders ask which number to follow when a tyre and tube disagree. Others ask whether a road tyre should still be near the old 90-110 psi habit, or why a wider tyre feels normal at a much lower number. In another recent r/cycling thread about tubeless or tubes, a rider liked the lower pressure but was unsure what the setup tradeoffs meant.
That wording matters because the beginner problem is rarely “what is the perfect PSI?” The real problem is, “which inputs should I trust first?”
Use this order:
- Safety limits: tyre, rim, wheel, and compatibility limits.
- Starting point: a calculator, brand chart, or bike-shop recommendation that considers your setup.
- Ride feel: controlled, comfortable, and predictable on your actual roads.
- Small changes: a few psi or a few tenths of a bar at a time, not wild swings.
That keeps you out of the two common traps: pumping to the maximum just because it is printed there, or riding too soft because low pressure sounds modern.
First, find the pressure limit
Look on the tyre sidewall for the tyre size and pressure marking. It might show psi, bar, or both. If it says maximum, treat that as a ceiling, not a target. The companion post the maximum tyre pressure is not a target explains that narrow point in more detail.
Then check whether the rim or wheel has its own lower maximum. This is especially important for modern tubeless-ready and hookless road wheels. Continental’s hookless guidance says maximum inflation pressure and maximum inner rim width are found on the tyre packaging and mounting guidance. Zipp’s hookless compatibility page states that its TSS wheel and tyre systems must not be inflated above 5 bar / 72 psi. ENVE’s pressure guidance also builds pressure recommendations around wheel type, tyre size, rider weight, and surface.
The practical rule is simple: use the lowest maximum you can confirm. If the tyre says one maximum and the rim or wheel says a lower maximum, the lower number wins. If you cannot identify the system, do not solve the uncertainty by inflating higher.
Then choose a starting pressure
Do not try to calculate pressure from scratch unless you already understand the model behind the calculator. For a beginner, a good pressure guide is useful because it asks for the things that actually change the answer.
Schwalbe’s tyre pressure FAQ says it is not possible to give one general pressure recommendation for every bike or tyre, because the correct pressure depends largely on the load on the tyre, personal preference, rolling resistance, comfort, and grip. SILCA’s pressure calculator asks for total system weight, surface condition, measured tyre width, wheel diameter, tyre type, speed, and weight distribution. SRAM’s tyre pressure guide uses similar setup inputs to give a starting point rather than a universal rule.
If a calculator gives a number that surprises you, do not ignore the safety limits. Check the inputs:
- Did you enter total system weight, not just body weight?
- Did you enter measured tyre width if you know it, not only the printed width?
- Did you choose tubes or tubeless correctly?
- Did you choose a road surface that resembles your normal route?
- Does the result stay below the tyre, rim, and wheel maximums?
If the result is above a confirmed maximum, that is not permission to exceed the maximum. It may mean the setup is not ideal for your weight, tyre width, wheel type, or surface.
Understand what each input changes
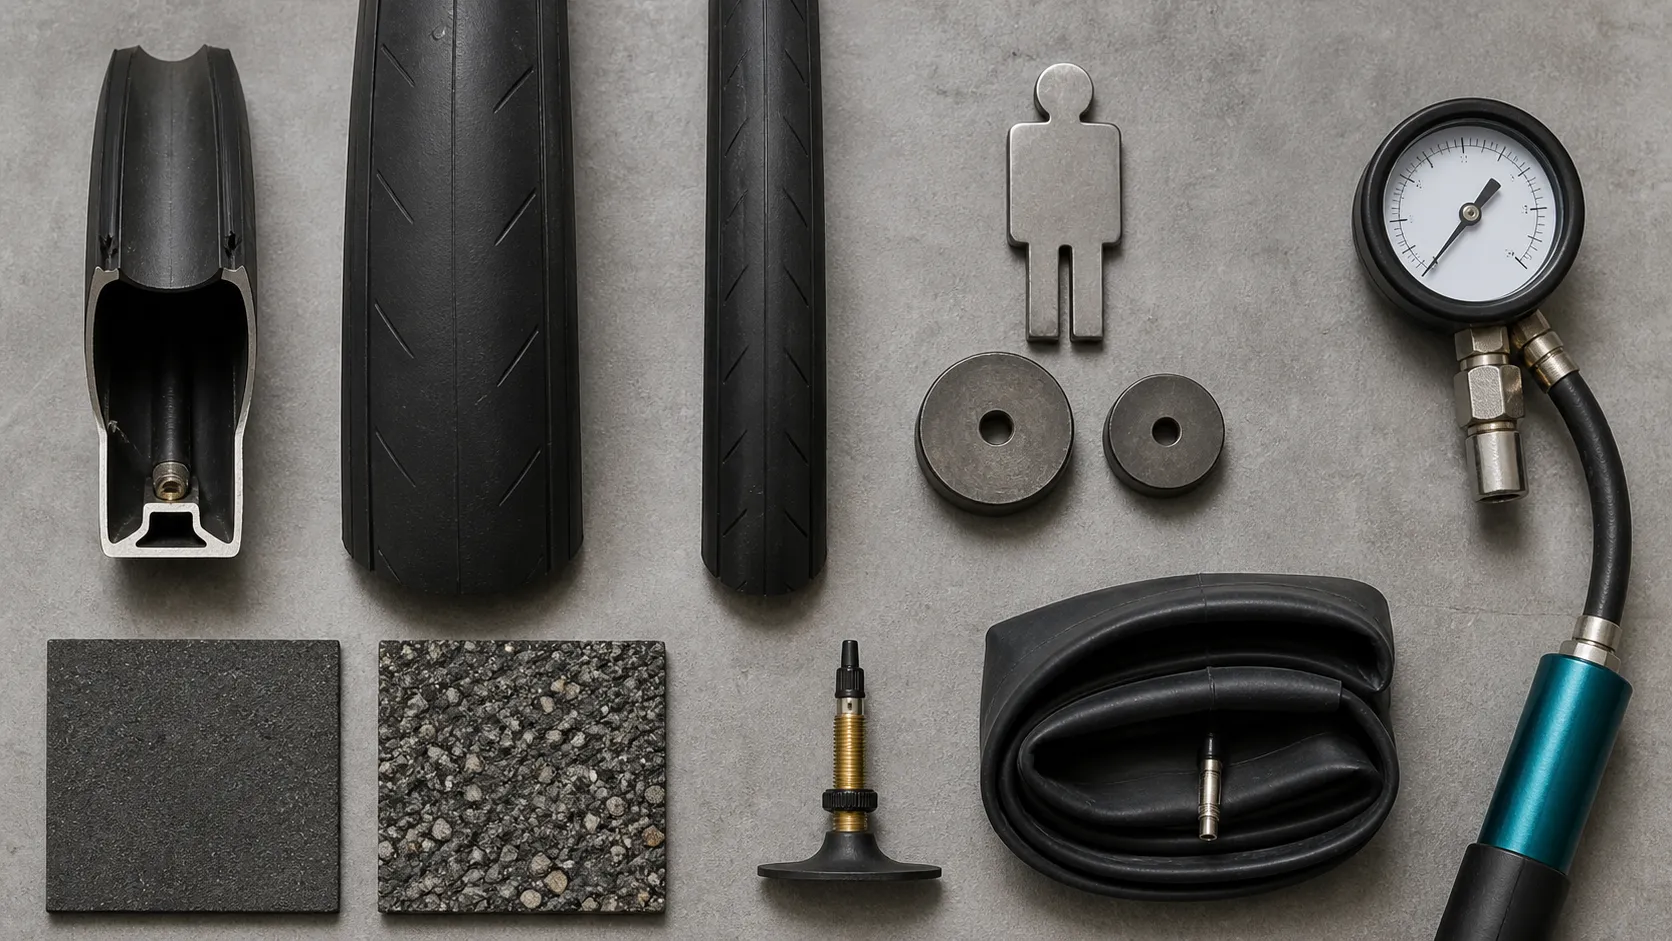
You do not need to memorize physics to make a good choice, but it helps to understand the direction of the tradeoffs.
Tyre width
Wider road tyres usually need less pressure than narrower tyres for the same rider and surface because they hold more air volume and can support the load with a larger contact patch. This is why a number that would be normal on a 23 mm tyre may feel harsh or unnecessary on a 30 mm or 32 mm tyre.
The printed width is only a clue. A tyre marked 28 mm can measure differently depending on rim width and tyre model. Use the printed width if that is all you have. If you later measure the inflated tyre with calipers, use the measured width in calculators that ask for it.
System weight
Your body weight is not the full load. Add the bike, bottles, tools, clothing, bags, and anything else carried on the ride. You do not need laboratory accuracy; a sensible estimate is better than ignoring the load completely.
Many riders also run the rear tyre slightly higher than the front because the rear wheel often carries more of the rider’s weight. Use a pressure guide that separates front and rear if possible.
Surface
Smooth indoor rollers, fresh asphalt, rough chipseal, broken city pavement, and light gravel are not the same surface. Rougher roads often feel better with a little more tyre compliance, provided you stay high enough to avoid rim strikes, tyre squirm, and pinch flats with tubes.
This is also why the fastest-feeling pressure in your driveway is not always the best pressure on the road. A rock-hard tyre can feel efficient when stationary and still feel nervous over real road texture.
Tubes or tubeless
Tubes and tubeless setups can lead to different starting pressures. Tubeless road setups often allow lower pressure without pinch-flatting an inner tube, but they add their own compatibility, sealant, seating, and maintenance requirements. Do not run a tyre tubeless unless the tyre, rim, tape, valve, and manufacturer guidance support it.
If you use inner tubes, pressure that is too low can make pinch flats more likely when the tyre is compressed hard against the rim. If you use latex tubes, check pressure more often; Schwalbe notes that latex tubes should be checked and adjusted before every ride, while ordinary bicycle tubes also lose pressure over time.
Limits and compatibility
This is the non-negotiable input. A calculator’s “recommended” pressure is only useful if it fits inside the system’s safe limits. Hookless and tubeless-ready wheel systems can have lower maximums than beginners expect, and product-specific compatibility charts matter.
When in doubt, ask a shop to identify the rim and tyre system. Guessing low may feel slow; guessing high on the wrong system can be dangerous.
A beginner workflow that works
Use this the first time you set up pressure on a road bike, after changing tyres, or after moving from tubes to tubeless.
- Write down the tyre size. Example: 700 x 28C, 28-622, or similar.
- Find the tyre maximum. Look at the sidewall and product page if the marking is unclear.
- Find the rim or wheel maximum. Check the wheel manual, rim marking, brand page, or bike-shop setup note.
- Use the lowest maximum as your ceiling. Do not average limits.
- Enter your setup into a pressure guide. Use total system weight, tyre width, surface, and tube/tubeless setup.
- Inflate with a gauge. A thumb squeeze is not accurate enough for road-bike pressure.
- Ride a familiar easy route. Pick a route where traffic and navigation do not distract from how the bike feels.
- Adjust in small steps. If you use psi, try 2-5 psi changes. If you use bar, try roughly 0.1-0.3 bar changes.
- Keep one note. Write front and rear pressure, tyre size, surface, and how it felt.
This pairs naturally with the five-minute pre-ride bike check. Tyre pressure is only one part of leaving with a working bike.
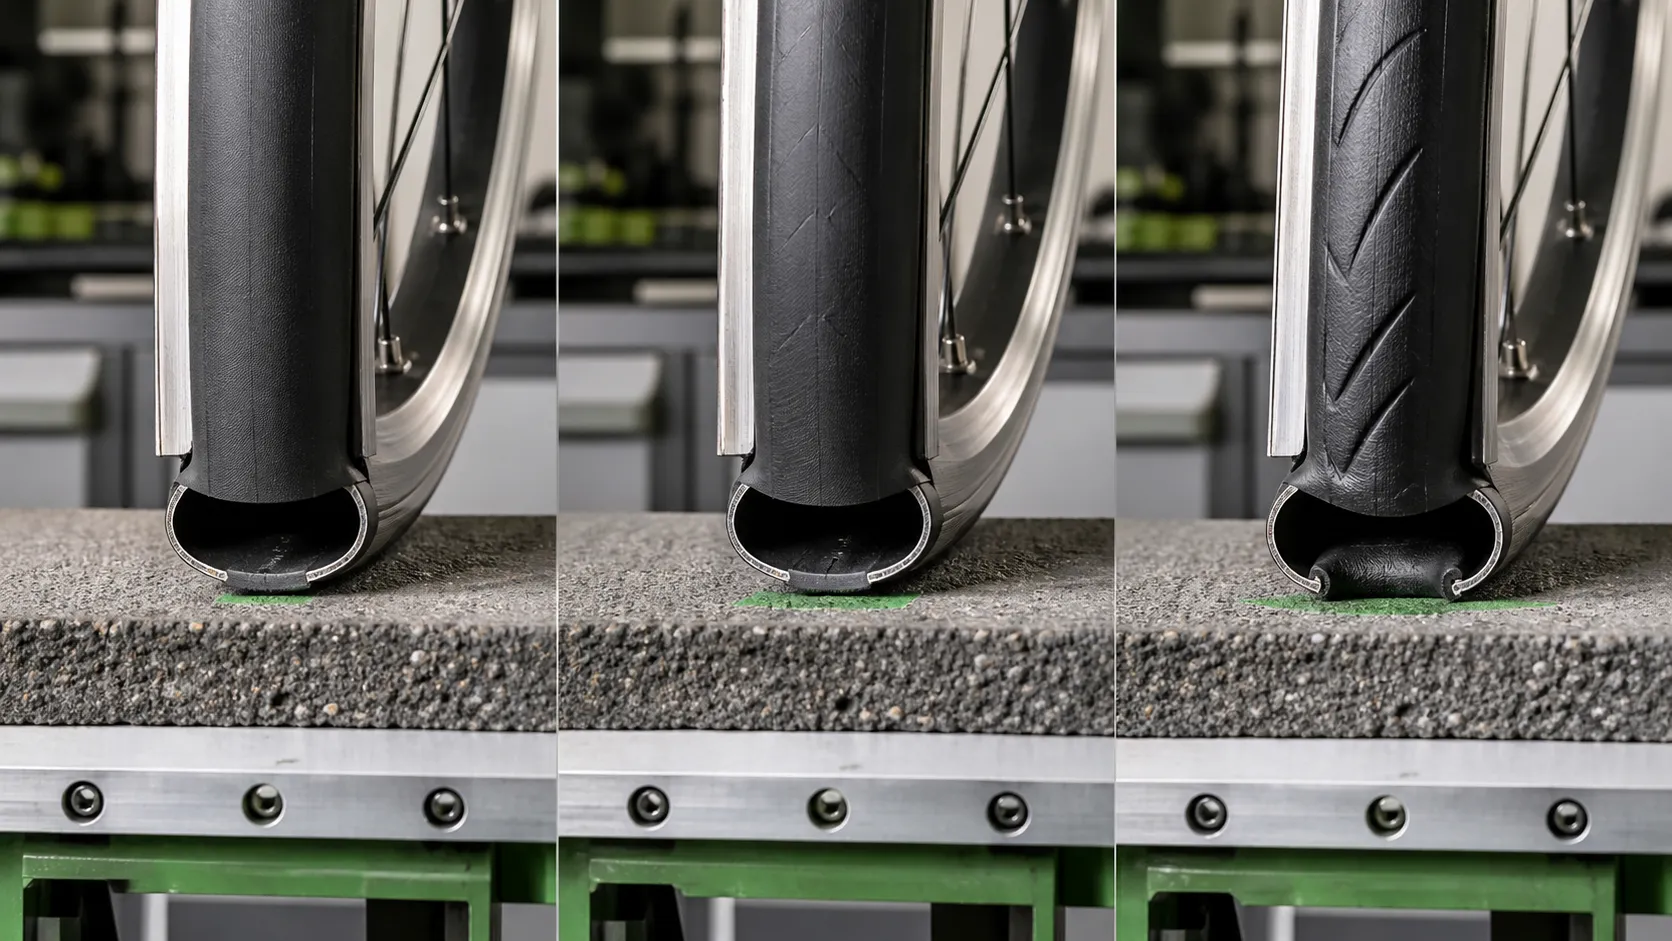
What the wrong pressure feels like
Use ride feel as feedback, not as the only measuring tool.
| What you notice | Possible pressure clue | What to do next |
|---|---|---|
| The bike chatters over ordinary texture and feels harsh through your hands and saddle | Pressure may be higher than needed for the tyre, rider, and surface | Recheck limits, then try a small reduction on a familiar route |
| The tyre feels vague in corners or the bike wallows when you steer | Pressure may be too low, especially for load or surface | Add a small amount and retest |
| You hear or feel a hard rim hit over a sharp edge | Pressure may be too low for that impact, or the line choice was too harsh | Inspect the rim and tyre, then add pressure or avoid that route feature |
| You get repeated tube punctures after impacts | Pressure, tyre condition, rim tape, or debris may be involved | Inspect carefully and consider bike-shop help |
| The tyre loses air quickly after setup | Normal slow loss is one thing; fast or repeated loss is different | Check the valve, tube, tape, sealant, bead, and casing before riding far |
How often to check
Bicycle tyres lose pressure over time. Continental’s bicycle tyre FAQ says bicycle tyre systems are subject to continuous pressure loss and recommends checking operating pressure and tyre condition at regular intervals with a pump gauge. Schwalbe says even good bicycle tubes lose pressure continuously and that pressure loss is faster at higher pressures than lower ones.
For beginner road cycling, the habit is simple:
- Check with a gauge before important rides.
- Check before any ride after the bike has sat for several days.
- Check more often if you use latex tubes or a tubeless setup that is still settling.
- Treat a sudden large drop as a problem to inspect, not as a normal top-up.
The quick squeeze still has a place. It can catch an obviously soft tyre before a short spin. It just should not be your only pressure system.
Common mistakes
Using the sidewall maximum as the target. That number is a ceiling. It does not know your weight, surface, rim, or comfort needs.
Copying a friend’s pressure. A friend’s 28 mm tyre may not measure like yours, and their system weight, wheel type, roads, and ride priorities may be different.
Ignoring the rim. Tyre pressure is a wheel system question. The tyre is not the only component with a limit.
Changing too many things at once. If you change pressure, route, tyre, saddle height, and clothing on the same day, you will not know which change improved or worsened comfort.
Treating lower pressure as automatically safer. Too low can cause vague handling, rim strikes, tyre damage, or tube pinch flats.
Treating higher pressure as automatically faster. Too high can make normal road texture feel harsh and nervous. It can also push past a rim or tyre limit if you are not checking the whole system.
Your next step
Before your next ride, write one line in your phone: tyre size, front pressure, rear pressure, and the route surface. Use a pressure guide to choose the starting point, stay below the lowest confirmed maximum, and ride the same short route twice before making another change.
Once your pressure habit is repeatable, build it into the five-minute pre-ride bike check and learn why a quick tyre squeeze is not a full bike check.
Sources and further reading
- Schwalbe: tyre pressure guidance
- Continental: bicycle tyre pressure FAQ
- Continental: hookless vs hooked rims
- Zipp / SRAM: hookless tyre compatibility
- SRAM: tyre pressure guide
- SILCA: professional tyre pressure calculator
- ENVE: tyre pressure recommendations
- r/cycling reader context: confused about tyre and tube PSI
- r/cycling reader context: road tubeless tradeoffs