Road cycling in 10°C (50°F) weather: Layering without overheating
Master the 10°C (50°F) cycling transition zone: base layers, arm warmers, windproof gilets, gloves, toe covers, and the 10-minute warmth rule.
 Field guide / what-to-wear-road-cycling-10-degrees
Before you buy
Check the starter kit first
Print the one-page buying brief for helmet, lights, water, phone, and repair compatibility before comparing upgrades.
Ten degrees Celsius (50°F) is the most deceptive temperature in road cycling. Stand outside your front door and the air feels genuinely cold, tempting you to put on a heavy winter jacket. Start pedalling up a modest gradient, however, and your working muscles generate substantial internal heat—turning that thick jacket into a damp greenhouse.
The short answer: Dress to feel slightly cool for your first ten minutes on the bike. For 10°C (50°F), wear a modular three-piece upper system: a sweat-wicking base layer, a standard short-sleeve jersey with removable fleece-backed arm warmers, and a packable windproof gilet (vest). Combine regular bib shorts with knee warmers, thin windproof full-finger gloves, and toe covers over your summer cycling shoes.
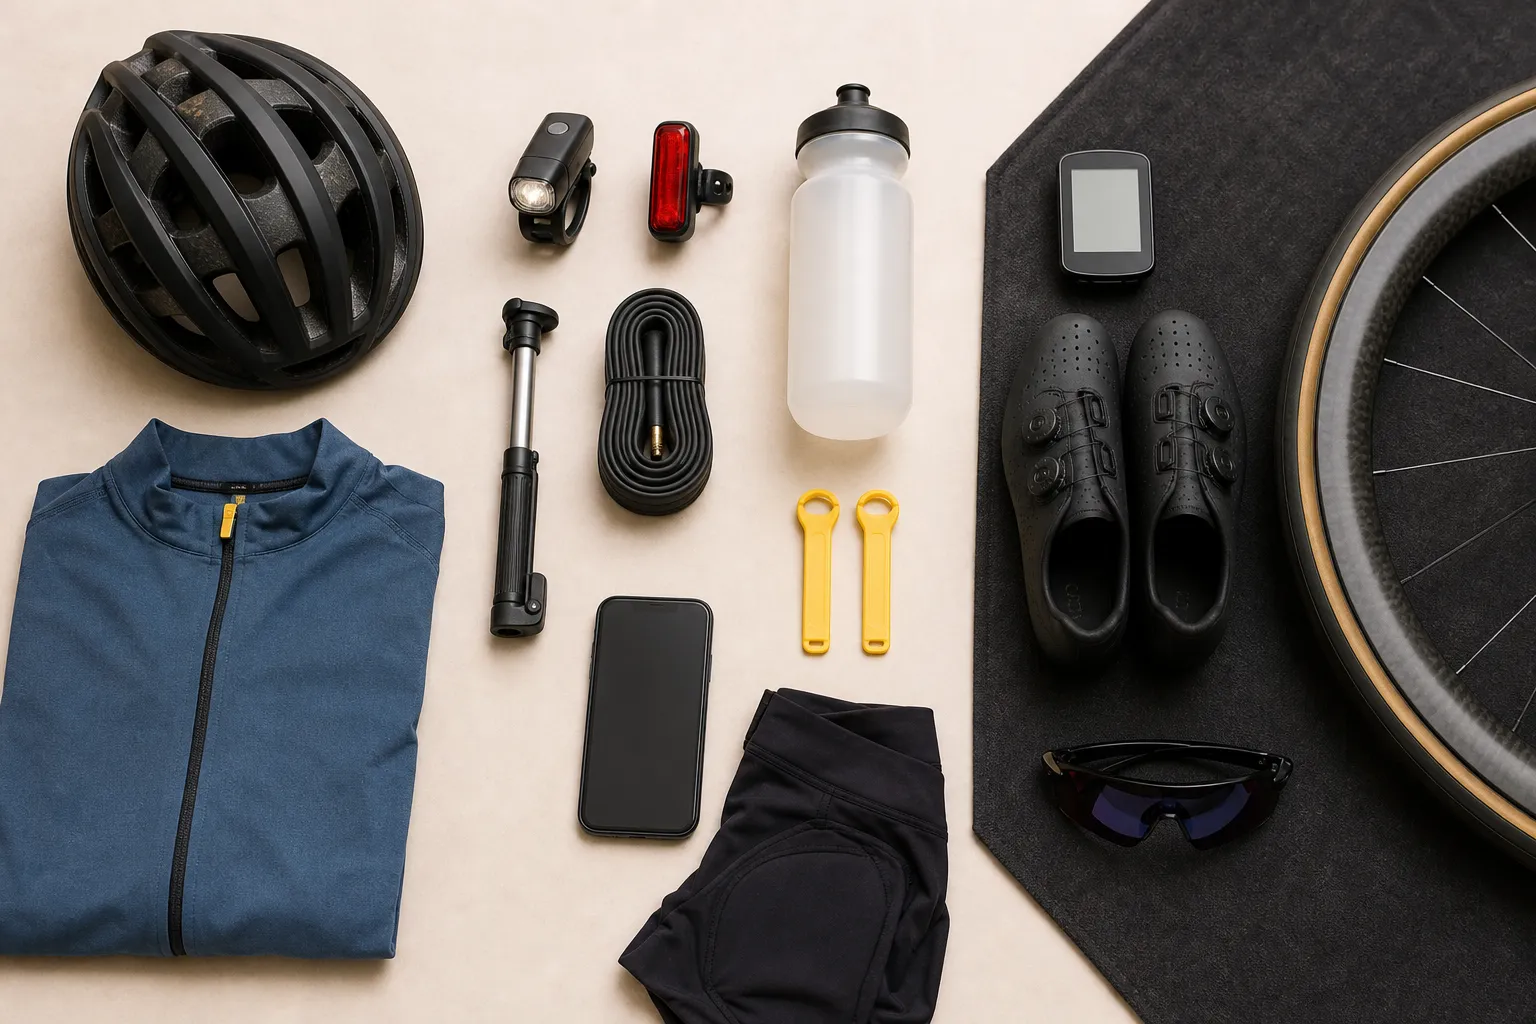
The 10°C paradox: why heavy jackets fail
Riding at 10°C is neither deep winter nor warm summer. It sits squarely in the transition zone, where two opposing physical forces collide:
- Metabolic heat output: While cycling at an ordinary endurance pace, your body converts energy into movement with roughly 20–25% mechanical efficiency. The remaining 75–80% becomes heat. A cyclist producing 150 watts at the pedals generates roughly 450–600 watts of thermal energy. That internal furnace raises your perceived temperature by 6°C to 10°C (10°F to 18°F) within 10 to 15 minutes of pedalling.
- Convective wind chill: At road speeds of 25–35 km/h (15–22 mph), incoming air constantly strips the microclimate of warmth from your chest, arms, and thighs. If your inner layers become wet with sweat, that air creates rapid conductive cooling.
If you wear a non-breathable winter jacket, you will overheat on climbs, soak your base layer with perspiration, and then freeze as soon as you crest the hill and descend into the wind. This is the sweat-freeze cycle. The solution is not more insulation; it is dynamic airflow and moisture transport.
The golden rule: dress for minute ten
A reliable test before rolling away from your house is the 10-minute rule:
If you feel perfectly warm and comfortable while standing still on your doorstep, you are overdressed.
When you first roll out, your arms and chest should feel slightly brisk. As your heart rate settles into your cruising cadence, your body temperature rises to meet the cold air. By kilometre three, you will feel balanced. If you dress to be warm at minute zero, you will be uncomfortably drenched by minute fifteen.
The modular 3-layer upper system
Instead of one thick garment, build your upper body protection from three lightweight, adjustable pieces that work together.
[ Outer Layer ]  -> Lightweight Windproof Gilet (blocks wind, vents back heat)
[ Middle Layer ] -> Short-Sleeve Jersey + Removable Arm Warmers
[ Base Layer ]   -> Technical Wicking Base Layer (keeps skin completely dry)
1. The next-to-skin base layer
Your base layer’s primary job is moisture evacuation, not heavy insulation. When skin stays dry, you stay warm.
- Synthetic open-mesh (polyester/polypropylene): Best for high-tempo rides or riders who run hot. It moves liquid sweat away from your skin toward the outer fabric almost instantaneously.
- Lightweight merino wool (150–200 gsm): Excellent for steadier, conversational-pace rides or damp days. Merino retains thermal resistance even if it holds moisture and resists odour naturally.
- Sleeve length: A sleeveless or short-sleeve base layer is ideal at 10°C. Long-sleeve base layers trap too much heat on long climbs and cannot be removed mid-ride without stripping down.
Never wear cotton next to your skin. Cotton absorbs up to 27 times its weight in water, collapses against the skin, and loses all insulating properties.
2. The mid layer: jersey and arm warmers
Wear your favourite short-sleeve summer cycling jersey paired with a set of fleece-backed (Roubaix) arm warmers.
Arm warmers are one of the most practical investments in road cycling:
- Full coverage: Pulled up under the jersey sleeves to the shoulders, they provide the exact thermal benefit of a long-sleeve autumn jersey.
- On-the-bike venting: Feeling warm on a climb? Push them down around your wrists like cuffs in two seconds without unclipping or stopping.
- Pocket stowage: If the sun breaks through and the temperature climbs to 14°C, pull them off entirely and fold them into the size of an apple in your centre jersey pocket.
3. The outer layer: the windproof gilet (vest)
A lightweight windproof cycling gilet is the cornerstone of 10°C riding. It protects your vital organs and chest from direct wind chill while leaving your underarms and back open to vent excess heat.
Key features to look for in a 10°C gilet:
- Windproof front membrane: Blocks cold airflow across your chest, lungs, and core.
- Mesh rear panel: Allows moisture and excess body heat escaping from your jersey to dissipate freely.
- Two-way front zip: Lets you unzip from the bottom upwards on climbs for extra airflow while keeping your neck protected.
- Pocket access: Rear slits or pockets so you can reach your phone and food without lifting the hem.
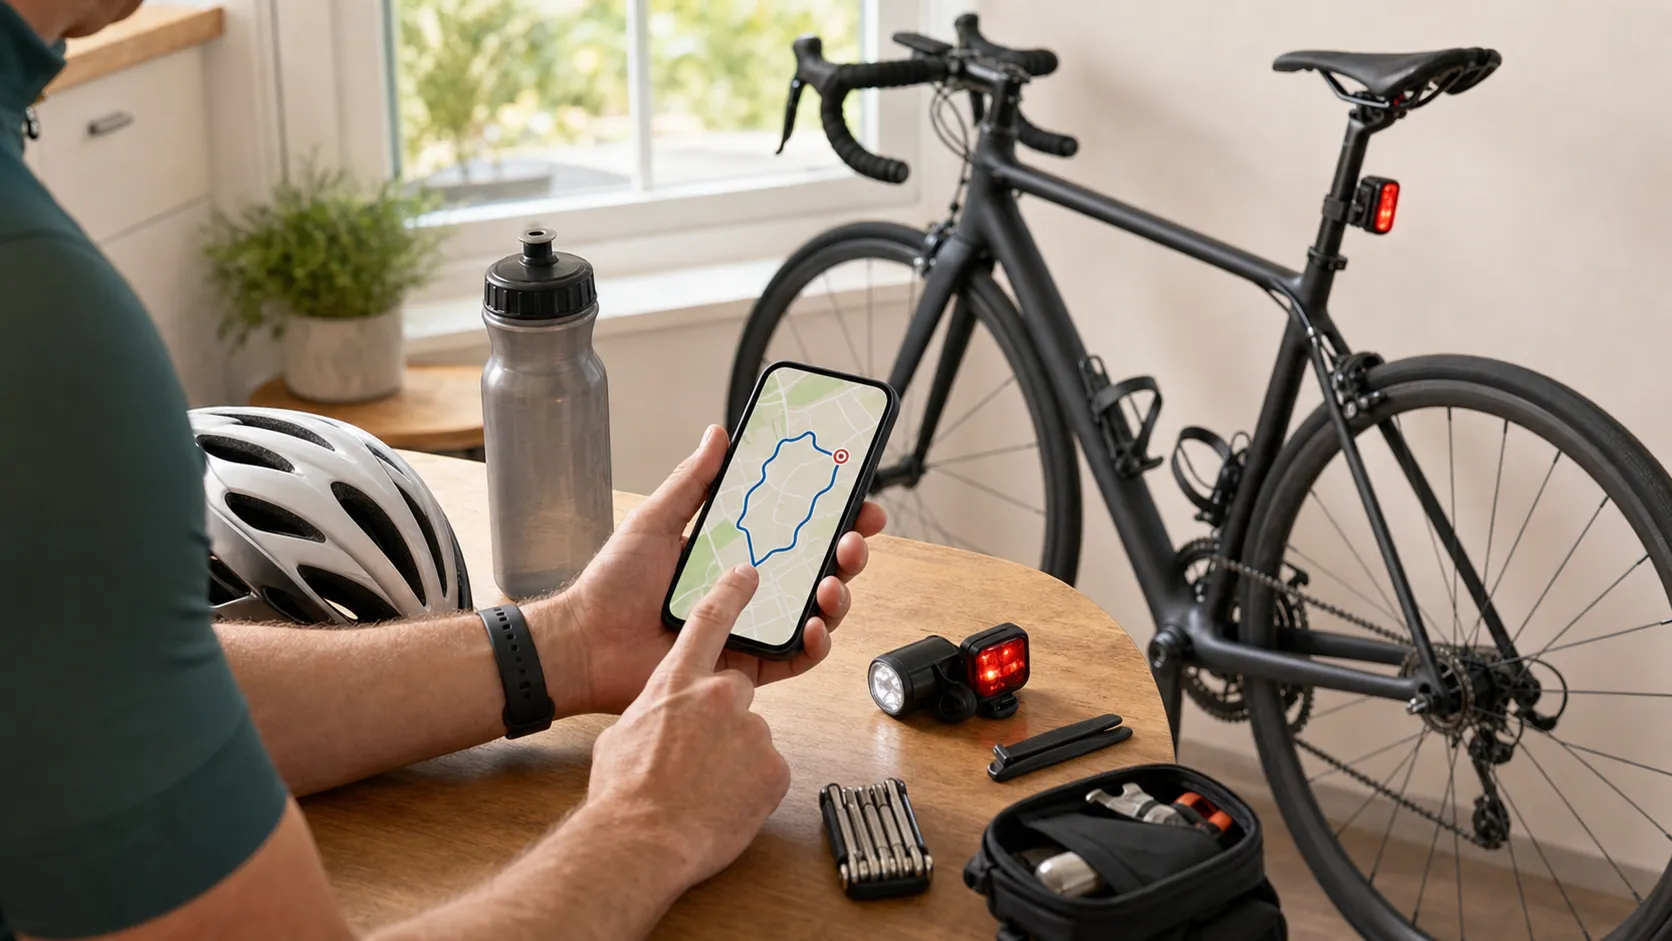
Lower body: protecting your knees
Your legs produce the mechanical power, meaning your thigh muscles generate plenty of warmth. However, your knee joints have very little insulating fat or muscular blood flow.
Exposing bare knees to cold air (under 15°C / 59°F) cools the synovial fluid inside the joint capsule, increasing fluid viscosity, stiffening the joint, and increasing patellar tendon strain.
Knee warmers vs thermal bib tights
| Garment | Best temperature range | Advantages | Limitations |
|---|---|---|---|
| Bib shorts + Knee warmers | 8°C to 15°C (46°F to 59°F) | Highly versatile, removable mid-ride, uses your existing summer shorts | Leaves lower calves exposed to spray |
| Bib shorts + Leg warmers | 5°C to 12°C (41°F to 54°F) | Full ankle-to-hip coverage, removable | Slightly bulkier to store in pockets |
| Thermal Roubaix bib tights | 0°C to 10°C (32°F to 50°F) | Seamless warmth, no gripper bands | Non-adjustable if the day warms up |
For 10°C, the classic combination of standard bib shorts plus fleece-lined knee warmers provides the ideal balance of joint protection, freedom of movement, and breathability. Position the top silicone gripper under the leg band of your bib shorts to prevent gaps.
Remember: cycling bib shorts and tights are designed to be worn directly against bare skin without underwear to prevent chafing.
Extremities: hands, feet, head, and neck
When your core experiences cold air, your peripheral blood vessels constrict to preserve internal organ temperature. Your hands and feet feel the cold first and recover last.
1. Hands: thin windproof full-finger gloves
Summer fingerless mitts leave fingertips numb at 10°C, which slows your braking response time and compromises handlebar control. Choose a thin, unpadded or lightly padded full-finger glove with a windproof back and grippy palm. Avoid bulky ski or deep-winter gloves; they reduce brake lever feel and make shifting clumsy.
2. Feet: toe covers over summer shoes
Road cycling shoes are engineered with open mesh vents and carbon sole ports to exhaust heat in 30°C summers. In 10°C weather, those vents turn your shoes into iceboxes.
- Windproof toe covers (booties): These slip over the front third of your shoe, blocking the intake vents while leaving your cleat and heel free for walking. They are cheaper and easier to put on than full overshoes.
- Merino wool socks: Pair toe covers with a midweight merino sock. Merino buffers temperature without increasing shoe volume or pinching your toes.
3. Neck: lightweight microfibre neck tube (buff)
A single thin neck tube covers the exposed gap between your collar and helmet strap. On chilly descents, pull it over your chin and mouth; during hard efforts, scrunch it down around your collarbones to prevent drafts.
4. Head: classic cycling cap
A traditional cotton or synthetic peaked cap worn under your helmet blocks cold wind from rushing through front helmet vents while absorbing forehead sweat. The peak also shields your eyes from low spring or autumn sun and road spray.
Temperature adjustment guide: 8°C vs 10°C vs 14°C
Weather is rarely just a number on a thermometer. Solar radiation, cloud cover, damp asphalt, and wind speed change your clothing requirements:
| Actual condition | Upper body setup | Lower body setup | Extremities |
|---|---|---|---|
| 8°C (46°F), Overcast / Breezy | Midweight base layer + long-sleeve thermal jersey + windproof gilet | Thermal bib shorts + knee warmers (or leg warmers) | Windproof gloves, full overshoes or toe covers, neck tube, cycling cap |
| 10°C (50°F), Dry / Typical | Mesh or light merino base + short-sleeve jersey + arm warmers + packable gilet | Summer bib shorts + fleece-backed knee warmers | Thin full-finger gloves, toe covers, merino socks, neck tube |
| 10°C (50°F), Wet roads / Drizzle | Synthetic base layer + water-resistant jersey + packable rain cape/gilet | Bib shorts + knee warmers + clip-on rear mudguard | Water-resistant neoprene gloves, full overshoes, peaked cap |
| 14°C (57°F), Sunny / Calm | Lightweight mesh base + short-sleeve jersey + lightweight arm warmers (in pocket) | Summer bib shorts (bare knees or unlined knee warmers) | Fingerless mitts or thin long-finger gloves, standard socks, bare shoes |
How to manage your layers during the ride
Layering is an active skill, not a static uniform. Use these three tactical habits:
- Unzip before the climb, not at the top: When you see a 5-minute climb approaching, pull your gilet zipper down before your effort spikes. This vents heat while your speed is slow. If you wait until you are sweating profusely at the summit, your clothes are already damp for the ensuing descent.
- Zip up before descending: Just before cresting a hill, zip your gilet up to your throat and pull up your neck tube. On a 50 km/h descent, wind chill will drop the effective temperature below freezing within seconds.
- Use the 3-pocket storage rule:
- Left pocket: Food, energy bars, and rubbish.
- Middle pocket: Packed gilet and removed arm/knee warmers.
- Right pocket: Phone, mini-pump, and card/keys.
For more details on packing roadside essentials cleanly, check our guide to essential road cycling gear.
Common 10°C clothing mistakes
- Wearing a heavy winter jacket: You will boil within 15 minutes, fill the sleeves with condensation, and suffer on every downhill.
- Riding with bare knees in single-digit temperatures: Cold tendons and thickened joint fluid lead to avoidable knee ache and tendonitis. Cover knees when it is below 15°C.
- Wearing cotton socks or t-shirts: Cotton holds moisture, cools rapidly against skin, and causes intense chills.
- Skipping shoe wind protection: Cold feet ruin rides faster than cold arms because your feet remain relatively stationary inside stiff cycling shoes.
- Over-layering the chest while forgetting the neck and hands: Your core will feel uncomfortably hot while your fingers struggle to pull the brake levers safely.
Pre-ride preparation for cool-weather conditions
Before setting off into brisk 10°C conditions, check both your clothing and your bicycle:
- Check tyre pressure: Cool air drops tyre pressure slightly (roughly 1–2 psi for every 5°C drop in temperature), and autumn roads often have damp patches or wet leaves. Review our guide on tyre pressure for beginner road cyclists to find your ideal balance of grip and comfort.
- Perform the five-minute safety check: Inspect your brakes, quick-releases/thru-axles, and steering using the five-minute pre-ride bike check. Cold fingers need responsive, predictable brakes.
- Clean and lubricate the chain: Cool, damp roads pick up grit that wears drivetrains quickly. Follow our instructions to clean and lubricate your road bike chain with a light all-weather lube.
- Plan your gearing: Shifting smoothly before gradient changes prevents sudden stalls in cold weather; see how to use road bike gears for cadence strategies.
- Review your checklists: If you are shopping for missing kit, use the starter gear checklist before paying for upgrades. If you are heading out for an inaugural cool-weather spin, run through the first ride checklist so you never leave your wind gilet or spare tube on the kitchen table.
Your next step
Lay out your kit on your bed the night before your next 10°C ride:
- Base layer (mesh or light merino).
- Short-sleeve jersey with arm warmers pushed into the sleeves.
- Windproof gilet folded into the centre pocket.
- Bib shorts and fleece-backed knee warmers.
- Thin full-finger gloves, toe covers on your shoes, and a cycling cap under your helmet.
Step outside, embrace the brief initial chill, and pedal into a comfortable, sweat-free ride.
Distribution pack
Share the useful part
Send the checklist directly to a beginner, local club chat, bike-shop helper, or new-rider thread without asking them to read a long guide first.
Use SIKLIST's 10°C road-cycling clothing checklist: base layer, jersey, arm warmers, windproof gilet, knee warmers, gloves, toe covers, cap, and neck tube.
https://siklist.com/guides/what-to-wear-road-cycling-10-degrees/?utm_source=siklist_share_pack&utm_medium=organic_share&utm_campaign=cool_weather_gear