What should you upgrade first on a road bike?
Use a needs-first upgrade order for tyres, contact points, gearing, wheels, and electronics—without replacing parts that already work for your riding.
 Field guide / what-to-upgrade-first-on-road-bike
Before you view or pay
Check fit, condition, and starter gear first
Use the buying checklist to choose the right path: used-bike viewing, first-bike fit and type, hidden repair costs, or starter gear.
The best first upgrade is the one that removes a specific limit you can already describe. For many sound entry-level road bikes, that means replacing worn or unsuitable tyres when replacement is due. For another rider it may be a better-fitting contact point, easier gearing, or no bike upgrade at all.
The short answer: make the bike safe and correctly fitted first. Carry the repair kit you need. Then identify one repeated problem, set a budget, and change one thing. Do not start with carbon wheels, electronic shifting, or a new groupset just because they are prominent in other riders’ recommendations.
Why upgrade advice gets expensive quickly
Recent Reddit discussions show the same question at several stages: a rider asks for a first component upgrade after only a few weeks, another reports a large perceived change after replacing stock tyres, and used-bike owners compare best-value upgrades. Those conversations reveal demand, not a universal ranking.
A component can feel transformative on one bike and pointless on another. The old tyre may have been slow, damaged, incorrectly inflated, or simply unsuitable for the surface. The second ride may also have different wind, traffic, fatigue, temperature, or effort. Treat rider reports as questions to test, not laboratory comparisons.
Use this order before buying performance parts
1. Fix safety and reliability
An upgrade budget is not available until the bike is mechanically sound. Check tyres, wheels, brakes, steering, crank security, drivetrain wear, and frame condition. A fresh chain installed before excessive wear can be better value than any performance accessory.
Start with the five-minute pre-ride check and the road-bike maintenance schedule. If a fault is outside your tools or knowledge, use when a road bike needs a mechanic.
2. Make sure the bike fits
Do not use parts shopping to disguise a bike-size or pain problem. Persistent numbness, joint pain, instability, or an inability to reach the controls deserves a fit assessment before faster wheels.
A saddle is not automatically an upgrade because it is lighter or more expensive. It is useful when its shape and position suit you. The same applies to handlebars, stems, pedals, shoes, and cleats. Begin with beginner road-bike fit and comfort and change one variable at a time.
3. Complete the ride-safety kit
A spare tube that fits, tyre levers, inflation method, identification, water, lights when conditions require them, and the knowledge to use them usually improve real rides more than a lighter component. Use the starter gear checklist before buying duplicates or incompatible spares.
4. Name the repeated limit
Write one sentence after each of your next five rides:
- “I cannot use the lowest gear comfortably on my local climb.”
- “The tyre loses grip or gets frequent cuts on this surface.”
- “My hands cannot reach the brake levers securely.”
- “The rear wheel goes out of true repeatedly.”
- “I run out of storage for a jacket and food.”
“The bike feels basic” is not yet a diagnosis. A repeated, specific limit is.
When tyres are the sensible first change
Tyres influence grip, puncture protection, comfort, rolling behaviour, and handling, so they are a common first performance change. Replace them when they are worn or damaged, or when the current model is clearly mismatched to your surface and priorities.
Before ordering, confirm:
- wheel diameter and labelled tyre size;
- rim compatibility and permitted tyre range;
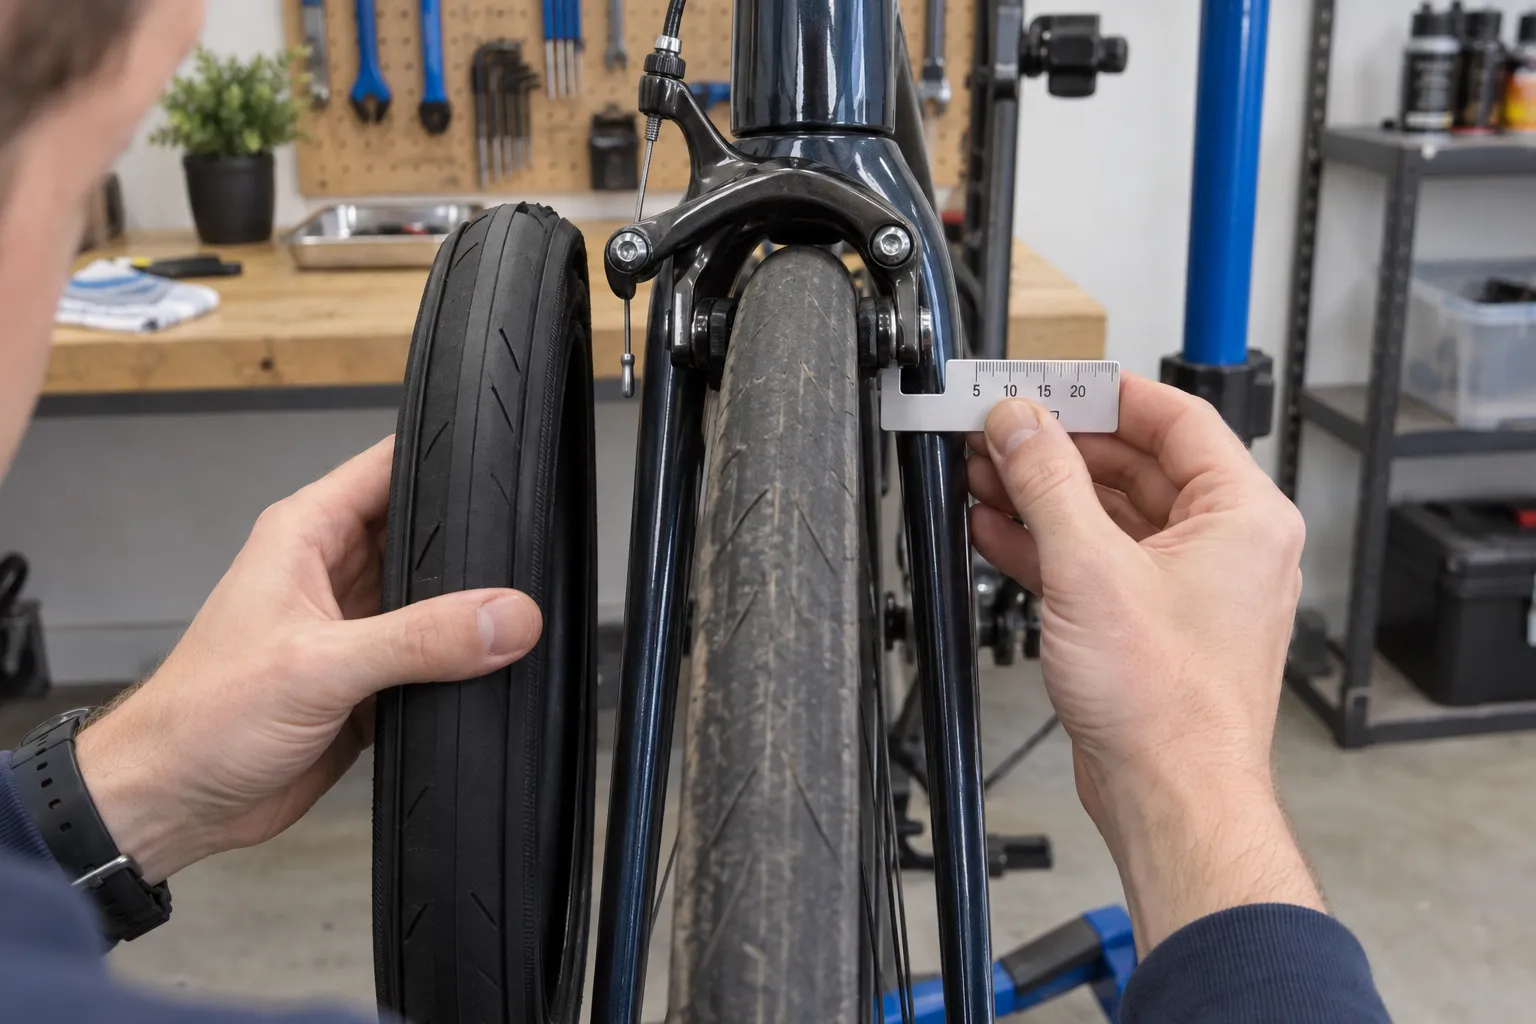
- clearance at the frame, fork, brakes, and mudguards;
- tube, tubeless, or hookless requirements;
- the bike, wheel, and tyre makers’ pressure limits;
- the load and roads the tyre must handle.
The nominal size printed on the sidewall is not the final installed width on every rim. Never assume a wider tyre will fit because another rider uses that label. Read fitting wider tyres to an older road bike and set pressure with the beginner tyre-pressure guide.
Do not discard usable tyres solely to copy a product mentioned online. You can wait until replacement is due, then choose a model that better matches your priorities.
Where other upgrades fit
| Upgrade | It makes sense when | Check first |
|---|---|---|
| Easier cassette or chainrings | Your lowest compatible gear is repeatedly too hard | Derailleur limits, total capacity, chain length, freehub, terrain |
| Saddle, bars, stem, tape, shoes | A confirmed contact-point problem remains after basic setup | Bike size, control reach, position, return policy |
| Wheels | The current set is damaged, unreliable, unsuitable, or you have a defined performance goal | Axles, freehub, brakes, tyre system, clearances, rider/load limits |
| Power meter or computer | Structured data will change how you train or navigate | Measurement goal, compatibility, battery and data habits |
| Groupset | Multiple parts are worn or the present system cannot meet a defined need | Full parts and labour cost versus another complete bike |
| New bike | Fit, tyre clearance, brake type, gearing, or use case cannot be solved sensibly | Complete ownership budget and test ride |
An “upgrade” that creates a compatibility chain is a small rebuild. Wheels can require different rotors, cassettes, spacers, axles, tyres, valves, and brake adjustments. A cassette with a larger largest sprocket may require a different derailleur, chain, and setup. Price the complete system before committing.
Test one change honestly
Record the problem before fitting the part. After installation, verify torque, wheel security, brake function, shifting, clearances, and tyre pressure as applicable. Test first in a flat, traffic-free area.
Then repeat familiar rides across several days. Ask:
- Did the original problem improve?
- Did a new problem appear?
- Is the difference noticeable without watching speed?
- Would maintenance, technique, training, or pressure have solved it?
- Is the removed part worth keeping as a serviceable spare?
Do not use one average-speed result as proof. Wind, route, stops, position, and effort can overwhelm a component difference. The guide to why average speed is a poor beginner scoreboard explains why.
Your next step
Do not open a shopping page yet. Check the bike, pack the essential repair kit, and write down the one problem that has appeared on several rides. If there is no repeated problem, keep riding. If there is, confirm compatibility and solve that problem with the smallest complete change.