When does your road bike need a mechanic instead of another adjustment?
Use a stop-riding triage to decide which road-bike symptoms need a mechanic now, which can wait for booked service, and which checks are safe at home.
 Field guide / when-road-bike-needs-mechanic
Your road bike needs a mechanic now when the problem can affect braking, steering, wheel retention, tyre integrity, or structural safety—and you cannot identify and correct it using the exact instructions. Routine noise or slow wear may allow a booked service, but repeated guessing is not maintenance.
The short answer: first decide whether the bike is safe to move under its own power. Then describe the symptom precisely, check only what you can inspect without dismantling, and hand over the diagnosis when tools, documentation, competence, or a reliable test are missing.
The maintenance question beneath the noise
A highly discussed recent cycling thread about squeaky drivetrains, brake noise, and neglected routine service prompted beginners to ask where maintenance should start. The important beginner skill is not learning every repair. It is sorting symptoms into three queues:
- Stop riding and inspect now.
- Book service soon and monitor without pretending the fault is fixed.
- Perform a documented home check within your competence.
Noise can help, but quiet does not equal safe. A loose wheel or worn pad may not announce itself dramatically.
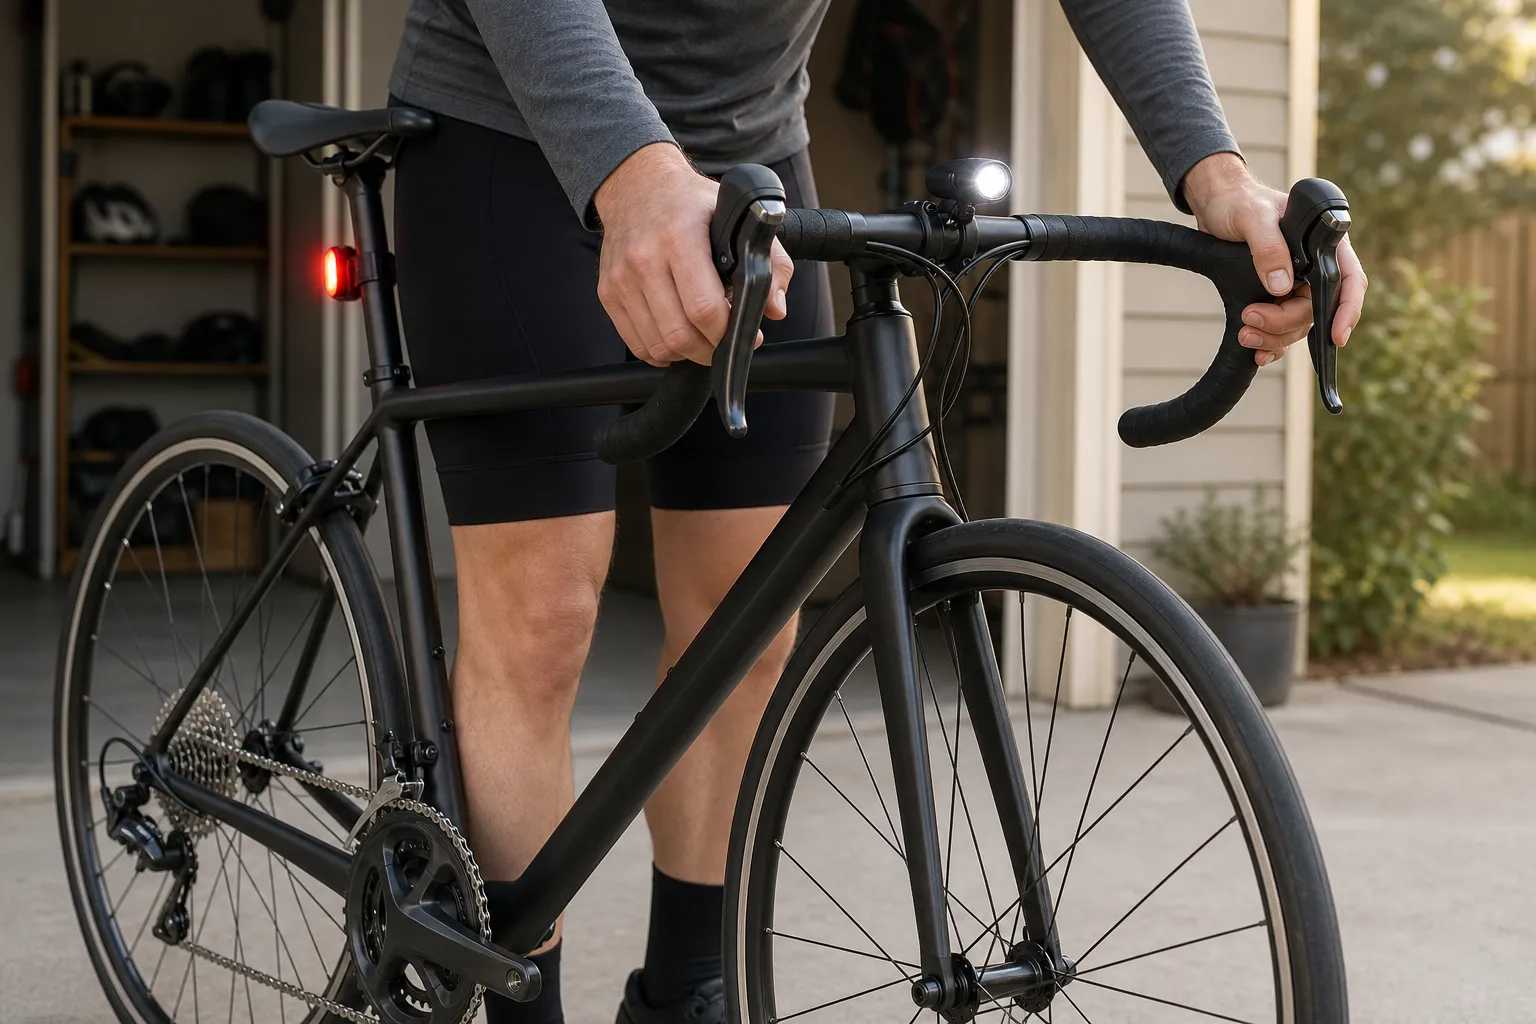
Stop riding for these symptoms
Walk the bike or arrange transport when you find:
- a brake that does not stop its wheel predictably;
- a lever that suddenly changes travel, reaches the bar, leaks, or feels inconsistent;
- a wheel or axle that is loose, incorrectly seated, or will not secure normally;
- movement between handlebar, stem, steerer, headset, fork, or frame;
- steering that binds, catches, grinds, or changes after an impact;
- a tyre bulge, exposed casing, large cut, or repeated sudden pressure loss;
- a cracked, dented, deformed, delaminated, or uncertain frame, fork, bar, stem, rim, or crank;
- a derailleur, hanger, chain, or damaged spoke close enough to enter the wheel;
- a pedal, crank, saddle, or control that moves under load;
- any fault that began after a crash or hard strike and has not been inspected.
Do not ride to the workshop to prove the symptom. Video it while stationary if that can be done safely, note when it began, and ask the shop whether it offers collection.
Book service soon when the bike still passes safety checks
Some symptoms may not require an emergency stop but should not become the new normal:
- shifts hesitate or need more than one command;
- the chain skips under load;
- brake pads, tyres, chain, cables, or bearings are approaching documented wear limits;
- a rub or creak returns after a correct basic check;
- a wheel is slightly out of true but remains clear of the frame and brake;
- tubeless sealant is due according to the product instructions;
- a fastener repeatedly loosens despite the correct procedure;
- corrosion, water ingress, or rough bearings are visible;
- an electronic system reports a recurring fault.
Monitor does not mean ignore. Record whether the symptom is stable, getting worse, limited to one gear, linked to braking, or triggered by standing, turning, rain, or wheel removal. That description can save diagnosis time.
The realistic maintenance schedule handles routine timing. This guide handles the moment when the bike behaves differently from usual.
Safe beginner checks before the appointment
Without loosening safety-critical parts, you can usually gather useful evidence:
- Clean only enough to see the area; do not erase a leak before photographing it.
- Confirm the symptom with the bicycle stationary.
- Record the exact component model and any error lights or messages.
- Check the owner’s manual and component instructions for inspection points.
- Photograph damage with one wide view and one close view beside a scale.
- Note the last change: wheel removal, puncture, crash, wash, transport, new part, or adjustment.
- Stop if confirming the symptom would require a road test on an unsafe bike.
Do not spray lubricant at a noise. Lubricant on a brake rotor, rim braking surface, pads, or tyre can create a larger problem. Do not tighten a bolt “just in case” without the required sequence and torque.
Match the repair to your evidence, not your confidence
| Situation | Sensible route |
|---|---|
| Exact manual, correct tools, low-risk adjustment, clear test | Home maintenance may be reasonable |
| Safety-critical system but exact procedure and competence are missing | Qualified mechanic |
| Carbon, internal routing, hydraulic opening, wheel build, press-fit part, or structural uncertainty | Specialist or qualified mechanic |
| Repeated fault after one correct adjustment | Diagnosis, not another adjustment |
| Symptom only under riding load | Describe conditions; do not create a dangerous test |
| Unclear crack or impact damage | Manufacturer-approved inspection route |
A beginner is not failing by paying for a repair. Good maintenance includes knowing when the next action requires a better stand, gauge, torque tool, bleeding equipment, alignment tool, replacement part, or experienced eye.
Brake wear illustrates why model instructions matter
Do not use one internet number for every braking system. Pad material, backing plate, wear indicator, caliper, and rotor limits vary.
One Shimano road disc-brake dealer manual says to replace its compatible pads when friction material is down to 0.5 mm, contaminated with oil, or when the pad spring interferes with the rotor. That is a model-family instruction, not a universal bicycle threshold. Find the documentation for your actual caliper and pad before measuring or buying.
Use when to replace rim-brake pads for rim systems. If a hydraulic system leaks or a brake changes suddenly, keep the bike parked and book service rather than waiting for a scheduled mileage interval.
Ask the shop better questions
When booking, provide:
- bike make, model, year, and size if known;
- relevant component model numbers;
- the exact symptom and when it first occurred;
- whether there was a crash, wheel removal, wash, transport, or recent repair;
- whether braking, steering, or wheel security is affected;
- what you already checked or changed;
- photos or a short stationary video;
- the date of an event or trip, without demanding unsafe haste.
Ask for a diagnosis and estimate before upgrades are added. If the repair may reveal more damage, agree on a spending threshold for further authorisation.
Build a maintenance boundary
Choose three lists for your own bike:
- I can inspect: tyre condition and pressure, pad visibility, chain cleanliness, obvious looseness, lights.
- I can service with exact instructions: perhaps tube changes, chain lubrication, or a documented barrel adjustment.
- I book out: hydraulic brakes, structural inspection, wheel building, internal routing, or anything else outside your tools and competence.
The lists can change as you learn. Safety should not depend on pretending they are already identical.
Your next step
Do the five-minute pre-ride check with a bright light. If the bike fails a brake, wheel, steering, tyre, or structural check, keep it parked and send a mechanic the seven booking details above. If it passes, add the routine tasks to the maintenance schedule instead of waiting for noise.