Can you fit 28mm or 30mm tyres on an older rim-brake road bike?
Check if your older rim-brake road bike has clearance for 28mm or 30mm tyres: caliper brake arch limits, frame clearance, rim width, and the 4mm Allen key test.
 Field guide / fitting-wider-tyres-older-road-bike
Before you buy
Check the starter kit first
Print the one-page buying brief for helmet, lights, water, phone, and repair compatibility before comparing upgrades.
Upgrading to 28mm or 30mm tyres is the most effective way to make an older road bike smoother, grippier, and more comfortable. However, whether wider rubber actually fits on an older rim-brake bike depends on four strict mechanical limits: your brake caliper arch height, fork crown clearance, chainstay width behind the bottom bracket, and your rim’s internal width. Most pre-2015 rim-brake bikes comfortably take 25mm tyres, some accept 28mm, but very few clear 30mm.
The short answer: do not buy 28mm or 30mm tyres before testing your bike’s existing clearance. Inflate your current tyres to full riding pressure and slide a 4mm Allen key between the rubber and every surrounding frame, fork, and brake surface. If a 4mm key passes freely with 2–3mm of extra space to spare on 23mm or 25mm tyres, a 28mm tyre will usually fit safely. If the 4mm key binds or rubs anywhere, stick with high-quality 25mm tyres.
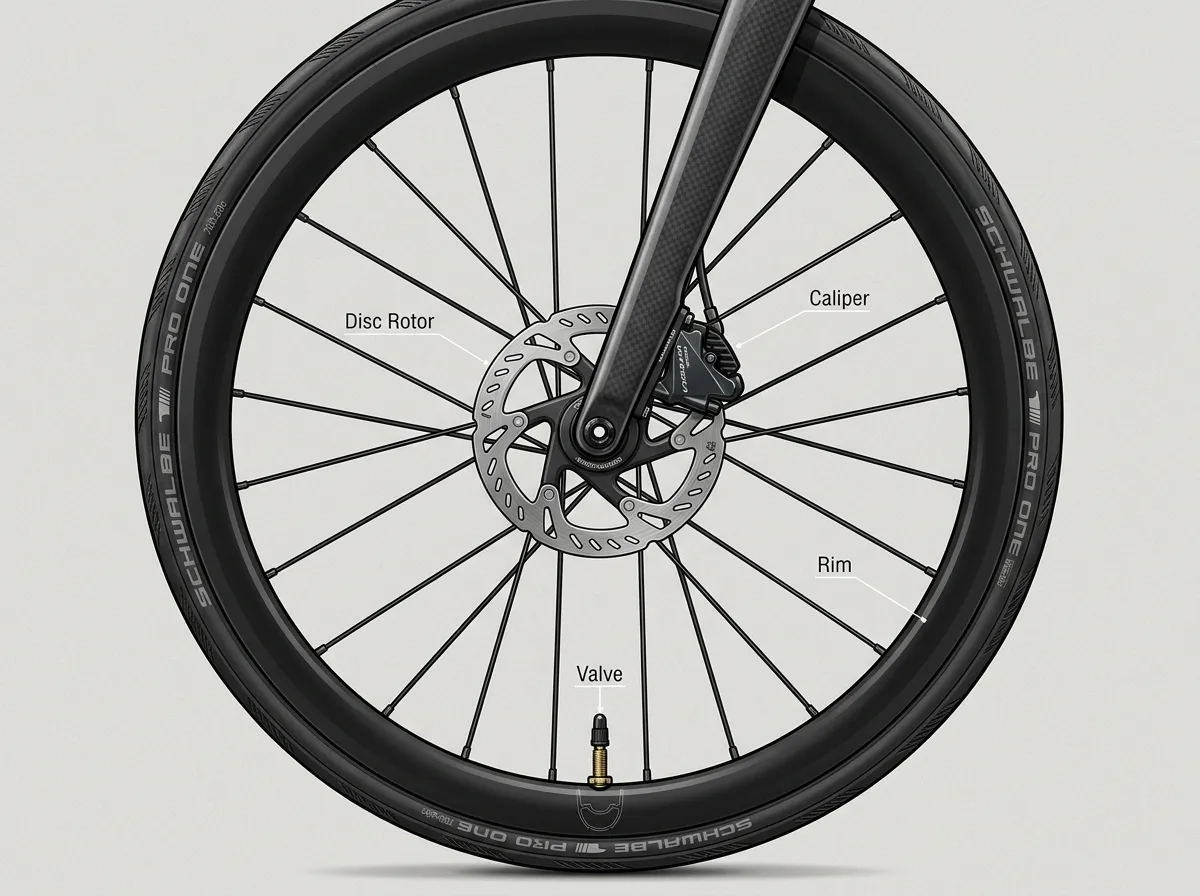
Why older road bikes struggle with wider tyres
To understand why 28mm tyres can be a tight squeeze on rim-brake bikes, look at how road bikes were designed between 1995 and 2015.
For nearly two decades, professional peloton wisdom insisted that ultra-narrow tyres (19mm to 23mm) inflated to rock-hard pressures (100–120 psi / 7–8.3 bar) were the fastest setup. Bicycle manufacturers engineered frames and components specifically around these dimensions:
- Standard short-reach calipers: Standard road rim brakes have a brake reach of 39–49mm (found on groupsets like Shimano Dura-Ace 7900/9000, Ultegra 6700/6800, 105 5700/5800, SRAM Red/Force, and Campagnolo Skeleton). Their curved aluminium arches were sculpted tightly over 23mm tyres for aerodynamics and structural stiffness.
- Tight frame clearances: Carbon forks, chainstay bridges, and seat tubes were molded with minimal gaps to keep wheelbases short and handling snappy.
- Narrow rim internal widths: Older wheelsets typically used 13mm to 15mm internal rim widths (13C or 15C).
Around 2014–2016, rolling-resistance testing and real-world data conclusively proved that wider tyres running lower pressures roll faster on real asphalt because they absorb surface roughness rather than bouncing over it. Modern disc-brake road bikes now regularly clear 32mm to 38mm tyres.
Shimano redesigned its rim-brake calipers with the Dura-Ace R9100, Ultegra R8000, and 105 R7000 series (released 2017–2018) to officially clear modern 28mm tyres. However, if your bike dates from the 10-speed or early 11-speed era, your clearance is governed by tighter physical boundaries.
The 4 key clearance pinch points
When a wider tyre expands, it grows both laterally (wider) and vertically (taller). You must verify clearance at all four critical choke points on your bicycle:
+-----------------------------------------------------------------+
| THE 4 CLEARANCE PINCH POINTS ON A RIM-BRAKE ROAD BIKE           |
|                                                                 |
| 1. BRAKE CALIPER ARCH    -> Vertical limit under pivot bolt     |
| 2. FORK CROWN UNDERSIDE  -> Vertical limit beneath front fork   |
| 3. CHAINSTAYS AT BB      -> Lateral limit between rear stays    |
| 4. SEAT TUBE & FD CLAMP  -> Fore-aft limit behind seat tube     |
+-----------------------------------------------------------------+
1. The brake caliper arch (vertical limit)
The underside of the brake caliper—specifically the center pivot bolt and inner arch of both front and rear brakes—is usually the first place a 28mm or 30mm tyre rubs. Because wider tyres have a taller profile, the centre of the tread can rub against the underside of the caliper arm when spinning, particularly if a pebble gets stuck in the tread.
2. Fork crown underside (vertical limit)
On carbon and aluminium forks, the underside of the fork crown sits directly above the front tyre. Even if a brake caliper has sufficient reach, the fork crown itself may only leave 1–2mm of clearance over a tall 28mm tyre, creating a dangerous trap for road grit.
3. Chainstays behind the bottom bracket (lateral limit)
As the rear tyre widens, its widest point sits right where the left and right chainstays join the bottom bracket shell. Older aluminium and carbon race frames often narrow sharply here. If you install a 28mm tyre on a frame designed for 23mm, the tyre’s side knobs or casing can rub directly against the inside faces of both chainstays.
4. Seat tube and front derailleur clamp (fore-aft limit)
A taller tyre expands forward toward the back of the seat tube. On bikes with aggressive, short-chainstay race geometry (such as older Cervélo S-series, Specialized Venge/Tarmac, or Cannondale SuperSix), the tyre tread can come within a millimeter of the seat tube or the front derailleur band clamp bolt.
The 4mm Allen key test: workshop check
You do not need digital micrometers to check if your bike can handle wider tyres. You can use standard Allen (hex) keys as precise feeler gauges.
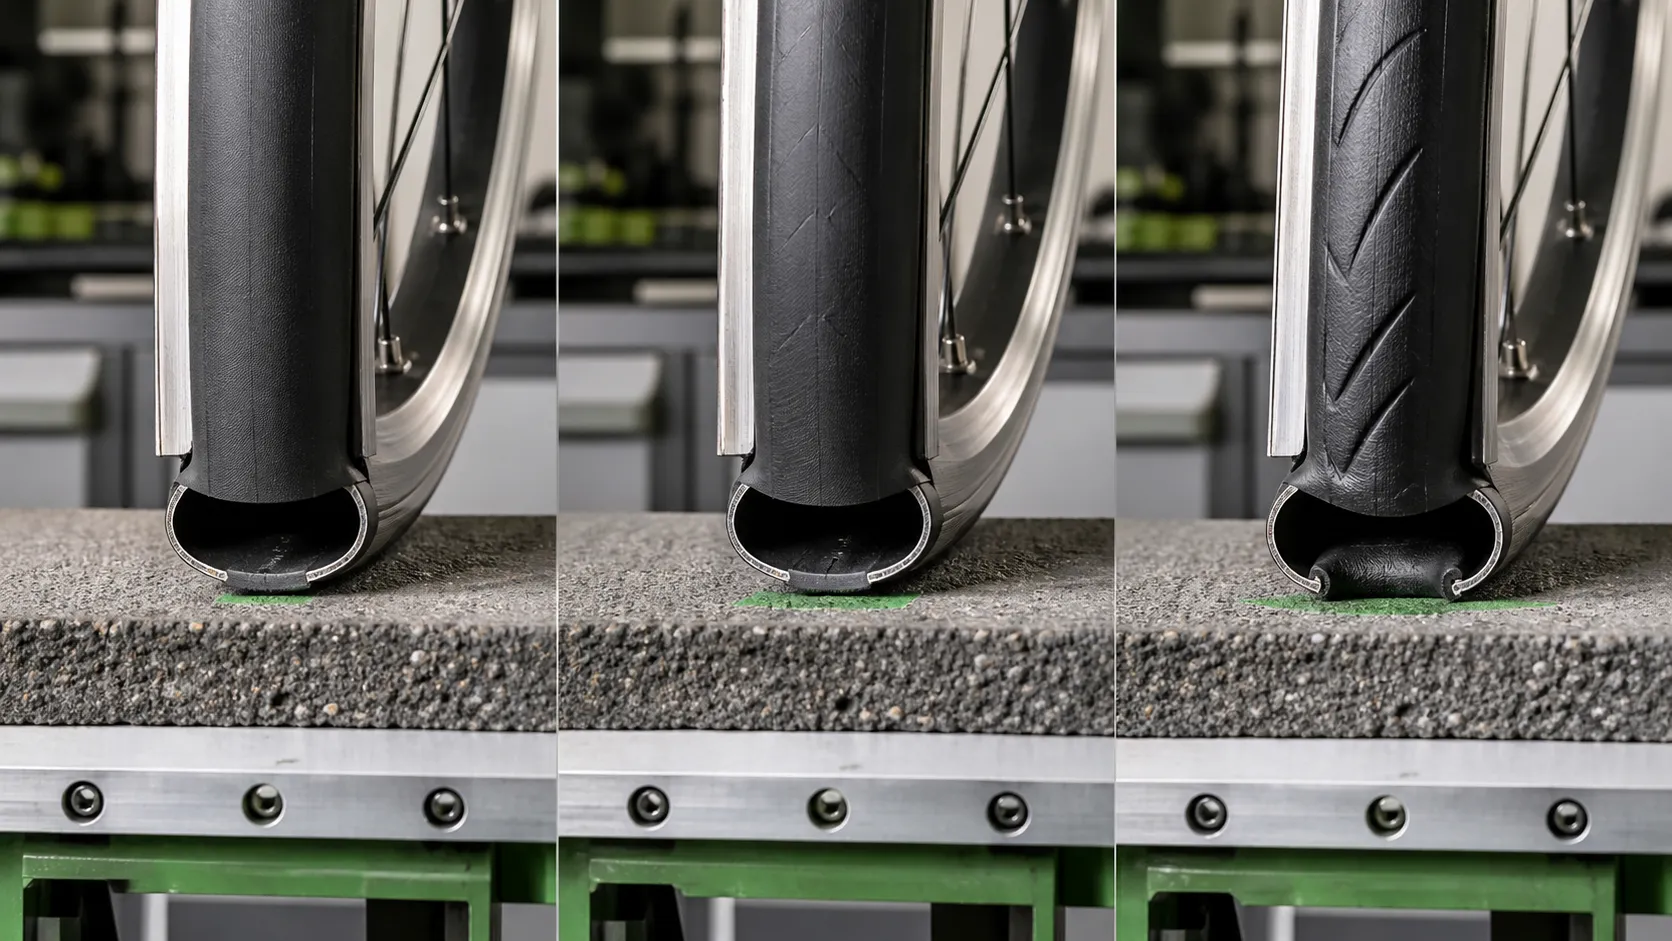
How to perform the test step-by-step
- Inflate your current tyres: Pump your existing front and rear tyres (whether 23mm or 25mm) to your normal riding pressure. (If you need a baseline, review tyre pressure for beginner road cyclists).
- Grab a 4mm and a 5mm Allen key: A standard hex key provides an exact, rigid measurement gauge.
- Perform the full 360° sweep: Slide the 4mm Allen key into the gap between your tyre and the frame/brake at all four pinch points:
- Under the front brake caliper arch
- Under the fork crown
- Under the rear brake caliper arch and bridge
- Between the left chainstay and tyre sidewall
- Between the right chainstay and tyre sidewall
- Between the tyre tread and seat tube
- Between the left seatstay and tyre sidewall
- Between the right seatstay and tyre sidewall
- Spin the wheel slowly: Rotate each wheel a full turn while holding the key in position to ensure wheel runout or minor out-of-true wobbles do not pinch the key.
Interpreting your results
| Current tyre size | Allen key test result | Can you upgrade? | Recommended action |
|---|---|---|---|
| 23mm installed | 5mm+ key passes easily everywhere | Yes — 25mm or 28mm | 25mm will fit with generous clearance; 28mm is likely viable if 6mm+ clearance exists. |
| 23mm installed | 4mm key passes, but 5mm key jams | Yes — 25mm only | Step up to 25mm. Do not attempt 28mm; it will leave dangerously small clearance. |
| 23mm installed | 4mm key binds or cannot pass | No upgrade | Stay on 23mm. Frame or brake geometry is too tight for wider rubber. |
| 25mm installed | 5mm+ key passes easily everywhere | Yes — 28mm | 28mm tyres will fit safely while maintaining required 3–4mm buffer. |
| 25mm installed | 4mm key passes snugly | Borderline — proceed with caution | A nominal 28mm tyre may rub when flexing or picking up wet grit. Stick with supple 25mm tyres. |
| 25mm installed | 4mm key binds or rubs | No — stay on 25mm | 28mm tyres will definitely rub frame or brake arches. |
Why 3–4mm of clearance is non-negotiable
Beginners often ask: “If a 28mm tyre leaves 1.5mm of daylight under the brake arch and doesn’t rub in the workstand, isn’t that good enough to ride?”
The answer is an emphatic no. The international bicycle safety standard (ISO 4210) mandates a minimum of 4mm of clearance between tyres and any non-rotating component on road bikes. Here is what happens when you ride with less than 3mm of static clearance:
- Dynamic wheel and frame flex: When you stand up to climb a steep hill or sprint out of a junction, your body generates hundreds of watts of lateral torque. Wheel rims, spokes, carbon forks, and frame stays flex laterally by 1.5mm to 3mm under load. A tyre that clears in a repair stand will rub against your chainstays under pedal load.
- Debris abrasion: Wet roads coat tyres in water, road grit, sharp sand, and micro-flints. With 4mm of clearance, debris is thrown clear. With 1mm to 2mm of clearance, grit gets dragged repeatedly against carbon fibre forks or aluminium stays, grinding away paint and structural composite material like sandpaper.
- Spoke out-of-true margin: If you hit a pothole mid-ride and break a spoke or introduce a 1.5mm wheel buckle, an adequately cleared tyre allows you to ride home safely. A tyre with razor-thin clearance will immediately jam against the frame.
Narrow rim internal width vs installed tyre ballooning
Tyre size is not an absolute number; it is an interaction between the tyre casing and your wheel rim.
Older rim-brake wheels were built with narrow internal rim widths—typically 13mm (13C) or 15mm (15C) (such as classic Mavic Open Pro, Aksium, Ksyrium, or Shimano RS10/RS20 rims). Modern road wheels have internal widths of 19mm to 21mm (19C/21C).
       NARROW RIM (15C)                     WIDE RIM (19C)
     Tall, "Lightbulb" Shape               Broad, Rounded Shape

          .---''''---.                         .------------.
        /              \                     /                \
       |   28mm tyre    |                   |    28mm tyre     |
       |  grows TALLER  |                    \                /
        \              /                      '--.        .--'
         '--.      .--'                          |        |
            | 15mm |                             |  19mm  |
            +------+                             +--------+
The “lightbulb” profile and vertical height
When you mount a wide 28mm tyre onto a narrow 15C rim:
- The tyre beads are squeezed close together at the rim bed.
- The tyre casing balloons outwards and upwards, creating a rounded “lightbulb” profile.
- The tyre’s height (vertical diameter) increases significantly, making it much more likely to hit the brake caliper arch or fork crown than if mounted on a wider rim.
- The actual measured width may only be 26.5mm to 27.2mm, but the vertical crown will be taller.
Tyre sidewall squirm
Running wide tyres at lower pressures on narrow 13C/15C rims reduces lateral stability. In hard cornering, the tyre casing can “roll” or squirm slightly over the rim. If you fit 28mm tyres to 15C rims, you should not drop pressures as low as you would on modern 19C rims. Check our guide on why maximum tyre pressure is not a target to dial in a stable, compliant pressure.
Caliper brake mechanics: the wheel removal challenge
Even when a 28mm tyre fits inside the frame and under the caliper while riding, there is another practical hurdle: getting the inflated wheel in and out of the bike.
Rim-brake calipers feature a quick-release cam lever (on Shimano and SRAM) or a push-pin on the brake lever hood (on Campagnolo) that opens the brake pads apart so the tyre can pass through when installing or removing the wheel.
- On older brakes designed for 23mm tyres, opening the quick-release cam only spreads the pads about 26mm to 27mm apart.
- An inflated 28mm tyre will catch on the rubber brake pads.
How to handle this without frustration
- Method 1: Squeeze the tyre firmly. Squeezing the inflated rubber with your hand as you push the wheel past the brake pads is often enough to pop it through.
- Method 2: Back off the barrel adjuster. Turn the brake cable barrel adjuster all the way down (clockwise) to give maximum slack when the quick-release is opened.
- Method 3: Deflate before removal. For 28mm tyres on very tight calipers, carry a mini-pump or CO2 inflator: simply deflate the tyre before removing the wheel, install the wheel into the dropouts, and inflate it once locked into place.
Clearance across rim-brake eras: what to expect
| Era / Bike Category | Typical Stock Size | Max Realistic Size | What limits the upgrade? |
|---|---|---|---|
| Pre-2010 Race Bikes (e.g., Trek Madone 5-series, Specialized Tarmac SL2, Cannondale CAAD9) |
23mm | 25mm max | Short-reach calipers, tight fork crowns, and narrow chainstays at BB. 28mm almost never fits. |
| 2010–2015 Race Bikes (e.g., BMC Teammachine SLR01, Giant TCR Advanced, Cervélo R3) |
23mm / 25mm | 25mm guaranteed; 28mm rare (20%) | Caliper arches and chainstay width. High-end race forks have very tight crown clearance. |
| 2010–2016 Endurance Bikes (e.g., Trek Domane Rim, Specialized Roubaix, Cannondale Synapse) |
25mm | 28mm usually fits (80%) | Designed with taller fork crowns and wider stays. 28mm fits easily; 30mm occasionally clears. |
| 2017–2021 Late Rim-Brake Bikes (Equipped with Shimano R7000 / R8000 / R9100 or Direct-Mount) |
25mm / 28mm | 28mm guaranteed; 30mm possible (40%) | Calipers officially redesigned for 28mm. Chainstays or seat tube are the only remaining limits. |
Step-by-step upgrade checklist
If you want to upgrade your older road bike to wider tyres, follow this safe workshop sequence:
Step 1: Pre-purchase clearance check
- Inflate current tyres to full pressure.
- Slide a 4mm Allen key through all 4 pinch points (brake arches, fork crown, chainstays, seat tube).
- Ensure at least 2mm of extra wiggle room beyond the 4mm key before ordering 28mm tyres.
Step 2: Check your inner tubes and rim tape
- Verify your inner tubes support the new width. Standard 700x18–23c tubes will stretch too thin inside a 28mm tyre, increasing puncture risk. Purchase 700x25–32c inner tubes.
- Check valve stem length (48mm for shallow box rims; 60mm+ for deep-section rims).
- Inspect internal rim tape for wear or spoke-hole depression before mounting new rubber.
Step 3: Test fit the tightest wheel first
- Mount the new tyre on the rear wheel first (the rear chainstay junction is almost always tighter than the front fork).
- Inflate to your planned target pressure (typically 65–80 psi depending on rider weight; see tyre pressure for beginner road cyclists).
- Re-test every pinch point with your 4mm Allen key on the newly mounted, fully inflated tyre.
Step 4: Spin and flex check
- Clamp the bike in a workstand or lift the rear wheel and spin it briskly. Check for any rubbing against the brake caliper or frame.
- Check brake pad alignment: ensure brake pads strike the aluminium braking track squarely and do not touch the inflated tyre sidewall when squeezed. Review road bike anatomy if unsure how rim brake calipers center.
- Apply firm sideways thumb pressure to the tyre casing near the chainstays to simulate cornering flex; ensure it does not touch the frame.
Step 5: Shakedown test ride
- Take a short 10-minute dry test ride on a flat, quiet street. Include a few hard out-of-the-saddle pedal strokes.
- Listen carefully for any rhythmic “shhh-shhh” sound (a sign of tyre rub under frame flex).
- Inspect the chainstays and fork crown for any rub marks before taking the bike on longer or wet routes.
What to do if 28mm tyres do not fit
If your bike fails the 4mm Allen key test for 28mm tyres, do not be discouraged. You can still dramatically transform your ride quality:
- Fit premium, supple 25mm tyres: Upgrading from budget 23mm or wire-bead tyres to high-performance, high-thread-count (TPI) folding 25mm tyres (such as Continental Grand Prix 5000, Vittoria Corsa N.EXT, or Schwalbe One) offers a massive improvement in grip, road vibration dampening, and speed.
- Optimise your tyre pressure: Most beginners overinflate their tyres by 20–30 psi. Dropping your 25mm tyres to a calculated, weight-based pressure delivers nearly the same comfort benefit as moving to wider tyres. Read the maximum tyre pressure is not a target for exact setup rules.
- Fit quality lightweight butyl or TPU inner tubes: Modern TPU (thermoplastic polyurethane) tubes reduce rolling resistance and increase casing suppleness without requiring extra frame clearance.
Your next step
Before buying new tyres, take five minutes in your garage or living room:
- Grab a 4mm and 5mm Allen key.
- Run the sweep around your front fork crown, brake calipers, and rear chainstays.
- Check the clearance table above to decide whether to purchase 25mm or 28mm tyres.
Once your tyres are fitted, integrate tyre inspection into the five-minute pre-ride bike check and practice carrying the right tube size with our step-by-step guide on how to fix a puncture on a road bike.
Sources and further reading
- ISO 4210-2:2015: Cycles — Safety requirements for bicycles — Requirements for city and trekking, young adult, mountain and racing bicycles (Clause 4.10: Tyre and rim clearance).
- Shimano Inc.: Road Caliper Brake Technical Service Manuals & Compatibility Charts (Dual-Pivot SLR-EV clearance specifications for BR-R9100, BR-R8000, BR-R7000).
- Schwalbe Bicycle Tyres: Technical FAQ: Tyre Dimensions, Rim Width Compatibility (ETRTO standards), and Tyre Pressure Guidelines. schwalbe.com
- Continental Bicycle Tyres: Tire Knowledge & Rim Width Compatibility Guide. continental-tires.com
- SRAM / Zipp: Road Rim Brake Caliper Reach and Tyre Clearance Specifications. sram.com/service