Your first month of road cycling
Follow a flexible four-week path from checking your bike and practising the controls to completing a calm, confident ride of your own.
 Field guide / your-first-month-road-cycling
Your first month is about making road cycling feel familiar—not proving your speed, distance, or toughness. By the end, you should know your bike’s controls, have a simple preparation routine, and be able to choose and complete a ride that feels calm enough to repeat.
The short answer: begin with a safe bike and a simple route, practise one skill at a time, and add time or complexity only after the current ride feels manageable. Repeat a week whenever you need to; consistency matters more than following a calendar perfectly.
Who this four-week path is for
This guide is for an adult who can already balance and pedal a bicycle but is new to drop handlebars, road-bike controls, or recreational road rides. It is an orientation plan, not a medical or performance-training programme.
The ride lengths below are described by purpose rather than fixed kilometres. Hills, surfaces, weather, traffic, fitness, and confidence make the same distance feel completely different. If you are returning after illness, injury, a long inactive period, or have concerns about exercise, ask an appropriate health professional how to adapt the plan.
What counts as success
Success after four weeks can mean:
- you prepare without forgetting the essentials;
- starting, stopping, braking, and shifting require less attention;
- you can choose a route with a safe shortcut or exit;
- you finish with enough energy and confidence to want another ride;
- you know what skill, comfort issue, or maintenance task to work on next.
It does not require a particular average speed, distance, number of rides, or type of clothing.
Prepare before the first ride
Do these jobs before adding traffic, hills, or distance.
Confirm that the bike fits and works
Use a bike that lets you reach both brakes and place your hands securely on the controls. If you are still choosing one, start with how to choose your first road bike.
Before every ride, check:
- Air: tyres are in good condition and inflated to an appropriate pressure for the tyre, rim, load, and conditions.
- Brakes: both levers operate their brakes and the bike stops predictably.
- Chain and gears: the chain moves freely and the gears work without obvious damage.
- Wheels and fasteners: wheels are secure and nothing is loose or rubbing unexpectedly.
- Essentials: helmet, lights, water, weather layer, phone or contact method, and a realistic way home.
If you have not assembled a basic helmet, lighting, water, and repair setup yet, use the essential road cycling gear guide before extending the ride.
If you are unsure about a wheel, brake, cracked part, or damaged tyre, do not use the ride as a test. Ask a competent mechanic.
Choose a forgiving practice place
Start on a dry, familiar, traffic-free space or a very quiet route with a smooth surface, open sight lines, and room to stop. Avoid making the first lesson a busy junction, steep descent, or navigation challenge.
Check local cycling rules before using roads or shared paths. Lighting, equipment, helmet, access, and road-position requirements vary by jurisdiction.
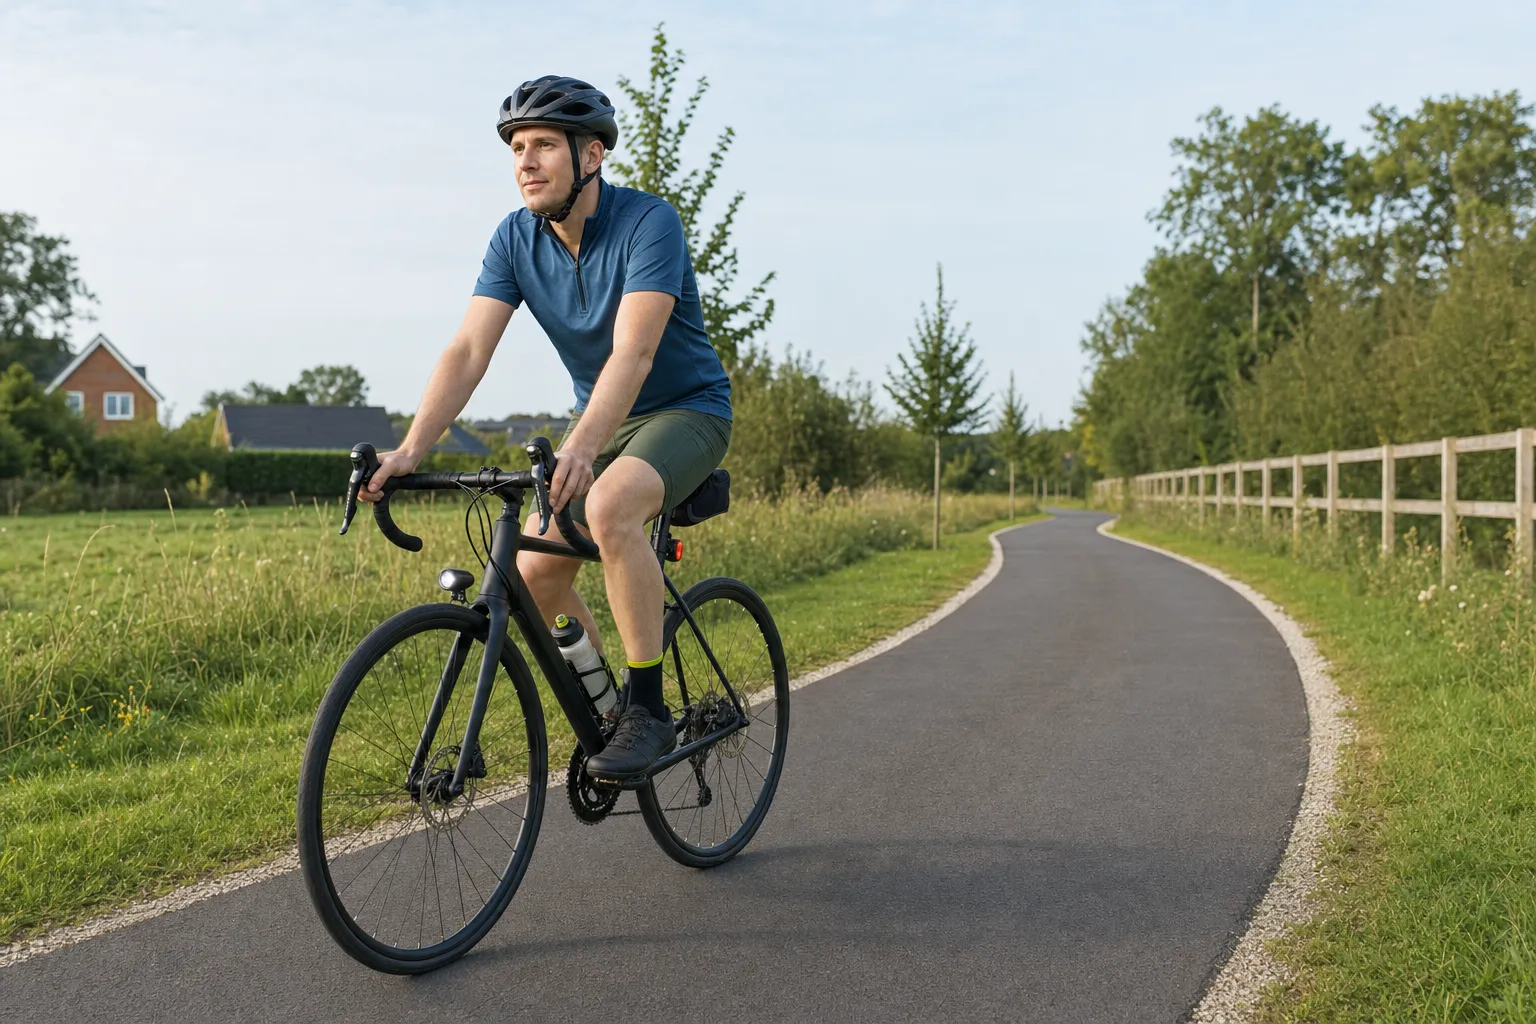
Week 1: make the controls familiar
The goal is to remove surprises. Use one or more short sessions in your practice area and stop while you can still concentrate clearly.
Learn the hand positions
Most riding happens with your hands on the brake hoods—the raised bodies above the curved handlebar. Check that you can brake from there. The lower curved sections are the drops; they are an option, not a test you must pass during the first ride.
Keep a light, secure grip and look ahead rather than down at the front wheel.
Practise starts and controlled stops
Choose an easy gear. Put one pedal in a useful starting position, look ahead, push down, and bring the second foot onto its pedal once the bike is moving.
For stopping, look ahead, stop pedalling, apply both brakes progressively, shift your weight calmly, and place one foot down as the bicycle stops. Repeat until the sequence feels ordinary.
Shift while the pedals are moving lightly
Road-bike shift controls differ. Ask the shop to demonstrate yours or use the component manufacturer’s manual. Practise changing one step at a time while applying light pedal pressure. Shift to an easier gear before you reach a hill or stop, not while forcing the pedals.
Week 1 confidence marker: you can start, change a few gears, brake in a straight line, and stop where you intended without looking down for the controls.
Week 2: repeat one easy route
Choose a short loop or out-and-back route that removes as many decisions as possible. Familiarity is useful: it lets you notice the bike, surface, other path users, and your own attention rather than spending the entire ride navigating.
Ride at a conversational effort
Keep the effort calm enough that you could speak in full sentences. This is a practical pacing cue, not a performance test. Slow down, use an easier gear, or take a break before technique becomes messy.
Practise one observation routine
Regularly scan far ahead, nearer road or path surface, and the space around you. Practise a brief shoulder check in a safe, traffic-free place while holding a steady line. Do not add signalling until you can look behind without swerving.
Make one note after each ride
Record only what helps the next decision:
- what felt easier;
- where you felt uncertain;
- any recurring discomfort;
- one mechanical sound or behaviour to check;
- whether the route was too complex, appropriate, or ready for a small extension.
Week 2 confidence marker: you complete the familiar route with attention left for your surroundings and finish feeling that you could have continued a little farther.
Week 3: add one new challenge
Keep most of the ride familiar and change only one variable. You might extend the route slightly, add a gentle hill, practise a quieter junction after cycle training, or ride with one calm and trusted companion.
Do not add distance, traffic, hills, poor weather, and a group at the same time. If the new element consumes all your attention, return to the easier version and practise it separately.
Use gears before you need them
As a rise approaches, change to an easier gear while the chain is moving smoothly. Keep pedalling at a sustainable effort rather than attacking the bottom of the hill. Walking a section is a valid safety decision; it does not invalidate the ride.
Recheck comfort without chasing perfection
New positions can feel unfamiliar, but a repeated problem deserves attention. Note exactly where it appears, how long it takes, which hand position or effort triggers it, and whether it stops off the bike. Change one adjustable item at a time with qualified guidance; do not make several random changes before the next ride.
Week 3 confidence marker: you manage one new element without losing control of your pace, line, or decisions.
Week 4: plan your own confidence ride
Build a ride from what worked during the first three weeks. It should feel meaningful but not like an exam.
Use a simple route brief
Write down:
- the surface and expected traffic exposure;
- the main turns and any difficult junctions;
- water, toilet, shelter, or refill options;
- a shortcut, station, pickup point, or safe turnaround;
- the weather and available daylight;
- who knows your plan and when you expect to finish.
Choose a duration based on a recent comfortable ride, not somebody else’s distance. A conservative extension is useful only if the route and conditions remain manageable.
Keep the first half deliberately easy
Use easy gears, drink before you become preoccupied with thirst, and stop somewhere safe if you need to change clothing, check navigation, or eat. Save enough attention and energy for the return, when small hills and decisions may feel harder.
Finish with a useful review
Ask:
- Did I return with control and some energy in reserve?
- Which preparation step prevented a problem?
- What part of the route demanded the most attention?
- Is the next useful step more practice, a mechanical check, a fit conversation, or a modestly longer ride?
Week 4 confidence marker: you made sensible route and pacing decisions, used your fallback if needed, and know what to repeat next.
Adapt the month to real life
If you miss a week
Continue from the last session that felt manageable. Fitness and skill do not obey calendar pages, and there is no benefit in cramming missed rides into a few days.
If the weather is poor
Postpone the ride or practise stationary tasks: identify the controls, pack a repair kit, plan a route, inspect the bike, or rehearse fixing a puncture. Waiting for conditions within your skill level is good judgment.
If traffic is the main barrier
Use separated routes and seek practical cycle training that teaches signalling, observation, road position, and junction decisions under local rules. Do not use a written guide as a substitute for supervised practice when you do not yet feel in control.
If every ride feels hard
Shorten the route, reduce hills, slow the pace, and leave more recovery. The World Health Organization advises inactive people to start with small amounts of activity and build duration, frequency, and intensity gradually; the right starting amount still depends on the person.
Your next step
Put one short practice session on the calendar. Choose the location, check the bicycle, and decide which single skill—starting, stopping, braking, or shifting—you will repeat. The first ride succeeds when you return safely with a clear idea of what to practise next.