What to do when you get a puncture with no spare tube or pump
Emergency roadside protocol for bicycle punctures without spare tubes: tyre booting hacks, finding help, public transit bailouts, and stranded prevention.
 Field guide / puncture-with-no-spare-tube-bailout
Before you buy
Check the starter kit first
Print the one-page buying brief for helmet, lights, water, phone, and repair compatibility before comparing upgrades.
Getting a sudden puncture miles from home when you realise you forgot your saddle bag, have no spare inner tube, or left your mini pump on the kitchen counter is a sinking feeling every road cyclist experiences at least once.
You are not truly stranded, and you do not need to panic. While a flat tyre ends your riding for the moment, a calm sequence of emergency options will get you and your bike safely back home.
The short answer: Stop pedalling immediately, brake gently, and roll off the roadway onto a wide verge or pavement—never ride on a bare wheel rim. If you have no spare tube, patch, or pump, choose from five proven bailout options: flag down a passing cyclist (road cycling etiquette welcomes asking for a tube or pump), improvise a tyre boot if casing damage caused the flat, walk to the nearest train station or bike shop, order an XL ride-hail with wheels detached, or share your live GPS pin with a family rescue contact. Next time, carrying a 300-gram saddle bag kit prevents this completely.
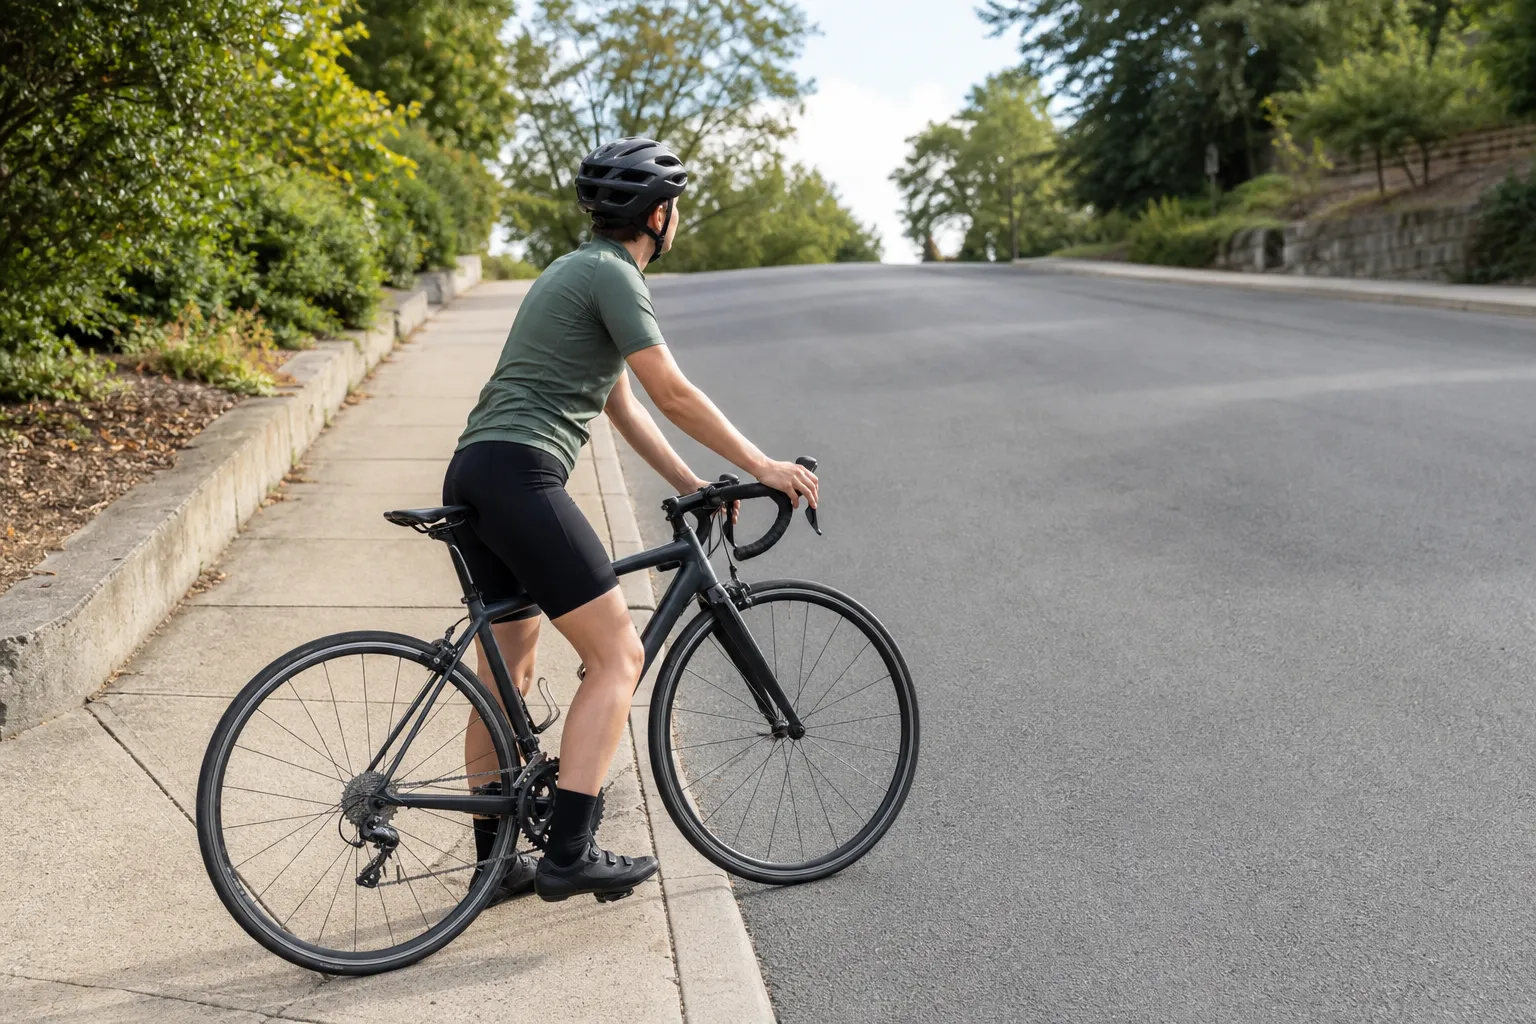
Rule 0: The immediate stranded safety protocol
Before you check your pockets or open navigation apps, manage your physical safety. A bicycle with a sudden front or rear puncture behaves unpredictably, especially at speed or on a descent.
1. Control the bicycle without abrupt braking
If you feel the rim squirming, the steering wander, or hear the rhythmic slap of a deflated tyre, stop pedalling immediately.
- Keep your handlebars straight and your body weight balanced.
- Apply your working brake with smooth, gentle pressure. If the front tyre is flat, rely predominantly on your rear brake to prevent the deflated front tyre from rolling off the rim and washing out.
- Signal your intention to pull over if traffic is behind you and your bike handling permits.
2. Move completely off the road
Never attempt to inspect or repair a bike on the edge of an active vehicle lane or blind bend. Roll or step across to:
- A wide grass verge or pedestrian pavement;
- A field gate opening, driveway, or vehicle lay-by;
- A well-lit petrol station, cafe forecourt, or bus shelter.
3. Why you must never ride on a flat rim
Beginners are often tempted to “limp home slowly” on a flat tyre for a few kilometres. Do not do this.
Riding on a completely deflated tyre produces catastrophic consequences within 200 metres:
- Wheel destruction: The road surface hammers directly against the thin aluminium or carbon rim bead hooks, bending, denting, or cracking the wheel beyond repair.
- Tyre tyre-casing shredding: The wheel rim pinches the tyre carcass against the tarmac, slicing the bead cords and destroying a tyre that might otherwise have been saved.
- Loss of steering and braking: A flat tyre slips sideways off the rim bead during any cornering effort, eliminating steering traction and causing sudden, violent falls.
If you cannot fix the tyre where you stand, your bike must be wheeled gently or carried—not ridden.
The 5 emergency roadside bailout options
When you have no spare tube, no patch kit, or no inflation method, work through these five options in order of practicality:
                      ┌──────────────────────────────────────┐
                      │   PUNCTURE WITH NO SPARE TUBE/PUMP   │
                      └──────────────────┬───────────────────┘
                                         │
                         Move safely off the roadway
                                         │
        ┌────────────────────────────────┴────────────────────────────────┐
        ▼                                                                 ▼
 ┌──────────────┐                                                  ┌──────────────┐
 │ Visible Road │                                                  │ Isolated or  │
 │ with Riders  │                                                  │ Quiet Route  │
 └──────┬───────┘                                                  └──────┬───────┘
        │                                                                 │
        ▼                                                                 ▼
[ Option 1 & 2 ]                                                  [ Option 3, 4 & 5 ]
Flag down cyclist for spare tube/air;                             Walk to nearby transit/bike shop;
Boot slashed tyre casing if borrowing air                         Book XL ride-hail (wheels off);
                                                                  Call rescue contact with GPS pin
Option 1: Improvise a tyre boot (for slashed sidewalls or borrowed tubes)
A common reason riders find themselves stranded—even when they thought they were prepared—is a slashed tyre casing where the replacement tube bulges through the hole and immediately bursts. If a passing cyclist offers you a tube, or if your tube holds minimal air from a slow leak, you must “boot” the inside of the tyre first.
A tyre boot is a tough, flexible barrier placed between the inside of the tyre carcass and the inner tube to prevent the tube from herniating through a cut.
       TYRE CASING (OUTSIDE)
  ═══════════════════   ═══════════════════   <-- Slashed Tread / Sidewall
  ─────────────────────────────────────────
  ░░░░░░░░░░░░ TYRE BOOT ░░░░░░░░░░░░░░░░   <-- Banknote / Wrapper / Patch
  ─────────────────────────────────────────
  ████████████ INNER TUBE █████████████████   <-- Tube inflated to get-home pressure
Everyday roadside items that work as emergency boots:
- A polymer or paper banknote: Folded twice, currency notes are made of incredibly strong fibrous paper or polymer film that easily resists 40–50 psi of tube pressure.
- An energy gel or snack bar wrapper: Clean the sticky interior with a wipe or water, fold it double, and position the smooth foil against the inner tyre cut.
- A heavy plastic toothpaste or tube packaging scrap: Stiff plastic from packaging prevents sharp road flint from piercing through the gap.
- A glueless tube patch: Applied directly to the inside of the tyre carcass over the cut.
How to install an emergency boot:
- Unseat one side of the tyre using your hands or borrowed tyre levers.
- Locate the cut on the inside of the tyre casing and remove any glass, wire, or thorn embedded in the rubber.
- Place your folded boot material flat against the inner casing, centered squarely over the hole.
- Reinstall the inner tube so air pressure presses the boot firmly against the tyre wall.
- Re-seat the tyre bead, ensuring the boot has not slipped out of place.
- Inflate to a moderate “get-home” pressure (around 40–50 psi—enough to roll smoothly without pinching, but not maximum pressure which might blow the boot out).
For standard tube replacement technique once you secure a spare, follow our complete walkthrough on how to fix a puncture on a road bike.
Option 2: Flag down passing road cyclists (cycling etiquette)
The road cycling community has an unwritten, universal rule: cyclists help cyclists in distress. Almost every experienced rider carries at least one spare 700c tube, tyre levers, a mini pump, or a CO₂ inflator, and most are more than happy to help a beginner get moving.
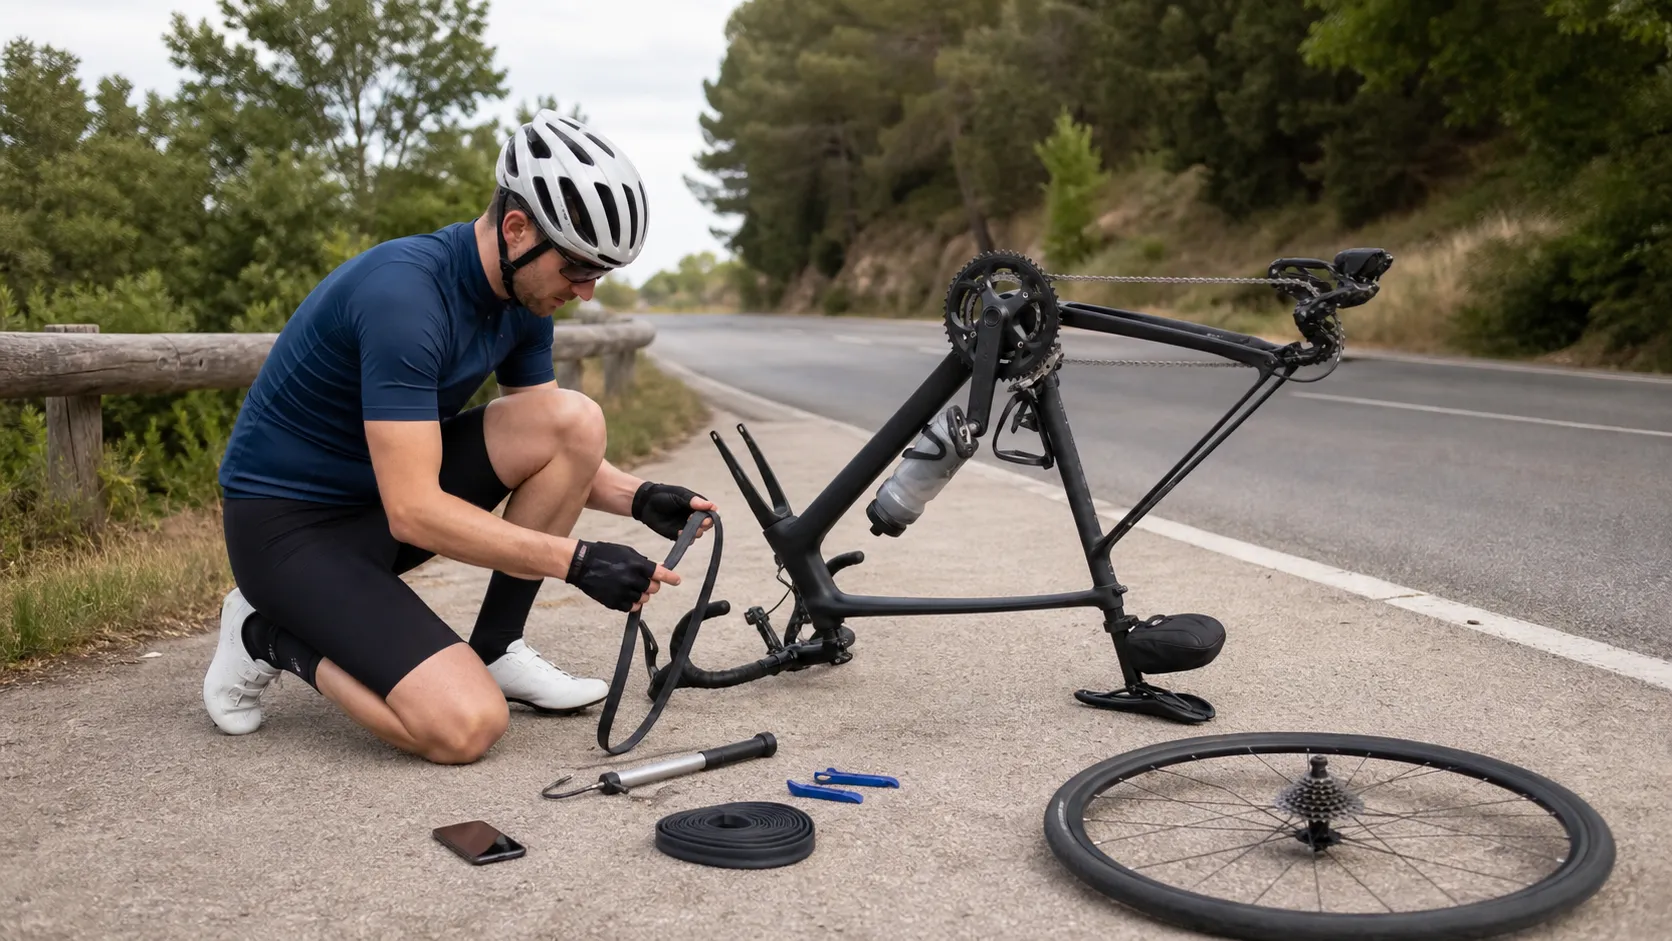
How to signal politely for help:
- Stand visibly beside your bike: Position yourself in a safe, straight pull-off area where oncoming cyclists have plenty of sight distance to slow down.
- Use the roadside gesture: Turn your bike upside down on its saddle and handlebars, or hold your front wheel or mini pump in hand while giving a friendly wave. In cycling culture, a stopped rider holding a wheel or standing over an upturned bike is the universal sign for “mechanical issue.”
- Do not step into the road: Keep your feet firmly on the verge or pavement.
What to say and proper etiquette:
- Be specific: “Hi there! I got caught out without a spare tube or pump. Do you happen to have a spare 700c tube (or a pump / patch) I could buy from you?”
- Offer instant digital payment: Always offer to pay cash or send an instant mobile transfer (Venmo, PayPal, Monzo, Revolut, etc.) for the tube. Many riders will wave away payment, but offering is essential courtesy.
- Pay it forward: When you become more experienced, always stop or slow down when you see a stranded rider and ask: “Everything okay? Got all the spares you need?”
Option 3: Walk to the nearest bike shop or public transport station
If the road is quiet and no riders pass by, look at your phone’s mapping app (Google Maps, Apple Maps, or Komoot).
Finding a local bike shop (LBS):
- Search for “bicycle shop” or “bike repair.”
- If one is within 1 to 3 kilometres, walking is often faster than waiting for a rescue vehicle.
- A local shop can sell you an inner tube, pump, or let you use their floor pump for free, letting you ride home under your own steam.
Using public transport:
- Passenger trains and overground rail: Most national and regional train operators permit non-folding bicycles for free or with a nominal bicycle ticket outside peak commuter rush hours.
- Metros and underground systems: Many urban networks allow bikes on weekend services or surface lines.
- Buses: In North America and parts of Europe/Australasia, public transit buses frequently feature two-bike front-mounted racks. In other regions, drivers of quiet rural coaches will often allow a clean bike in the underfloor luggage compartment.
Tips for walking in road cycling shoes:
Road cycling shoes with protruding plastic three-bolt cleats (Look Keo or Shimano SPD-SL) are slippery and wear down quickly when walking on tarmac.
- Walk on soft grass verges when available.
- If you must walk on tarmac or gravel for extended distances, take off your cycling shoes and walk in your socks (if the surface is free of debris), or carry a pair of ultra-compact cleat covers in your jersey pocket.
Option 4: Book an XL ride-hail or local taxi
Modern smartphone apps make ride-hail rescues straightforward even in rural fringe areas. A standard sedan boot will rarely fit a fully assembled road bike, but a hatchback, estate, or SUV handles one with ease.
How to get a road bike into a taxi smoothly:
  1. Book XL / Estate      2. Call Driver Immediately     3. Remove Both Wheels
 ┌───────────────────┐    ┌───────────────────────────┐    ┌─────────────────────┐
 │ Select UberXL,    │ -> │ "Hi! I have a clean road  │ -> │ Drop chain to small │
 │ Lyft XL, or large │    │ bike with wheels off that │    │ cog, pull axles,    │
 │ estate / minivan  │    │ fits in a car boot."      │    │ tuck wheels flat.   │
└───────────────────┘ └───────────────────────────┘ └─────────────────────┘- Order an XL or Estate vehicle: Select UberXL, Lyft XL, or phone a local taxi company requesting an estate car, people-carrier, or van.
- Contact the driver immediately: As soon as the driver accepts the booking, send a courteous text or quick call: “Hello! I’m a cyclist with a flat tyre. I have a clean road bike with quick-release wheels that will fit easily flat in the boot or back seats with a towel down. Is that okay with you?” If the driver refuses, you can cancel immediately within the free cancellation window and re-book.
- Prepare the bike while waiting (60 seconds):
- Shift the chain into the smallest rear sprocket (this makes rear wheel removal clean and simple).
- Undo the thru-axles or quick-release skewers and remove both wheels.
- Reinsert the thru-axles through the frame dropouts so they don’t get lost.
- When the vehicle arrives, place the frame into the boot drive-side up (chain facing the ceiling) so grease never touches the car upholstery.
Option 5: Call your designated emergency rescue contact
Every beginner cyclist should establish a “sag wagon” contact before embarking on longer routes—a partner, friend, parent, or riding buddy who has access to a car.
How to communicate your exact location:
- Share your live GPS location: Use WhatsApp (“Share Live Location”), Apple Find My, Google Maps Location Sharing, or Strava Beacon.
- Use what3words: If you are on an unnamed rural country lane with no street signs, the free what3words app generates a unique three-word code for your exact 3-metre square (e.g.,
///filled.count.soap), which navigation apps and emergency services recognise instantly. - Find a safe, sheltered landmark: Wait at a visible junction, cafe, village hall, or petrol station rather than sitting invisibly in a ditch.
Comparison of the 5 emergency bailout options
| Bailout Method | Best Scenario | What You Need | Estimated Cost | Main Advantage | Key Limitation |
|---|---|---|---|---|---|
| 1. Improvised Tyre Boot | Slashed casing; borrowed tube or slow leak | Banknote, gel wrapper, patch + borrowed air | Free | Fixes structural tyre hole so you can ride | Temporary fix; requires a working pump/tube |
| 2. Flag Down Cyclist | Popular cycling routes; sunny weekends | Politeness, mobile phone (Venmo/cash) | £5 – £10 ($5–$12) | Immediate roadside fix; continue riding | Depends on other riders passing by |
| 3. Transit / Bike Shop | Urban/suburban routes; near train line | Smartphone map, walking ability | Free – £10 | Independent; reliable schedule | Walking in road cleats is slow and awkward |
| 4. XL Ride-Hail / Taxi | Suburban/rural roads with cellular signal | Smartphone, ride-hail app, card | £25 – £65 ($30–$80) | Direct door-to-door return from anywhere | Costly; driver must accept a bicycle |
| 5. Rescue Contact | Anywhere accessible by road | Smartphone battery, willing contact | A warm thank-you / coffee | Completely reliable and friendly | Requires available friend/family with vehicle |
Never get stranded again: The 300g saddle bag kit
The discomfort of being stranded without spares is the best teacher in cycling. Once you are safely home, assemble a dedicated saddle bag and leave it strapped permanently under your bike saddle. Use the starter gear checklist to confirm the tube size, valve, tyre levers, pump, and fallback plan before the next ride.
 ┌────────────────────────────────────────────────────────────────────────┐
 │                   SIKLIST SADDLEBAG ESSENTIALS (300g)                  │
 ├────────────────────────────────────────────────────────────────────────┤
 │ [ ] 1x Matching 700c inner tube (butyl or ultra-compact TPU)          │
 │ [ ] 2x Composite nylon tyre levers (never metal levers)                │
 │ [ ] 1x Mini hand pump (mounted to bottle cage) OR CO2 inflator + 2x16g │
 │ [ ] 1x Self-adhesive glueless patch kit + 1x Park Tool TB-2 tyre boot │
 │ [ ] 1x Compact multi-tool (with 3mm, 4mm, 5mm, 6mm hex & Torx T25)     │
 │ [ ] 1x Emergency £10 / $20 note (acts as both tyre boot and cash)      │
 └────────────────────────────────────────────────────────────────────────┘
3 pre-ride planning rules to prevent roadside panic:
- Pre-ride tyre pressure check: Before every ride, give your tyres a quick pressure check with a floor pump gauge. Under-inflated tyres cause 80% of beginner punctures through pinch flats (“snakebites”). Read our guide on tyre pressure for beginner road cyclists.
- Run the 5-minute pre-ride check: Spin both wheels and inspect the rubber tread for embedded shards of flint or glass before rolling out of your driveway. Follow the five-minute pre-ride bike check.
- Plan routes with escape corridors: When planning your first road loops, design them to pass within 2 kilometres of rail stations or familiar roads. Consult our step-by-step guide on how to plan your first road cycling route and keep our first-ride checklist handy.
- Practise one tube swap at home: Spend 20 minutes in your living room taking the rear wheel off, removing the tyre, and installing a tube with your mini pump. Rehearsing once at home completely eliminates roadside stress, as detailed in our guide on practising one puncture repair at home.
Your next step
If you are reading this guide while currently sitting stranded beside the road:
- Take a deep breath—you are safe, and your bike is intact.
- Check your phone’s battery level and map your distance to the nearest train station, bike shop, or cafe.
- Look up the road for passing cyclists and raise a friendly hand, or open your ride-hail app and request an XL vehicle.
If you are reading this safely at home after a close call:
- Order two inner tubes that match your tyre width (e.g. 700x25–32c) and valve type (Presta).
- Pack your dedicated saddle bag today so you never leave home without your repair lifeline again.
Sources and further reading
- NHTSA: Bicycle Safety and Road Positioning Standards
- Cycling UK: Roadside Emergency Repairs and Puncture Etiquette
- British Cycling Knowledge Hub: Roadside Essentials for Beginners
- Park Tool Repair Help: Emergency Tyre Booting and Carcass Repair
- REI Co-op Expert Advice: How to Fix a Flat Bicycle Tyre