Switching from a gravel bike to a road bike: reset the fit in stages
Move from a gravel bike to a road bike without forcing an aggressive position by comparing contact points, control, and comfort over progressively longer rides.
 Field guide / switching-from-gravel-bike-to-road-bike-fit
Your new road bike does not need to feel like your gravel bike, but it should not demand an instant racing pose either. Preserve the useful information from the bike you already ride, set a controllable baseline, and test the road bike in stages before cutting a steerer or buying several parts.
The short answer: compare saddle height, saddle setback, bar height, reach to the hoods, bar width, crank length, and brake access—not saddle-to-bar drop alone. Start with reversible settings and ordinary rides. A lower or longer position is worthwhile only if you can sustain it while steering, braking, looking ahead, and pedalling without warning symptoms.
Why the transition can expose problems late
A current r/bikefit discussion describes shoulder and lower-back discomfort after two hours when moving from gravel to road. Other recent fit threads show how one short clip can attract opposite prescriptions. Those replies are demand signals, not a diagnosis for another rider.
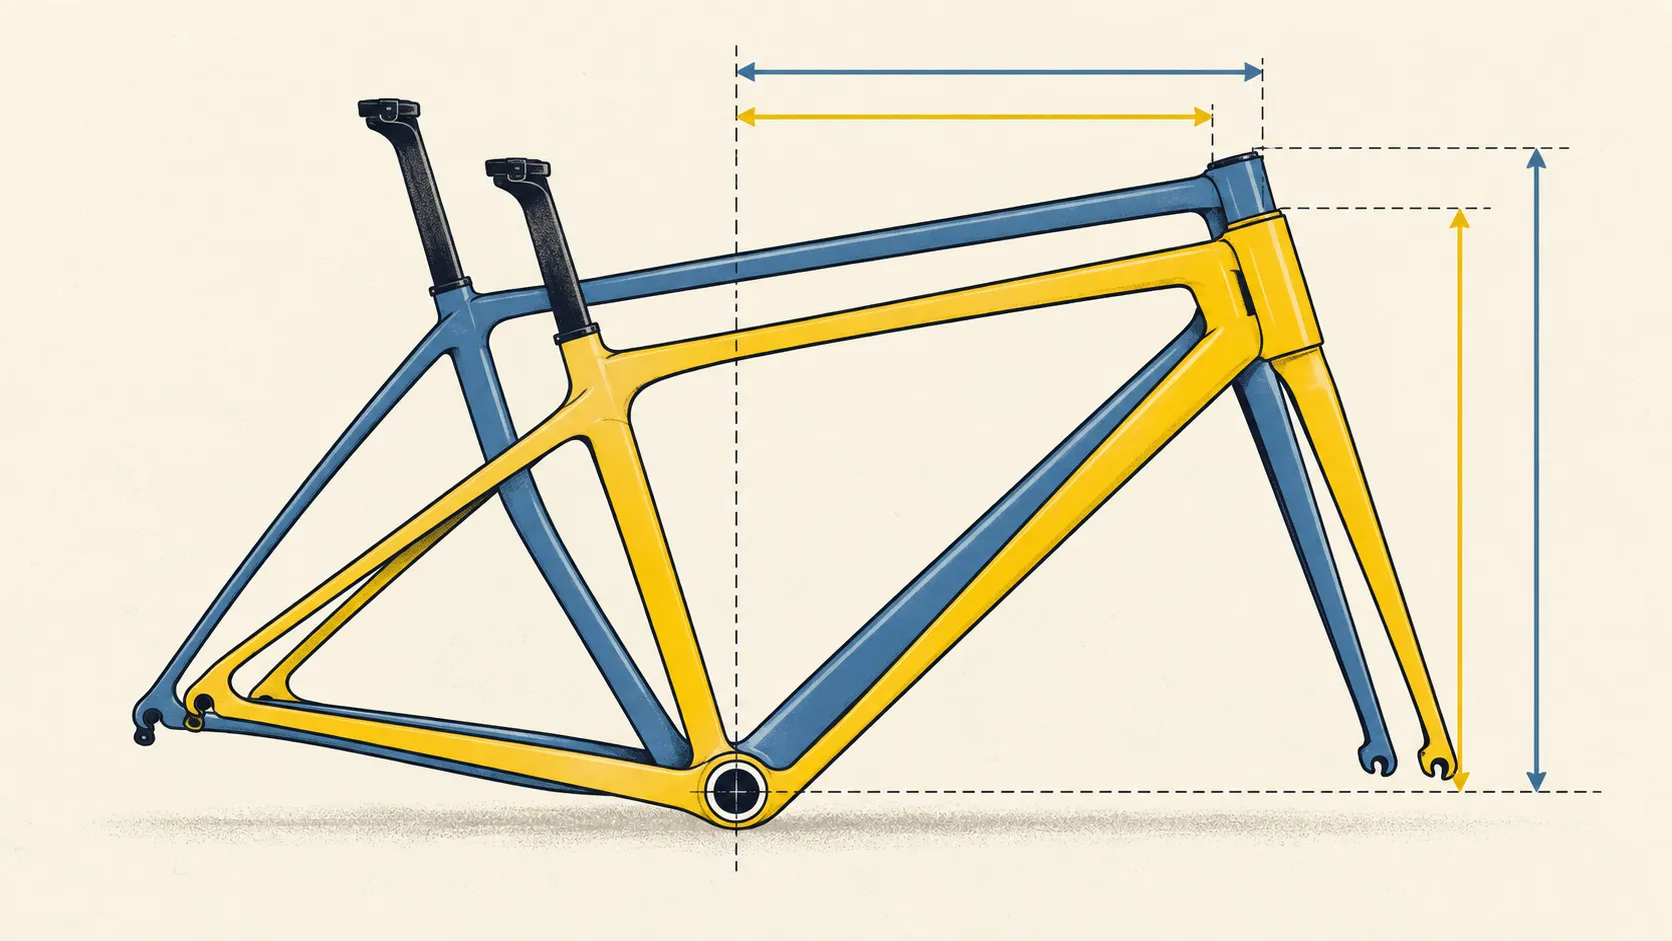
Road bikes often place more emphasis on a lower frontal position and quick handling; gravel bikes often prioritise stability, tyre clearance, and control on rough surfaces. Those are tendencies, not rules. The same category can vary widely by model, size, cockpit, and setup.
Record the comfortable bike before changing anything
Use your gravel bike as evidence, not a template that must be copied exactly. Photograph it from the side on level ground and record:
- saddle height from a repeatable bottom-bracket reference;
- saddle nose behind or ahead of the bottom bracket;
- saddle angle;
- crank length;
- vertical difference between saddle and hoods;
- horizontal distance from saddle reference to hoods;
- handlebar width and reach;
- stem length and angle;
- shoe, cleat, and pedal setup.
If you do not know how to take repeatable measurements, use the fit-copy guide. Do not measure from soft saddle edges or compare two photographs taken at different angles.
Build the road-bike baseline in the right order
Set the saddle for pedalling
Begin with saddle height, fore-aft position, and angle. Do not slide the saddle far forward merely to shorten handlebar reach; that changes how you support and pedal on the bike. Use saddle fore-aft and saddle angle as separate decisions.
If the road bike uses a different crank length, saddle model, shoe, or pedal, copying one measurement may not reproduce the same body position. Treat it as a starting point.
Set a controllable front end
Keep available spacers while you learn the bike. Place the hoods so your wrists are not forced into a sharp bend. Confirm you can brake from both hoods and drops. A compatible shorter-reach handlebar or stem can refine a suitable frame, but an extreme correction may signal the wrong size or geometry.
Avoid cutting the fork steerer during this stage. Once cut, the lost height is not a normal reversible adjustment.
Check width and control shape
Road and gravel bikes may arrive with different handlebar flare, width, drop, and hood shape. That changes hand position even when stem dimensions match. Notice whether your shoulders relax, whether you can use the drops, and whether the brake lever sits within secure finger reach.
Test the position in four stages
- Stationary function: check saddle security, steering freedom, brake reach, and shoe clearance.
- Twenty to thirty quiet minutes: include starts, stops, hoods, drops, and a gentle climb.
- Forty-five to sixty minutes: use familiar terrain and note when pressure or fatigue begins.
- Target-duration ride: only after the earlier stages are uneventful, test the duration and terrain the bike is meant to handle.
Log the location, timing, intensity, and whether the symptom resolves when you change hand position or stop. “My back hurt” is less useful than “a dull ache began after 80 minutes on the hoods during easy riding and cleared within a minute of standing.”
Change one thing, then repeat the same test
If the road bike feels too long, first confirm that you are sitting on the intended part of the saddle and holding the hoods normally. Then choose one reversible adjustment most directly related to the issue. Measure it, make a modest change within component limits, and repeat the same route.
Do not lower the bars, shorten the stem, move the saddle, rotate the hoods, and change the cleats in one evening. You will not know what helped, and one change may mask a problem created by another. Use the one-change fit log.
Adaptation is not permission to ignore symptoms
Normal unfamiliarity can include awareness of a new hand position or modest muscular fatigue that settles as you ride and recover. It should trend better, not demand that you tolerate numbness, escalating pain, or compromised braking.
A fit professional can be useful when the frame-size decision is still open, symptoms recur despite a controlled process, or several interacting limits are unclear. Take both bikes, your measurements, and the symptom log if possible.
Your next step
Measure the comfortable gravel bike, set a reversible road-bike baseline, and complete the first two test stages before ordering parts. If the road bike is still a purchase candidate rather than yours, use the pre-purchase fit guide before committing.