How to set road-bike saddle fore-aft without guessing
Set saddle fore-aft from a stable pedalling position, preserve effective height, test one change at a time, and stop judging fit by rail position alone.
 Field guide / how-to-set-road-bike-saddle-fore-aft
Set saddle fore-aft to support a stable, repeatable pedalling position—not to make the clamp look centred or to force a knee-over-pedal photograph. Rail position alone cannot prove that a fit is right or wrong because frames, seatposts, saddles, crank lengths, shoes, proportions, and riding goals differ.
The short answer: establish a reasonable saddle height and tilt first, record the baseline, then move the saddle only within its rail limits in small steps. Recheck effective height after every move and test whether you can pedal with a stable pelvis and relaxed upper body. Do not use the saddle as a substitute for a frame or cockpit that is the wrong reach.
Why a side photo is not enough
A current r/bikefit discussion asked how viewers can declare a saddle too far forward or back when weight balance and the full riding system are not visible. That is the right objection. The same rail position can produce different rider coordinates on two saddles because their shapes and usable seating points differ.
A visual review may identify an obvious limit violation, a reversed seatpost, a grossly unsuitable frame, or unstable posture. It cannot measure comfort, joint history, pressure distribution, control, or sustainable riding position from one frozen angle.
Research also resists simple internet rules. Controlled studies have found that moving fore-aft position changes joint angles, comfort, and some calculated knee forces, but not every force changes in the same direction or by a meaningful amount. That is a reason to test carefully, not to chase a universal setback number.
Do not begin with knee over pedal spindle
The traditional knee-over-pedal-spindle check drops a plumb line from the front of the knee toward the forward pedal. It can be a repeatable reference, but it is not a law of anatomy and it does not independently determine the correct saddle position.
It changes with foot position, crank angle, how the knee landmark is chosen, pelvis rotation, shoe and cleat setup, and the rider’s proportions. Use it only as one recorded observation if a competent fitter includes it—not as proof that every rider’s knee must cross one point.
Stabilise the other variables first
Before moving the saddle:
- Confirm the saddle and seatpost are compatible and undamaged.
- Set a defensible saddle height using the same shoes and pedals you normally ride.
- Set tilt from the saddle maker’s reference surface rather than an arbitrary nose-to-tail line.
- Confirm cleats are secure and not wildly different side to side.
- Check that the seatpost is oriented as the maker intends.
- Record tyre pressure, shorts, route, and current symptoms.
If you have just changed saddle model, copy the riding position, not only the old rail mark. Use the saddle-swap fit guide before adjusting reach.
Record a baseline you can restore
Take a clear side photograph and write down:
- saddle height from the centre of the bottom bracket to a defined point on top;
- saddle tilt using a named reference section;
- rail mark relative to the front or rear clamp edge;
- saddle-nose position relative to a repeatable frame reference;
- seatpost model, offset, and orientation;
- the exact problem and when it starts.
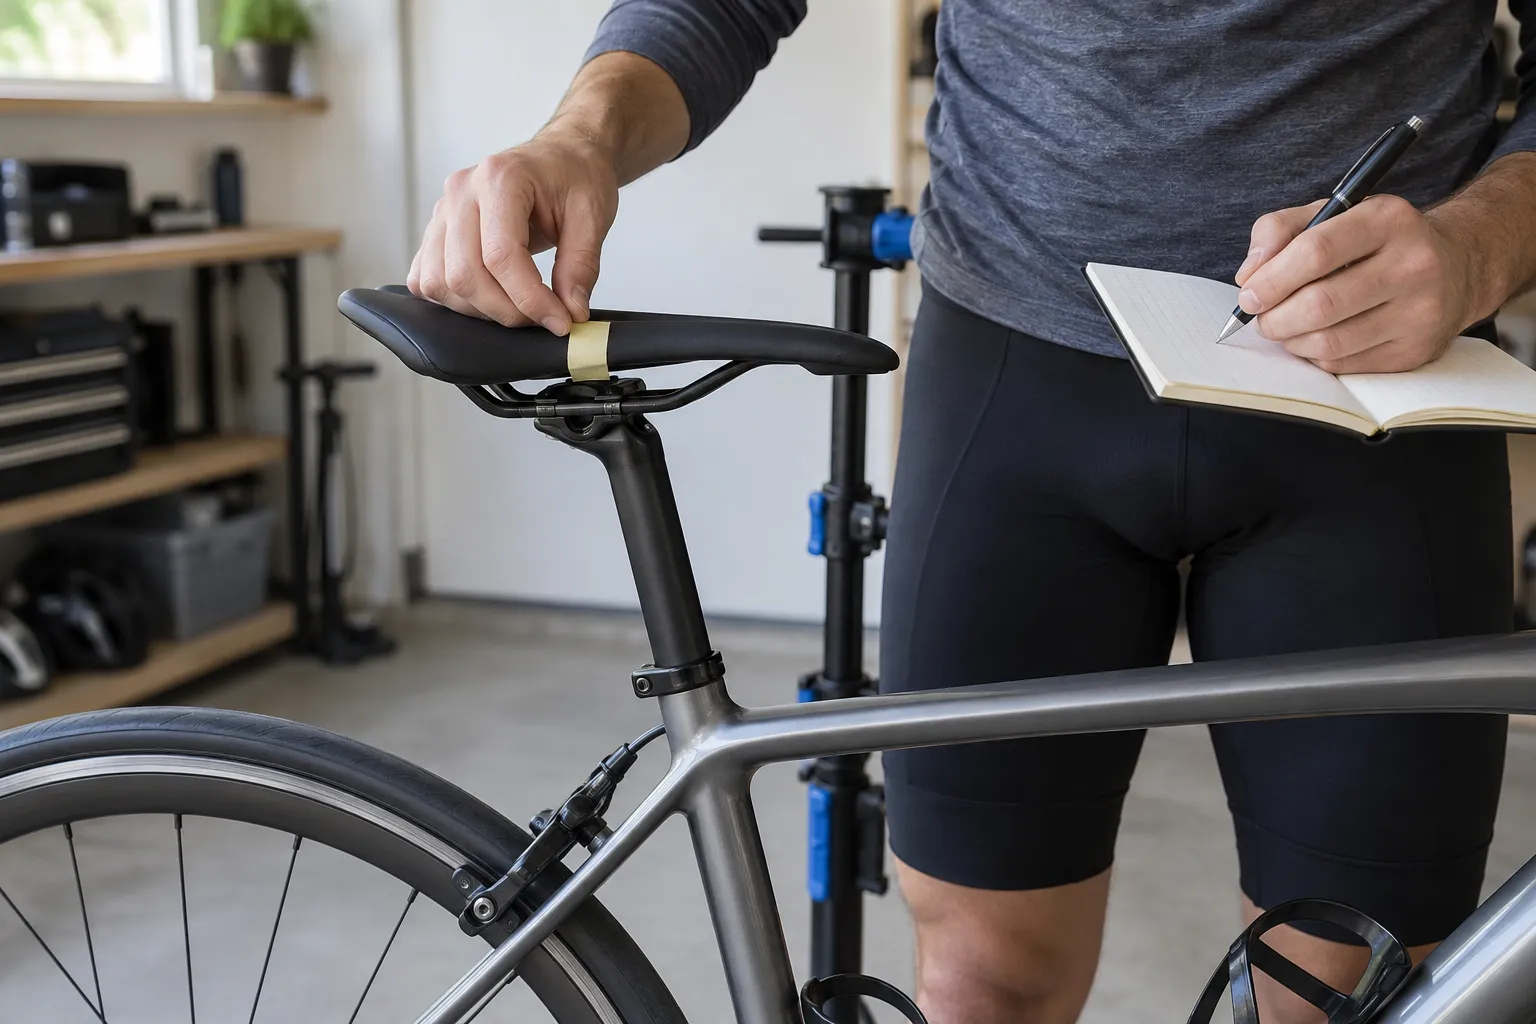
Put removable tape at the original rail position. Check the rail’s permitted clamp zone; do not move beyond it to obtain extra reach.
Understand why moving fore-aft changes height
Most seat tubes slope rearward. Sliding the saddle forward usually moves the seating point slightly down and forward relative to the bottom bracket; sliding it back usually moves it up and back. Saddle shape can amplify or disguise this change.
After every fore-aft adjustment, remeasure effective saddle height. Otherwise a test intended to isolate setback also changes leg extension, making the result harder to interpret.
This is why moving a saddle forward to “shorten the reach” often creates a chain of compensations. It changes the pedalling base as well as the distance to the bars.
Make a small, reversible test
Loosen and tighten the clamp using the saddle and seatpost instructions. Some clamps use two bolts, a specific sequence, or separate angle and rail adjustments. Use the correct torque and thread treatment.
Move only a few millimetres for the first test. Restore intended tilt, recheck height, and confirm the clamp is entirely within the marked rail zone.
Use a familiar route or trainer session at normal endurance effort. Look for:
- pelvis staying planted rather than repeatedly shuffling;
- smooth pressure through the pedal stroke;
- no new feeling of reaching for the bottom of the stroke;
- shoulders and hands remaining reasonably relaxed;
- stable control when riding on the hoods and briefly in the drops;
- symptoms appearing later, earlier, or not at all.
Log the result using the one-change bike-fit method. Repeat a clearly better setup before moving again.
Do not use the saddle to repair cockpit reach
If the bars feel too far away, sliding the saddle forward may reduce the measured distance, but it also changes pedalling position and weight distribution. Set the saddle for pedalling first; then assess bar reach through frame size, stem length and angle, bar reach, hood position, and spacer arrangement.
Likewise, sliding far back to make the legs “use the glutes” is not a reliable standalone method. Muscle recruitment depends on workload, joint angles, cadence, technique, and individual anatomy. A rail-at-the-limit setup deserves a fit and equipment review, not a slogan.
When a component change may be appropriate
A different-offset seatpost or different saddle can place the usable seating area in a better part of the rail range, but only when the frame permits it and the maker approves the combination. Confirm:
- seatpost diameter, insertion, setback, and clamp type;
- round versus oval rail compatibility;
- rail material and permitted clamp hardware;
- saddle rail limits and torque;
- whether changing offset creates enough cockpit or weight-distribution change to require reassessment.
If the saddle must sit outside its marks, the part or bike is not made safe by a careful torque value.
Your next step
Photograph and measure the current setup before loosening anything. Write one sentence explaining what the fore-aft change is meant to improve. Make one small adjustment within the rail marks, restore effective height and tilt, and ride the same test. If several careful tests only move discomfort around, book a qualified fit or clinical assessment instead of extending the experiment.
Sources and further reading
- Original study: effects of forward and backward saddle positions on knee joint forces
- Original study: saddle setback, intensity, comfort, and lower-limb kinematics
- r/bikefit reader context: what can and cannot be inferred about saddle fore-aft from a video
Reddit supplied the recurring fit question. No photograph, comment, or anecdote was treated as an individual diagnosis.