How to identify the right replacement bike part before ordering
Build a compatibility record from model codes, interfaces, dimensions, and manufacturer documents before you remove or buy a bicycle component.
 Field guide / how-to-identify-replacement-bike-part
Before you buy
Check the starter kit first
Print the one-page buying brief for helmet, lights, water, phone, and repair compatibility before comparing upgrades.
Identify the bicycle, the exact component model, every connecting interface, and the manufacturer’s approved compatibility before ordering. Colour, shape, brand family, and number of gears are useful clues, but none is a complete specification.
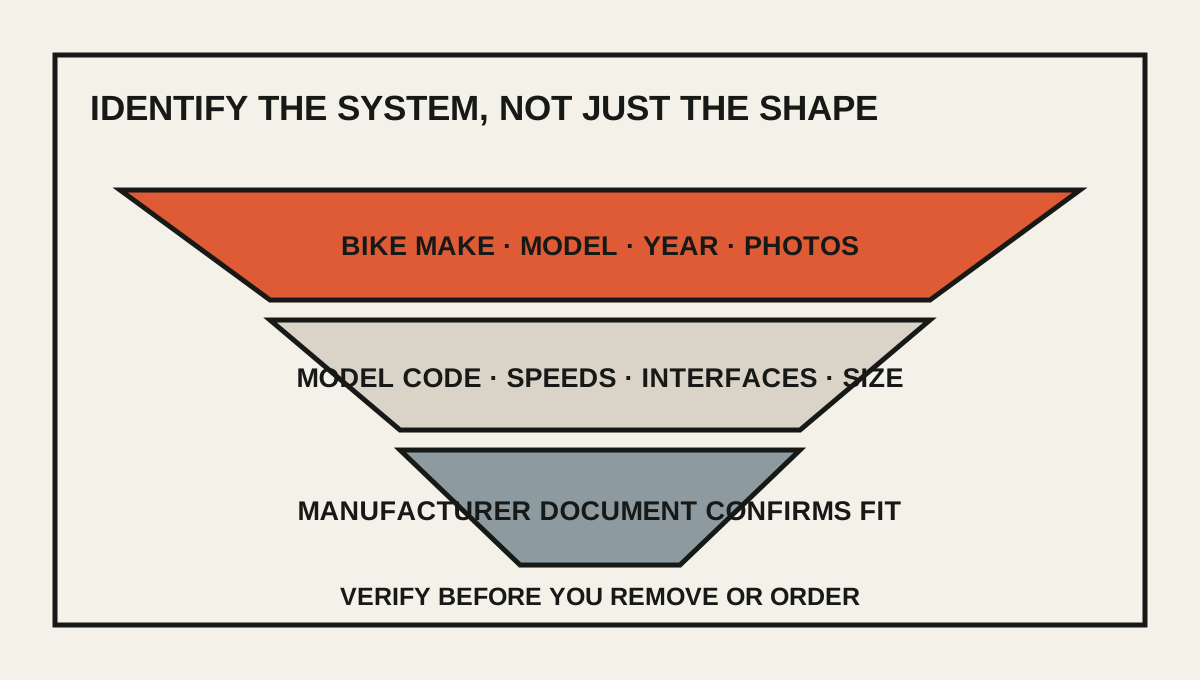
The short answer: do not search “road-bike derailleur” and buy the closest-looking result. Photograph the installed system, find model and part codes, record dimensions and related components, then confirm the replacement in the bike or component maker’s technical documents. If one link remains uncertain, ask the maker, an authorised dealer, or a shop for a paid identification before disassembly.
Start with a compatibility record
Create one note containing:
- bicycle brand, model, approximate year, frame size, and serial number location;
- a full photo from each side;
- close photos of the installed part, every connection, cable or hose route, spacers, washers, and fasteners;
- model codes printed, stamped, etched, or moulded into components;
- drivetrain speeds and chainring/cassette tooth counts where relevant;
- wheel, axle, rotor, tyre, handlebar, stem, seatpost, and frame interface dimensions relevant to the job;
- the symptom or damage that led you to replacement;
- links to the source documents you used.
Park Tool recommends recording exact part numbers and system details before they are needed. That is more reliable than trying to reconstruct a bicycle’s specification after a part has broken or been removed.
Keep the note with your condition-based maintenance log. It becomes a parts passport for future repairs.
Find the model code on the part
Product names such as “105,” “Rival,” or “Ultegra” describe a family, not always an exact generation or interface. Look for codes such as Shimano’s RD-, FD-, BR-, ST-, FC-, CS-, or CN-prefixed model identifiers, or the model ID and serial information used by SRAM.
Clean only enough to read the marking. Do not spray solvent near bearings, brake pads, rotors, seals, or painted markings. Use bright oblique light and phone zoom. Search the exact code on the manufacturer’s service site, then compare the drawing and specification with the installed part.
If there is no readable code, record every visible detail and work outward from the complete bicycle’s original specification. Remember that used bikes may no longer have their original components.
Identify all four layers
1. The bicycle or frame interface
Examples include axle diameter and length, dropout thread, bottom-bracket shell, brake mount, seatpost diameter, steerer diameter, cable routing, tyre clearance, and derailleur-hanger design.
Frame model and year matter because a familiar model name may span several generations. A derailleur hanger is a good example: many look similar, but small differences make them non-interchangeable.
2. The component interface
Record how the part physically connects: bolt circle or direct mount, Center Lock or six-bolt rotor, threaded or press-fit cup, clamp diameter, rail shape, freehub body, pedal thread, hose connection, cable pull, or electronic connector.
Do not infer a dimension from a product photo. Measure only where the manufacturer or identification guide defines the measuring points.
3. The system compatibility
A rear derailleur, cassette, shifter, chain, crank, and front derailleur operate as a system. The same nominal speed count does not guarantee compatible cable pull, chain shape, capacity, electronics, firmware, or approved tooth range.
Use the manufacturer compatibility chart. SRAM publishes road compatibility maps, and Shimano’s technical documents group compatible shifters, derailleurs, cassettes, chains, hubs, brakes, and controls. A retailer filter or marketplace title is not a substitute.
4. The installation and service requirements
Confirm tools, consumables, torque, fastener reuse, thread treatment, bleed fluid, cutting or facing requirements, firmware, and adjustment procedure before buying. A cheap part can become an expensive job if it needs several one-use fittings and specialist tools.
Use the torque-wrench guide to decide whether the procedure fits your tool kit and skill.
Use category-specific checks
Chain: manufacturer, speed/system, directional marking, required joining method, and approved quick link. Read can you reuse a quick link?.
Cassette: sprocket count and range, freehub body, lockring, derailleur maximum sprocket, total capacity, chain, and shifter compatibility. First confirm it is not a screw-on freewheel with cassette or freewheel.
Brake pads: exact caliper model, pad shape, compound approved for the rotor, retention hardware, and wear instructions. Similar outlines are not proof of fit.
Rotor: diameter, mounting system, minimum-thickness marking, approved pad compound, caliper/frame limits, lockring type, and required adapter.
Wheel: rim-brake or disc, axle and hub spacing, freehub, rotor mount, rim internal width, tyre compatibility, frame clearance, and intended load. Use the replacement-wheel guide for the complete checklist.
Bottom bracket: frame shell standard plus crank spindle system and width. The bottom-bracket identification guide shows why the bike and crank must both be known.
Derailleur hanger: frame make, model, year, mounting shape, hardware, and any universal-hanger specification. Compare both faces and every locating tab, not the silhouette alone.
Photograph before disassembly
Take more pictures than you think you need:
- full context, then close detail;
- left and right sides;
- cable and hose paths;
- spacer order and orientation;
- fastener heads and washers;
- printed arrows, “outside” markings, and model codes;
- the part beside a ruler only when scale is useful.
Photographs preserve assembly evidence, but they do not validate that the previous installation was correct. Use the current manufacturer’s procedure for reassembly.
If the bicycle is unsafe, do not create photos by riding it or loading a damaged part. Stabilise it and document it stationary.
Ask a bike shop a precise question
A shop can help identify a component even if you intend to do the repair, but diagnosis and research are skilled work. Ask whether the shop offers a paid inspection or parts-identification service, what you should bring, and whether it is willing to sell the verified part without installation.
Bring the bicycle when practical, not just one dark photo. Explain that you want the exact part number, compatibility basis, and any required related parts. Respect a shop that declines to certify an unknown online purchase or a repair whose safety it cannot control.
If the job affects brakes, steering, wheels, cranks, pedals, carbon, damaged threads, or structural parts, paying for installation may be the sensible result of the identification process.
Avoid five common ordering traps
- “It looks identical.” Small offsets, threads, profiles, or connector details can differ.
- “It is the same brand and speed.” Generations and technologies may not mix.
- “The bike’s model year proves it.” Components may have been changed, and model years can overlap.
- “The retailer says universal.” Check what the manufacturer actually approves.
- “I can return it after installation.” Fitting marks, contamination, cut hoses, opened consumables, or damaged packaging may end the return option.
Your next step
Before removing anything, create the compatibility record and locate the exact component code. Open the manufacturer’s product page, service manual, exploded view, and compatibility chart. Order only when the physical interface, system compatibility, installation requirements, and part number all agree.
Sources and further reading
- SRAM official compatibility maps and service documents
- Shimano technical documents and compatibility information
- Park Tool: build a component and tool record before repairs
- Park Tool: derailleur hangers that look similar may not interchange
- r/bikewrench weekly questions: a rider asking a shop to identify parts for a DIY repair — used as a current editorial demand signal, not compatibility evidence.
- r/cycling discussion: repeated uncertainty about replacing parts in a drivetrain — used as a question signal, not technical evidence.