How to identify a bike bottom bracket before replacing it
Match the frame shell, installed bottom bracket, crank spindle, chainline, and manufacturer documents before ordering bearings, cups, or adapters.
 Field guide / identify-bottom-bracket-before-replacement
The correct bottom bracket is the part that matches both the frame shell and the crank spindle while preserving the maker’s intended width, spacers, chainline, and bearing arrangement. A label such as “BB30,” “HOLLOWTECH II,” or “DUB” alone is not enough to order it.
The short answer: record the exact bike and crank models first. Identify whether the frame shell is threaded or press-fit, measure only the dimensions required by official documents, and account for every cup, bearing, sleeve, adapter, and spacer. Buy from a compatibility table, not visual similarity.
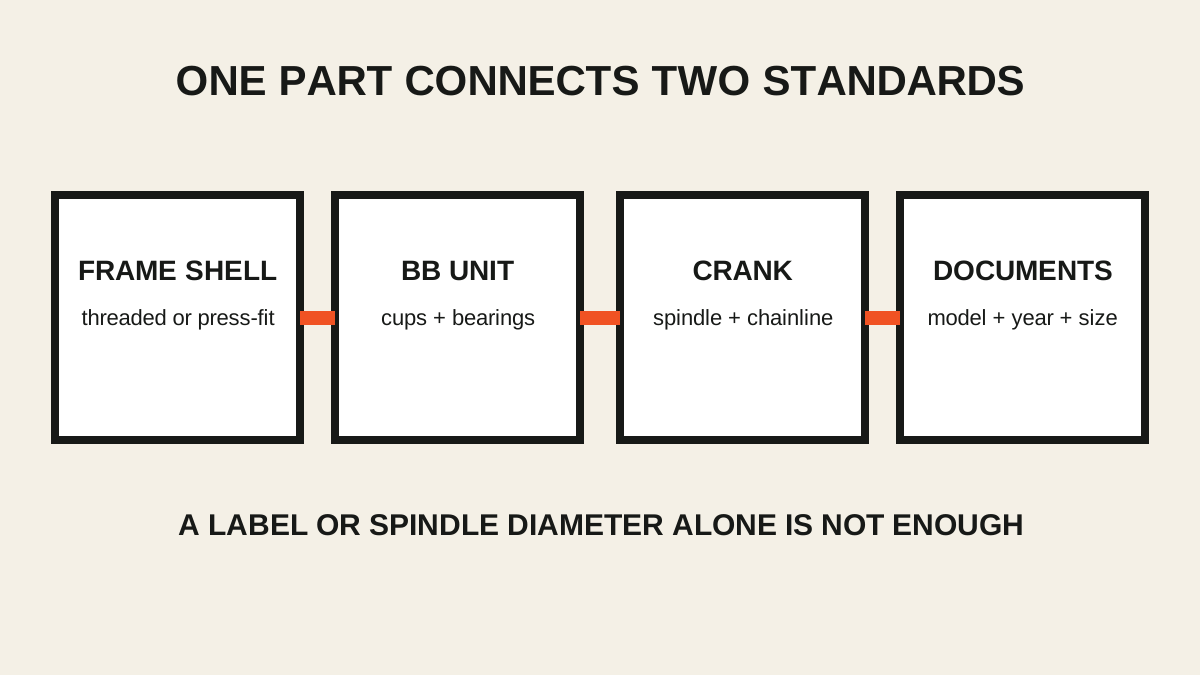
Why one measurement does not identify the system
Current repair questions ask how to remove and replace an unfamiliar adjustable bottom bracket and how to convert a frame labelled BB30 to a 24 mm crank. The conflicting replies reveal the real issue: names get applied to frames, bearings, crank spindles, and marketing families, sometimes imprecisely.
Two bottom brackets can share an outer tool shape but fit different shells. Two cranks can both be described as “30 mm” while needing different installed widths or spacers. A frame catalogue may describe one model year while a particular bike contains a mid-year change or aftermarket adapter.
Identify four layers
1. The frame shell
The frame determines the opening, width, thread or press-fit bore, and any asymmetry. Record:
- bicycle make, model, model year, size, and serial information;
- shell type named in the frame manual;
- whether cups visibly thread into the frame;
- shell width and bore only if the manual’s identification process calls for measurement;
- any retaining clips, sleeves, shoulders, or asymmetric dimensions.
Do not infer thread direction by trial force. Common English-threaded systems often use a left-hand thread on the drive side, but Italian and other designs differ. A wrong assumption can destroy a frame.
2. The installed bottom bracket
Photograph both sides straight on and record every marking. Note whether bearings sit:
- inside a cartridge threaded into the shell;
- in external threaded cups;
- directly in the frame with retaining clips;
- inside cups pressed into the frame;
- in a thread-together assembly that passes through a press-fit shell.
An aftermarket adapter can hide the original frame standard. Do not assume the visible cup tells the whole story.
3. The crank spindle
Record the crank’s full model code and find its service manual. The bottom bracket must support the specified spindle diameter, bearing locations, installed width, preload method, and chainline.
Avoid reducing the crank to one number. Stepped spindles, two-piece cranks, square taper, Octalink, DUB, 24 mm systems, 30 mm systems, and brand-specific designs use different interfaces. Even square-taper cartridges need the correct taper family and spindle length.
4. Spacers and adapters
Before dismantling, photograph each side and create a left-to-right parts order. Include wave washers, dust covers, shields, preload rings, spacers, cable guides, and adapters.
Missing or misplaced parts can create side-to-side play, bearing binding, poor chainline, crank/frame contact, or insufficient spindle engagement. Do not “solve” play by adding an unlisted washer.
Threaded, press-fit, and thread-together are different clues
| Visible arrangement | What it may indicate | What still needs confirmation |
|---|---|---|
| Cup with external tool notches threads into frame | Threaded shell | Thread standard, shell width, crank match |
| Smooth cup pressed into frame | Press-fit system | Bore, width, cup standard, crank match |
| Bearings retained directly in frame | BB30-style direct bearing system or proprietary design | Exact frame documentation and clips/spacers |
| Two sides screw into each other inside a smooth shell | Thread-together unit in a press-fit frame | Original shell, unit model, removal method |
| Square-ended spindle emerges from cartridge | Square-taper system | Taper family, shell thread, width, spindle length |
Park Tool’s bottom-bracket standards guide is useful for vocabulary and visual sorting. The frame and crank makers’ live specifications decide compatibility.
Use model codes before calipers
Calipers can confirm a documented dimension, but they cannot tell you the full standard through paint, installed cups, chamfers, or inaccessible shoulders. Measuring a crank spindle alone also misses bearing placement and overall assembly width.
Use this order:
- Frame manual or technical sheet.
- Crank model and service manual.
- Existing bottom-bracket model marking.
- Manufacturer compatibility chart.
- Documented measurements to resolve a remaining ambiguity.
- Mechanic inspection if adapters, damage, or conflicting records remain.
Shimano’s current specification tables list shell width and thread information by bottom-bracket model. SRAM product pages pair bottom brackets with named shell types and publish linked service manuals. Those are stronger evidence than a shop listing that says “road compatible.”
Treat conversions as a system change
A conversion bottom bracket or adapter may connect a crank to a different frame shell, but possible does not mean supported. Confirm:
- the frame maker permits the adapter;
- the shell is undamaged and within specification;
- the crank maker supports the resulting bearing spacing;
- chainline and crank clearance remain correct;
- the front derailleur, chainrings, and frame still align;
- the installation and later removal method will not damage the frame;
- warranty implications are understood.
Cannondale’s BB30 owner documentation, for example, says specified adapters should be installed by a professional mechanic and warns that improper or repeated removal can damage the shell. That is why a conversion should not begin with “this diameter seems close.”
Do not diagnose every crank symptom as a bottom bracket
Crank play or noise can come from:
- loose or incorrectly installed crank fixing;
- missing spacer or preload component;
- pedal bearings or attachment;
- chainring or spider fasteners;
- seatpost, saddle, cleat, or wheel noise;
- worn bottom-bracket bearings;
- loose cups or frame damage.
Use the side-to-side crank play guide to locate the moving interface before ordering bearings. Use the pedalling-creak guide if noise is the only symptom.
Build a parts order that can be checked
Before purchase, write one line containing:
frame shell → bottom bracket model → required spacers → crank model → chainline/use
Then attach the supporting manufacturer links. If a seller cannot confirm that exact chain, do not make the uncertainty disappear with a return policy.
For a used bike, budget for professional removal when cups are corroded, notched tool interfaces are damaged, an adapter is unidentified, or a carbon press-fit shell may be involved. A cheap bearing can still require expensive tools and careful frame support.
Your next step
Photograph both sides of the bottom bracket and every crank marking without loosening anything. Find the frame and crank documents, then complete the five-part line above. If any arrow remains unknown, take the complete bike to a mechanic rather than ordering by one label.
Sources and further reading
- Park Tool: bottom-bracket standards and identification resources
- Shimano: current component specifications, including shell widths and threads
- SRAM: PF30 bottom bracket specifications and service manual links
- Cannondale owner manual: BB30 frame adapters and installation cautions
- r/bikewrench reader context: identifying an unfamiliar bottom bracket before removal
- r/bikewrench reader context: BB30 versus PF30 conversion confusion