Do you need a torque wrench for road-bike maintenance?
Know which bicycle bolts need measured torque, why one wrench may not cover every job, and how to avoid false confidence on carbon and aluminium parts.
 Field guide / do-you-need-torque-wrench-for-road-bike
Before you buy
Check the starter kit first
Print the one-page buying brief for helmet, lights, water, phone, and repair compatibility before comparing upgrades.
If you plan to adjust a road-bike stem, handlebar, seatpost, saddle clamp, brake, or lightweight component, a suitable torque wrench is a sensible home tool. Carbon increases the consequence of overtightening, but measured torque also protects aluminium parts, threads, and joints that can loosen when undertightened.
The short answer: buy or borrow a calibrated low-range wrench that covers the values printed on the parts you actually service. Do not assume one wrench covers everything: small cockpit bolts and high-torque cassette, crank, pedal, or bottom-bracket jobs often need different ranges and tools.
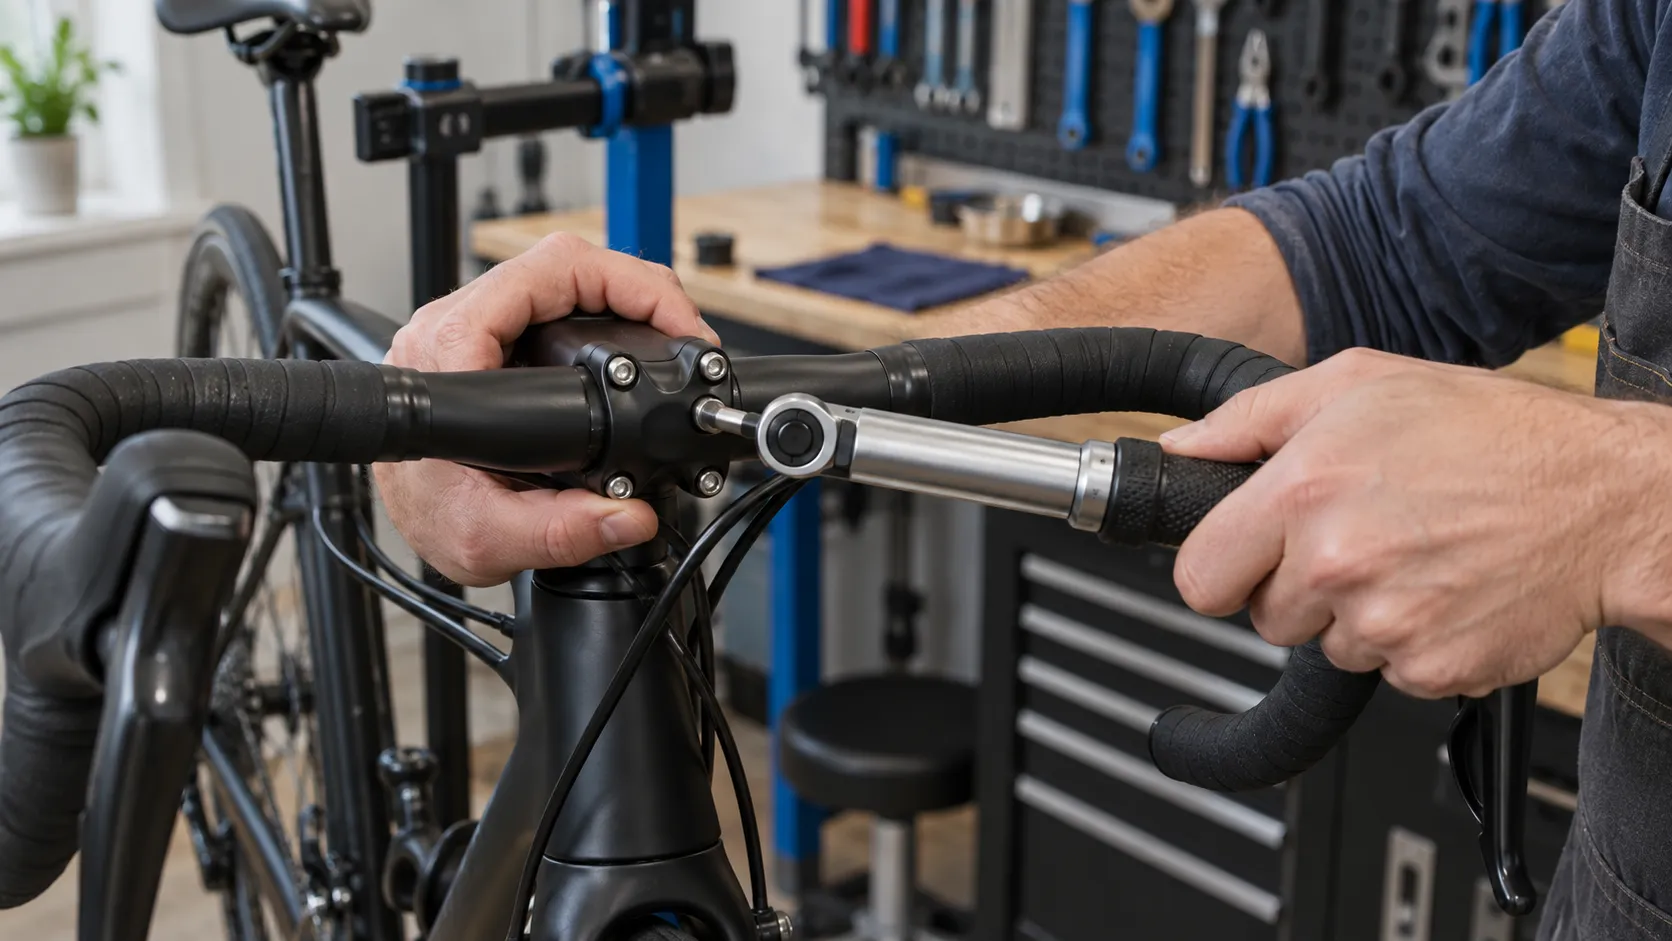
Torque is a specification, not a feeling
Tightening a bolt stretches it slightly and creates clamping force. Too little clamping can let a joint slip or loosen. Too much can damage threads, crush a tube, crack a lightweight part, or permanently deform the fastener.
Park Tool’s torque guide explains this relationship and stresses that its reference table does not replace the component maker’s current value. That distinction matters: two similar-looking stems may specify different torque, and thread lubricant can change the relationship between applied torque and resulting clamp load.
Use the number marked on the part only when it clearly applies to that fastener and configuration. Otherwise check the bike or component manual. Never import a value from another model because the bolt diameter appears identical.
Jobs where measured torque earns its place
A low-range wrench is especially useful for:
- stem faceplate and steerer-clamp bolts;
- seatpost clamps and saddle-rail clamps;
- brake and shift lever clamps;
- disc-brake caliper and rotor bolts when specified;
- accessory mounts on lightweight frames or bars;
- any fastener with a small printed torque value or narrow range.
Higher-torque tools may be needed for cassette lockrings, some crank fasteners, pedals, bottom brackets, and thru-axles. Check first. A wrench is least accurate or useful when the required value sits outside its rated range.
Some jobs do not use a torque wrench at all. Traditional quick-release levers, for example, are secured by cam action and adjustment rather than applying a generic torque number to the lever. Spoke tension is measured by tension or deflection, not bolt torque. Follow the mechanism-specific procedure.
Carbon is not the only reason to use one
Carbon tubes and components can be damaged by concentrated clamping force, so their limits deserve care. Yet “aluminium can take it” is not a safe maintenance rule. Aluminium threads strip, bolts stretch, clamps distort, and bars can still be damaged.
The complete joint matters:
- frame and seatpost materials;
- handlebar and stem materials;
- clamp design and contact area;
- bolt size and grade;
- dry, greased, threadlocked, or friction-paste condition;
- tightening sequence and incremental steps.
Do not add grease, anti-seize, carbon assembly compound, or threadlocker unless the manual calls for it. Our grease-or-threadlocker guide explains why the manual decides.
One small wrench may not cover the whole bike
Before buying, list five real jobs and their specified values. Then select a tool whose working range contains them comfortably.
A common home setup is:
- a low-range click, beam, or preset driver for cockpit and seat-area fasteners;
- a separate higher-range wrench only if you will perform cassette, crank, pedal, or bottom-bracket work;
- quality bits that fit fasteners fully without wobble.
Do not buy a broad-range automotive wrench and assume it will be precise at tiny bicycle values. Equally, do not put a 5 Nm preset driver on a 40 Nm lockring and lean harder after it releases.
A preset 5 Nm key is convenient only when the required value is exactly 5 Nm. It cannot decide whether one bolt needs 4 Nm and another 6 Nm.
Use a click wrench without fooling yourself
- Read its instructions. Confirm direction, units, range, storage setting, and whether it measures counter-clockwise torque.
- Find the exact specification. Include thread preparation and tightening sequence.
- Inspect and start by hand. Clean threads, check for damage, and thread several turns without the wrench. Cross-threading creates resistance that can mimic torque.
- Seat the correct bit fully. Keep the extension straight and avoid adapters the tool maker does not approve.
- Tighten multi-bolt clamps evenly. Follow the printed sequence and approach final torque in small alternating steps.
- Hold the intended grip area. Pull smoothly. Do not jerk the handle or add a cheater bar.
- Stop at the first clear click or release. Repeated clicks can continue adding load.
- Return and store the tool as instructed. Click wrenches often require unloading to a specified storage setting; beam tools have different care.
Park Tool notes that a low setting may produce little sound, so feel for the mechanism rather than chasing a dramatic click.
A torque wrench cannot solve a slipping part by itself
If a seatpost slips at the correct torque, do not exceed the maximum until it stays up. Check compatibility, diameter, clamp orientation, surface condition, required assembly compound, and damage. Use the slipping-seatpost guide for the diagnosis.
The same applies to a rotating handlebar or stem. Correct torque on the wrong diameter, damaged clamp, contaminated surface, or incorrectly gapped faceplate is still wrong assembly.
When a shop is the better tool
Use a mechanic when the manual is unavailable, a fastener is rounded or seized, threads feel rough, a carbon part shows marks or cracking, the joint slipped while riding, or the repair requires a range you cannot measure. A one-off high-torque service may cost less than buying a second wrench, sockets, and holding tools.
For a starter set that separates useful tools from aspirational purchases, see the beginner home toolkit. Add tools when a defined job needs them.
Your next step
Walk around the bike and photograph every visible torque marking you expect to service. Check the manuals for the rest, write the actual range, and choose a tool around those numbers. Until then, do not “just nip up” a safety-critical bolt whose specification you do not know.