Why do your gears click after swapping the rear wheel?
Reseat the rear wheel, compare cassette position and compatibility, then make only the correct indexing adjustment when shifting clicks after a wheel swap.
 Field guide / gears-click-after-rear-wheel-swap
Before you buy
Check the starter kit first
Print the one-page buying brief for helmet, lights, water, phone, and repair compatibility before comparing upgrades.
Clicking after a rear-wheel swap usually means the replacement wheel sits differently, its cassette is positioned slightly differently, or the cassette setup is not actually equivalent. Reseat the wheel and verify compatibility before touching derailleur limit screws.
The short answer: reinstall the wheel correctly first. Then compare cassette model, sprocket count, spacers, freehub, and axle hardware. If both wheels are compatible and the noise is a small consistent alignment difference, use the system’s normal indexing or electronic micro-adjust process. Do not move safety limits to silence a wheel mismatch.
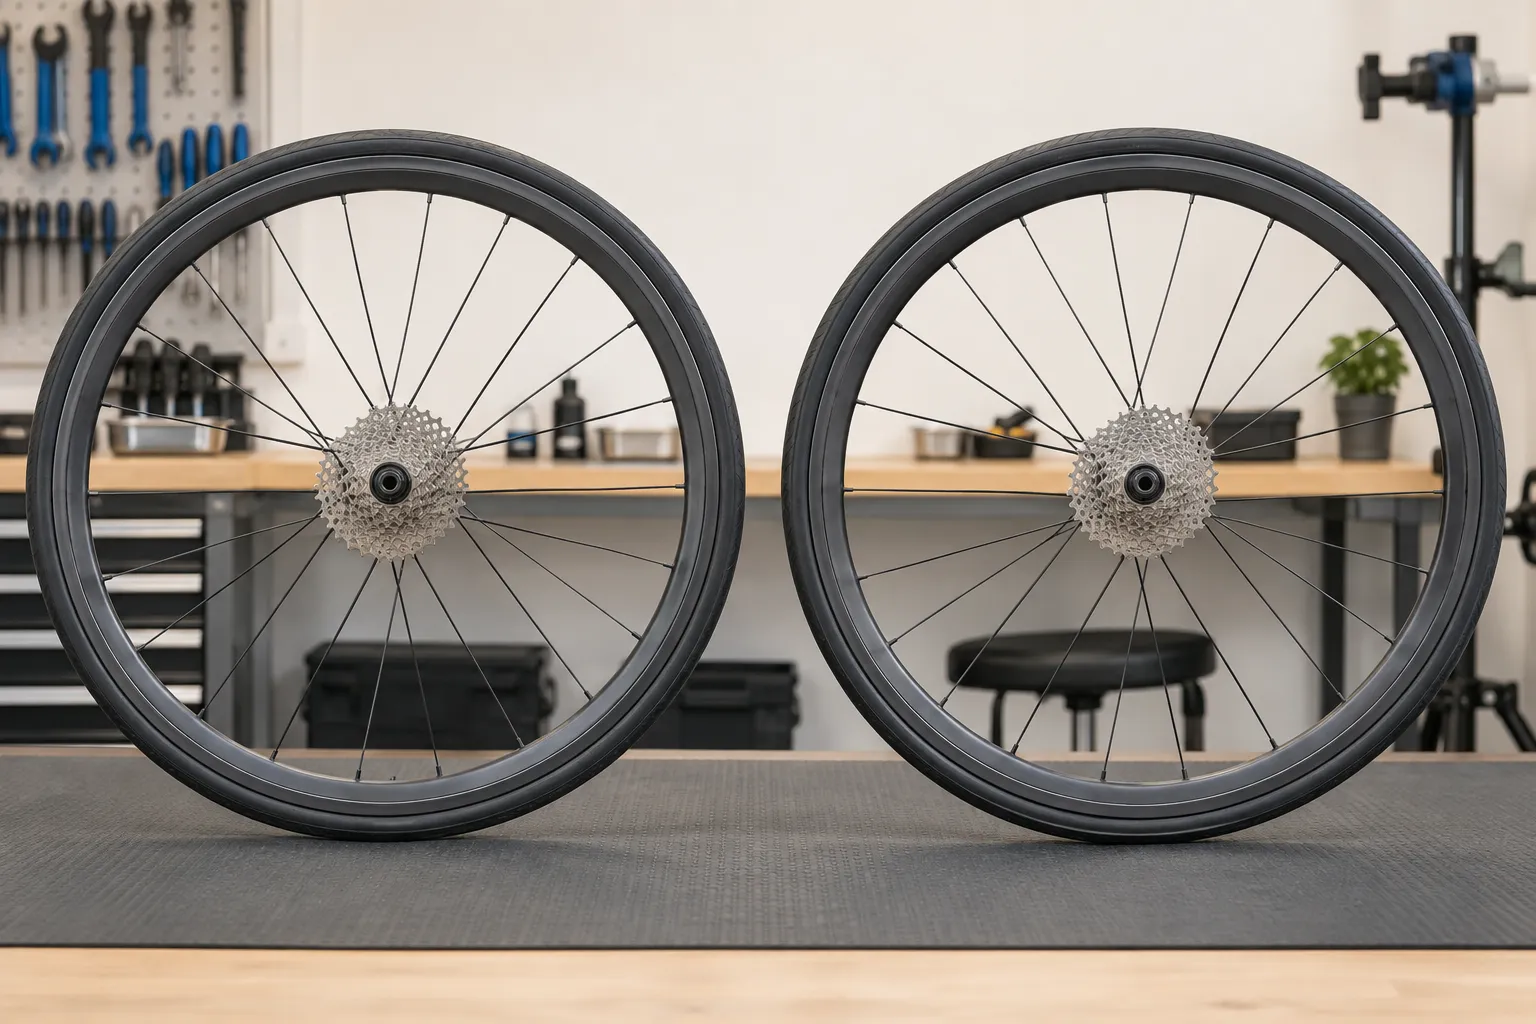
Why the swap changed a previously quiet drivetrain
A current r/bikewrench discussion describes clicking that began immediately after a wheel change. That timing is useful evidence. The derailleur did not necessarily “go out of tune” on its own; one of the references used by the drivetrain changed.
Possible causes include:
- the wheel is not fully seated in the dropouts;
- a thru-axle, quick release, or end cap is installed incorrectly;
- cassette spacers differ between wheels;
- the cassette is loose or mounted incorrectly;
- the two hubs place the cassette at slightly different lateral positions;
- cassette speed, tooth range, or component family is incompatible;
- the chain and second cassette have very different wear;
- the derailleur hanger moved during handling;
- a rotor rub is being mistaken for chain noise.
Start with installation because it is both safety-critical and the easiest cause to reverse.
Step 1: identify where the click occurs
Support the bike securely and rotate the cranks by hand, keeping fingers and clothing away from the drivetrain and wheel.
Record whether the sound:
- appears in every rear gear or only some;
- happens once per wheel revolution, once per chain revolution, or continuously;
- changes when shifting toward larger versus smaller sprockets;
- occurs while coasting, pedalling, or both;
- comes from the cassette and chain, brake rotor, tyre, or freehub.
A continuous light rasp that changes with a shift is likely different from one click at the same wheel position. A rotor sound continues while coasting; many indexing noises require the chain to move.
Step 2: reinstall the wheel from the beginning
Shift to the smallest rear sprocket before removing a derailleur wheel unless the bicycle’s instructions specify another process. Open the brake or clutch only as directed. Then follow the exact frame, hub, and axle manual.
On reinstallation:
- Put the chain on the smallest sprocket.
- Guide the axle fully into the intended position.
- Confirm end caps and adapters are present and correctly oriented.
- Secure the thru-axle, quick release, or axle nuts by the specified method and torque.
- Close any brake or derailleur mechanism opened for removal.
- Spin the wheel and check that the tyre, rim, and rotor run freely.
- Test wheel security before riding.
Shimano’s quick-release manual warns that an incorrectly secured wheel can detach and cause serious injury. If you are not confident in wheel installation, stop and use a qualified mechanic. The quick-release guide and thru-axle guide cover the two common systems.
If reseating restores quiet shifting, do not adjust anything else.
Step 3: compare the complete cassette setup
“Both are 11-speed” is not enough. Check the printed part numbers and documentation for:
- cassette manufacturer and exact model;
- number of sprockets;
- largest and smallest sprocket;
- required freehub body;
- every required spacer and its position;
- lockring compatibility and torque;
- hub end caps and axle standard;
- chain and derailleur compatibility.
Park Tool’s cassette instructions specifically call for spacers to return in the same orientation and for derailleur adjustment to be checked after a new cassette or wheel is installed. A missing or extra spacer can change cassette position and may prevent correct lockring engagement.
Do not improvise a spacer thickness to make noise disappear. Use the cassette and hub makers’ documented stack.
Step 4: check for looseness and wear
With the wheel removed or safely supported, check for side-to-side cassette movement that is not ordinary freehub rotation. A loose cassette needs the correct lockring diagnosis and service, not more cable tension. See why a cassette feels loose before riding.
Also compare wear. A chain worn together with one cassette may skip, rasp, or climb poorly on a less-worn cassette, and a fresh chain may skip on worn sprockets. Noise only under pedal force points toward wear or engagement rather than simple stand indexing; use the chain-skipping guide.
Inspect the derailleur and hanger for impact. Do not bend either by eye. One wheel working better than another does not prove the hanger is straight.
Step 5: index only after the hardware passes
If the wheel is secure, the cassette stack is correct and compatible, and the chain merely hesitates consistently in one direction, make a small indexing change.
For a conventional mechanical system, the barrel adjuster changes cable tension. Mark the starting point and work in quarter-turns while testing every gear in both directions. The rear-derailleur indexing guide gives the complete sequence.
For electronic shifting, use the manufacturer’s current adjustment or micro-adjust mode. SRAM, for example, documents MicroAdjust for a derailleur that hesitates or rasps. Do not translate mechanical barrel-adjuster instructions to an electronic system.
If you regularly alternate wheels, record a repeatable adjustment for each only after both complete wheel systems are correctly built. Needing many clicks, turns, or a different safety-limit position suggests a hardware or compatibility mismatch.
Leave the limit screws alone
The high and low limits restrict derailleur travel beyond the outermost sprockets. They help keep the chain out of the frame and spokes. They are not normal compensation for small cassette-position differences between wheels.
If a chain approaches the spokes, drops beyond the cassette, or cannot reach an end sprocket, stop. Verify wheel seating, cassette stack, hanger alignment, and the full model-specific derailleur setup. Random limit changes can remove a safety boundary while leaving the cause untouched.
Trainer wheels need the same checks
A spare indoor-training wheel is still a complete drivetrain component. Match the cassette and axle configuration, and confirm the tyre is appropriate for a wheel-on trainer. If the trainer setup has its own cassette or direct-drive freehub, follow the trainer and drivetrain compatibility documents.
The wheel-on tyre-wear guide covers tyre choice. The same principle applies: make the wheel swap repeatable before making the derailleur chase two different baselines.
Your next step
Remove and reinstall the current rear wheel using its exact instructions. If the click remains, photograph both cassette stacks and record their model numbers, spacers, freehubs, end caps, and tooth ranges. Correct any mismatch first. Only then mark the current adjustment and make one small indexing or micro-adjust change while testing every gear.