Why does your bike chain skip only under load?
Diagnose a chain that behaves on the stand but jumps when you pedal hard by separating worn sprockets, indexing, stiff links, chainring wear, and freehub faults.
 Field guide / why-bike-chain-skips-under-load
A bike chain that shifts perfectly in a stand but skips when you pedal hard usually has a load-sensitive fault. The most common patterns are a worn cassette sprocket, a new chain running on an old cassette, indexing that places the chain between sprockets, a stiff or damaged link, worn chainring teeth, or a slipping freehub mechanism.
The short answer: note exactly where the jump happens before turning any screws. One rear gear points toward that sprocket or derailleur alignment; every rear gear points more toward the chain, front chainring, wheel seating, or freehub.
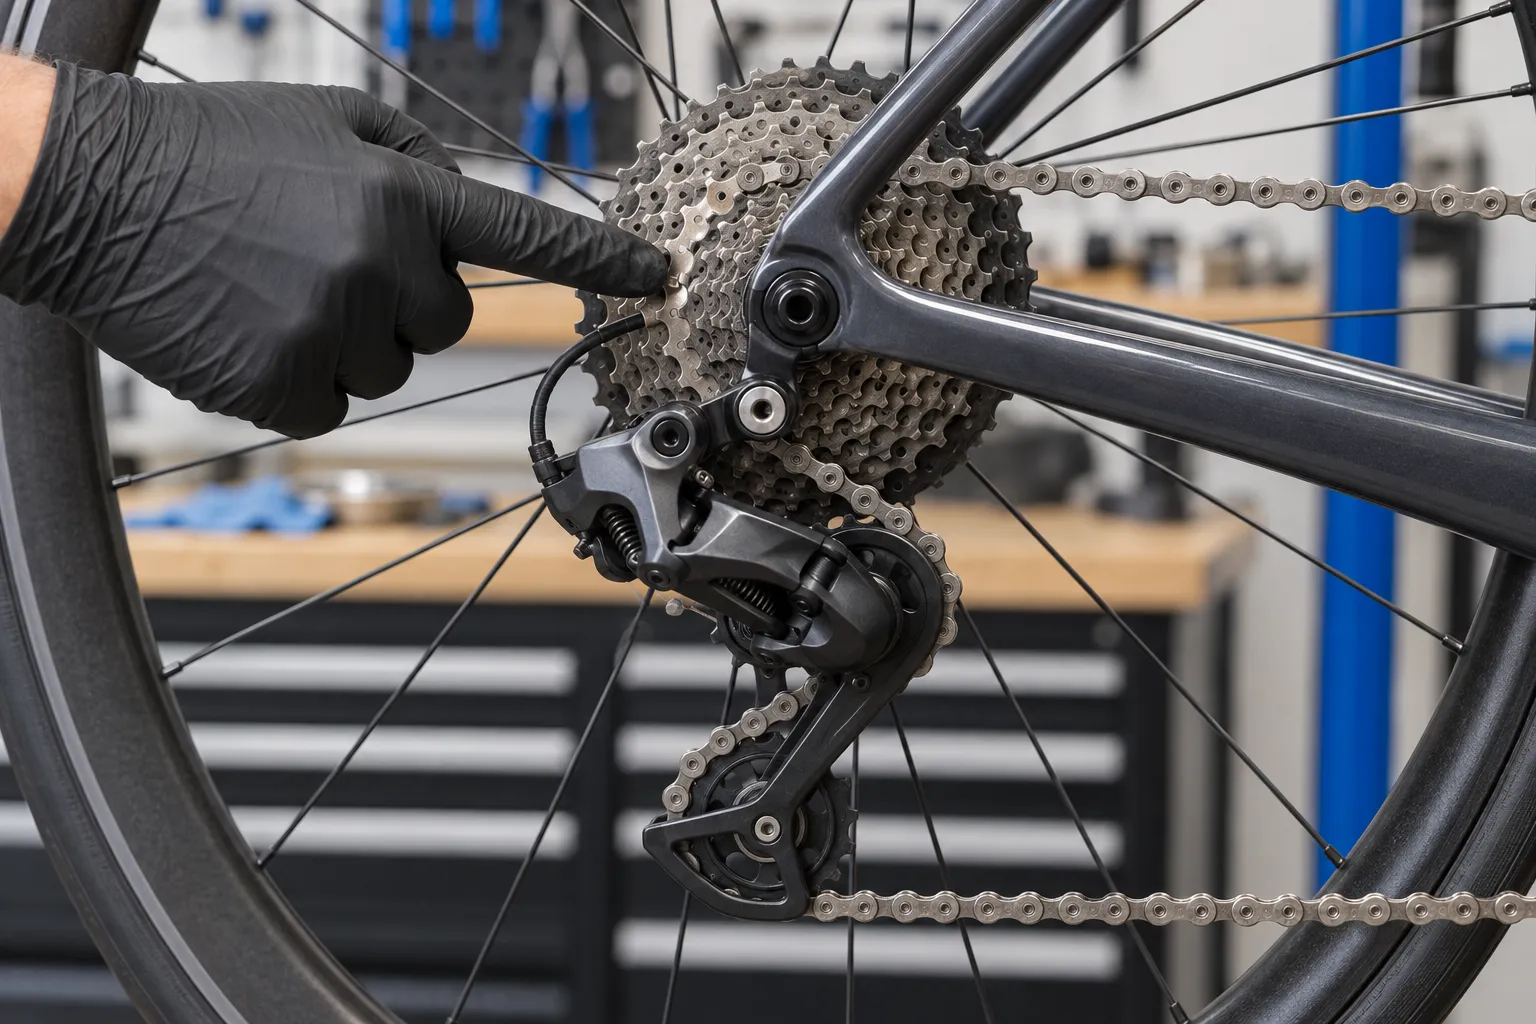
First identify what “skip” means
Riders use the same word for several sensations. Separate them before buying parts.
- Chain skip: the cranks lurch forward as the chain climbs or slips across teeth, often with a bang.
- Ghost shift: the chain moves to a neighbouring sprocket without a deliberate shift.
- Freehub slip: the cranks jump but the chain appears to remain engaged; the hub’s internal drive mechanism may fail to catch.
- Pedal or crank movement: a loose pedal, crank, or bottom-bracket component can feel like a drivetrain jump without the chain moving.
A current repair thread described a chain that skipped only on one rear gear under load while looking normal on the stand. That distinction matters: hand-turning the cranks applies very little force, so marginal tooth engagement may look perfect until a rider loads it.
Make a symptom map on a safe test ride
Use a quiet, flat area while seated. Do not sprint. Stop if the chain jumps violently.
Record four details:
- Does it happen on one rear sprocket, several neighbouring sprockets, or all of them?
- Does it happen on the small front chainring, large ring, or both?
- Did it begin immediately after a new chain, wheel removal, crash, or cable adjustment?
- Does the chain visibly move sideways, or do the pedals jump without a shift?
This map is more useful to a mechanic than “the gears are bad.”
| Pattern | Likely area to inspect first |
|---|---|
| One rear sprocket only | Local sprocket wear or damage; indexing at that position |
| Several adjacent rear gears | Cable tension, housing friction, cassette installation, derailleur hanger alignment |
| All rear gears after a new chain | Worn cassette, wrong chain compatibility, chain installation or length |
| One front chainring only | Worn or damaged chainring teeth, front shifting setup |
| Once per crank revolution | Stiff/damaged link, chainring tooth, crank or pedal issue |
| Pedals jump but chain stays on teeth | Freehub or hub drive mechanism |
Check the simple causes in order
1. Confirm the rear wheel is seated
If the problem began after transport or a puncture repair, confirm the axle is correctly seated and secured according to the bike maker’s instructions. A wheel that returns in a slightly different position can change the cassette’s relationship to the derailleur.
Do not use extra force to “make sure.” Use the specified axle procedure and torque.
2. Inspect the chain
Slowly backpedal while watching each link pass through the rear derailleur. A stiff link may kick the derailleur cage or fail to wrap smoothly around a pulley.
Then measure wear with a compatible chain checker or the method in how to check road bike chain wear. Chain-checker interpretation varies by chain speed and tool, so follow the chain and tool manufacturers’ thresholds rather than a number copied from another drivetrain.
Look for:
- A stiff, twisted, cracked, or partly opened link.
- A joining pin or reusable/non-reusable connecting link installed incorrectly.
- A directional chain installed backwards, where applicable.
- A chain whose speed does not match the cassette.
- Incorrect routing outside a derailleur-cage tab.
Replace damaged chain parts with the exact compatible connection method. Shimano’s general dealer guidance says a repeatedly skipping chain should be assessed at the place of purchase; guessing with incompatible connecting parts is not worth the fall risk.
3. Consider the new-chain/old-cassette combination
If skipping started immediately after fitting a new chain, an old cassette is the leading suspect. A badly worn chain and sprocket can wear into matching shapes. A new chain has different pitch engagement and may ride up the worn teeth under load.
Park Tool’s derailleur-chain replacement guide specifically notes that skipping after a new chain can indicate worn cassette or freewheel cogs. This does not mean every chain replacement requires a cassette. It means immediate post-replacement skipping is valuable evidence.
4. Check indexing without touching limit screws
If the chain chatters or tries to move sideways, the rear-derailleur indexing may be slightly off. Cable tension positions the derailleur across the normal gears. Limit screws only stop travel at the cassette edges; they are not routine fixes for a noisy middle gear.
Follow the component manufacturer’s adjustment instructions or use a qualified mechanic. Random limit-screw changes can let the chain shift into the spokes or off the smallest sprocket.
5. Inspect sprockets and chainrings
Clean the drivetrain enough to see the teeth. Compare the problem sprocket with its neighbours. Look for a visibly damaged, hooked, chipped, or bent tooth—but remember that modern shift ramps intentionally make teeth different shapes. Appearance alone does not reliably prove wear.
If skipping happens at the front, Park Tool’s front-derailleur troubleshooting guide lists worn chainrings as a cause of skipping under load.
When it may be the derailleur hanger
A hanger can bend after a fall, transport knock, or the bike being laid on its drive side. A small bend may cause good shifting at one end of the cassette and poor alignment elsewhere.
Do not straighten it by eye or pull on the derailleur. A mechanic checks alignment with a gauge and also inspects the hanger and derailleur for cracks. Carbon frames deserve particular care because the replaceable hanger is meant to protect a much more expensive structure.
When it may be the freehub
Suspect the freehub when the cranks suddenly rotate forward without the chain climbing teeth or changing gears. The internal pawls or ratchet may not be engaging consistently, especially under high torque.
This is not an indexing problem. Avoid further hard efforts and have the hub serviced according to its manufacturer’s procedure. Internal designs, lubricants, tools, and replacement parts vary widely.
What not to do
- Do not test by sprinting out of the saddle.
- Do not hold a rag, finger, screwdriver, or brush against a moving chain.
- Do not replace the cassette solely because one shift sounded rough once.
- Do not turn derailleur limit screws without understanding which end stop they control.
- Do not assume a visibly clean drivetrain cannot be worn.
- Do not keep riding a chain with a cracked plate or partly engaged connecting link.
Your next step
Make the six-line symptom map from this guide, check wheel seating and chain condition, then book a mechanic if the chain still jumps. Bring the bike, the problem gear combination, and the history of any recent chain or wheel work. If wear is confirmed, use cleaning and lubrication plus regular measurement to protect the replacement drivetrain.