How tight should a road-bike thru-axle be?
Remove and reinstall a road-bike thru-axle without cross-threading it, trapping the brake rotor, overtightening it, or leaving the wheel loose.
 Field guide / how-tight-road-bike-thru-axle
A road-bike thru-axle should be tightened to the torque specified by the frame, fork, or axle manufacturer—not to a universal “very tight” feeling. Values differ between systems. The number printed on the axle or stated in the bike manual is the target, and a seized axle is not evidence that every axle should be installed that tightly.
The short answer: support the wheel, start the clean axle by hand, and turn it smoothly until its shoulder seats. Finish at the marked torque or follow the exact lever-closing procedure in the manual. If it becomes hard to turn before seating, back it out and check alignment and threads; more leverage can turn misalignment into expensive damage.
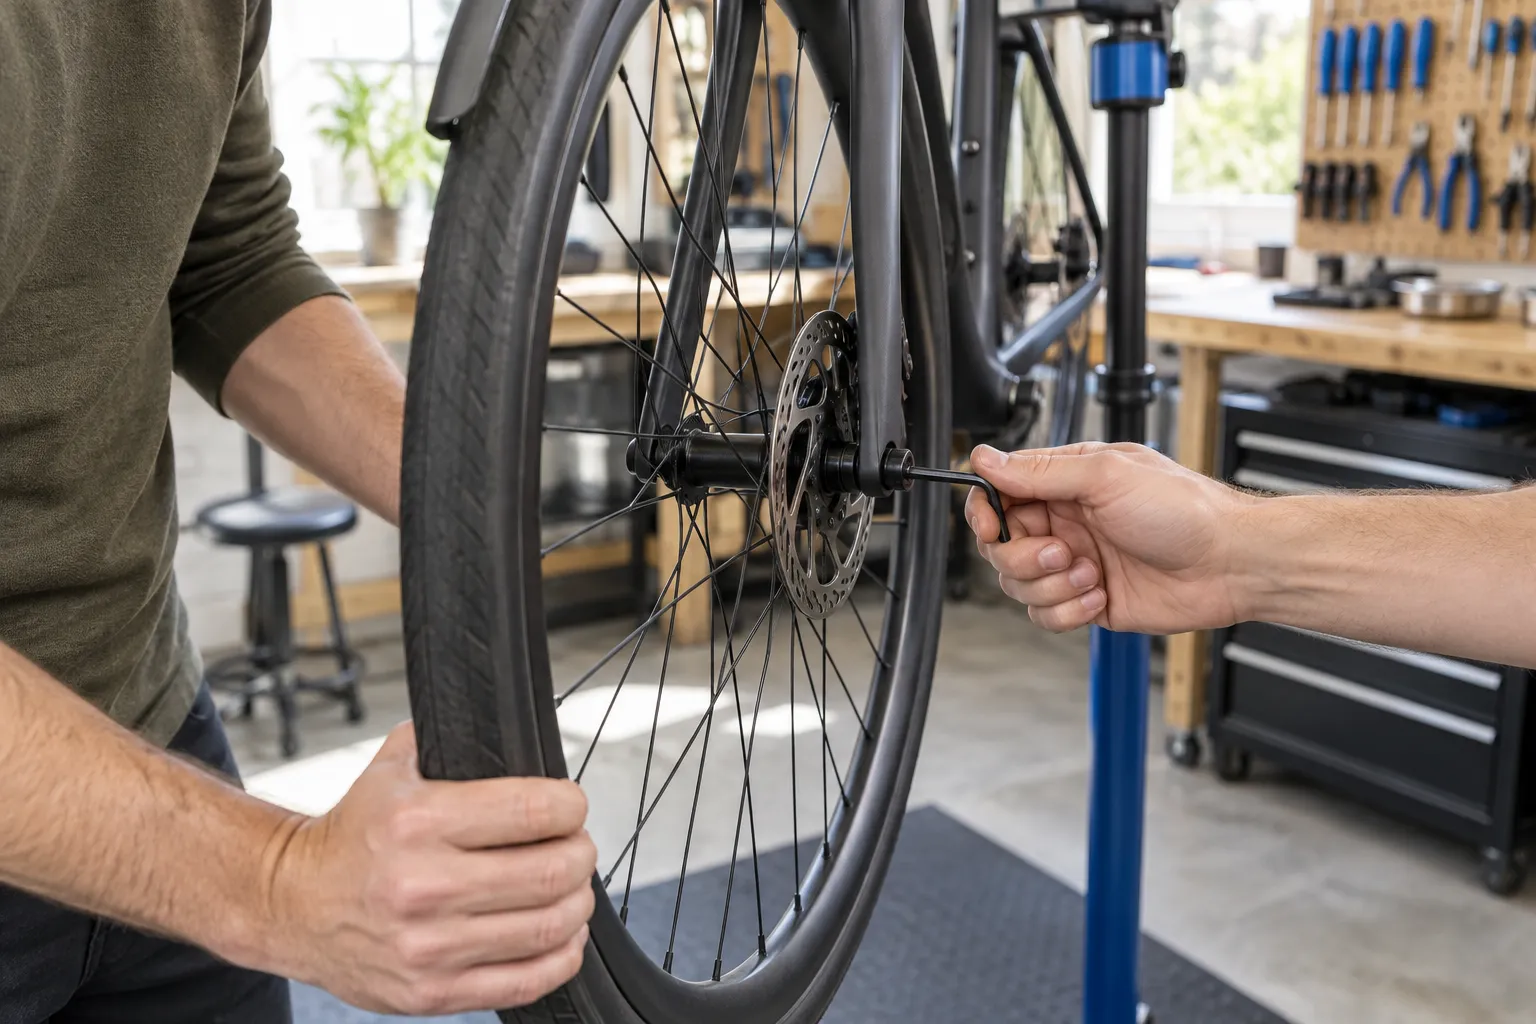
Find the instruction that controls your axle
Look in three places before choosing a torque:
- the axle head or lever;
- the fork and frame near the dropouts;
- the bike, fork, or axle user manual for the exact model.
Use the most specific current instruction. Do not copy a friend’s setting because both bikes use 12 mm axles. Axle length, thread pitch, thread location, head shape, lever mechanism, and required torque can differ.
An axle with a removable lever may still be tightened like a bolt. A cam-style lever system may require a specific closing procedure instead of a conventional torque-wrench method. Identify which one you have before turning it.
Remove the wheel without creating another problem
- Put the chain on a smaller rear sprocket if removing the rear wheel.
- Support the bike securely and let hot disc rotors cool.
- Note which side the axle enters and photograph any washers or lever position.
- Support the wheel with one hand so its weight is not twisting the axle.
- Use the correct tool fully inserted in the axle head. For a normal threaded axle, turn counter-clockwise to loosen while viewed from the tool side.
- Unthread it completely, then slide it out while keeping the wheel aligned.
- Lower the wheel carefully, guiding the rotor straight out of the brake caliper.
Do not squeeze a hydraulic brake lever with the rotor removed. Insert the correct pad spacer if the wheel will stay out. Keep fingers and oily products off the rotor and pads.
If an axle that should loosen will not move with a normal short tool, stop. Confirm direction and design, then consult the manual or a shop. A long breaker bar can strip the tool interface, damage the dropout, or snap a seized axle.
Reinstall the wheel in six controlled steps
1. Inspect and clean
Wipe the axle, threads, hub end caps, and dropout faces. Check for flattened, torn, or corroded threads and for damage in the hex socket. Confirm the axle is the correct one for this bike; a replacement that looks similar may have a different thread pitch or length.
Use grease or another thread treatment only as the bike or axle maker directs. Some manuals specify light bicycle grease on axle threads and under the head. The specified torque assumes the instructed thread condition, so improvising with anti-seize, threadlocker, or a dry installation can change the result.
2. Seat the wheel
Guide a disc rotor between the pads without forcing it sideways. Make sure both hub ends sit fully in the fork or frame dropouts. On a rear wheel, place the chain on the selected sprocket and keep the derailleur clear.
3. Align the holes
Lift or nudge the wheel until the axle path through the dropout and hub is straight. Supporting the wheel removes the side load that often makes an axle feel “tight.”
4. Start by hand
Push the axle through and turn it with fingertips or the short end of the tool. It should engage smoothly for several turns. If it catches immediately, rocks, or needs force, back it out. Clean and realign rather than trying to “cut through” the resistance.
5. Tighten to the stated requirement
When the axle shoulder is seated, use the printed torque with an appropriate torque wrench, or close the axle lever exactly as its manual describes. The target is not “as hard as possible.” If two relevant markings conflict, stop and ask the bike manufacturer or dealer which applies to that frame and axle combination.
6. Perform the wheel check
Confirm the axle is seated and any lever is in its approved closed position. Hold the wheel and try to move it side to side; there should be no looseness at the dropouts. Spin it and operate the brake while stationary. A slight rotor rub may need wheel reseating or caliper diagnosis, but never loosen the axle below its required setting merely to silence the brake.
Diagnose what the resistance is telling you
| What you feel | Likely direction | What to do |
|---|---|---|
| Hard from the first turn | Misalignment, dirt, wrong axle, or cross-threading | Back out immediately and inspect |
| Smooth threads, then a firm stop | Axle shoulder may be seated | Apply only the specified final torque |
| Tight spots every rotation | Damaged or contaminated threads | Stop and have the threads inspected |
| Axle turns but never seats | Wrong length/pitch or damaged thread | Do not ride; verify the part |
| Correctly torqued but wheel moves | Hub/end-cap, bearing, dropout, or axle problem | Do not ride; get competent service |
| Axle loosens repeatedly | Installation, compatibility, or damaged-thread fault | Stop riding until diagnosed |
Avoid confusing torque with security
More torque is not a substitute for the right axle, clean threads, full hub seating, and a post-installation check. Likewise, an axle can feel snug while only a few damaged threads are engaged.
Practice wheel removal at home before travel or a roadside puncture. Keep the exact axle tool in your road-bike saddle bag, and read our guide to disc-brake rub after wheel removal if the wheel is secure but the rotor no longer runs quietly.
Your next step
Find the marking and model-specific manual today. Remove and reinstall one wheel in a clean workspace, using a pad spacer and the correct tool. If the axle is already seized, visibly damaged, or unusually resistant, leave the bigger lever in the toolbox and book a mechanic.
Sources and further reading
- Shimano E-THRU user manual: installation, removal, lever checks, and model compatibility
- Cannondale wheel instructions: clean parts, support alignment, grease where specified, and guide the rotor between pads
- r/bikewrench reader context: an overtightened thru-axle that required shop removal
- r/bikewrench reader context: supporting the wheel when a released axle will not slide out