The maximum tyre pressure is not a target
Use the number on your tyre sidewall as a safety ceiling, then choose a starting pressure from tyre width, rider weight, surface, and rim limits.
 Field guide / maximum-tyre-pressure-is-not-a-target
Before you buy
Check the starter kit first
Print the one-page buying brief for helmet, lights, water, phone, and repair compatibility before comparing upgrades.
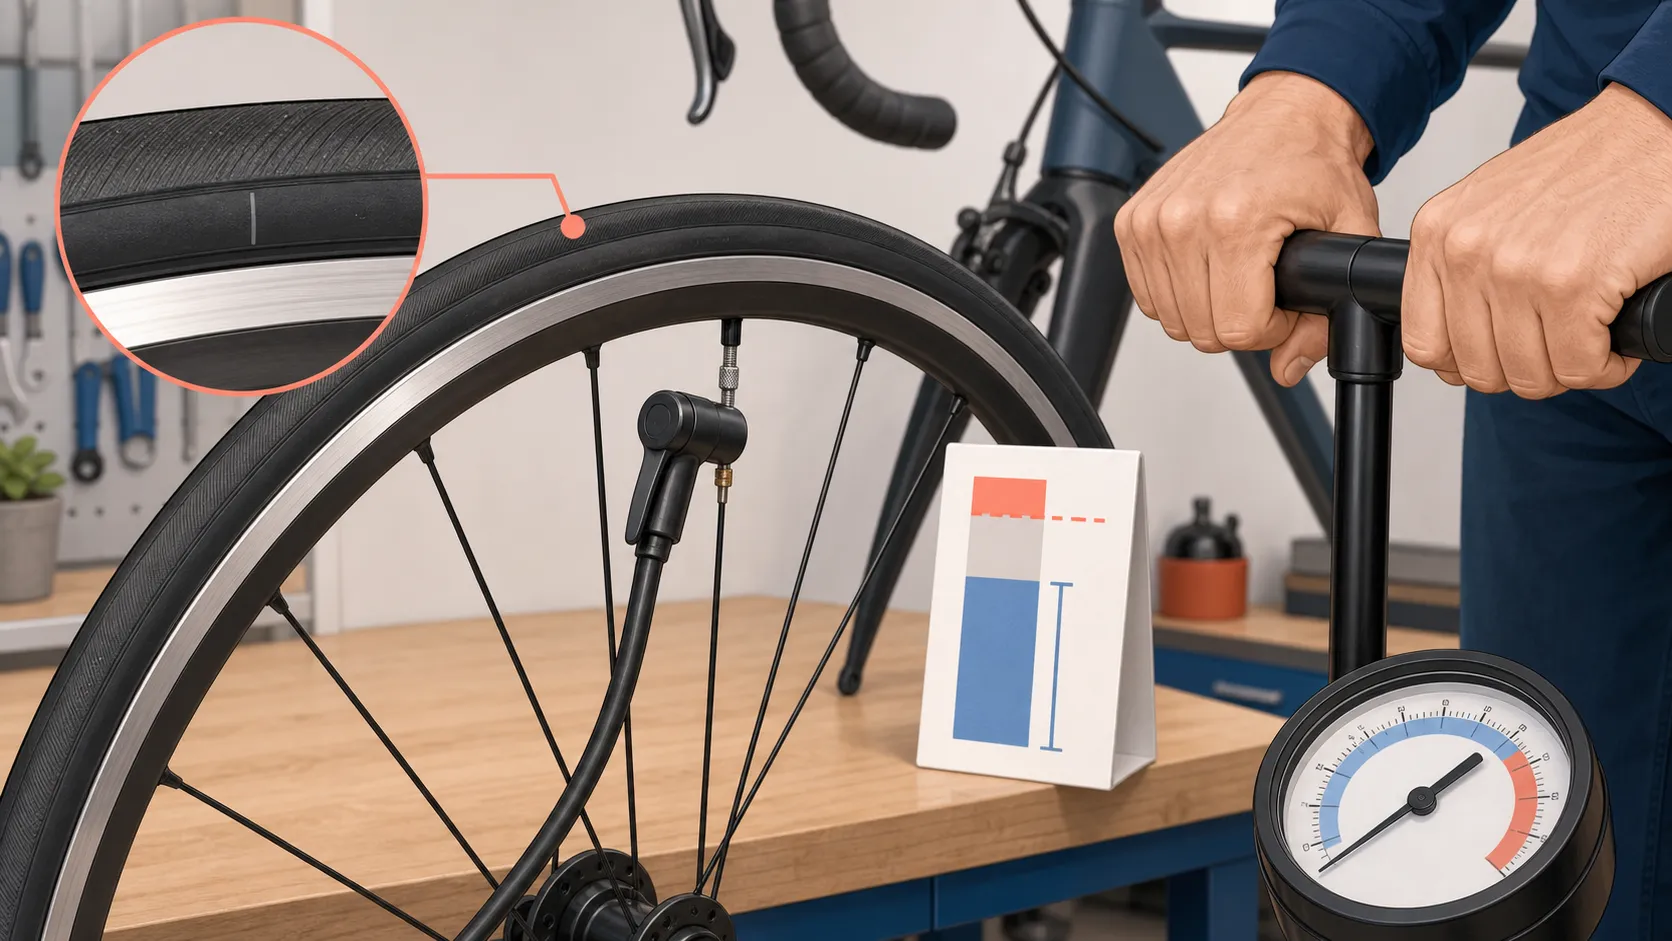
The number printed as maximum tyre pressure is a safety ceiling, not a command. A good starting pressure sits below the lowest limit for your tyre and rim, then changes with rider weight, tyre width, road surface, tubes or tubeless setup, and the ride feel you are trying to improve.
The short answer: do not pump a road tyre to the highest sidewall number just because it is there. Check the tyre and rim limits, use a manufacturer chart or reputable pressure guide as a starting point, measure with a gauge, then make small changes instead of guessing by feel alone.
Why this confuses new riders
Recent cycling-community questions show the same pressure anxiety in different words. One new road-bike owner in r/cycling had been following a general bike-page range, then noticed the tyre itself said a lower maximum of 5 bar / 72 psi. Another beginner asked why road-bike tyres seem to need air so often in a thread about tyre air levels. A separate question about tyre and inner-tube markings showed the same underlying problem: which number should I follow?
The honest answer is that there is no single magic number printed on the bike. There are limits, starting points, and adjustments.
Read the sidewall as a boundary
Tyre makers are clear that pressure depends on context. Continental’s bicycle tyre FAQ says ideal pressure depends on system weight, riding style, conditions, and preference, while the sidewall gives the maximum. Schwalbe’s tyre-pressure guidance says a general recommendation is not possible for every bike or tyre because load, rider weight, luggage, rolling resistance, comfort, and grip all matter.
So the sidewall maximum is useful, but it answers only one question: “What pressure should I not exceed for this tyre?” It does not answer:
- what pressure is comfortable for you;
- what pressure suits rough local roads;
- whether your rim has a lower maximum;
- whether you are using tubes or tubeless;
- whether the front and rear tyres should be the same.
That is why “just pump it to max” is too blunt for modern beginner road cycling.
The rim can be the lower limit
Pressure is a tyre-and-rim system, not a tyre-only decision. Schwalbe’s Pressure Prof tool notes that maximum pressure can be stated on both tyre and rim, and if the rim’s specified maximum is lower, the rim limit should be followed. Continental gives the same practical rule for hookless setups: where tyre and rim maximums differ, follow the lower value.
This matters most with modern tubeless and hookless road wheels. Schwalbe’s hookless guidance says ETRTO hookless road rims have a 5 bar maximum, even if the tyre sidewall shows a higher number. Zipp’s hookless compatibility guidance says its TSS wheel and tyre systems should never be inflated above 5 bar / 72 psi and points riders toward a pressure guide for the optimum pressure.
If you do not know whether your wheel is hooked, hookless, tubeless-ready, or tube-only, do not guess high. Check the wheel manual, rim marking, brand compatibility chart, or a bike shop.
Use a starting point, not a dare
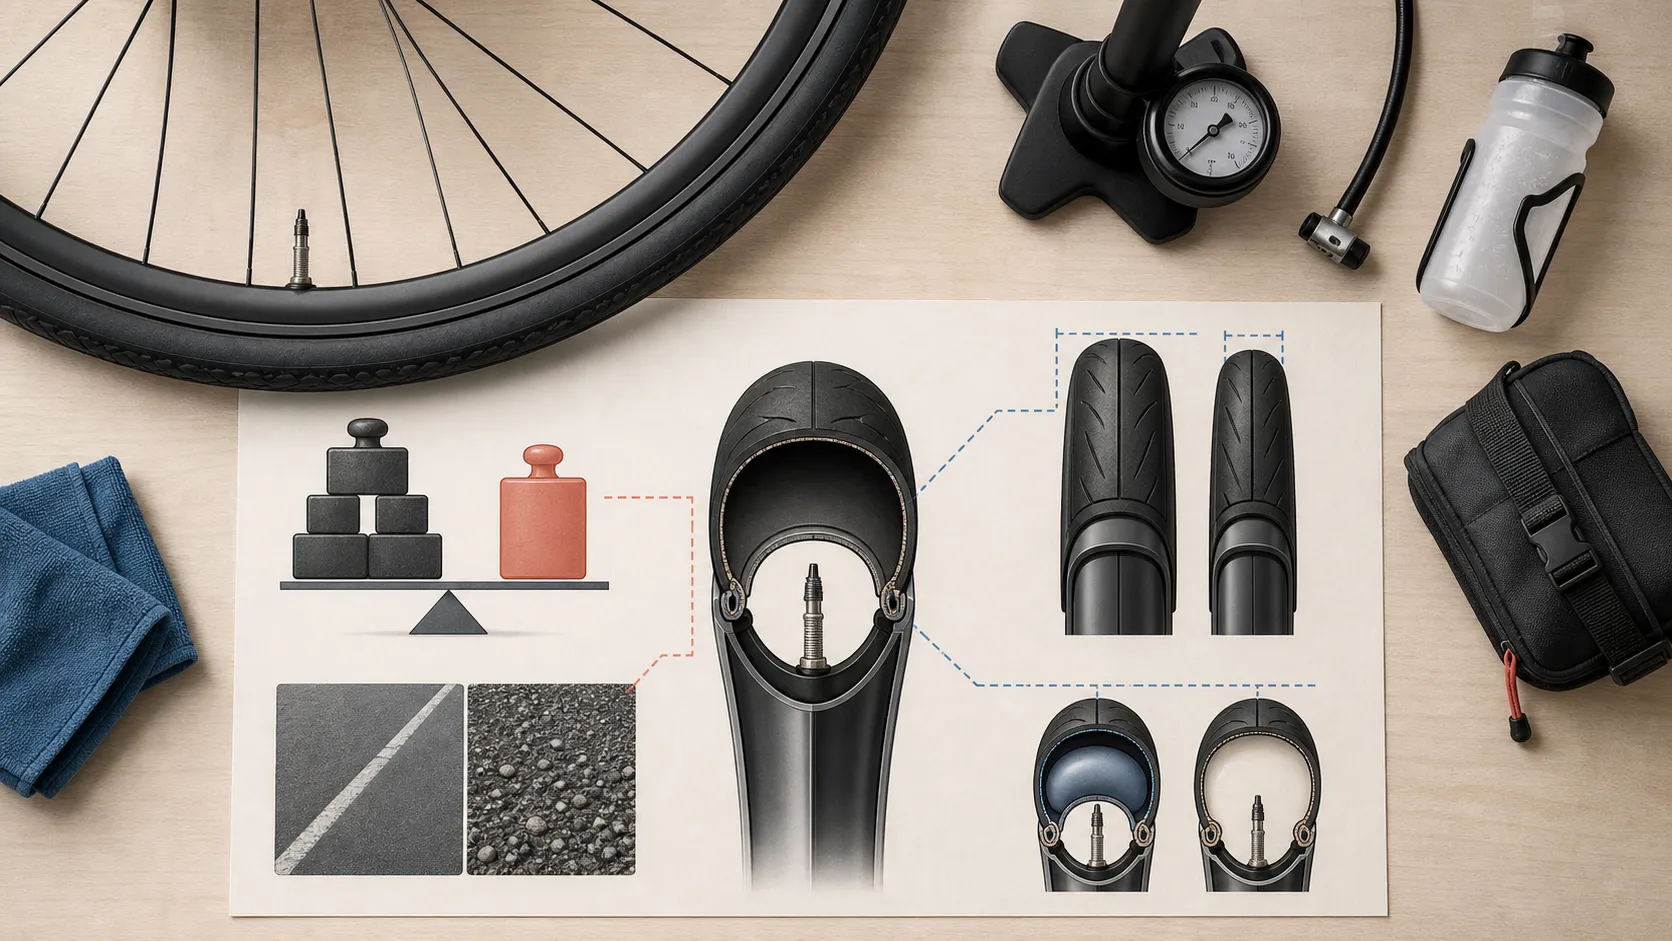
For a beginner, the cleanest workflow is:
- Find the tyre size and pressure range or maximum on the tyre.
- Find the rim or wheel maximum if the wheel manual, rim decal, or manufacturer page gives one.
- Use the lowest maximum as the hard ceiling.
- Use a manufacturer chart or reputable pressure guide for a starting pressure below that ceiling.
- Inflate with a gauge, ride an easy familiar route, and adjust in small steps.
Michelin’s bicycle pressure guide illustrates the starting-point idea by varying recommended pressures by rider weight and tyre section width. Schwalbe’s guidance also separates the allowed sidewall range from the pressure that feels best for a particular load and preference.
Do not copy a stranger’s number unless their tyre width, measured tyre size, rim, total weight, surface, and setup are close to yours. A 25 mm tyre, 32 mm tyre, tubed setup, tubeless setup, smooth road, rough chipseal, light rider, and heavy rider can all lead to different sensible starting pressures.
What pressure that is too high can feel like
Too much pressure is not automatically faster or safer. On normal roads, an over-hard tyre can feel skittish, harsh, and tiring because it bounces over texture instead of settling into it. Lower pressure, within safe limits, can improve comfort and grip; Schwalbe describes the tradeoff this way: higher pressure tends toward lower rolling resistance and less wear, while lower pressure tends toward more comfort and grip.
That does not mean “lower is always better.” Too little pressure can feel vague in corners, increase rim-strike risk, make the tyre squirm, or encourage pinch flats with tubes. The useful lesson is narrower: the maximum is not the target. Your pressure should be high enough to support the tyre safely and low enough that the bike does not feel like it is skipping across ordinary road texture.
The thumb squeeze is only a clue
A quick squeeze can tell you when a tyre is obviously soft, but it cannot reliably measure road-bike pressure. Continental’s bicycle maintenance guidance says tyre pressure should be checked before every ride because bicycle tyre systems are subject to pressure fluctuation and pressure loss; a tyre that “feels fine” by thumb may still be meaningfully different from yesterday.
Use the squeeze as a habit trigger: if it feels soft, stop and measure. For planned rides, use a floor pump with a gauge before you leave. That pairs naturally with the five-minute pre-ride bike check and the reminder that the quick tyre squeeze is not a full bike check.
When to stop and ask
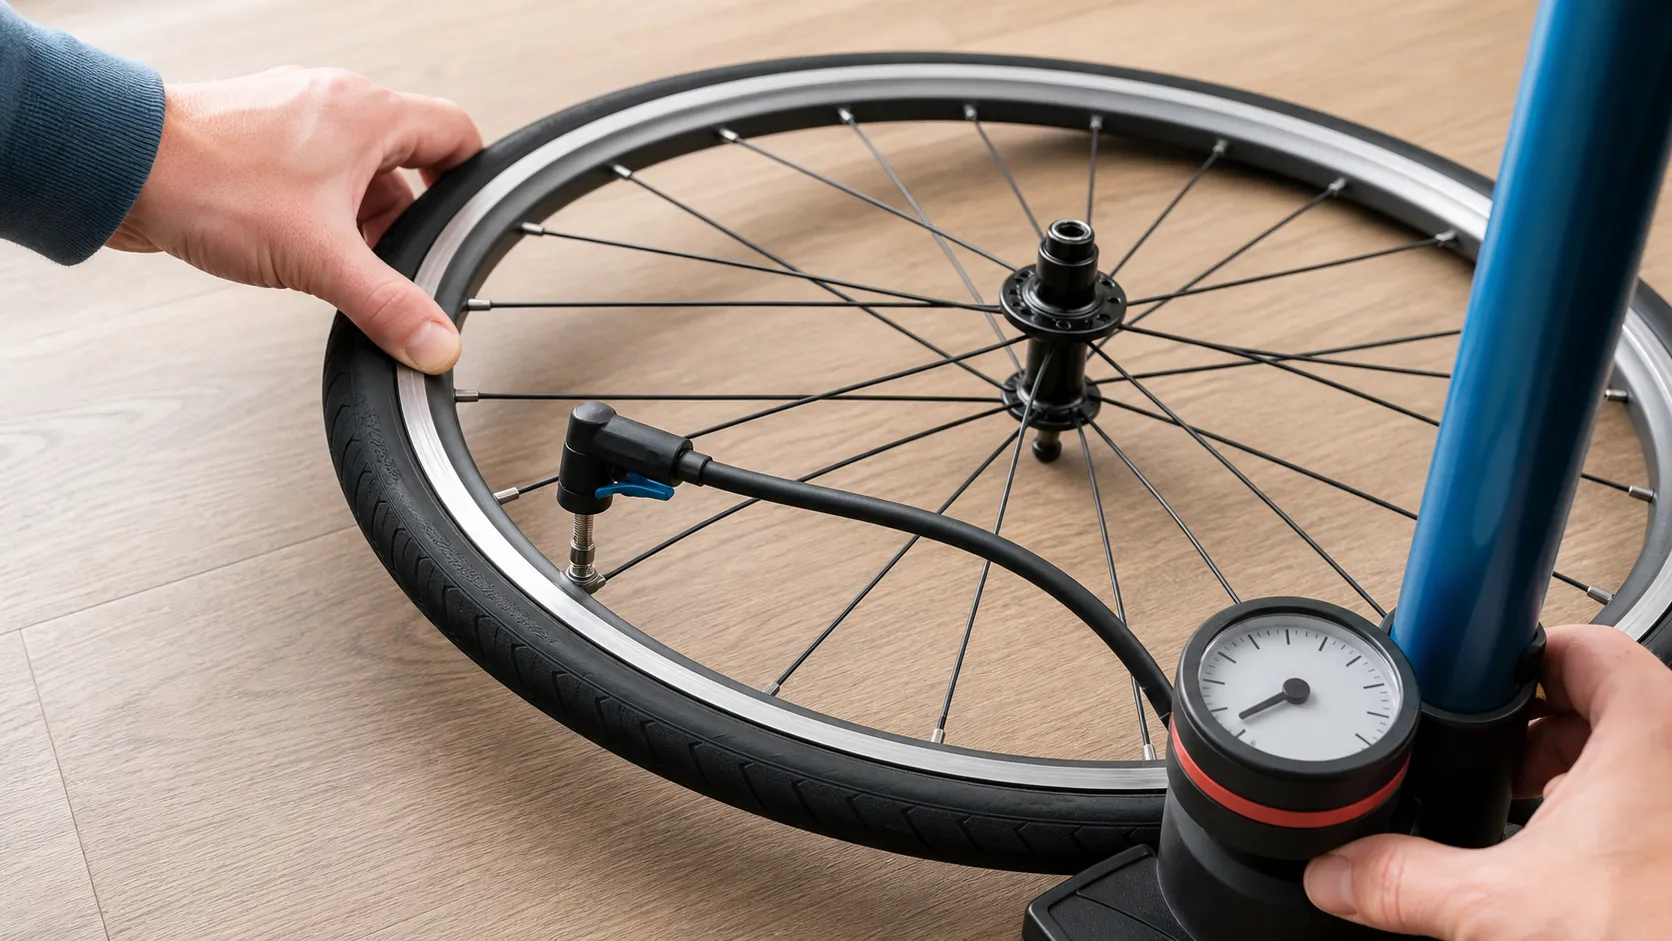
Stop guessing and get help if the tyre will not seat evenly, you hear sharp cracking or popping while inflating, the bead line looks uneven, the sidewall is cut, the rim is damaged, the valve area bulges, or a tubeless tyre keeps losing pressure after setup.
Also pause if your recommended pressure sits above a rim or hookless system limit. Zipp’s guidance, for example, says to choose a larger tyre if the recommended pressure for that setup is above its 72 psi / 5 bar limit. That is a system-compatibility problem, not a problem to solve by exceeding the maximum.
One focused next action
Before your next ride, find three pieces of information: tyre size, tyre maximum, and rim or wheel maximum if one exists. Write the lowest maximum down somewhere useful. Then choose a starting pressure below it from a manufacturer chart or pressure guide, inflate with a gauge, and ride one familiar route.
The right pressure is not the bravest number. It is the repeatable number that stays inside the limits and makes the bike feel controlled.
Sources and further reading
- Continental: bicycle tyre pressure FAQ
- Continental: bicycle tyre pressure checking guidance
- Schwalbe: tyre pressure guidance
- Schwalbe: Pressure Prof
- Schwalbe: hookless rim guidance
- Zipp / SRAM: hookless tyre compatibility
- Continental: hookless vs hooked rims
- Michelin: bicycle tyre pressure guide
- r/cycling reader context: unsure about tyre pressure
- r/cycling reader context: beginner tyre air levels
- r/cycling reader context: confused about tyre and tube PSI