Why is your bike hard to pedal and slow to coast?
Separate a hard gear from brake drag, low tyre pressure, bearing resistance, and drivetrain faults with a safe five-minute diagnosis.
 Field guide / why-bike-hard-to-pedal-and-will-not-coast
Before you buy
Check the starter kit first
Print the one-page buying brief for helmet, lights, water, phone, and repair compatibility before comparing upgrades.
If your bike needs much more effort than another bike and also loses speed quickly when you stop pedalling, do not assume your fitness is the problem. First separate resistance in the bicycle from a gear that is simply too hard.
The short answer: check tyre pressure and obvious damage, lift and spin each wheel, confirm both brakes release, then turn the cranks by hand and test an easier gear. A wheel that stops abruptly, scrapes, binds, or has play needs correction before a normal ride.
Why this question needs a sequence
A current beginner discussion described a bike that was consistently hard to pedal and stopped coasting much sooner than a friend’s bike. Replies suggested brakes, tyres, gearing, lubrication, and fit. That range is a useful demand signal, but it is not a diagnosis.
Several causes can feel similar at the pedals. Test the simple, safety-critical possibilities first instead of adjusting five things at once.
1. Compare on the same ground, not by gear number
“Seventh gear” on one bicycle is not necessarily harder or easier than “tenth gear” on another. The actual ratio depends on the number of teeth on the selected front chainring and rear sprocket, as well as wheel size.
On a flat, quiet test area, shift into an easier gear until you can turn the pedals smoothly without straining. If the bike now accelerates normally and coasts normally, the main issue may have been gear choice. Read how to use road-bike gears before comparing bikes by the number printed on the shifter.
If the bike still slows unusually quickly, continue the mechanical checks.
2. Check both tyres with a gauge
A visibly soft tyre can make a bike feel heavy and handle poorly. Check for:
- pressure below the useful range for the tyre, rim, system weight, and surface;
- a puncture or valve leak;
- a tyre bead that is not seated evenly;
- tread, sidewall, or casing damage;
- contact between the tyre and frame, fork, brake, or mudguard.
Use a gauge rather than a thumb squeeze. Do not inflate automatically to the sidewall maximum: that number is a limit, not a universal target. Schwalbe’s technical guidance confirms that tyre pressure affects rolling resistance and that a tyre needs sufficient pressure to carry the bicycle, but the right setting still depends on the complete setup and surface.
Use our beginner tyre-pressure guide to choose a starting point.
3. Spin one wheel at a time
Put the bike in a stable stand or have another person hold it securely. Keep fingers, clothing, and tools away from spokes and rotors.
Spin the front wheel, then the rear. You are looking for a pattern, not a universal number of seconds:
- continuous scraping: a brake pad, tyre, mudguard, or accessory may be contacting;
- a scrape once per revolution: the rotor or rim may be out of true, or the tyre may be unevenly seated;
- an abrupt stop at the same point: investigate contact or bearing damage;
- roughness, grinding, or side play: the hub or axle needs inspection;
- normal free rotation but poor road coasting: recheck tyres, drivetrain, gearing, and the fairness of the comparison.
A rear wheel also turns the freehub and may not spin as long as the front. Do not compare the two as if their mechanisms were identical.
4. Rule out brake drag
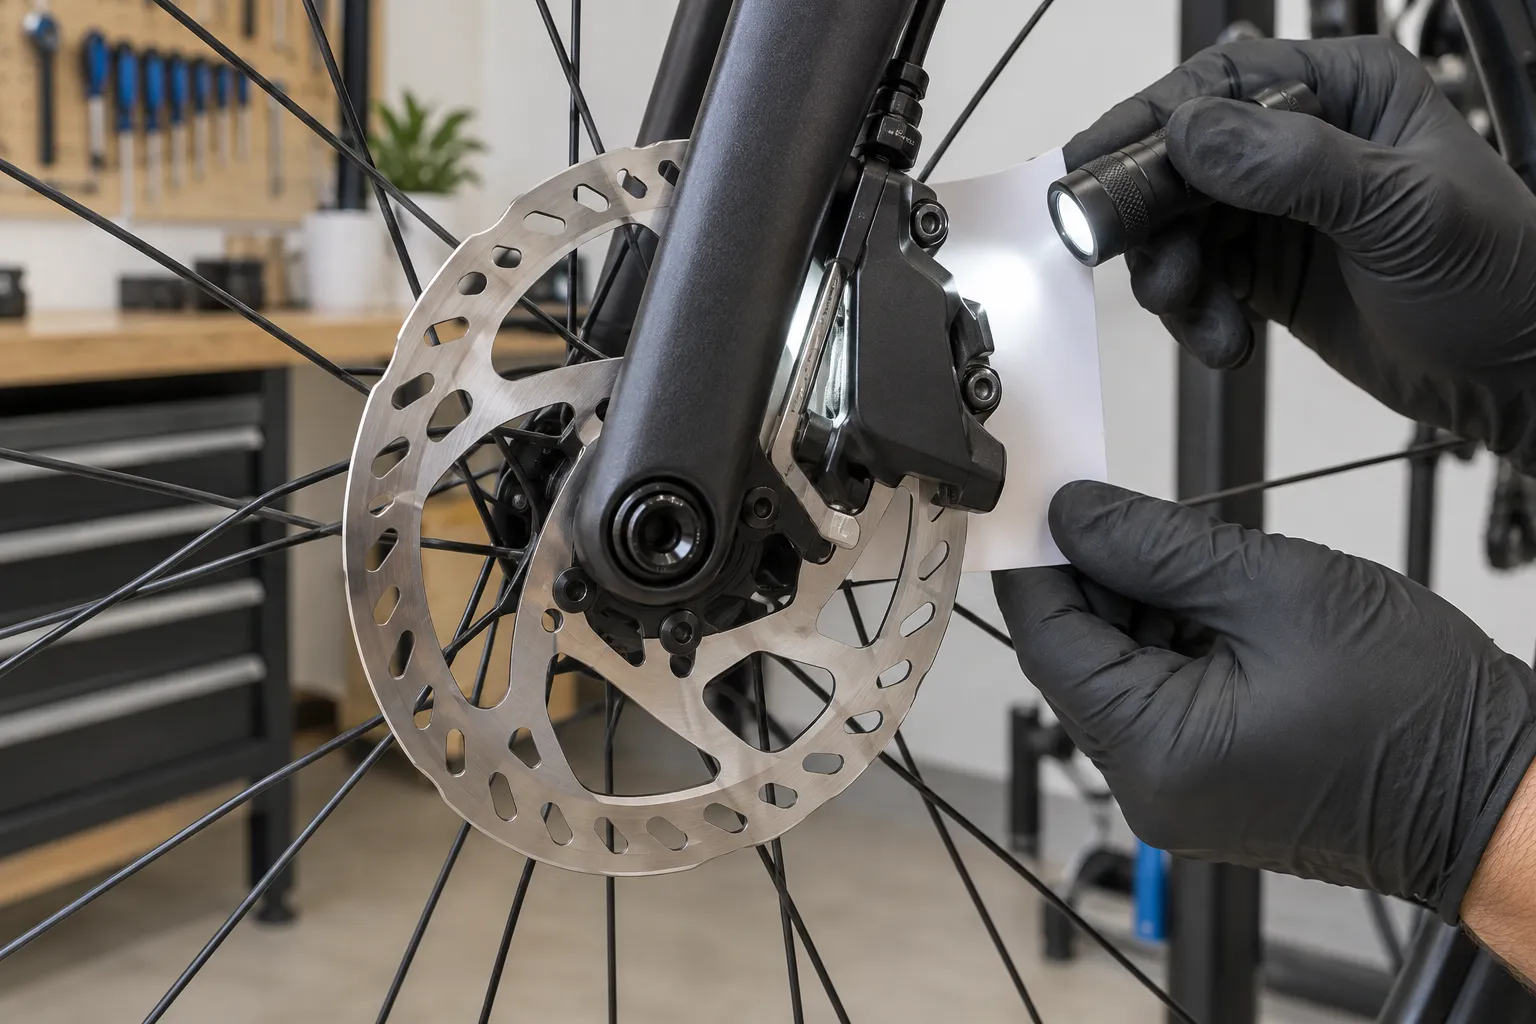
For a disc brake, look through the caliper and watch the rotor pass between the pads. A tiny intermittent sound may not create meaningful drag; firm continuous contact or a wheel that binds does.
First confirm that the wheel and axle are installed exactly as the bike maker specifies. A wheel seated differently can move the rotor relative to the caliper. Do not squeeze a hydraulic brake lever while the wheel or pad spacer is absent.
For a rim brake, confirm that both pads clear the rim, return after the lever is released, and cannot touch the tyre. A wheel that is not seated centrally can imitate a brake-adjustment problem.
If the brake lever remains firm, a piston will not retract, the cable is frayed, or the wheel still binds after correct installation, stop. Our guide to disc-brake rub after wheel removal covers the next safe checks.
5. Turn the drivetrain without load
With the rear wheel raised, turn the cranks slowly by hand and shift through the gears. Stop if the chain can catch clothing or fingers.
Look and listen for:
- a dry, rusty, kinked, or damaged chain;
- the chain rubbing a derailleur cage;
- a stiff jockey wheel;
- skipping, unintended shifting, or a damaged tooth;
- crank or bottom-bracket grinding or side-to-side play;
- a chain routed incorrectly after recent work.
Do not pour on more lubricant to solve unidentified resistance. Clean and lubricate the chain correctly, then wipe off the excess. Shimano’s dealer documentation warns riders to check for chain damage, skipping, and unintended shifting and to use the specified installation and torque procedures.
6. Make the comparison fair
Two healthy bikes can coast differently because of tyre construction and pressure, rider position, rider mass, wheel and freehub design, wind, gradient, road surface, and when each rider stopped pedalling.
Use the same short, traffic-free slope with the same rider and similar starting speed. This is only a confirmation after the safety checks, not a contest. A longer coast does not prove that every component is better.
When to book a mechanic
Do not continue trial rides when:
- either wheel does not turn freely;
- a brake remains hot, smells unusual, or changes lever feel;
- a hub, crank, pedal, or headset has play;
- resistance appeared after a crash, pothole, wheel installation, or repair;
- the chain skips under load;
- you cannot identify what is touching.
Describe the symptom precisely: which wheel, whether it occurs in the stand or only under load, whether braking changes it, and what happened immediately before it began. That is more useful than “the bike is slow.”
Your next step
With the bike stationary, check tyre pressure and spin each wheel. If one wheel scrapes or stops abruptly, solve that fault before changing fitness, saddle, or training. If both roll freely, take a short easy-gear test and follow the five-minute pre-ride check.