Why does your bike chain keep breaking? Diagnose the second failure
A repeat chain break is a reason to stop and inspect the failed link, connector, compatibility, chain line, and shifting—not simply fit another chain.
 Field guide / why-bike-chain-keeps-breaking
One chain can be damaged by a bad shift or installation mistake. A second unusual failure deserves a system-level diagnosis. Keep the failed parts, photograph them before cleaning, and inspect the connector, chain model, cassette, chainrings, derailleur, and shifting together.
The short answer: do not assume mileage alone caused the break. The location and shape of the failure can point toward a bad join, incompatible or counterfeit part, side-load from shifting, impact damage, corrosion, or another drivetrain fault.
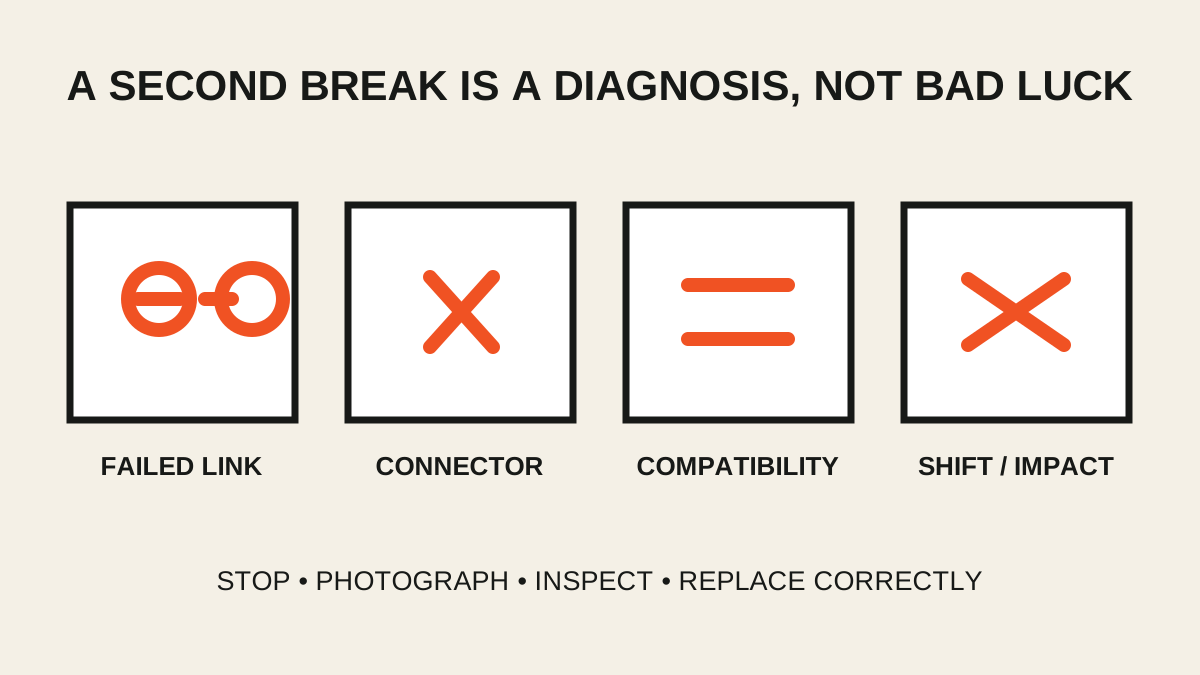
First, preserve the evidence
If it is safe to do so, collect both ends of the chain and the connector. Do not bend the plates back for a test ride. Photograph:
- both sides of the failed link;
- the neighbouring links and any twisted plates;
- the quick link or joining pin;
- the chain model markings;
- the rear derailleur, hanger, chainrings, and cassette.
Note what happened immediately before the failure. A break during a hard front shift, a standing sprint, or a shift across several sprockets is different evidence from a plate cracking while riding steadily.
Check where it broke
At the quick link or joining pin
A failure at the join raises questions about connector compatibility, direction, one-time-use rules, and installation. Modern chains do not all share the same joining method. A link that appears to snap closed may still be the wrong speed, brand family, or orientation.
Use the chain manufacturer’s exact manual. Do not press an ordinary rivet back into a modern narrow chain or add a random connector because its width looks close. Check our guide to quick-link reuse before treating an opened link as reusable.
Through an outer or inner plate
A cracked plate away from the join may follow a hard side-load, previous impact, corrosion, material defect, or incompatible drivetrain interaction. Look for matching scrape marks, bent teeth, a damaged front derailleur cage, or a stiff neighbouring link. The photograph cannot prove metallurgy, so avoid confident online diagnoses based on appearance alone.
At several links
Multiple damaged plates, widespread rust, or many stiff links means the whole chain is suspect. Replacing one link does not restore a chain with broader damage.
Confirm every part belongs together
Write down the exact chain, cassette, chainring, and derailleur model—not just “11-speed” or “Shimano.” Speed count is only one compatibility dimension. Some drivetrains require a directional chain, specific quick link, approved chainring tooth profile, or particular connector.
Also confirm chain length. A chain that is too short can overload the derailleur in large-large; a chain that is too long can lose control at the other extreme. Verify derailleur capacity and maximum sprocket size rather than trying to solve incompatibility by removing another link.
Inspect the bike for the cause
With the damaged chain removed, a mechanic should check:
- chainring and cassette teeth for bent, hooked, or impact-damaged areas;
- derailleur pulleys and chain routing;
- hanger alignment and derailleur travel limits;
- chain line and any unusual frame or guide contact;
- shifting under light hand-crank load across the whole range;
- whether the chain was excessively worn before failure.
A chain checker helps track wear, but wear percentage does not explain every fracture. Our chain-wear guide covers measurement without turning one reading into the whole diagnosis.
Cleaning and sourcing matter
Buy safety-critical drivetrain parts from a traceable, reputable seller and retain packaging and proof of purchase. If markings, packaging, finish, or price raise authenticity concerns, ask the named manufacturer or authorised distributor rather than relying on a visual comparison post.
Use the cleaner and lubrication process allowed by the chain maker. Shimano’s safety instructions warn against alkaline or acidic rust cleaners for the cited chains because they can damage the chain. That does not prove a particular cleaner caused a particular break; it does show why improvised chemistry is a poor experiment on a loaded component.
After cleaning, lubricate the chain correctly and wipe away surface excess. More lubricant does not repair corrosion, cracks, or a bad connector.
What to do after a roadside repair
A chain tool and compatible spare quick link can turn a broken chain into a careful ride home, often with fewer gears. It is not the end of the diagnosis. Avoid hard efforts and cross-chaining, then inspect the full drivetrain before the next normal ride. If you need the emergency sequence, use our roadside broken-chain guide.
Your next step
Put the failed chain and connector in a labelled bag, record the component model numbers, and take the bike to a competent shop. Ask for the failure location, compatibility, chain length, hanger, limits, and tooth condition to be checked—not merely for another chain to be installed.