Is your road-bike chain too long or too short?
Recognise chain-length warning signs, check the large-large and small-small extremes, and use the correct manufacturer method before removing links.
 Field guide / road-bike-chain-too-long-or-too-short
Do not judge chain length from the small-small gear combination alone. A correctly sized chain must be long enough for the largest chainring and largest sprocket, while the rear derailleur must still take up slack at the opposite extreme. The exact sizing method depends on the derailleur and drivetrain.
The short answer: check your exact manufacturer manual first. A chain is dangerously short if the large-large combination pulls the derailleur near its limit or will not engage freely. It is too long if the derailleur cannot maintain tension and the lower chain run hangs slack in small-small. Cross-chaining can look awkward even when length is correct, so inspect both extremes.
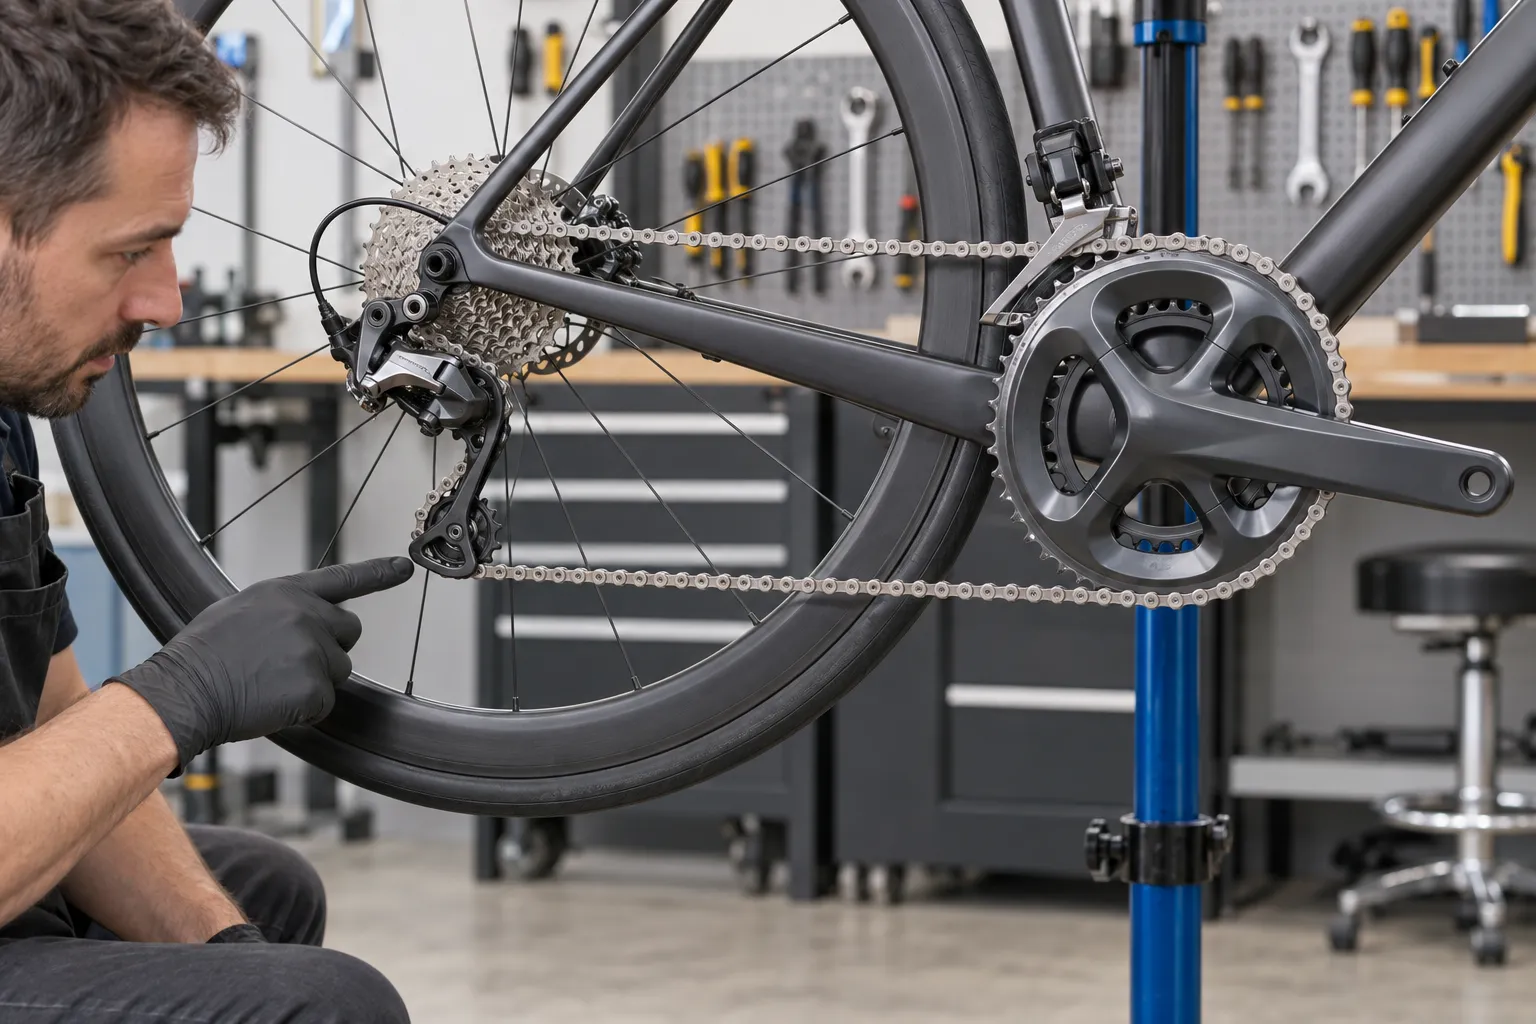
Signs a chain may be too short
Shift gently toward the largest chainring and largest rear sprocket while turning the crank by hand. Stop immediately if the shift tightens abruptly. Warning signs include:
- the rear derailleur cage is pulled nearly straight forward;
- the chain becomes rigid with almost no articulation left in the derailleur;
- the upper pulley, cage, or derailleur body contacts the cassette;
- the drivetrain will not enter large-large without force;
- a larger cassette or chainring was fitted without resizing the chain.
Large-large is inefficient cross-chaining on most 2x bikes, but the drivetrain still needs enough chain to survive an accidental shift into it. “Just never use that gear” is not a safe substitute for correct sizing.
A severely short chain can damage the chain, rear derailleur, derailleur hanger, chainring, or frame. If you discover this after cutting a new chain, stop. Adding an arbitrary old link or pressing a modern chain pin back through is not a universal repair.
Signs a chain may be too long
In the smallest chainring and smallest rear sprocket, the derailleur should still control the return run of chain. Suspect excess length when:
- the lower chain span hangs loose;
- the chain rubs itself or the derailleur cage;
- the cage reaches its relaxed limit but cannot create tension;
- the chain slaps excessively or derails despite correct adjustment;
- shifting is vague after a replacement chain was left longer than the original specification.
Small-small is also a cross-chained gear you would not normally choose. It is still a useful diagnostic because a compatible, correctly sized setup should not leave loose chain flapping around.
Do not confuse a chain-length fault with cross-chaining noise, poor indexing, a bent hanger, incorrect B-gap, or a derailleur whose capacity does not match the chainring and cassette combination.
Use the right sizing method
There is no safe universal instruction such as “always add two links” without stating the drivetrain. Shimano’s general chain manual, for example, gives different road procedures by rear-derailleur type and says the derailleur-specific dealer manual takes priority. Its Shadow road procedure routes the chain around the largest chainring and largest sprocket, then adds a specified number of links based on which inner and outer links meet.
Use this workflow:
- Identify the exact rear-derailleur model printed or stamped on the component.
- Confirm the chain, cassette range, front chainrings, and derailleur are mutually compatible.
- Download the current dealer manual from the component maker.
- Follow its chain-routing and added-link method exactly.
- Join the chain with the specified pin or quick link in the stated direction.
- Turn the crank by hand and test the full range without pedal load.
- Check large-large clearance and small-small tension before riding.
Copying the old chain link-for-link can work only when the old chain was correctly sized and the gearing has not changed. Compare by matching corresponding inner and outer links; a worn chain becomes longer in pitch and will not align perfectly over its full length.
Count links without the language trap
Cyclists use “link” inconsistently. One person may mean one inner or outer pair; another may mean an inner-plus-outer full link. Manufacturer diagrams avoid this ambiguity by showing the exact plates and connection point.
Before cutting, mark the intended rivet and rehearse how the approved connector changes the final length. Remove less rather than more if you are uncertain: a chain tool can shorten a chain later, but it cannot restore an incorrectly removed section without a compatible joining plan.
If your chain uses a quick link, check whether the maker allows reuse. Our guide to reusing a bike-chain quick link explains why the answer depends on the exact connector, not how firmly an old one seems to click.
Capacity can be the real problem
A derailleur has a maximum sprocket size and a total capacity: the amount of chain slack it can manage as the bike moves between chainring and cassette extremes. A larger cassette may fit the freehub and still exceed one of those limits. Shortening the chain cannot make an incompatible derailleur safely manage more range; it simply trades slack at one extreme for overload at the other.
If no chain length provides both safe large-large reach and controlled small-small tension, re-check component compatibility. Start with the bigger-cassette compatibility guide and the derailleur manual.
Your next step
Find the model code on your rear derailleur and save its dealer manual before touching the chain tool. Photograph both extremes with the bike upright, then compare them with the manual’s diagrams. If large-large is tight or the drivetrain parts do not match the documented range, let a bike shop size and inspect the system.
Sources and further reading
- Shimano: general chain dealer manual and road chain-length procedures
- r/bikewrench reader context: road-bike chain-length check
- r/bikewrench reader context: excess slack versus an avoided gear combination
- r/bikewrench recurring context: chain suspected too short
- r/bikewrench recurring context: replacement chain left longer than stock