Should you buy a used bare frame for your first road-bike build?
Decide whether a used road-bike frameset is a sound first build by checking provenance, damage, fit, standards, missing hardware, and complete assembled cost.
 Field guide / used-bare-road-bike-frame-first-build
Before you view or pay
Check fit, condition, and starter gear first
Use the buying checklist to choose the right path: used-bike viewing, first-bike fit and type, hidden repair costs, or starter gear.
A used bare frameset is rarely the cheapest or simplest first road bike. It can be a rewarding project when the frame has clear provenance, fits you, includes its proprietary hardware, and you already understand the standards and labour involved. A low asking price is not enough.
The short answer: buy the frameset only after a written compatibility and cost audit. If the seller cannot explain its identity, history, fork, or missing parts, choose a complete bike with a test ride and service path instead.
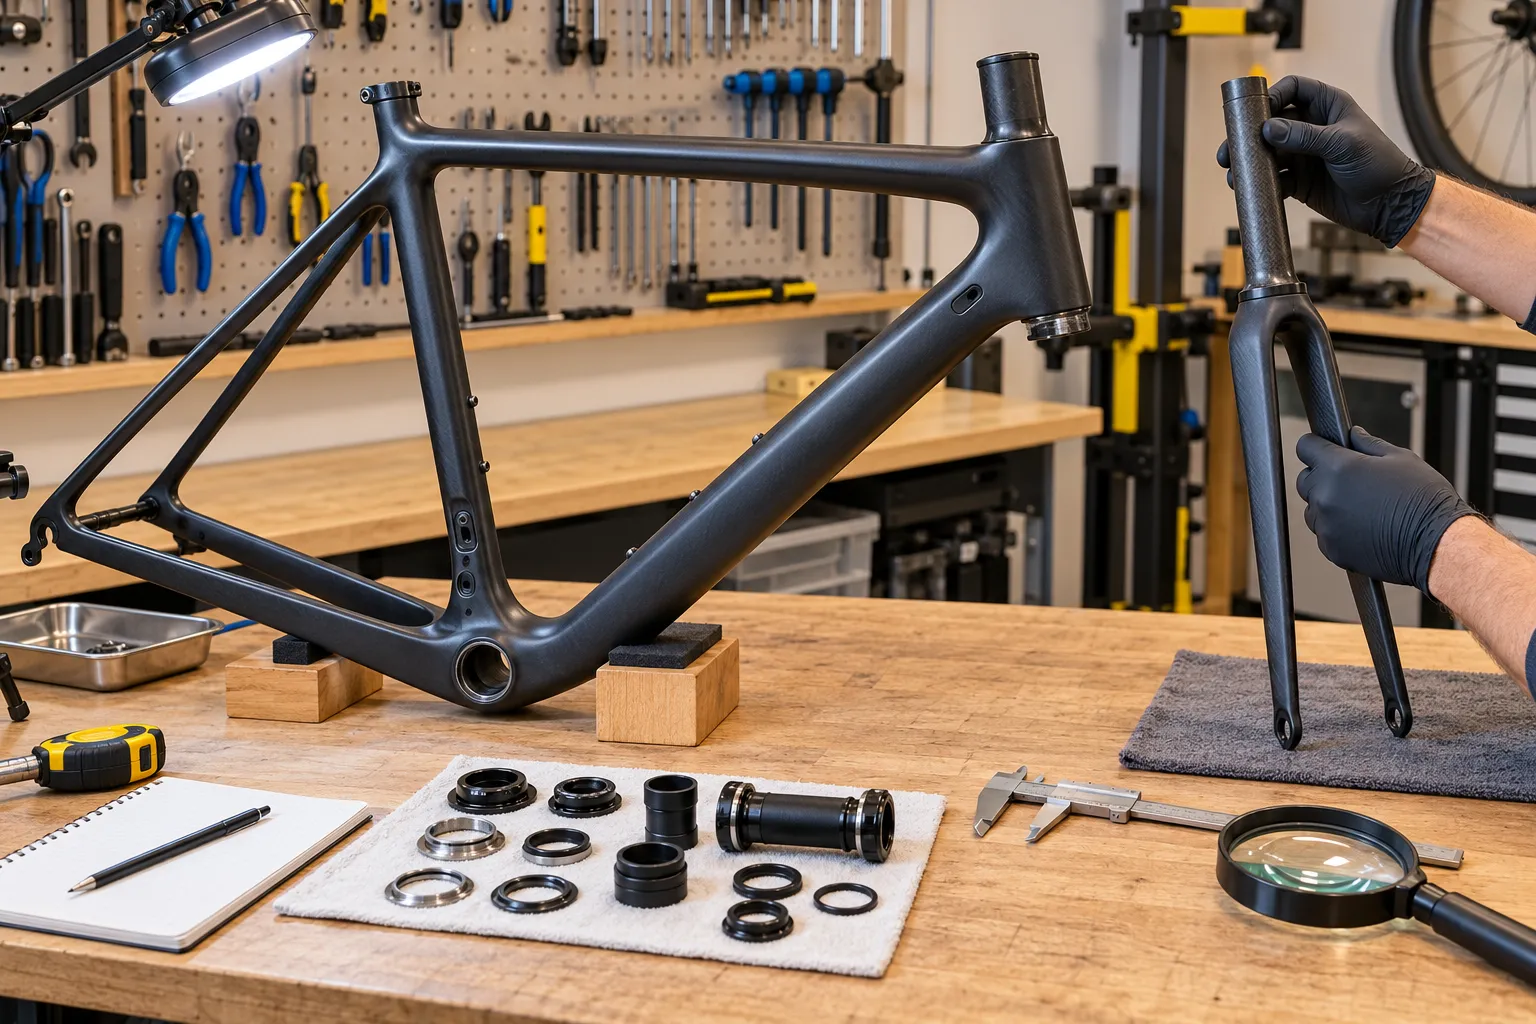
First decide whether you want a project or a bike
Building teaches useful skills, but it adds research, tools, sourcing, and troubleshooting before the first ride. A complete bike lets you test fit, braking, shifting, and handling as one system.
A frameset makes sense when:
- the build itself is part of the hobby;
- you have competent help or budgeted shop labour;
- you need a deliberate component combination not sold complete;
- the exact frame has documented standards and parts support;
- you can wait for missing parts without depending on the bike.
It is a poor shortcut when the budget only covers the frame, the seller’s story is vague, or you need reliable transport immediately.
Verify identity and provenance
Ask for the exact maker, model, model year, size, serial number, original receipt if available, and photographs of every marking. Confirm whether the seller is the original owner and why the bike was stripped.
Check the serial through the maker and theft databases where available. Compare the frame’s hardware and details with official product photographs and manuals. Specialized, for example, warns that counterfeit carbon frames can reveal themselves through incorrect metal parts such as hangers, headset pieces, and seatpost hardware.
“Open mould” is not itself a complete safety diagnosis. What matters is who designed and manufactured the frame, whether the seller can identify it, which testing and instructions apply, whether replacement parts exist, and who accepts responsibility if something is wrong. An anonymous decal is not documentation.
Use the stolen-bike avoidance checklist before exchanging money.
Inspect the frame and fork as separate safety items
Cleanliness matters because dirt can hide damage. Under bright light inspect:
- fork crown, blades, dropouts, and the full steerer;
- head tube and bearing seats;
- top-tube and down-tube junctions;
- bottom-bracket shell;
- seat tube, clamp area, and seatstays;
- brake mounts and axle interfaces;
- derailleur hanger and mounting threads;
- cable or hose ports;
- areas previously covered by protectors or bags.
Look for cracks, crushed areas, ripples, deep gouges, corrosion around bonded inserts, damaged threads, distorted dropouts, drilled holes, and repairs. Ask directly about every crash, impact, roof-rack incident, trainer use, and transport claim.
Carbon damage can be hidden. Trek advises stopping and obtaining inspection after significant impacts because a part can look normal but still be unsafe. A tap test by an untrained buyer is not a structural certificate.
Reject a cut steerer that cannot safely accommodate your intended stack and stem. Never plan to extend a carbon steerer with an improvised insert.
Make a compatibility inventory
Write the exact standard for every interface:
- headset bearing dimensions, compression ring, top cover, and expander;
- fork steerer diameter and remaining length;
- bottom-bracket shell standard and width;
- seatpost shape, diameter, clamp, and minimum insertion;
- front and rear axle standard, thread pitch, and supplied axles;
- brake type, mount standard, and rotor-size limits;
- wheel size and measured tyre clearance;
- front-derailleur mount or 1× restrictions;
- rear-hanger type and drivetrain limits;
- internal-routing guides, liners, grommets, and covers;
- mechanical, electronic, or wireless shifting support;
- mudguard, bottle, and accessory mounts;
- total system-weight limit.
Proprietary seatposts, wedges, headset covers, hangers, axles, cable guides, and battery mounts can turn a bargain into an unusable frame. Price and locate each missing item before buying.
Use the guides to identify a bottom bracket, choose a compatible wheel, and identify replacement parts while building the inventory.
Calculate the complete build, not the frame price
Your ledger should include:
- frame and fork;
- professional inspection;
- headset and small proprietary parts;
- wheels, tyres, tubes or tubeless parts;
- groupset, bottom bracket, chain, cassette, and cables or hoses;
- brakes and rotors;
- cockpit, tape, saddle, seatpost, and pedals;
- tools, compounds, bleed supplies, and torque wrench;
- shop labour for facing, chasing, routing, cutting, bleeding, or final inspection;
- shipping, taxes, and returns;
- replacement contingency for one incompatible or damaged part.
Compare the result with a complete new or used bike of similar fit and function. A complete bike can include a warranty, all small hardware, assembly, and a baseline test ride that a parts pile does not.
Check fit before collecting parts
Do not let a rare deal choose your size. Obtain the geometry chart and compare stack, reach, standover, seat angle, front-centre, tyre clearance, and cockpit adjustment range with a bike that fits.
If the frame requires an extreme stem, a saddle outside its rail limits, or prohibited steerer spacers, stop. Read how to compare geometry charts or use a pre-purchase fit before committing.
Prefer an inspection before payment
Meet at a reputable workshop willing to inspect the frameset. Agree in advance who pays and whether the sale depends on the result. A visual inspection cannot reveal every internal defect, but it can identify many wrong parts, damaged threads, unsafe steerers, and obvious structural concerns.
For lesser-known new carbon products, the same questions about traceability, instructions, support, and standards apply; use the direct-to-consumer carbon-bike evaluation.
Before you pay
Compare it with a complete-bike purchase
Use the buying checklist to test fit, ownership, condition, repair exposure, and the complete first-year budget before a frame deal turns into a costly build.
Open the buying checklist ->Your next step
Create two columns: every required interface and every required part. Fill both using official documentation and real prices. If any safety-critical row still says “probably,” do not buy the frameset yet.
Sources and further reading
- Trek: carbon care and hidden-damage guidance
- Specialized: identifying counterfeit frames and parts
- r/xbiking demand signal: used, unidentified carbon frameset as a first build — used as an editorial question signal; the individual frame was not assessed.