How to train for your first hilly group ride
Match the ride's climbs, pace, regroup policy, and duration with a practical three-week preparation plan for a first hilly cycling group ride.
 Field guide / train-for-first-hilly-group-ride
You do not need to match the group’s strongest climber before joining a beginner-friendly hilly ride. You do need gearing that lets you climb safely, enough endurance for the complete route, basic group skills, and a clear understanding of where the ride regroups.
The short answer: get the route, identify its longest and steepest meaningful climbs, ask the leader about pace and regrouping, then spend two or three weeks practising steady hills inside otherwise easy rides. Your readiness test is controlled pacing and recovery—not matching someone else’s average speed.
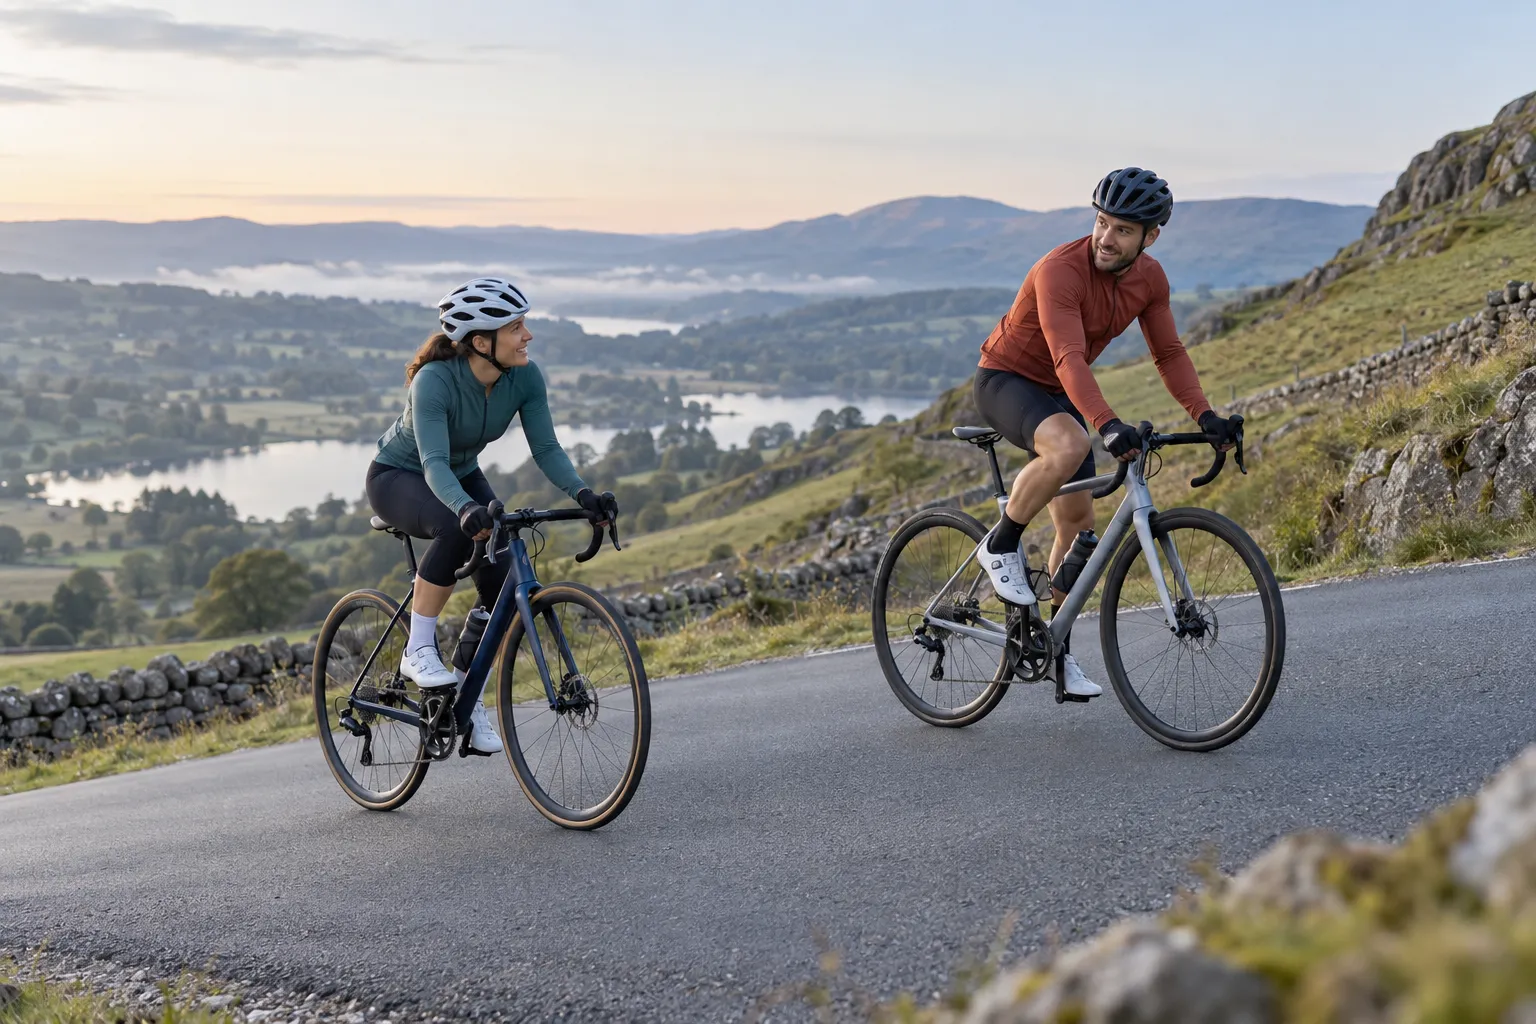
Start with the ride, not a generic fitness target
A popular beginner discussion asked how to prepare for group rides with much more elevation than the rider’s flat local routes. Elevation total is useful, but it does not describe the whole task.
Ask the organiser for:
- route distance and total climbing;
- longest continuous climb and typical gradient;
- steepest short ramp;
- expected pace on flats and climbs;
- no-drop, regroup, or drop policy;
- descent difficulty and road surface;
- water, food, toilets, shortcuts, and bailout points;
- whether a sweep rider stays behind the group.
Two routes with 800 m of climbing can feel completely different. One may contain gentle rolling roads; another may put most of the elevation into two steep climbs.
Check the bike before training harder
If your easiest gear still demands slow, forceful pedal strokes on local hills, more effort is not the only answer. Count the teeth on the small chainring and largest cassette sprocket, then use the beginner hill-gearing guide to understand the ratio.
Also check:
- brakes work consistently for the descents;
- tyres have suitable pressure and condition;
- shifting reaches the easiest sprocket without entering the spokes;
- the saddle position is stable;
- you can restart on a mild slope;
- you can drink, signal, and look behind without swerving.
A lighter bike is not a substitute for working low gears and dependable brakes.
Use a simple three-week build
This is a flexible pattern for a rider already completing one or two ordinary rides each week. Add rest days and reduce the sessions to match your current level. If you are returning from illness, injury, or prolonged inactivity, get individual guidance before increasing training.
Week 1: learn the effort
- One easy ride on familiar terrain.
- One ride with two or three moderate climbs, each started deliberately easy.
- One optional short skills ride practising early shifts, seated climbing, safe stopping, and controlled descending.
Finish knowing you could have done a little more. The goal is to learn gearing and pacing, not create maximal fatigue.
Week 2: repeat the route demand
- One easy recovery ride.
- One hill session using the longest safe local climb or repeated shorter climbs.
- One longer easy ride approaching the group’s expected time in the saddle, with some climbing included.
On the hill session, climb at a pace where breathing is controlled enough for a short sentence early in the effort. Recover fully on a safe flat section or descent before repeating. Stop the repetitions when technique or control deteriorates.
Week 3: rehearse, then freshen up
Early in the week, complete a rehearsal containing a representative climb, normal ride food, bottles, repair kit, and the clothing you expect to wear. Practise the route skills as well as the legs.
Then reduce the workload. Use one or two short easy spins and rest rather than squeezing in a heroic final hill day. Fitness will not be transformed in the last 48 hours, but fatigue can be increased.
Pace every climb from the bottom
British Cycling’s beginner climbing guidance recommends conservative pacing early, thinking ahead with gear selection, and seated climbing where practical. Cycling UK’s hill guide similarly advises starting in an easier gear and building gradually.
Use this sequence:
- Shift before heavy pressure begins.
- Start slower than excitement suggests.
- Stay seated with a relaxed grip when that remains comfortable and controlled.
- Keep your line; never zig-zag across a group or open road.
- Let faster riders go rather than surging to hold them.
- Recover over the crest before accelerating.
Walking a steep section is valid. Move fully out of other riders’ line before dismounting and tell the sweep or leader what you are doing.
Prepare for group behaviour on hills
Hills stretch groups. A good beginner ride should explain whether riders regroup at the top, at the next junction, or not at all. Cycling UK advises new riders to tell the leader and notes that an organised group may wait at the next junction or top of a climb.
Before rollout, say: “This is my first hilly group ride. Where do you regroup, and who should I tell if I turn back?”
During climbs:
- leave extra space before standing;
- do not overlap wheels;
- call out before slowing sharply;
- hold a predictable line;
- never cross the centre line to reduce the gradient;
- wait in a safe place beyond the crest, not in the road;
- put on a layer before a long cool descent if needed.
Review your first group ride and five group-ride signals before adding hill pressure.
A readiness check that is more useful than speed
You are reasonably prepared for a beginner hilly ride when you can:
- complete a ride near the expected duration without finishing depleted;
- climb a representative hill without losing steering control;
- use the easiest gear smoothly before the slope becomes severe;
- restart safely after a stop;
- descend within your sight line and confidence;
- eat and drink during an ordinary ride;
- fix or manage a puncture and navigate home;
- explain the group’s pace, regroup policy, and bailout plan.
You do not need a particular average speed, power number, body weight, or climbing rank. If the actual ride is faster, steeper, or less supportive than advertised, leave safely and choose a better match next time.
On the day
Eat familiar food, arrive early, and run the five-minute pre-ride check. Load the route even when the ride is no-drop. Start near the back with extra spacing and tell the leader you are new.
Use the first hill to protect the rest of the day. A pace that feels almost too easy at the bottom is often correct. Do not chase riders who sprint away; your job is to reach the regroup point with enough attention to brake, communicate, and continue.
Your next step
Message the organiser for the route and regroup rules. Choose one local climb that resembles the main challenge, confirm your easiest gear, and schedule the first controlled practice ride. If no local hill is long enough, use the flatland long-climb training guide.