Resin vs metallic disc brake pads for a road bike
Choose a compatible road-bike disc pad compound by checking the caliper, pad shape, rotor limits, conditions, noise, heat, and changeover procedure.
 Field guide / resin-vs-metallic-disc-brake-pads
For many road riders, resin or organic disc pads are the quiet, predictable default. Metallic or sintered pads become attractive for repeated long descents, wet and gritty riding, or higher heat and wear demands. But preference comes second: the exact pad shape, caliper, and rotor must all permit the compound.
The short answer: read the caliper model and rotor markings before shopping. If the rotor says RESIN PAD ONLY, use resin. When both compounds are approved, choose resin for quiet operation and strong initial bite in ordinary road use; choose metallic when sustained heat, wet grit, or rapid organic-pad wear is the real problem.
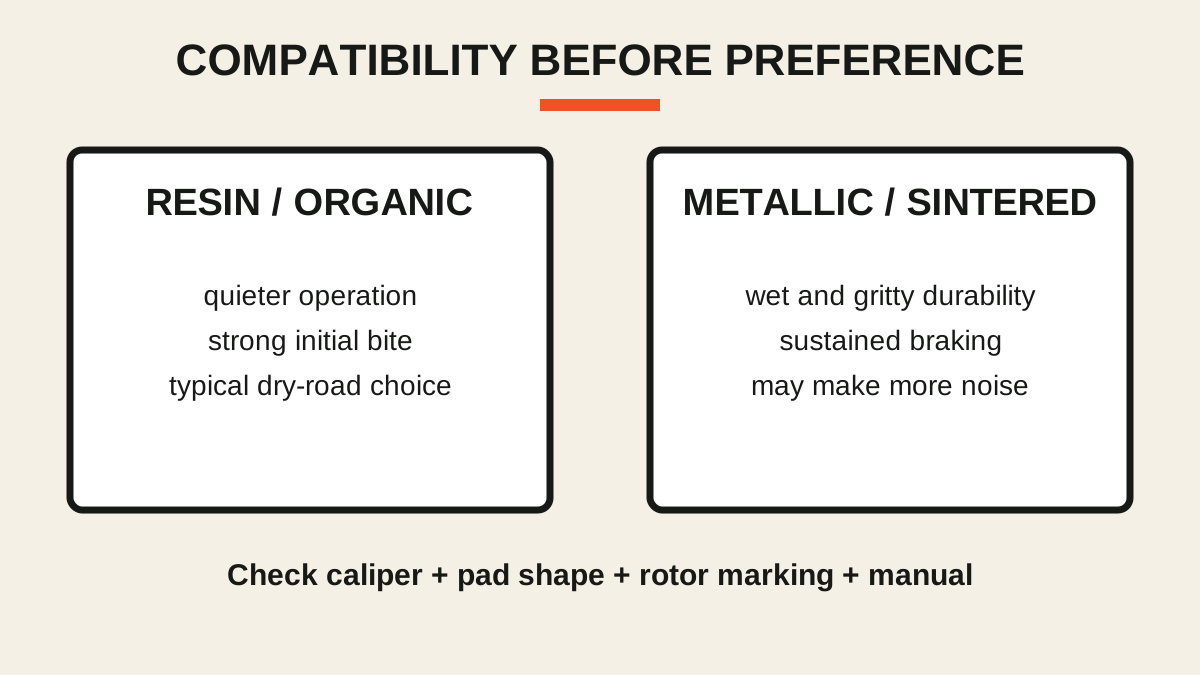
The names are not perfectly consistent
Manufacturers commonly use resin or organic for a softer compound with less metal content, and metallic or sintered for a metal-based compound. “Semi-metallic,” “power,” and other labels are product-specific blends, not a universal midpoint with identical behaviour across brands.
Do not shop by compound name alone. Two pads advertised as resin can have different shapes, backing plates, thicknesses, and heat-management features. Identify the exact brake first.
Reddit discussions repeatedly mix compound advice with glazing, contamination, wear, and poor bedding. Those are different faults. The discussions reveal a useful buying question, but only the brake maker decides compatibility.
Compatibility is a four-part check
1. Caliper model
Read the full model code on the caliper, not merely the groupset name printed on a shifter. Bikes can be built or repaired with mixed components, and pad shapes that look similar may not share dimensions or retention hardware.
2. Pad shape and retention
Match the manufacturer part number or explicit compatibility list. Confirm whether the system uses a retaining bolt, clip, split pin, spring, and any left/right orientation. Reuse hardware only where the manual allows it.
3. Rotor compound approval
Inspect both sides of the rotor for model markings and a warning such as RESIN PAD ONLY. Shimano states that those rotors must be combined only with resin pads because metal pads can wear them rapidly.
A rotor without that phrase is not automatic permission. Look up its model in the current compatibility chart.
4. System and bike limits
Rotor size and thickness, caliper type, adapters, frame and fork limits, and hydraulic or mechanical setup still matter. Changing compound does not compensate for an undersized, worn, contaminated, or incorrectly adjusted brake.
How the compounds differ in practice
| Priority | Resin / organic | Metallic / sintered |
|---|---|---|
| Noise | Often quieter | Can be noisier, especially wet or cold |
| Initial feel | Often stronger early bite | May feel different until warm or bedded |
| Sustained heat | Lower tolerance in many systems | Better suited to repeated or long braking |
| Wet grit and wear | Can wear faster | Often more durable |
| Rotor compatibility | Works with resin-only rotors where specified | Requires a rotor approved for metal pads |
These are directions, not promises. Rotor design, caliper, pad formulation, weather, rider mass, descending technique, and bed-in all change the result. Use the published description for the exact pad—not a universal chart—to make the final call.
SRAM, for example, describes organic pads as quieter and sintered pads as suited to wet, muddy, aggressive, or descending use. Its road maintenance guidance says metal sintered pads can suit gritty wet conditions where organic pads wear faster. That does not make a SRAM pad compatible with another brake.
Choose resin when ordinary road use is the job
Resin is a sensible starting point when:
- your rotor is approved only for resin;
- you ride mainly in dry or mixed road conditions;
- quiet operation matters;
- your current approved resin pads provide reliable power and acceptable life;
- you do not repeatedly overheat the system on long descents.
There is no upgrade prize for choosing the harder-sounding compound. A quiet, compatible pad that stops the bike consistently is doing its job.
Consider metallic for a demonstrated need
Metallic may make sense when:
- the caliper and rotor explicitly allow it;
- long descents create sustained braking heat;
- wet grit consumes compatible resin pads unusually quickly;
- the brake maker recommends it for your conditions;
- you accept a possible increase in noise and a different feel.
If brakes fade or lose power on descents, do not diagnose compound from one symptom. Rotor size, technique, contamination, fluid condition, glazing, pad thickness, and system setup can also matter. Read why disc brakes squeal after a long descent and escalate recurring heat problems to a qualified mechanic.
Changing compound may involve the rotor
Disc pads transfer a layer of material to the rotor during bedding and use. SRAM advises fitting new rotors when changing pad compound because mixing the old transfer layer with a new compound can reduce performance and create noise. Other brands may specify a cleaning or preparation process instead.
Follow the maker of your complete brake system. Do not assume that sanding, heating, or solvent can reset every rotor safely. If a rotor is at its wear limit, deeply scored, heat-damaged, or contaminated, replace it according to its manual.
Use the rotor replacement guide to measure wear rather than judging colour.
Installation and bedding are safety work
Keep fingers, chain lubricant, polish, and dirty rags off the friction surfaces. With the wheel removed, do not pull a hydraulic brake lever unless the maker’s bleed block or pad spacer is correctly installed.
After fitting:
- install the spring and retention hardware exactly as shown;
- check pad and rotor clearance;
- confirm a firm, repeatable lever before moving;
- secure the wheel and axle correctly;
- follow the exact manufacturer’s bed-in sequence in a traffic-free area;
- remember that full braking force develops during the burn-in period.
Our disc-pad wear guide covers removal and measurement, while the bedding guide explains why casual dragging is not a substitute for the specified procedure.
Weak braking with squeal after oil or cleaner exposure points to contamination, not a reason to experiment with another compound.
Your next step
Photograph the caliper code and both sides of the rotor. Find the maker’s pad and rotor compatibility chart, then choose only among approved pad part numbers. If both resin and metallic are permitted and your current resin pads are quiet, durable, and powerful enough, replacing like for like is the low-risk decision.
Sources and further reading
- Shimano dealer manual: use resin-only rotors only with resin pads
- Shimano compatibility chart: examples of resin-only and metal-compatible rotors
- SRAM: differences between organic and sintered brake pads
- SRAM: why it advises new rotors when changing pad compound
- r/bikewrench reader context: current confusion between compound, bedding, glazing, and contamination
- r/bikewrench reader context: a beginner identifying pad shape and rotor compound limits
Reddit discussions were used to identify the decision and common confusion, not as brake specifications. No usernames or personal stories are reproduced here.