Why do disc brakes squeal after a long descent?
Diagnose disc-brake squeal after sustained descending by separating temporary water or dirt, heat effects, contamination, pad wear, and an uneven bed-in layer.
 Field guide / disc-brakes-squeal-after-long-descent
Disc brakes can squeal after a long descent because water or dirt reached the rotor, the pads and rotor became very hot, pad material sits unevenly on the braking surface, the pads are worn, or oil contaminated the system. Sound alone cannot tell you which. Reduced braking power, a changed lever feel, or visible damage matters more than the noise.
The short answer: stop somewhere safe, let the brakes cool completely, then inspect rather than spraying or sanding. Temporary wet noise may clear; persistent squeal needs a cause-specific remedy from the exact brake manufacturer’s manual.
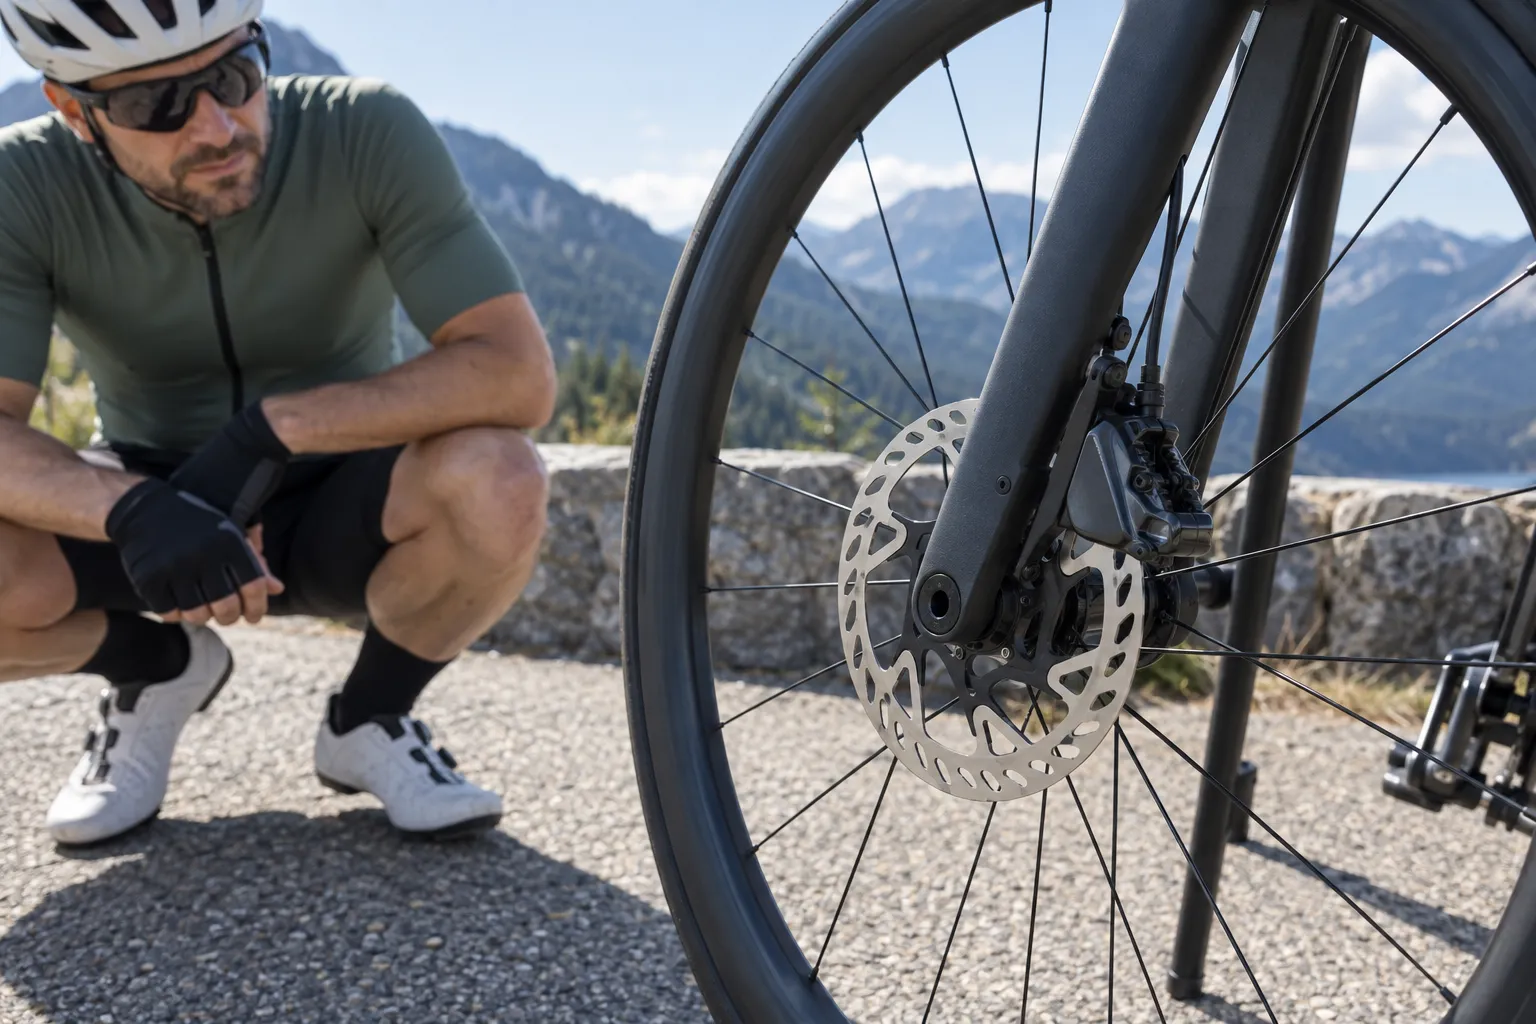
Why this question appears after sustained braking
Two current repair discussions describe squeal beginning during a descent and remaining on later rides and noise returning after repeated cleaning. Replies often jump straight to “glazed pads” and sandpaper. That may fit some systems, but a photograph or noise cannot establish the cause, and manufacturers do not give one universal recovery procedure.
Heat changes the conditions at the pad and rotor. A descent can also reveal an earlier problem: contamination from chain lubricant, an incomplete bed-in process, pads near their wear limit, a dragging caliper, or a braking technique that never gives the system time to release heat.
First decide whether it is safe to continue
Stop fully off the road. Keep skin and luggage away from rotors and calipers until they cool.
Do not continue the descent if:
- Braking power is weaker or inconsistent.
- The lever pulls closer to the handlebar than normal or feels spongy.
- You see a fluid leak, loose caliper, loose rotor, damaged hose, or cracked rotor.
- A wheel is loose or the rotor contacts the caliper body.
- Smoke, a strong chemical smell, or severe discolouration appears.
- The brake remains applied when you release the lever.
If the sound is the only change and braking remains strong, predictable, and mechanically secure, wait for the system to cool and perform the checks below. Sound is not a substitute for inspection.
Five likely causes
1. Water or road dirt
Wet rotors can sound loudly for a short period. SRAM’s road-disc noise guidance treats water or dirt as a possible temporary cause. If full braking power returns and the noise disappears after the system is dry, replacement may not be required.
Persistent noise after a dry ride points elsewhere.
2. Contamination
Chain lubricant, degreaser, brake fluid, some aerosol cleaners, skin oil, and road chemicals can reach the braking surfaces. Contamination can create noise and reduce friction.
Do not “burn it off” with harder braking. Shimano’s general dealer guidance says oil-contaminated pads should be replaced and the rotor cleaned; SRAM likewise warns that oil or lubricant can irreversibly contaminate pads. Follow the maker of your exact brake and pad compound.
3. An uneven transfer layer or incomplete bed-in
Bed-in is the controlled process that establishes an even layer of pad material on the rotor. New pads or rotors that were never bedded according to their maker may brake inconsistently or noisily.
Both Shimano’s bed-in instructions and SRAM’s road-brake manual use repeated controlled slowdowns, but their exact sequences and warnings belong to their own systems. Do not borrow a count or method from a different brake.
4. Heat-affected or glazed pad surfaces
A pad surface can become smooth or heat-affected after sustained braking. It may look shiny, but appearance alone is not a reliable diagnosis. Pad material, rotor compatibility, and the manufacturer’s service policy matter.
Some informal advice recommends sanding. Do not make that the automatic response. SRAM’s persistent-noise guidance calls for replacing affected pads and rotors in its stated scenario; another manufacturer may specify a different inspection. Check the product manual or have a mechanic assess the surfaces.
5. Wear, alignment, or dragging
Pads at their service limit can become noisy. A misaligned caliper or piston that does not retract can keep a pad touching the rotor, creating heat before the descent even begins.
Inspect pad thickness and rotor thickness only against the markings and manual for the exact components. If the brake also rubs after wheel removal, use the wheel-seating and rotor-gap diagnosis before adjusting the caliper.
A safe diagnosis order at home
- Let everything cool. Do not hurry this with water.
- Check wheel and brake security. Confirm the axle, rotor, and caliper are secure using the bike and component instructions.
- Check lever feel. Compare it with the other brake, without assuming both should feel identical.
- Inspect wear and damage. Use the manufacturer minimums, not a generic internet number.
- Look for contamination history. Recent chain spray, washing, fluid service, transport, and bare-hand contact are useful clues.
- Clean only as approved. Use a fresh lint-free material and the exact cleaner permitted by the manufacturer. Never spray near installed pads.
- Test at low speed. Use a flat, traffic-free area. Stop immediately if braking is weak or unpredictable.
If the cause remains unclear, bring the bike, pads, and description of when the noise began to a mechanic. Do not discard evidence or repeatedly alter the pad surface first.
How to reduce a repeat on the next descent
Enter a long descent with serviced brakes, enough pad material, compatible rotors and pads, and a known wheel attachment. Learn the route and reduce speed before corners.
Use both brakes progressively while the bike is upright, release them when safe rather than holding one brake lightly without interruption, and stop somewhere safe if the system’s feel changes. The balance between front and rear braking, grip, road conditions, and cornering matters; the descending guide covers the riding technique.
Heavier loads, steeper roads, higher speeds, and longer braking periods raise the demand on a system. If your regular routes exceed the brake’s intended use, ask the bike or brake maker about approved rotor sizes and pad compounds. Do not create an unapproved mix of caliper, rotor, adapter, and pad parts.
Common mistakes
- Touching the rotor to see whether it is hot.
- Spraying chain degreaser or “brake silencer” near the caliper.
- Sanding pads before checking wear, contamination, and maker instructions.
- Performing a hard bed-in test while braking power is already uncertain.
- Assuming noise means a rotor is bent.
- Descending again to see whether a weak brake fixes itself.
Your next step
Write down whether the squeal is wet-only or persistent, whether power or lever feel changed, and which brake was affected. Once fully cool, check security, wear, and contamination history against the exact service manual. If braking performance changed at all, keep the bike off steep roads until a qualified mechanic resolves it.
Sources and further reading
- Shimano: disc-brake bed-in procedure
- Shimano general dealer guidance: disc-brake wear and contamination
- SRAM: why road disc brakes become noisy
- SRAM road AXS manual: brake bed-in procedure and warnings
- r/bikewrench reader context: persistent squeal after sustained descending
- r/bikewrench reader context: squeal returning after cleaning