How to tell if road-bike disc brakes are contaminated
Separate disc-brake contamination from wet noise, poor bed-in, wear, and misalignment—then take the safe repair path without spreading oil onto new pads.
 Field guide / contaminated-road-bike-disc-brakes
A disc brake that squeals is not automatically contaminated. Oil contamination becomes likely when persistent noise arrives with weak or inconsistent braking, especially after chain lubrication, washing, a hydraulic service, transport, or bare-hand contact near the rotor. Because the consequence is lost braking, diagnose it before another fast ride.
The short answer: park the bike if stopping power changed. Let the brake cool, identify what may have reached it, inspect the pads and rotor against the exact manufacturer manual, and avoid experiments. Shimano’s general guidance says to replace pads exposed to oil or grease and clean the rotor.
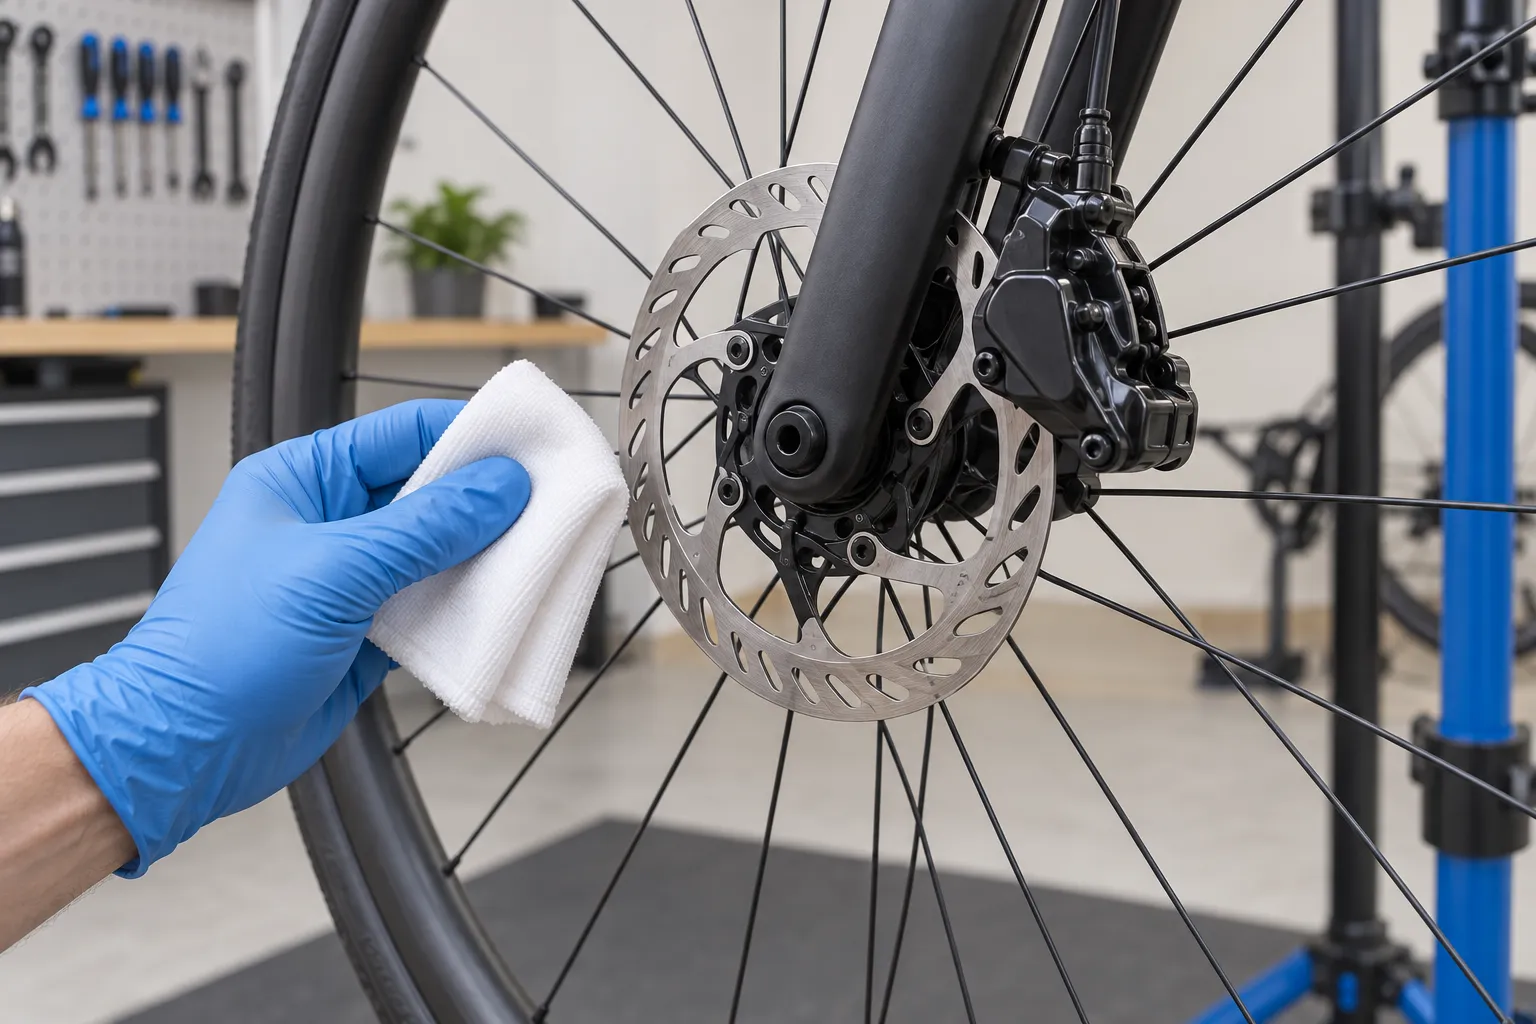
Why this is a recurring repair problem
A highly discussed recent maintenance thread mentioned the familiar sound of contaminated disc brakes among otherwise neglected bikes. Separate repair discussions ask whether routine rotor cleaning is necessary and why a suspected contaminant remains after cleaning.
These discussions reveal the demand, not the diagnosis. Noise has several causes, and a photograph cannot prove that oil has soaked into a porous pad. The useful question is what changed, whether braking performance changed with it, and what the component maker requires.
Contamination, wet noise, and poor bed-in feel different
Use the pattern as evidence, not as a verdict.
| Pattern | More likely explanation | Next move |
|---|---|---|
| Loud only while wet; normal power returns when dry | Water and road dirt | Let the brake dry, then reassess |
| New pads or rotors; uneven bite or noise from first use | Incomplete or uneven bed-in | Follow the exact maker’s bed-in process |
| Persistent howl plus distinctly weaker stopping after oil, spray, or service | Contamination | Stop riding and inspect pads, rotor, and leak source |
| Rhythmic tick or rub once per wheel revolution | Rotor alignment, seating, or damage | Check wheel installation and rotor condition |
| Noise after sustained descending | Heat, water, wear, contamination, or transfer-layer issue | Cool fully, then use the post-descent brake diagnosis |
Do not test a weak brake by riding faster. A flat, walking-speed lever and stopping check is enough to decide that professional service is needed.
First find the contamination route
Replacing pads without removing the source wastes the new set. Look for a recent event:
- aerosol chain lubricant or polish sprayed toward the wheel;
- degreaser carried from the drivetrain by a brush, sponge, or rinse water;
- a dirty rag reused on the rotor;
- hydraulic fluid around a hose connection, bleed port, caliper, or piston;
- a leaking suspension or hub product on another bicycle during transport;
- fingers touching the braking track while removing a wheel;
- a vehicle rack, storage surface, or wheel bag contaminated with oil.
A hydraulic leak needs diagnosis before new pads. Wiping the outside and hoping is not a repair.
Inspect without making it worse
- Stop and cool the brake. Rotors can burn skin after descending or repeated stops.
- Wash your hands and put on clean gloves. Do not use the gloves that handled the chain.
- Check wheel and rotor security. A loose axle or rotor can mimic a brake problem.
- Look at the caliper and hose. Any dampness that could be brake fluid needs a mechanic or the exact service procedure.
- Inspect pad wear. Use the pad maker’s stated service limit, not a generic number.
- Record which products touched the area. Product identity helps a mechanic choose the correct cleaning and replacement path.
- Keep the surfaces separate. Do not move a suspect pad onto a cleaned rotor or install a new pad before the rotor and leak source are resolved.
If removing pads requires spreading pistons, a bleed block, a new retaining clip, or a torque procedure you do not know, stop at inspection.
What to clean and what to replace
Follow the maker of the exact brake, pad, and rotor. Shimano’s general dealer manual states that if oil or grease gets on disc-brake pads, the pads should be replaced; if it gets on the rotor, the rotor should be wiped clean. The manual also warns that braking may otherwise fail to work correctly.
That is a safer default than internet recipes involving flame, kitchen ovens, boiling, grinding, or mystery chemicals. Heating a contaminated pad can spread fumes, damage its resin or backing bond, and still leave uncertain braking.
For a rotor:
- use only the cleaning product and method approved by its manufacturer;
- use a fresh, lint-free cloth rather than a drivetrain rag;
- clean both faces without touching them afterward;
- inspect minimum thickness and damage markings while it is accessible;
- replace it if the maker’s limit or damage criteria require replacement.
For pads:
- replace oil- or grease-contaminated pads when the maker says so;
- replace worn, cracked, heat-damaged, or separated pads;
- install the correct pad shape and approved compound;
- keep replacement pads packaged until the caliper, rotor, tools, and hands are clean.
Why sanding and burning are poor first moves
Sanding can alter a pad surface without removing contamination absorbed deeper in the material. Burning can introduce uncontrolled heat and fumes. Both also erase clues before the leak or spill source has been identified.
Some manufacturer procedures address persistent noise with specific replacement or surface-preparation steps. That does not make a generic social-media procedure safe for every pad compound and rotor. If your manual does not specify a recovery method, do not invent one.
Reassemble and test in the right order
After the source is fixed, rotor cleaned or replaced, and correct pads installed:
- Reinstall retaining hardware and torque fasteners exactly as specified.
- Confirm the wheel and axle are seated correctly.
- Operate the lever while stationary and check that it becomes firm normally.
- Confirm the rotor turns without striking the caliper body.
- Bed in the pads using the brake maker’s current instructions.
- Test both brakes at low speed in a flat, traffic-free area.
- Stop if noise returns with weak or inconsistent power.
Bed-in cannot rescue an active leak or oil-soaked pad. It is the final preparation for a sound system, not a cleaning technique.
Prevent the next contamination
- Apply chain lubricant drop by drop instead of spraying toward the rear wheel.
- Cover or remove wheels before using aerosol cleaners on the bike.
- Keep separate, labelled cloths and brushes for brakes and drivetrain.
- Never squeeze a hydraulic lever with the wheel removed unless the maker’s spacer is installed.
- Store clean replacement pads in a sealed bag.
- Avoid touching rotor tracks when handling wheels.
- Do the five-minute pre-ride check before the first ride after service.
Your next step
Write down the last time the brake worked normally and every product used since. If power changed, keep the bike parked. Resolve any leak, clean or replace the rotor as its maker directs, fit uncontaminated compatible pads, then complete the maker’s bed-in and a low-speed test. If any step is uncertain, take the bike and your product list to a qualified mechanic.
Sources and further reading
- Shimano general dealer manual: disc-brake contamination and wear guidance
- r/cycling reader context: recurring neglected-maintenance and contaminated-brake discussion
- r/bikewrench reader context: how much routine disc-brake cleaning is useful
- r/bikewrench reader context: suspected rotor and pad contamination