Changed your bike saddle? Reset the fit before judging it
A new saddle changes height, setback, tilt, and support. Copy the useful fit coordinates, test one variable at a time, and respond safely to pain or numbness.
 Field guide / reset-bike-fit-after-changing-saddle
A new saddle can move your body even when the seatpost has not moved. Saddles differ in rail-to-top height, usable sitting area, curve, width, padding, and rail position. Bolt the replacement in at the old rail mark and you may quietly change saddle height, setback, reach, hip motion, and knee extension.
The short answer: record the old setup, install the new saddle within its rail and torque limits, then reproduce the rider contact point—not merely the clamp position. Begin level, make small single-variable changes, and stop treating pain as a break-in requirement.
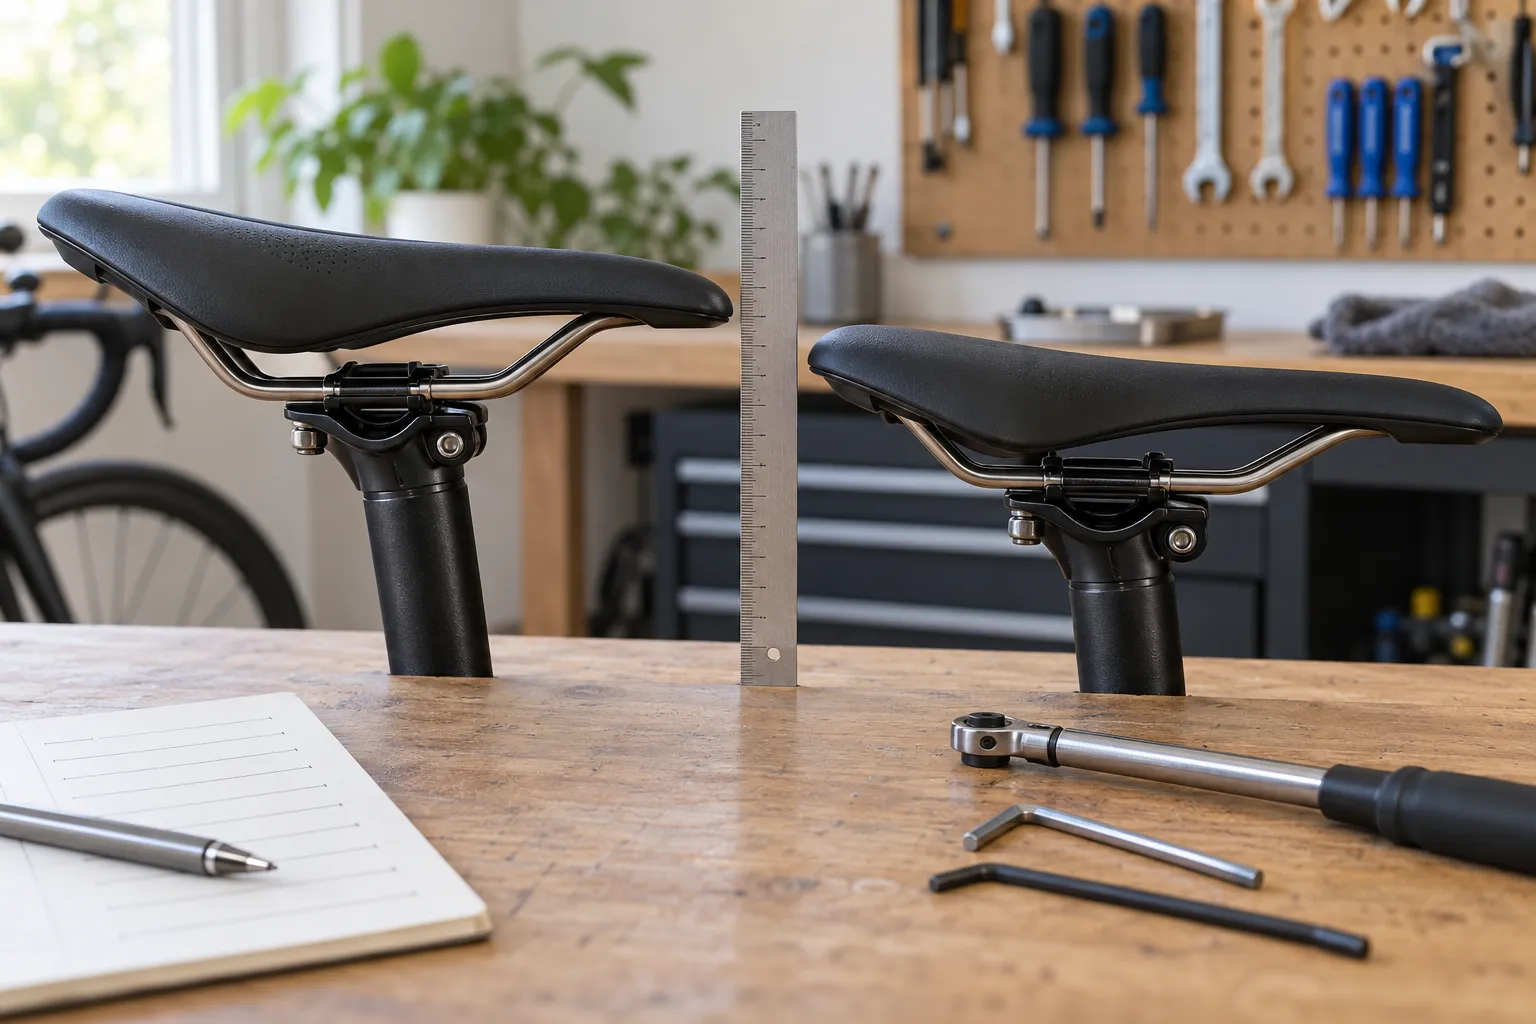
Why the old seatpost mark is not enough
Park Tool’s saddle-installation guide explicitly notes that saddles vary in stack—the distance from their rails to the top. It recommends recording saddle height, nose-to-handlebar distance, and angle before removal. Those measurements give you a starting coordinate system.
Shape adds another complication. On one saddle you may sit farther back in a curved pocket; on another, a flatter profile may support you closer to the middle. A short-nose saddle cannot be positioned by making its nose match the old long-nose saddle. Padding can also compress differently under load.
Recent Reddit fit discussions repeatedly show riders changing saddles and then trying to interpret new hamstring, knee, wrist, or pressure symptoms from a side-view video. Those anecdotes cannot diagnose a rider. They do reveal a useful underlying question: did the new saddle get a fair, controlled setup before the rider decided that its shape—or their body—was the problem?
Record the old fit before removing anything
If the old saddle was tolerable, preserve a way back.
- Put the bike on level ground and photograph the complete side view.
- Mark the seatpost height with removable tape; do not scratch carbon or painted parts.
- Measure from a repeatable frame point—commonly the bottom-bracket centre—to a defined point on top of the saddle, following the seat-tube line.
- Measure from that saddle reference point to the handlebar or hood reference you can repeat.
- Record saddle angle with the bike level. State where the phone or level sat because curved saddles give different readings in different places.
- Photograph the rail clamp and every washer or cradle part before loosening it.
Write the method beside the number. “Saddle height 735 mm” is nearly useless later if you cannot remember the endpoints.
If you already removed the old saddle, do not guess from memory. Reinstall it if practical, or start the new setup conservatively and treat the next rides as fitting tests rather than normal training.
Check compatibility before tightening
Most metal saddle rails are round, but carbon and proprietary rails may have different shapes and dimensions. The seatpost clamp must support that rail type and orientation. Do not force an oval rail into a cradle designed only for round rails.
Confirm:
- the saddle and seatpost clamp are compatible;
- upper and lower cradle pieces face the correct way;
- rails remain inside their marked clamping zone;
- required grease, anti-seize, or assembly compound matches the manufacturer instructions;
- each bolt is tightened evenly to the specified torque.
Generic internet torque figures are not a substitute for the saddle and seatpost instructions. After tightening, Park Tool recommends pulling firmly at the saddle’s front and rear and side to side; it should not move.
Recreate the contact point in the right order
Treat setup as three separate coordinates.
1. Height
Account for the new saddle’s rail-to-top stack. If the new saddle is 5 mm taller at the place you sit and the seatpost stays fixed, your effective saddle height may rise by roughly that amount. The exact change depends on shape and measurement path, so remeasure rather than performing blind arithmetic.
Use our home saddle-height guide for a starting check, not a medical prescription. Watch for obvious hip rocking or reaching at the bottom of the stroke. Do not chase a professional-looking leg angle from one paused video frame.
2. Fore-aft position
Match the supported sitting area, not just the nose. Setback affects where your pelvis sits relative to the pedals and how far you must reach the bars. Keep the rails within their marked limit; moving beyond it can damage the saddle.
Do not shove the saddle forward solely to fix a handlebar that is too far away. Read how to tell if road-bike reach is too long and handle cockpit reach as its own question.
3. Angle
Level is a sensible neutral starting point for many saddles, measured across the manufacturer’s intended reference area. A curved or waved saddle may not be level from the very tip to the very back.
Make tiny changes and document them. Large nose-down angles can cause sliding and hand pressure; nose-up positions can increase unwanted soft-tissue pressure. Our saddle-angle guide explains how to separate those clues.
Use a staged test, not a heroic long ride
Test when you are rested enough to notice the change.
- Static check: confirm secure hardware, free leg movement, brake access, and normal balance.
- Ten-minute easy ride: stay close to home and use the hand positions you normally ride.
- Thirty-to-sixty-minute familiar route: include seated easy pedalling but avoid turning the test into a threshold session.
- One ordinary ride: only after the short checks are uneventful.
Record the setup, ride duration, intensity, terrain, shorts, and symptom timing. Change one coordinate at a time, generally by only a few millimetres or a small angle. Repeat the same route before drawing a conclusion.
Do not use a ten-hour ride to discover that the replacement sits higher. Fatigue makes posture change and makes cause-and-effect harder to interpret.
What different symptoms can and cannot tell you
A symptom is a reason to investigate, not a remote diagnosis.
- Reaching or rocking at the bottom of the stroke can be consistent with excessive effective height, but cleat position, pelvic movement, asymmetry, fatigue, or injury can also matter.
- Feeling cramped through the top of the stroke can be consistent with a low saddle or a longer crank, but it does not prove either.
- Sliding forward can reflect saddle shape or angle, excessive reach, bar drop, or where the saddle supports your pelvis.
- New hand pressure may follow a changed saddle angle or setback even though the handlebar never moved.
- One-sided knee or hamstring pain is not an invitation to keep moving parts until something feels different.
If symptoms are sharp, progressive, one-sided, recurring, or present away from the bike, stop self-experimenting. A healthcare professional addresses the person; a qualified fitter addresses bicycle coordinates. Sometimes both are appropriate.
Decide whether the saddle shape suits you
Once height, setback, and angle are controlled, judge support rather than softness alone.
A promising saddle lets you sit in a repeatable place, pedal without avoiding one side, use normal hand positions, and finish ordinary rides without numbness or escalating pressure. More padding is not automatically more comfortable, and brief sit-bone awareness on a new contact surface is not the same as numbness or pain.
Use the saddle-width guide to narrow size, but remember that width is only one part of shape. Keep the old saddle until the return window and several controlled rides are complete.
Your next step
Create a simple fit log with height, setback reference, angle, and ride response. Return the new saddle to a neutral baseline, then run one short familiar ride before changing a second variable.