How to wash a road bike without damaging it
Clean road grime with a bucket, soft brush, and gentle rinse while protecting bearings, disc brakes, electronics, paint, and the freshly lubricated chain.
 Field guide / how-to-wash-road-bike-without-damage
You do not need a pressure washer or a shelf of bicycle cosmetics to clean a road bike. Loose grit, mild soapy water, soft tools, a gentle rinse, thorough drying, and correct chain lubrication handle most routine washes while reducing the chance of forcing water past seals or contaminating brakes.
The short answer: use low-pressure water and work from cleaner areas toward the drivetrain. Give brake surfaces their own clean cloth, never spray lubricant near them, dry the bike, then lubricate only the chain as its maker directs and wipe off the excess.
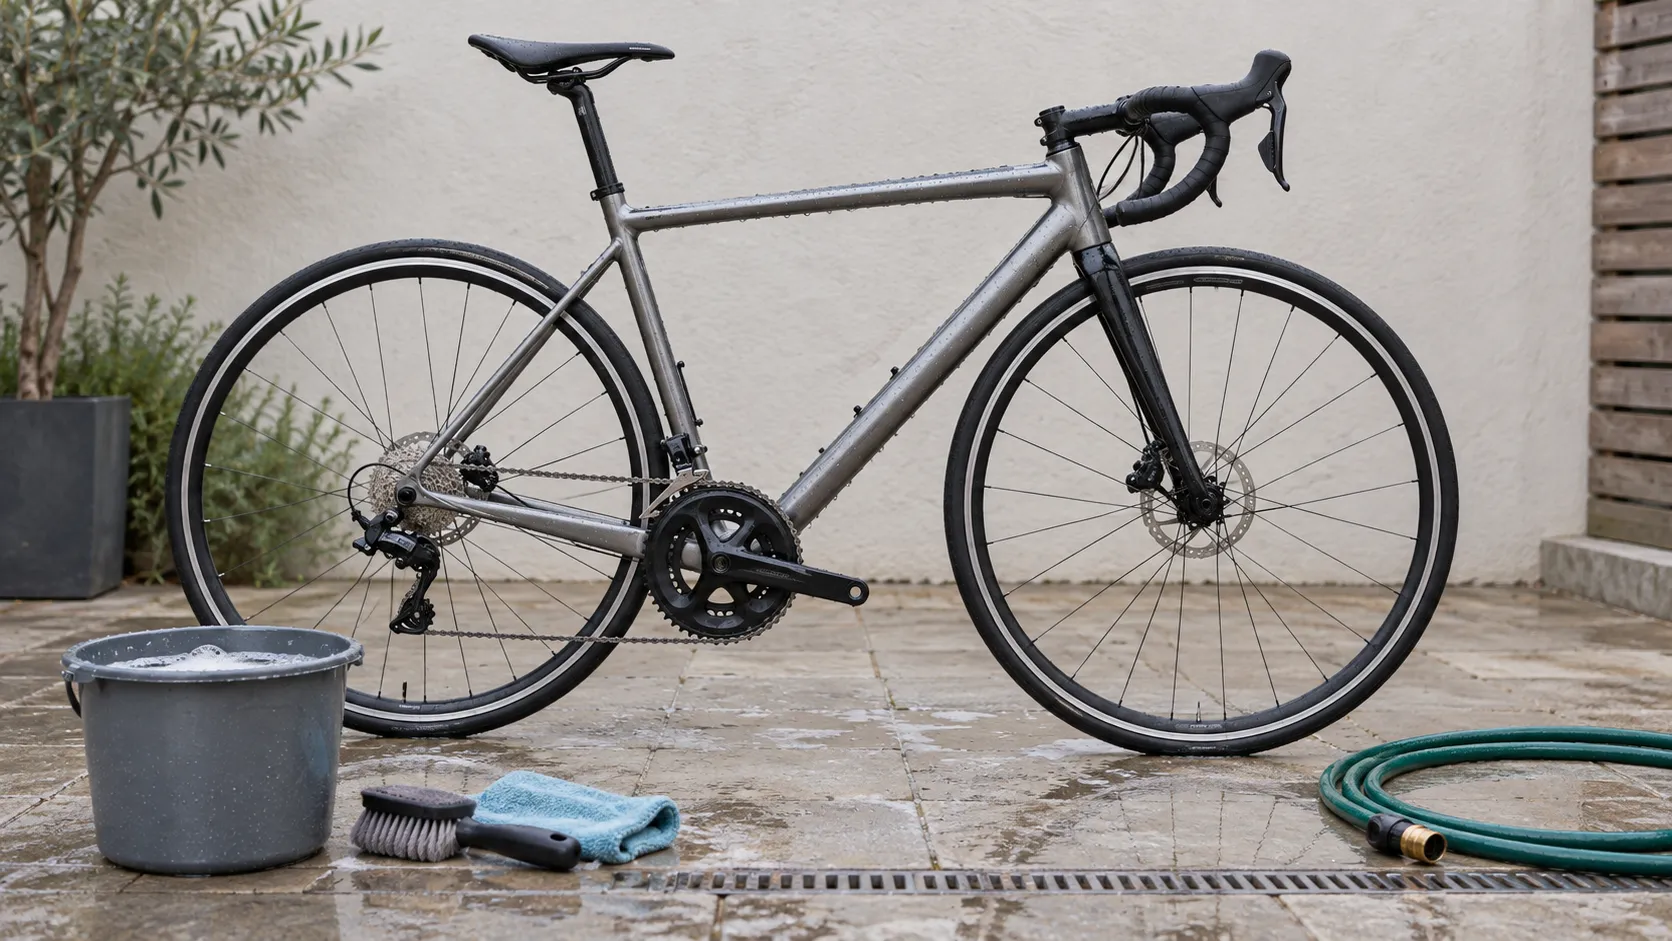
Set up three clean zones
Before adding water, organise:
- Frame and wheel tools: clean sponge or soft brush, mild soap, and a clean rinse bucket.
- Drivetrain tools: a separate dirty brush and cloth for chainrings, chain, cassette, and derailleur pulleys.
- Brake tools: unused lint-free cloths kept completely free from oil, degreaser, polish, and drivetrain grime.
Do not dip a black drivetrain brush into the frame bucket and spread abrasive paste across paint. Remove a computer, saddle bag, lights, and any accessory the maker says should not be washed in place. Close charging-port covers and follow electronic-component instructions.
If the bike has a waxed chain or a special coating, read those product directions before choosing cleaner.
Skip the pressure washer
High-pressure water cleans quickly because it carries energy into narrow gaps. Those gaps include bearing seals, hubs, electrical connectors, and component interfaces.
Shimano manuals warn against high-pressure washing because water entering components can cause operating problems or rust. Trek’s current owner guidance similarly specifies a hose, bucket, mild soap, soft brush, and towel—and says not to use a high-pressure washer.
A portable cleaner advertised as “low pressure” is not automatically safe at point-blank range. Pressure, nozzle pattern, distance, and the part being aimed at all matter. A normal open hose, watering can, or pump sprayer provides enough rinse for routine road dirt.
Wash the bike in eight controlled steps
1. Inspect before hiding evidence
Look for tyre cuts, loose parts, paint damage, leaks, worn pads, frayed cables, and anything rubbing. Cleaning can reveal faults, but it can also wash away the trail that shows where fluid or grit came from.
2. Remove loose grit gently
Use a soft brush or low-pressure water to lift sand before wiping. Scrubbing dry grit into glossy paint creates scratches.
3. Wet the bike without blasting seals
Use a broad, gentle flow from a reasonable distance. Avoid directing water into hubs, headset gaps, bottom-bracket interfaces, freehub seals, cable ports, charging sockets, or electronic connectors.
4. Clean the frame from top to bottom
Use diluted mild soap and a clean sponge or soft brush. Work on the bar, frame, fork, seatpost, and cleaner wheel surfaces before the drivetrain. Do not use harsh solvent, abrasive pads, or household polish unless the bicycle or finish maker explicitly approves it.
5. Clean the drivetrain separately
Apply compatible cleaner to the chain or brush as instructed rather than flooding the whole bicycle. Keep runoff away from disc rotors and rim-brake tracks. Agitate the chain, chainrings, cassette, and pulleys with dedicated dirty tools.
Our chain cleaning and lubrication guide gives the detailed sequence. A routine frame wash does not always require stripping all lubricant from a clean chain.
6. Rinse with low pressure
Remove soap and loosened dirt without concentrating the stream. Do not spin bearings with jets of water or compressed air.
7. Dry thoroughly
Use clean cloths and let hidden areas drain. Bounce the bike gently on its tyres only if both wheels are secure. Pay attention to bolt heads, cable guides, chain links, and steel parts. Do not aim high-pressure compressed air at seals.
8. Lubricate and function-check
When the chain is dry, apply compatible bicycle lubricant to its rollers, allow it to settle as directed, then wipe the outside almost dry. More lubricant is not better; excess holds dirt. Check wheel security, shift through the gears in a stand, squeeze each brake, and test at walking pace.
Protect disc and rim brakes from contamination
Do not spray bike wash, degreaser, silicone polish, chain lube, or protectant toward rotors or pads. Covering a rotor while applying chain lube can help, but the safer habit is to use a drip applicator close to the lower chain run.
If ordinary muddy water reaches a rotor, rinse and dry it. If oil or polish reaches it, stop and follow the brake maker’s cleaning and pad-replacement guidance. A contaminated pad may not be reliably rescued by adding heat or aggressive solvent. See the disc contamination checklist.
For rim brakes, keep cleaner residue and lubricant off the braking tracks and pads. Inspect for embedded grit before the next ride.
What to do after a wet ride when there is no time to wash
Prioritise the parts that suffer when left wet:
- remove heavy salt or gritty spray with a gentle rinse;
- dry the chain and restore corrosion protection with the correct lubricant;
- wipe braking surfaces only with a clean brake-only cloth;
- leave the bike somewhere ventilated rather than sealed wet in a bag or car;
- schedule the full clean and inspection before grime hardens.
Our after-rain bike-care guide covers that quick turnaround. If the bike must live outside, read how to reduce outdoor-storage damage.
Avoid these tempting shortcuts
- Pressure-washing from farther away: distance reduces force, but the result is hard to judge and unnecessary for ordinary road grime.
- One cloth for everything: drivetrain dirt scratches paint and oil contaminates brakes.
- Household degreaser everywhere: finish, bearing, adhesive, and seal compatibility are not guaranteed.
- Relubricating a wet chain: water and cleaner remain inside; dry as instructed first.
- Leaving excess lube on the plates: it does not lubricate the internal joint better and becomes a dirt magnet.
- Turning the bike upside down without checking manuals: some hydraulic and electronic systems have handling cautions, and controls can be damaged on the floor.
Your next step
Make three small tool groups—clean frame, dirty drivetrain, brake-only—before the hose turns on. Wash with low pressure, dry fully, lubricate the chain precisely, and finish with a wheel, brake, and shifting check. The goal is a bike that works cleanly, not the shiniest bike at the cost of hidden water or slippery brakes.
Sources and further reading
- Trek/Electra 2026 owner guidance: mild soap, soft brush, gentle hose, and no pressure washer
- Shimano wheel manual: avoid high-pressure washing around hubs
- r/bikewrench reader context: low-pressure washer versus bucket-and-brush routines
- r/cycling reader context: what routine post-ride care a new road-bike user needs