How to ride a road bike safely after dark
Build a practical night-riding plan around legal lights, road illumination, glare control, route choice, backup power, visibility, and a daylight test.
 Field guide / how-to-ride-road-bike-after-dark
Before you buy
Check the starter kit first
Print the one-page buying brief for helmet, lights, water, phone, and repair compatibility before comparing upgrades.
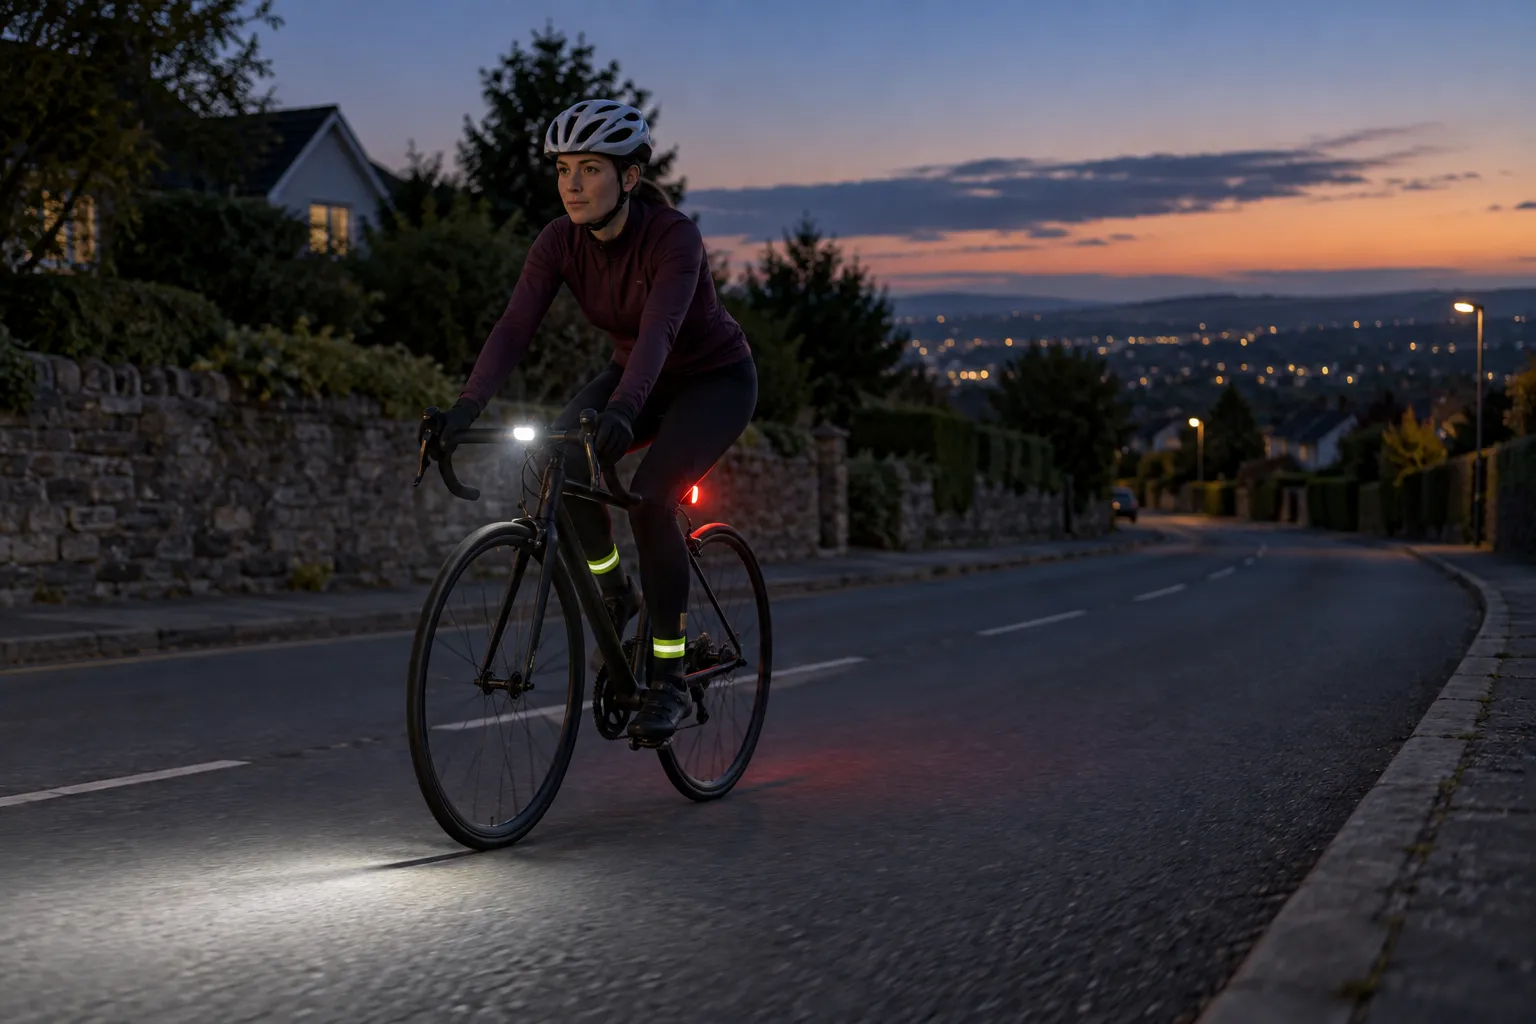
Safe road cycling after dark begins before the lights switch on. Use the legally required white front and red rear lighting and reflectors, choose a front beam that illuminates your stopping path without dazzling people, carry enough runtime plus a backup, slow down, and ride a familiar route with fewer hidden hazards.
The short answer: “be seen” and “see the road” are different jobs. Build for both, check the law where you ride, test the setup before darkness, and abandon the ride if a light, mount, battery, or visibility plan fails.
Why shorter days create the same questions every year
Recent riders asked what practical dark-ride setup they need, which lights work for being seen versus seeing, and whether a new rider can safely handle a short dark section before dawn. The repeated concern is not brand choice. It is whether the rider can see potholes, remain recognisable, manage runtime, and choose a route that leaves margin.
Reddit experience can expose those questions, but it cannot establish the law or certify a light. Check the current highway authority, police, or transport-agency rules for your location.
Start with the legal minimum, then build a usable system
NHTSA recommends a white front light, red rear light, reflectors, bright clothing by day, and reflective gear at night or in poor visibility. It also notes that lighting rules vary by jurisdiction and may specify when lights are required or how visible they must be.
Before buying, write down:
- required front-light colour and whether a steady mode is mandatory;
- required rear-light colour and permitted flash modes;
- required front, rear, wheel, or pedal reflectors;
- restrictions on brightness, beam pattern, mounting, and glare;
- whether dusk, dawn, rain, fog, or poor visibility trigger the rule;
- any requirements specific to roads, shared paths, or group rides.
A product description saying “road light” is not proof of local compliance.
Separate “be seen” from “see”
A conspicuity light helps others detect you
In lit streets, a modest front and rear light may make the bicycle visible against other traffic and street lighting. Mount them where bags, jackets, bottles, and the rider’s body do not block them.
An illumination light reveals the path
On an unlit road, the front light must show surface defects, debris, turns, signs, and path edges far enough ahead for your actual speed. A small blinking marker may be visible to a driver but still leave you unable to see a pothole.
Do not choose a brightness number alone. Beam shape, aim, runtime at the useful setting, weather sealing, mount security, charging behaviour, and local approval all matter.
Aim the front beam without creating glare
An upward light can dazzle an oncoming driver, rider, or pedestrian and reduce everyone’s ability to see. Set the bike on level ground, load it as ridden, and aim the beam so its brightest area falls on the road ahead rather than into eye level.
Then test:
- Stand well in front of the bike at approximately another road user’s eye height.
- Confirm the bright centre of the beam is not directed at your eyes.
- Bounce the handlebar lightly and make sure the mount does not rotate.
- Ride the route section at low speed and verify that the visible area exceeds your stopping path.
- Recheck aim after carrying the bike, hitting rough pavement, or changing the mount.
A helmet light may follow your gaze, which is useful in some settings but can also shine directly into people’s faces. Treat it as supplementary where legal, not as permission to omit the bicycle-mounted system.
Match speed to the visible stopping path
At night, speed is limited by what you can reliably see, interpret, and stop for. If your beam ends before the distance needed to react and brake, slow down. If glare, rain, fog, a dirty lens, or an oncoming vehicle temporarily shortens that view, slow further.
Do not outride the light because the road was clear last week. Potholes, branches, animals, parked vehicles, and road works can appear overnight.
Use braking and cornering with confidence in daylight before adding low visibility. Night is not the place to learn emergency braking or descending.
Choose a night route, not just a daytime route in darkness
A familiar loop may change character after dark. Prefer:
- lower traffic speeds and volumes;
- consistent road lighting;
- clear edges and fewer unmarked hazards;
- fewer complex junctions and high-speed merges;
- clean, wide surfaces rather than leaf-covered shoulders;
- reliable mobile reception and simple bailout points;
- shops, stations, or homes within a reasonable rescue distance.
Avoid a route whose safety depends on one light surviving for the entire ride. The first-route planning guide helps identify turnaround and bailout points.
Plan battery runtime honestly
The claimed maximum runtime may use an output too low for an unlit road. Battery performance can also change with temperature, age, charging state, and mode.
Use this checklist:
- fully charge and function-test both lights before departure;
- verify runtime at the mode you actually need;
- leave a substantial reserve for delays and detours;
- carry a small independent backup front and rear light;
- know whether a power bank can run the light while charging;
- protect charging ports from weather as the maker requires;
- set a turnaround time, not just a distance target.
If the main front light fails on an unlit road, the backup is for reaching a safe exit at reduced speed—not preserving the planned workout.
Make the bicycle recognisable
NHTSA’s safety guidance pairs active white and red lighting with reflectors and reflective equipment. A recognisable pattern helps communicate that this is a moving bicycle, not a distant stationary point.
Useful placement includes:
- a steady legal front light showing direction of travel;
- a red rear light visible from behind;
- required bicycle reflectors kept clean and unobstructed;
- reflective details on moving ankles, shoes, or lower legs where legal and practical;
- a reflective vest or jacket that is not hidden by a backpack.
Visibility aids do not make a dangerous road safe and do not overcome distraction. Route and speed remain part of the system.
Complete a daylight setup ride
Do not discover a loose mount or confusing button in darkness.
In daylight:
- Install every light and reflector exactly as instructed.
- Check that cables, knees, bags, and hands do not block or strike them.
- Learn mode changes without looking away for long.
- Ride rough pavement and recheck the mounts.
- Practise the route, turns, crossings, and bailout points.
- Check what the lights look like from front, rear, and side.
- Repeat the five-minute pre-ride check with lights included.
The first dark ride should be short, familiar, dry, and free from performance goals.
Adjust ordinary riding habits after dark
- Scan farther ahead and keep more stopping space.
- Avoid staring into oncoming headlights; use road-edge references while maintaining awareness.
- Signal and position early so others can predict you.
- Treat wet paint, metal covers, leaves, and gravel with extra caution.
- Do not use tinted lenses that compromise low-light vision.
- Keep audio and phone distractions out of the task.
- Stop somewhere fully off the road before adjusting a light.
- Turn back when weather or fatigue reduces attention.
If you are still developing traffic skills, build them in daylight with road positioning and safety before making darkness part of the ride.
A no-go decision is part of the plan
Choose another route, indoor ride, public transport, or collection when:
- you cannot meet local lighting requirements;
- the front beam does not reveal the stopping path;
- either primary or required light fails;
- mounts move or controls are unreliable;
- fog, rain, ice, smoke, or glare defeats visibility;
- the route has hazards you have not seen in daylight;
- you are too tired to scan and decide early.
Night riding can be calm and practical. It does not need to happen on every road or in every condition.
Your next step
Check your local rule, then perform one daylight systems test: legal front and rear lights, clean required reflectors, secure mounts, usable beam aim, verified runtime, and independent backups. Plan a short familiar loop with an early exit. If any part fails, fix the system before the first dark ride.
Use the starter gear checklist to keep lighting ahead of optional upgrades.
Sources and further reading
- NHTSA bicycle safety: white front light, red rear light, and reflective equipment
- NHTSA overview of active bicycle-lighting laws and visibility evidence
- r/cycling reader context: practical night and early-morning setup
- r/cycling reader context: lights for being seen versus seeing
- r/cycling reader context: a beginner’s short pre-dawn road section