What maintenance does a newly bought used road bike need?
Use this first-week service order to make a second-hand road bike safe, establish a maintenance baseline, and avoid replacing good parts.
 Field guide / first-service-after-buying-used-road-bike
A newly bought used road bike needs a baseline safety check first, then measurements of wear, then only the repairs the evidence supports. A deep clean is useful, but clean paint and fresh lubricant do not tell you whether a brake pad is worn, a tyre casing is cracked, or a fastener is loose.
The short answer: before the first proper ride, inspect the structure, secure both wheels, test steering and brakes, inspect and inflate the tyres, and check the drivetrain. Record what you find. Replace safety-critical or worn parts; do not automatically buy a full groupset or overhaul every bearing.
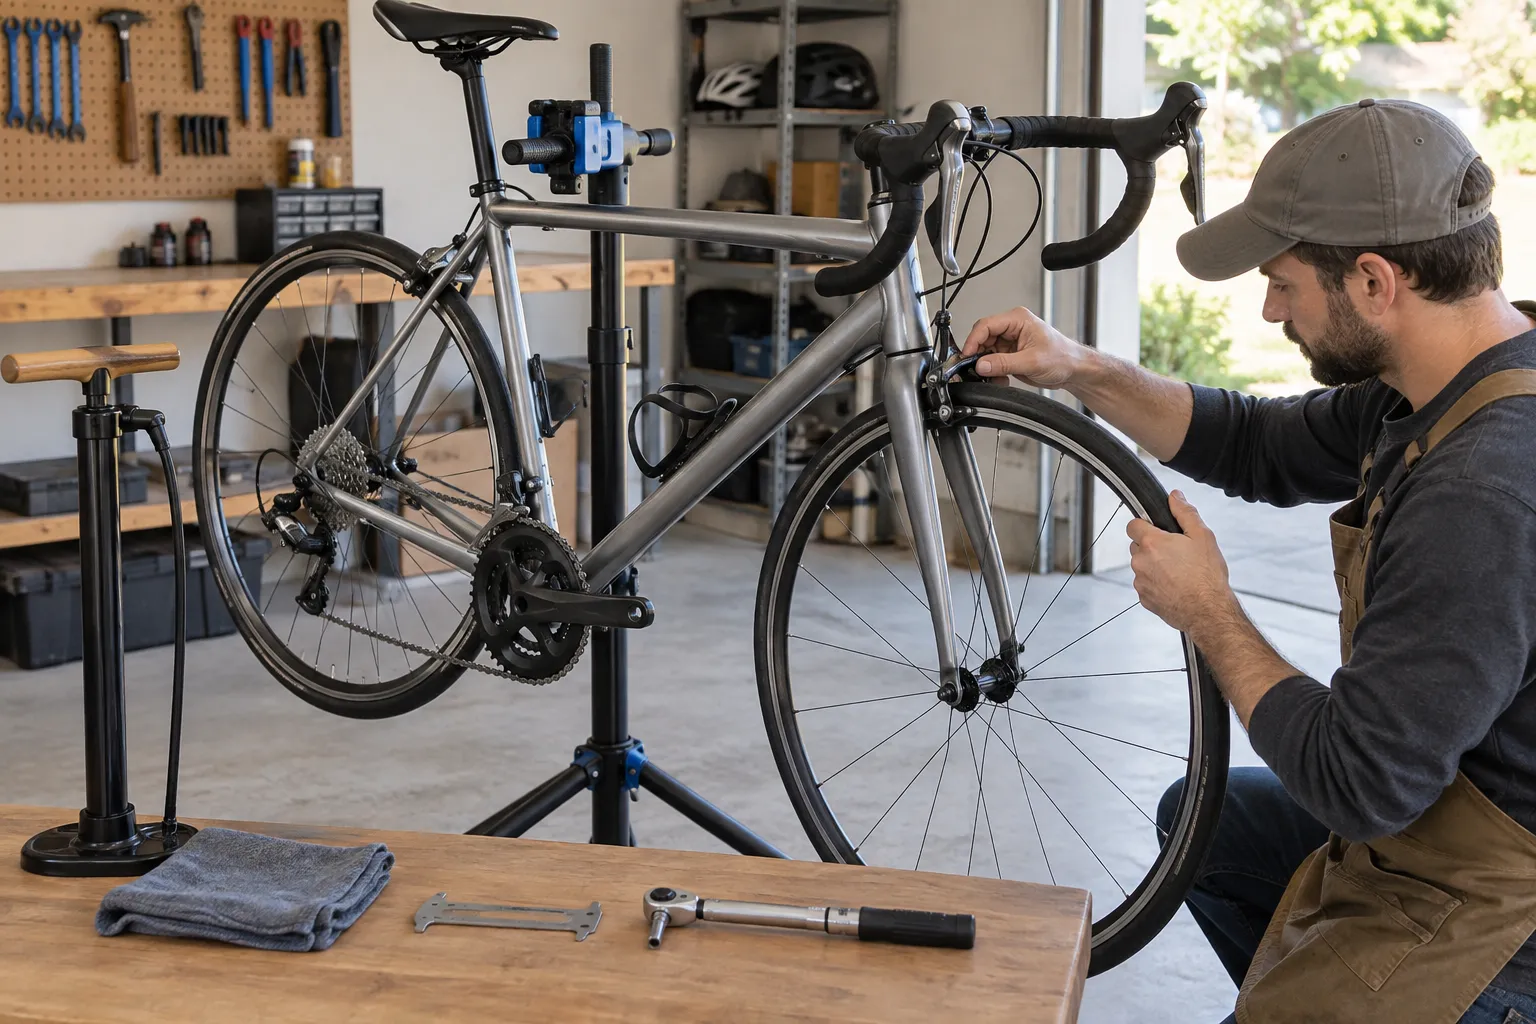
Before riding: the safety pass
Work from the frame outward. The five-minute pre-ride check is a useful routine, but an unknown bike deserves a slower first inspection.
- Confirm the bike is yours to maintain. Record the serial number, receipt, seller details, key specifications, and any service history.
- Clean enough to inspect. Use mild soapy water and a cloth. Dirt can hide cracks and loose hardware. Avoid pressure washing bearings and electrical parts.
- Inspect frame and fork. Look and feel for cracks, dents, deep scratches, bulges, corrosion, crushed tubes, or an abrupt change in surface texture. Pay attention around the head tube, fork crown, bottom bracket, dropouts, and clamping areas.
- Secure the wheels. Confirm quick releases or thru-axles are correctly seated and closed according to the bike or axle maker’s instructions.
- Check steering. Apply the front brake and rock the bike gently. A knock can indicate headset play. Lift the front wheel and turn the bars; they should move smoothly without binding.
- Check tyres and wheels. Inspect tread and sidewalls for cuts, exposed casing, cracking, bulges, or poor bead seating. Inflate within the limits printed on the tyre and rim, then spin each wheel and watch for a significant wobble or rubbing.
- Test both brakes. Each lever should operate its brake and leave useful lever travel. Pads must contact the intended braking surface, not the tyre. Hydraulic fluid leaks, frayed cables, badly worn pads, or a lever pulling to the bar need attention before riding.
The current Trek owner manual gives the same overall priority: inspect the bike before every ride, use the maker’s fastener specifications, and stop riding a carbon part after suspected impact damage until it has been assessed. Your own bicycle’s manual takes priority for exact procedures and torque values.
Establish drivetrain condition
Shift through every gear while turning the cranks in a stand or during a cautious car-free test. Listen for skipping and check that the chain cannot shift beyond the cassette or chainrings.
Measure chain wear with a compatible gauge rather than judging colour. A worn chain can accelerate wear on the cassette and chainrings; a replacement chain may skip if those parts are already worn. Follow our chain-wear procedure and use the chain or component maker’s replacement limit.
Then inspect:
- teeth for damage or an obviously irregular wear pattern;
- cables and housing for fraying, splitting, rust, and sharp bends;
- derailleur alignment and movement;
- crank and pedal play;
- chain cleanliness before adding lubricant.
If the chain only needs cleaning, follow how to clean and lubricate a road bike chain. Lubricant belongs inside the rollers; wipe the outside dry rather than leaving a sticky coating.
Replace by condition, not by anxiety
Usually sensible first-week replacements include a demonstrably worn chain, contaminated or worn brake pads, damaged tyres or tubes, frayed cables, and degraded bar tape. Bar tape deserves a look underneath on older aluminium bars because trapped sweat and corrosion can remain hidden.
Do not automatically replace the cassette, bottom bracket, headset, wheel bearings, or cables simply because the bike is used. Check for wear, roughness, play, contamination, or documented service intervals first. A mechanic can help distinguish adjustment from replacement.
For a bike with electronic shifting, find the official manual for the exact system, confirm the charger and battery condition, and inspect wiring or wireless battery retention. Do not update firmware or reset settings just to create a “fresh start” when the system already works.
Use the correct torque
“Tight enough” is not a specification. Read values printed beside the fastener and consult the frame and component manuals. Use a calibrated torque wrench where specified, especially on stems, handlebars, seatposts, saddles, and carbon interfaces.
Do not blindly retighten every bolt: some fasteners use thread preparation, sequences, or procedures that matter as much as the final number. When manuals conflict, stop and ask the manufacturer or a qualified shop.
Make a one-page service record
Write down:
- date and approximate distance;
- tyre model, size, condition, and starting pressure;
- chain measurement and tool used;
- pad material and remaining condition;
- wheel, headset, crank, and pedal play checks;
- work completed, parts fitted, and torque source;
- faults to monitor after the first short rides.
This turns “the seller said it was serviced” into your own known baseline. Recheck wheel security, brake operation, tyre pressure, and any fasteners you disturbed before the next ride.
What to leave to a workshop
Book an inspection when you find suspected frame or fork damage, hydraulic leaks, steering that binds, persistent wheel or bearing play, a damaged wheel, unknown carbon impact history, or a repair that requires tools and procedures you do not understand. Tell the mechanic the bike is newly acquired and ask for a safety inspection plus a prioritised estimate—not an undefined tune-up.
Sources and further reading
- Editorial demand signal: new rider asking what maintenance a recently bought second-hand road bike needs
- Editorial demand signal: beginner discussion about the first useful DIY maintenance skills
- Manufacturer safety reference: Trek bicycle owner’s manual, March 2026
Reddit supplied the recurring question, not the maintenance standard. The sequence above is general; use the manuals for your exact bicycle and components.
Your next step
Complete the safety pass and record the result. Then build only the tools you will genuinely use with the essential home road-bike toolkit.