The $100 home toolkit: The only 6 tools you need for beginner road bike maintenance
Build a high-value home road bike maintenance toolkit for under $100: floor track pump, metric hex keys, tyre levers, torque key, chain lube, and rags.
 Field guide / essential-home-road-bike-toolkit
Before you buy
Check the starter kit first
Print the one-page buying brief for helmet, lights, water, phone, and repair compatibility before comparing upgrades.
You do not need a professional mechanic’s pegboard or a $300 tool case to keep a modern road bike safe, fast, and quiet. Around 95% of routine home maintenance comes down to six inexpensive items: air, bolt tightening, tyre removal, delicate torque control, drivetrain cleaning, and wiping down grime.
The short answer: For roughly $100, buy a floor track pump with an accurate gauge (
$35), an L-shaped ball-end metric hex key set ($15), two broad plastic tyre levers ($5), a 4Nm or 5Nm preset torque key ($25), a bottle of drip chain lube with mild degreaser (~$15), and a handful of microfibre rags ($0–$5). Avoid buying 50-piece generic bike toolboxes packed with obsolete cone wrenches and cassette pullers you will never use.
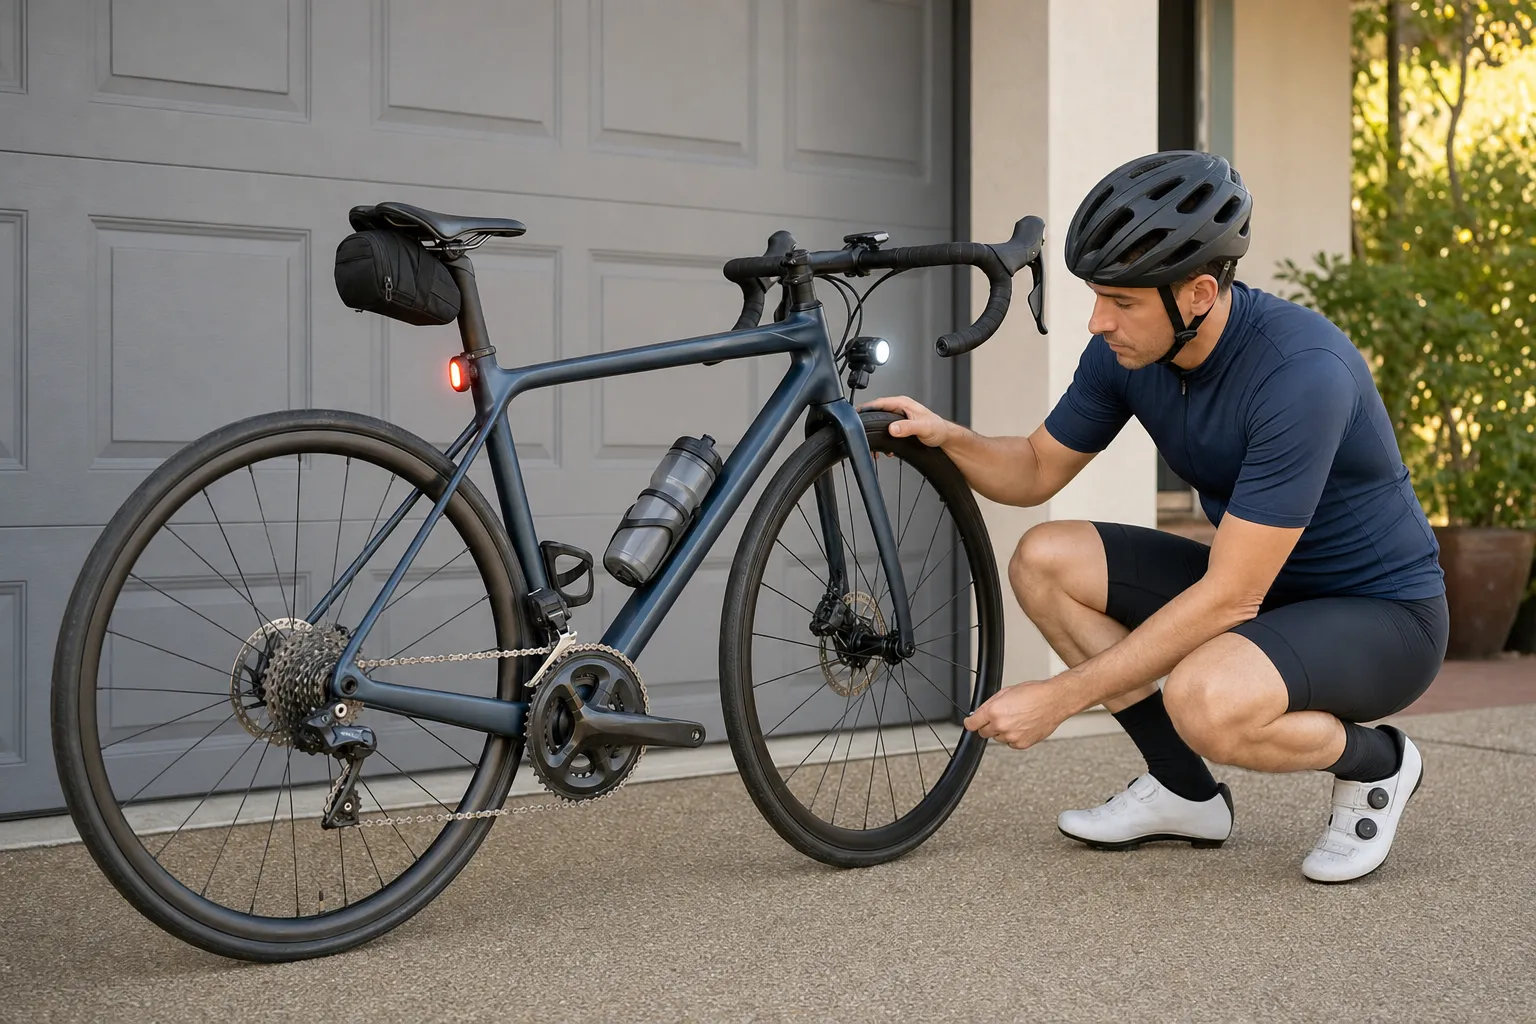
The $100 tool kit breakdown
When beginners search for bike maintenance equipment, marketing algorithms push heavy plastic toolboxes filled with 40 specialized metal gadgets. Most of those tools fit threaded headsets, square-taper bottom brackets, or freewheels from the 1990s—parts virtually nonexistent on modern road bikes.
The smart approach is to buy quality versions of the few tools you will actually touch every week:
| Tool | Purpose | Est. Price |
|---|---|---|
| Floor track pump with gauge | Fast pre-ride pressure top-ups and accurate tyre tuning | ~$35 |
| Metric hex key set (2mm–8mm) | Cockpit adjustments, bottle cages, pedals, brake adjustments | ~$15 |
| Plastic tyre levers (pair) | Changing inner tubes and seating tight tyre beads without rim damage | ~$5 |
| Preset torque key (4Nm or 5Nm) | Preventing crushed carbon handlebars, seatposts, and stripped stem bolts | ~$25 |
| Drip chain lube & degreaser | Quieting drivetrains, preventing friction loss, reducing chain wear | ~$15 |
| Microfibre rags / cotton cloth | Wiping chain grime, drying frames, cleaning braking surfaces | $0–$5 |
| Total | Covers 95% of routine beginner home bike care | ~$95–$100 |
Commercial-intent tracker
Compare the six toolkit items
Use these searches after the checklist has narrowed the kit. Each click is tracked by item and merchant so SIKLIST can see which maintenance purchases deserve deeper affiliate coverage.
1. Floor track pump with pressure gauge (~$35)
If you only buy one dedicated tool for your bicycle, make it a floor pump (also called a track pump). Road bike tyres have small air volumes operating at relatively high pressures, which means they naturally lose 2 to 5 PSI per day through the inner tube wall.
A floor pump transforms pre-ride inflation from a 10-minute upper-body workout into a 30-second ritual.
- Why a mini hand pump cannot replace it: Pocket mini pumps are designed for roadside rescue. Pumping a 700c road tyre to 75 PSI with a 15cm hand pump takes over 200 strokes and puts dangerous lateral stress on fragile Presta valve stems.
- What to look for: A dual-valve head (or dedicated Presta head), an easy-to-read analog or digital gauge located near the base or top, and a sturdy steel or aluminium barrel.
- Routine task: Checking and topping up tyre pressure before every single ride, as detailed in our guide on tyre pressure for beginner road cyclists.
2. Metric ball-end hex key set (2mm–8mm) (~$15)
Modern road bikes are held together almost entirely by metric hex bolts (Allen keys). Standard household multitools often have short, stubby bits that cannot clear brake caliper bodies or water bottle cages.
An L-shaped metric hex key set (containing 2, 2.5, 3, 4, 5, 6, and 8mm keys) offers the reach and leverage needed for comfortable adjustments:
- The ball-end advantage: The spherical tip on the long arm allows you to spin bolts at an angle (up to 25 degrees off-axis), which is vital for cramped water bottle bosses and saddle clamp hardware.
- Primary uses:
- 4mm & 5mm: Stem faceplates, brake levers, derailleur cable anchors, seatpost collars.
- 3mm: Limit screws and reach adjustment screws on modern brake levers.
- 6mm & 8mm: Thru-axles and pedal axles.
[!TIP] Never use the ball-end to loosen a frozen bolt or for final high-torque tightening. The reduced surface contact can round out the bolt head. Always break stubborn bolts loose and complete final tightening using the flat, square-cut short end.
3. Plastic tyre levers (~$5)
Road tyres fit tightly onto modern rims to ensure bead retention under pressure. Attempting to pry a tyre off with screwdrivers, kitchen butter knives, or metal levers will gouge aluminium brake tracks, ruin tubeless rim tape, and permanently fracture carbon clincher hooks.
- What to look for: Rigid, nylon-composite plastic levers (such as Park Tool TL-1.2 or Pedro’s) with a slim scoop edge on one end and a spoke-hook on the other.
- Routine task: Removing tyres during puncture repairs at home and practising flat fixes in your living room before you get stranded on the road.
- Learn the technique: Master the gentle bead-unseating sequence in how to fix a puncture on a road bike.
4. Preset torque wrench (4Nm or 5Nm) (~$25)
On modern lightweight road bikes, over-tightening small bolts is the single fastest way to cause catastrophic, non-repairable equipment failure. Over-clamping a carbon fibre seatpost can crush the tube structure; over-tightening four stem faceplate bolts can notch or crack a carbon handlebar.
Most road bike cockpit and seatpost bolts specify a maximum torque rating between 4 Newton-metres (Nm) and 5.2Nm.
- Why a preset key is best for beginners: Full-range adjustable mechanical torque wrenches cost $80–$150 and require periodic calibration. A compact preset 4Nm or 5Nm torque “T-handle” key from brands like Park Tool (PTD-5), Bontrager, or Ritchey costs around $25. It clicks and slips cleanly once the factory-calibrated torque limit is reached, making it impossible to over-tighten critical bolts.
- Where to use it: Handlebar faceplate bolts, stem steerer clamp bolts, seatpost binder collars, and saddle rail clamps.
5. Drip chain lube & bike-specific degreaser (~$15)
A squeaking, grinding drivetrain wastes rider energy and rapidly wears down expensive cassette sprockets and chainrings. Household multi-purpose oils (like standard WD-40 or 3-In-One oil) are either thin volatile solvents that evaporate immediately or thick, sticky motor oils that turn your chain into a black grinding paste.
- Drip bottle lubricant: A quality dry lube (for dry/dusty climates) or all-weather wet lube (for wet/variable conditions). Drip bottles allow you to place exactly one small drop directly onto each roller pin without messy overspray.
- Mild bike degreaser: A small bottle of citrus-based or water-soluble bicycle degreaser loosens road grit and dried wax.
- Learn the routine: Follow the complete step-by-step cleaning order in our guide on how to clean and lubricate a road bike chain.
6. Microfibre rags & lint-free cloths ($0–$5)
Bicycle maintenance is largely about keeping dirt out of tight mechanical interfaces. You do not need expensive specialized shop rags; cut-up old 100% cotton t-shirts or a multipack of budget microfibre cloths from a supermarket work perfectly.
- Drivetrain rag: Designate one dirty rag exclusively for scrubbing the chain, cassette sprockets, and derailleur jockey wheels.
- Frame & brake cloth: Keep a second, spotless microfibre cloth reserved for wiping brake rim tracks, disc rotors, and cleaning sweat from the top tube.
- Storage tip: Never mix your oily drivetrain rag with your brake-cleaning cloth to prevent accidental brake pad contamination.
Home toolkit vs. Roadside saddlebag kit
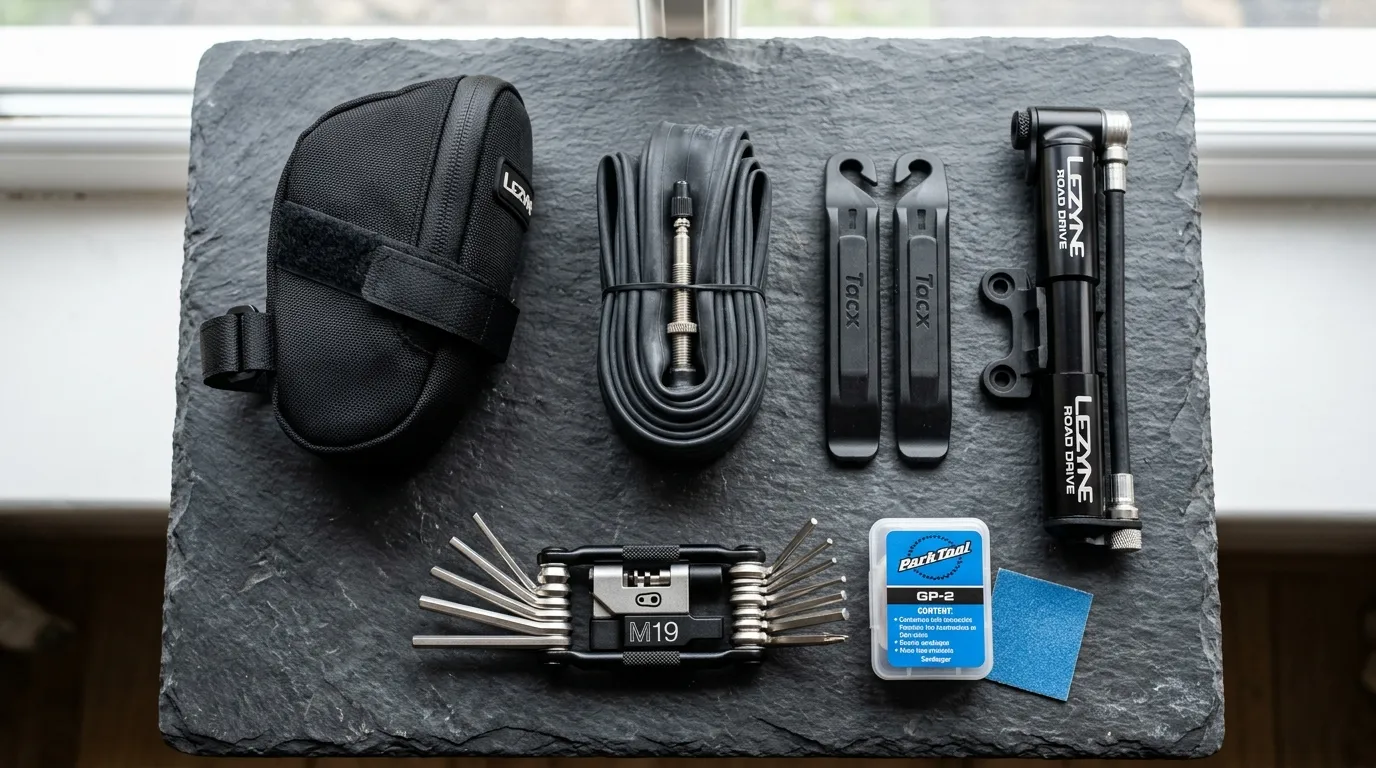
A frequent beginner confusion is trying to use one toolkit for both home maintenance and roadside emergencies.
While they share some functions (like fixing flats), their design goals are opposites: Home tools prioritize leverage, comfort, speed, and precision; roadside tools prioritize minimal weight, packability, and emergency get-home capability.
| Feature | Home Toolkit | Roadside Saddlebag Kit |
|---|---|---|
| Primary Goal | Comfortable, ergonomic, precision maintenance | Lightweight emergency rescue to get you home |
| Tyre Inflation | Stable floor pump with large gauge (30 sec top-up) | Mini hand pump or CO2 inflator canister |
| Hex Tools | Full-length L-keys with ball ends for reach & leverage | Compact folding multitool |
| Torque Control | Dedicated calibrated preset torque wrench | Careful manual snugness until home |
| Chain Care | Full bottle of degreaser, drip lube, and rags | Quick-link and chain breaker (on multitool) |
| Punctures | Spare tubes, repair patches, water basin for leak testing | 1–2 spare tubes, patch kit, boot patch |
| Where it lives | Garage, entryway, or workshop shelf | Strapped under your bicycle saddle |
Before every ride, use your home kit to execute the five-minute pre-ride bike check, then ride out knowing your saddlebag has your roadside essentials covered.
Tools beginners should AVOID buying
When building a home setup, what you refuse to buy is just as important as what you purchase. Avoid spending budget on these complex, single-purpose workshop items until you have gained hundreds of riding hours:
- Complete 50-piece generic bike tool kits: These cases are loaded with bottom bracket pin spanners, cotterless crank pullers, and 15mm cone wrenches designed for outdated standards. The hex keys and chain tools included in cheap multi-boxes are often made of soft, low-grade steel that strips bolts.
- Cassette lockring tools & chain whips: Unless you are swapping gear ratios across multiple wheelsets, road cassettes typically last 5,000–10,000 kilometres before needing replacement. Let your local bike shop swap it during an annual tune-up.
- Bottom bracket press-fit tools & bearing extractors: Press-fit bearings require expensive precision alignment presses ($100+). Misalignment during home installation can permanently destroy the carbon frame shell.
- Cable stretchers (“fourth-hand” tools): Modern derailleur and brake cables can easily be tensioned by hand using a simple 5mm hex key and barrel adjusters.
- Spoke wrenches & wheel truing stands: Wheel truing requires deep understanding of spoke tension balance and dish. Turning spoke nipples without a tensiometer often turns a minor 1mm wobble into an unrideable hop.
What 95% of home road bike care looks like
With just these six essential tools, you can confidently perform all the following tasks in your living room or garage:
- Setting exact tyre pressure tailored to your rider weight and tyre width.
- Adjusting saddle height and fore/aft position to fix knee discomfort.
- Leveling handlebars and adjusting brake hood reach for comfortable hand posture.
- Installing and torquing bottle cages, mini pumps, and computer mounts.
- Installing or swapping flat pedals and clipless road pedals.
- Deep cleaning the chain, jockey wheels, and chainrings.
- Lubricating chain rollers and wiping away excess dirt-attracting residue.
- Swapping inner tubes, seating stubborn tyre beads, and repairing punctured tubes.
- Centering rim brake calipers or adjusting mechanical disc brake pad clearance.
Common beginner toolkit mistakes
| Mistake | Why it causes problems | The better habit |
|---|---|---|
| Using a mini pump at home | Inefficient, inaccurate pressure, strains Presta valves | Keep a dedicated floor pump at home |
| Tightening carbon parts by feel | Causes invisible structural fractures in carbon steerers or bars | Always use a 4Nm or 5Nm torque key |
| Using ball-end hex keys to break loose tight bolts | The spherical head has less contact area and can strip bolt sockets | Use the flat, short end for loosening and final torque |
| Using household lubricants (WD-40) | Thin solvent washes away grease; sticky oils attract heavy black grit | Use bike-specific drip chain lube |
| Using metal screwdrivers to pry tyres | Scratches rims, pinches tubes, and ruins carbon clincher hooks | Only use plastic composite tyre levers |
| Contaminating brake rags with chain lube | Spreads oil to rotors and pads, ruining braking power | Keep drivetrain rags strictly separated from clean bike cloths |
When to visit your local bike shop (LBS)
A $100 home toolkit is designed for preventive care, ergonomic adjustments, and simple part swaps. Recognize the line where professional shop tooling and mechanic expertise save you money and keep you safe:
- Hydraulic disc brake bleeding: Requires toxic brake fluid (DOT or mineral oil), syringes, bleed blocks, and zero air-bubble tolerance.
- Bottom bracket creaks or replacement: Requires specialized cup tools or press extractors.
- Bent derailleur hangers: Requires a dedicated alignment gauge (DAG tool) to align shifting planes accurately.
- Tubeless tyre seating issues: Stubborn tubeless beads that refuse to snap into place without an air compressor or booster tank.
- Wheel truing and spoke replacement: Requires truing stands, spoke wrenches, and tension meters.
A good relationship with an independent local bike shop is part of being a prepared cyclist. Use your home kit for weekly hygiene, and let the mechanics handle complex overhauls.
Your next step
Start by purchasing the two most urgent items: a solid floor track pump with a gauge and a quality metric ball-end hex key set. If you still need helmet, lights, water storage, phone backup, or roadside spares, run the starter gear checklist before buying workshop-only tools.
Set them by your bike along with a bottle of chain lube and an old rag. Before your next ride, run through the five-minute pre-ride bike check and give your tyres the exact pressure they need. Once you have the basics in place, practice one calm tyre removal at home so a future roadside puncture is never a surprise.
Sources and further reading
- Park Tool: Essential Bike Maintenance Tools Guide
- Calvin Jones: Big Blue Book of Bicycle Repair, 4th Edition
- Trek Bicycle Owner’s Manual: Recommended Torque Specifications & Maintenance
- Shimano Technical Support: General Fastener Torque Guidelines
- Cycling UK: Basic Bike Maintenance at Home
- League of American Bicyclists: The ABC Quick Check Routine