Cold hands while cycling: choose warmth without losing brake control
Build a cold-weather glove system that blocks wind, stays dry, and still lets you brake and shift—plus know the numbness and cold-stress stop signs.
 Field guide / cold-hands-cycling-gloves-brake-control
The warmest glove is not automatically the safest cycling glove. You need insulation and wind protection without losing the ability to reach a brake lever, modulate it, shift, steer, and open your hand normally.
The short answer: start with a wind-blocking full-finger glove that fits without compression, then add a thin liner or a handlebar-mounted wind barrier when needed. Test every control before leaving. If cold causes numbness, pain, colour change, fumbling, or unreliable braking, stop and get warm.
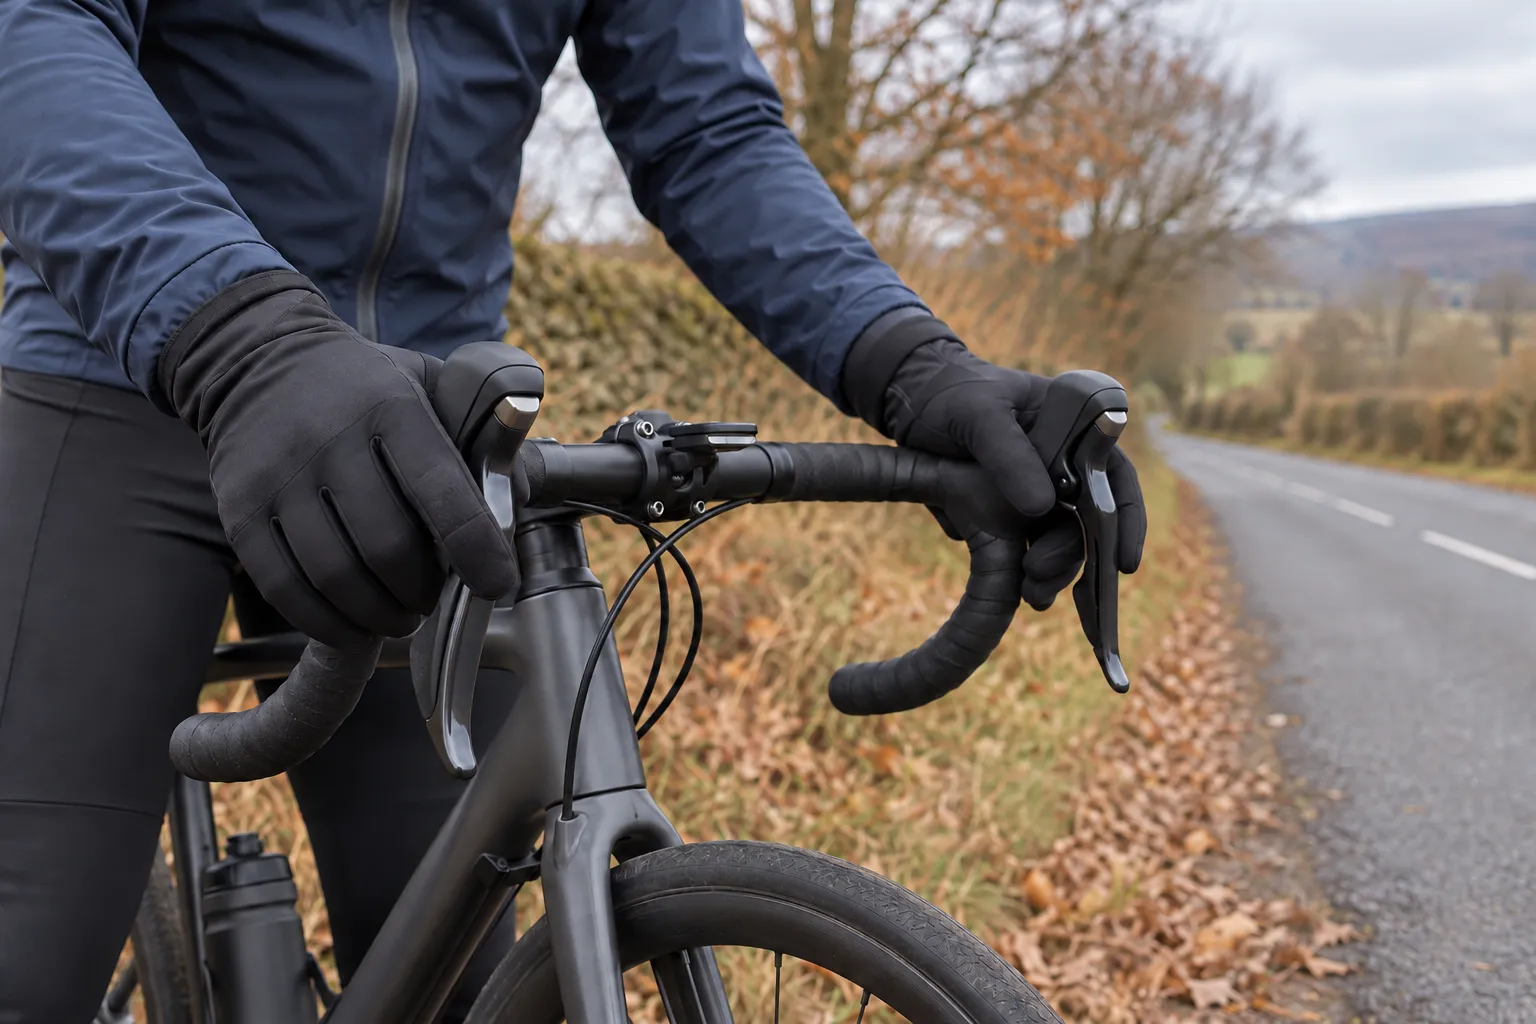
Why ordinary “winter gloves” can fail on a bike
Recent r/cycling discussions ask whether windproof cycling gloves really work and how to extend summer kit into autumn. The repeated problem is not simply low air temperature. Riders also create airflow, grip exposed controls, sweat on climbs, and then cool rapidly on descents.
One thick glove may be warm while standing still but poor at all four cycling jobs:
- sealing cold airflow at the cuff and fingers;
- moving moisture away from the skin;
- preserving lever feel and grip;
- fitting without squeezing circulation.
That is why a flexible system usually works better than shopping by a single temperature printed on a label.
Start with wind, not maximum bulk
On a dry, cool ride, moving air can pull heat from an otherwise adequate knit glove. A wind-resistant outer surface often adds more useful comfort than another thick, air-permeable layer.
Check that the glove:
- covers the wrist when you reach for the hoods;
- closes the gap to the jacket sleeve;
- has a grippy palm and fingers;
- bends at the brake-lever contact points;
- does not bunch inside the palm;
- is not tight across the knuckles or fingertips.
Water resistance matters when roads or weather are wet, but a non-breathable glove can trap enough sweat to become cold later. Carry a dry spare on long or remote rides if wet hands would leave you without a safe option.
Use layers without compressing your hands
A thin liner under a windproof glove can create a useful extra air layer and lets you remove one layer as conditions change. It works only if the outer glove has room. If adding a liner makes the fingertips tight or limits finger movement, use a larger outer glove or a different system.
Common combinations include:
| Conditions and problem | Practical starting system |
|---|---|
| Cool, dry, windy | Flexible full-finger wind-resistant glove |
| Changeable autumn ride | Thin liner plus packable wind-resistant outer glove |
| Cold rain risk | Water-resistant outer glove, dry spare, shorter route and bailout |
| Colder ride where finger separation loses heat | Cycling-specific split-finger or lobster design, after a full control test |
| Persistent wind chill at the bars | Compatible handlebar mitts or pogies with a thinner control-friendly glove |
This is not a temperature chart. Individual circulation, effort, wind, humidity, rain, route exposure, medical conditions, and ride duration change the result. Treat any product rating as a starting claim, not a guarantee.
Run a five-part control test
Test the complete glove system on the exact bicycle.
- Put both hands on the hoods and reach the brake levers without changing to an insecure grip.
- Pull each lever firmly and progressively; confirm the fabric does not catch or hold the lever.
- Operate every shift control several times in both directions.
- Move to the drops and repeat the braking test if you use that position.
- Open each hand, point one finger, and operate zips or a phone needed for an emergency stop.
Then perform walking-speed braking in a traffic-free area. A glove that passes indoors but feels vague outdoors may be too bulky once cold or wet.
If lever reach is already marginal with bare hands, solve that fit issue before winter. The brake-hood and lever-reach guide explains the difference between control setup and hand position.
Keep the rest of you warm and adjustable
Hands do not exist in isolation. A windproof layer over the torso, a suitable head covering under a correctly fitted helmet, and dry feet can make the entire ride more manageable. Dress to adjust rather than to sweat heavily from the first climb.
Use zips, a packable outer layer, or removable warmers before sweat soaks the system. The 10°C clothing guide gives one moderate-cold starting point, while the forecast, route, wind, and rain decide what you add.
Never block helmet fit with a thick hat or alter straps to accommodate winter clothing. Recheck the helmet fit sequence with the cap you will actually wear.
Numbness is a stop sign
The CDC lists pain or redness as possible early frostbite signs and warns that numb, pale or waxy skin can indicate injury. Hypothermia warning signs include shivering, exhaustion, confusion, fumbling hands, slurred speech, and drowsiness.
On a bicycle, loss of sensation or dexterity is also an immediate control problem. Do not wait for a medical threshold before ending the ride. Stop somewhere safe when you cannot clearly feel or reliably operate the brakes.
Move into shelter, replace wet layers with dry ones, and follow current medical guidance. Do not rub possibly frostbitten skin or apply intense direct heat. Seek medical help for suspected frostbite or hypothermia.
Cold-triggered numbness can also be affected by pressure on the hands, wrist position, or an underlying health condition. If symptoms recur in mild conditions, persist after warming, or include marked colour change, discuss them with a qualified clinician rather than continually buying warmer gloves. The numb-hands guide covers the bike-fit side without diagnosing the medical cause.
Make the route part of the glove system
For a first cold-weather test, choose a short familiar loop near shelter and transport. Avoid exposed descents, remote roads, freezing rain, and any forecast where ice may form. Cold hands plus a mechanical problem can turn a manageable ride into a long stop.
Carry:
- a charged phone protected from moisture;
- one dry glove or liner option when conditions justify it;
- lights for shortening days;
- a compact outer layer;
- a bailout route that does not depend on finishing the full loop.
Warmth bought by taking one hand off the bar repeatedly is not a solution. Stop before changing layers.
Your next step
Put on the glove combination you plan to use and complete the five-part control test on your bike. Then ride a short loop with an easy exit, checking your hands before the first descent. If you cannot brake naturally or your fingers become numb or clumsy, end the test and change the system—not your tolerance for risk.