How to fit a road-cycling helmet
Choose the correct helmet size and shape, position it level, adjust the side and chin straps, and test whether it stays secure before every ride.
 Field guide / how-to-fit-road-cycling-helmet
Before you buy
Check the starter kit first
Print the one-page buying brief for helmet, lights, water, phone, and repair compatibility before comparing upgrades.
A road-cycling helmet should sit level, low enough to cover the forehead, snug all around without painful pressure, and secure when the chin strap is fastened. The rear dial fine-tunes the fit; it should not be the only thing preventing an oversized shell from moving.
The short answer: start with a certified helmet in the maker’s size range, then adjust it in this order: internal fit system, level position, side-strap junctions, chin strap, movement test. If it only fits when the dial is at an extreme, creates pressure points, blocks vision, or can roll off your head, try another size or shape.
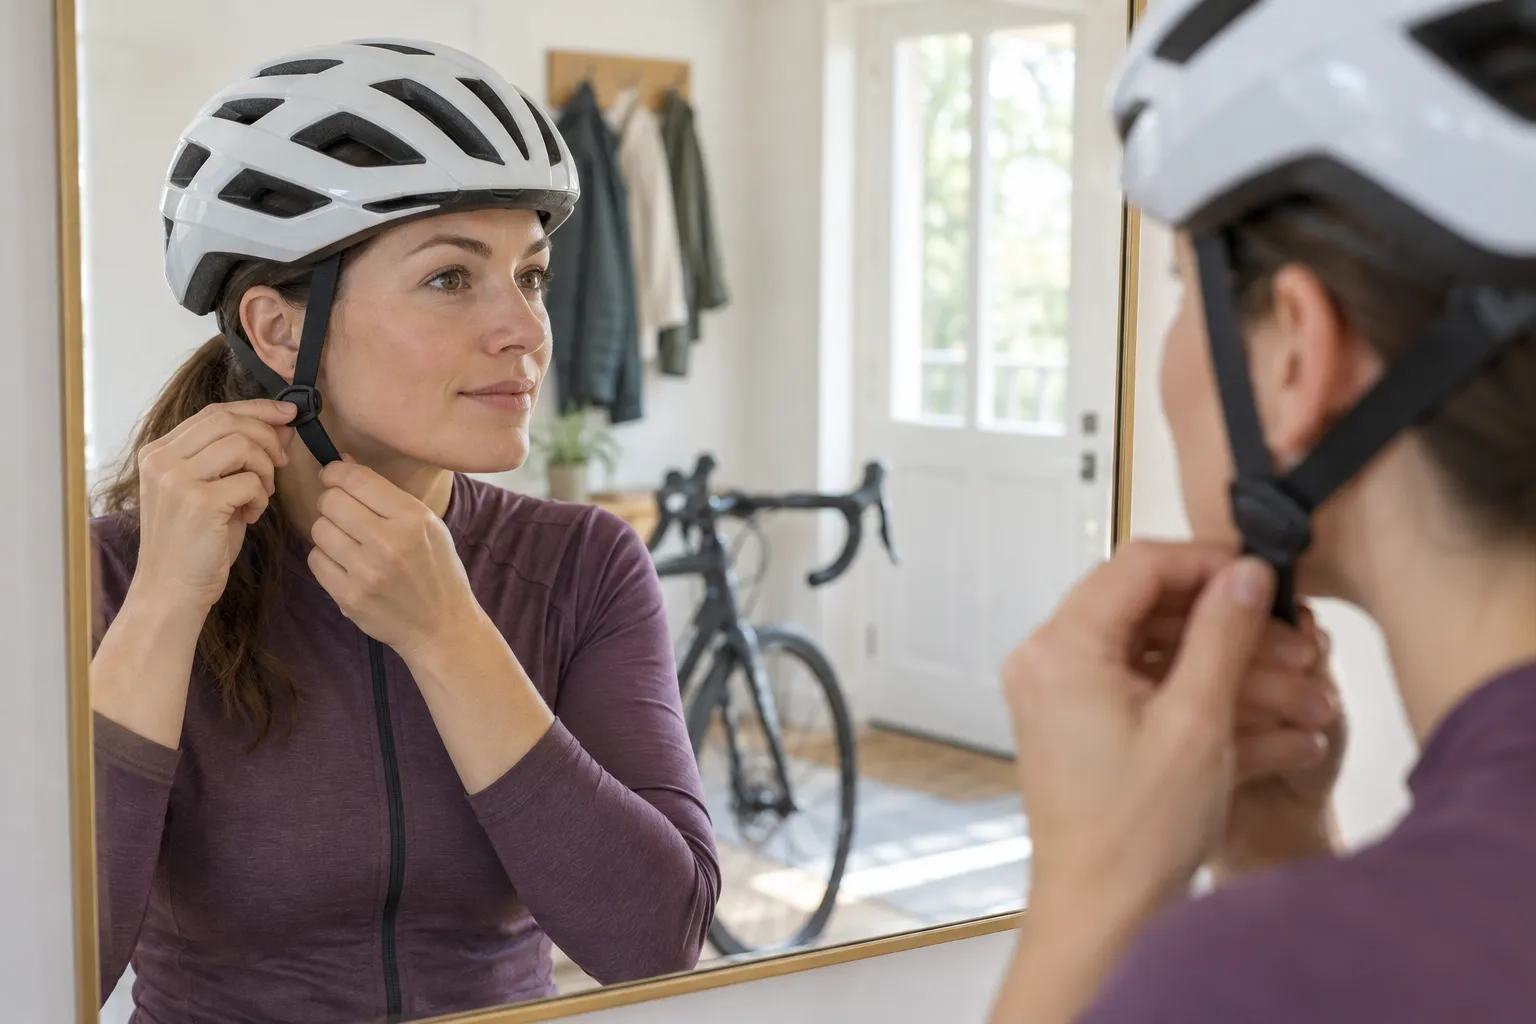
Why appearance cannot confirm fit
Recent Reddit threads ask whether a helmet looks too large or whether two different models fit. Photos can reveal a helmet tilted far back or an obviously loose strap, but they cannot show even pressure, internal contact, stable retention, or whether the maker’s adjustment range is respected.
The U.S. Consumer Product Safety Commission requires compliant bicycle helmets to include fit instructions and warnings that correct fit and a fastened retention system are necessary for maximum protection. Other countries use different required marks and standards. Check the label and local requirements rather than assuming every helmet sold online is approved where you ride.
Step 1: choose the correct size and shape
Measure the widest part of your head, approximately around the forehead and above the ears, following the helmet maker’s diagram. Compare the measurement with that exact model’s size chart.
The number only selects candidates. Heads with the same circumference can be rounder, longer, or wider in different areas. Try the helmet with the padding supplied by the manufacturer and any thin cycling cap you genuinely plan to use.
A promising shell should:
- contact the head evenly when the fit system is open;
- become snug with moderate adjustment remaining;
- avoid isolated pressure at the forehead, temples, or back;
- sit low and level without blocking your vision;
- remain comfortable for at least several minutes indoors.
Do not remove structural foam, crush it to create space, add unapproved pads, or choose a larger helmet solely to avoid one pressure point. A different model may match your head shape better.
Step 2: position the shell level
Place the helmet on your head before fastening the buckle. The front should sit low on the forehead rather than exposing it with the helmet tipped back. CPSC fit guidance describes a level position and a snug fit that does not obstruct vision.
Use a mirror from the side. If lowering the front makes the rear collide with your neck or glasses, recheck the size, retention height adjustment, hair placement, and model shape.
Glasses arms normally sit according to the helmet and eyewear manufacturers’ instructions without lifting the helmet or getting trapped awkwardly under straps. Confirm you can look over each shoulder without the helmet contacting clothing.
Step 3: adjust the internal fit system
Tighten the rear dial or retention system until the helmet is snug and stable, not painful. It should grip evenly rather than clamp one point.
With the chin strap still open, bend forward over a soft surface and gently shake your head. The helmet should remain substantially in place. This is only a fit check, not a reason to leave the buckle open while riding.
Warning signs of the wrong size or shape include:
- the dial must reach its limit before the helmet feels secure;
- the shell rocks despite a tight dial;
- the retention cradle sits on the ears or slides upward;
- pressure becomes painful within minutes;
- the helmet cannot sit level.
Step 4: place the side straps
Adjust each strap junction so the front and rear straps form a clear path around the ear, with the junction close beneath it. The straps should lie flat without twists.
The exact hardware varies. Some junctions slide freely; others lock; some helmets use fixed splitters. Follow the manufacturer’s sequence. Do not cut straps until the fit is final, and leave the finish length required by the manual.
Hair, earrings, hearing devices, glasses, and a cap can change the routing. Nothing should force a strap off its designed path or prevent the buckle closing fully.
Step 5: set the chin strap
Fasten the buckle and remove slack until the strap is secure without restricting normal breathing, swallowing, or head movement. The usual “one or two fingers” rule is only a rough check; the manufacturer’s instructions define the fit for that helmet.
Open your mouth and move your jaw. You should feel the retention system engage rather than the buckle hanging far below the chin. Check that loose strap ends are retained and cannot flap into your face.
Step 6: perform a movement check
With the strap fastened:
- Push the front upward gently. It should not roll back and expose much more forehead.
- Push the rear upward gently. It should not roll forward over your eyes.
- Move the shell side to side. Your scalp should move with it rather than the helmet sliding freely.
- Look left, right, up, and down. Vision and movement should remain clear.
- Confirm the buckle stays closed and all adjusters remain set.
Do not perform a violent pull test. If ordinary hand pressure can roll the helmet off, repeat the adjustment or try another model.
Recheck before every ride
Straps can loosen, padding can compress, and another person may have adjusted the dial. Before riding:
- place the helmet level;
- tighten the fit system;
- fasten the buckle;
- remove strap twists;
- do a quick front-and-rear movement check;
- inspect for impact damage, cracks, loose parts, and damaged straps.
Use only cleaning products and replacement pads approved by the manufacturer. CPSC-required warnings note that some common cleaners can damage a helmet in ways that may not be visible.
When to replace or stop using it
Follow the exact maker’s instructions after any impact. A helmet can be damaged without obvious external signs. Also stop using it when the shell, foam, buckle, straps, retention system, or attachment points are damaged or when a recall applies.
The SIKLIST guide to when to replace a cycling helmet covers impact, condition, age guidance, and manufacturer advice. Do not buy a used helmet with unknown crash, storage, modification, or recall history.
Your next step
Put on your current helmet in front of a mirror and run the six-step check. If it cannot sit level and remain stable without painful pressure or extreme adjustment, take your head measurement and try a different size or shape before your next road ride. Add the result to the starter gear checklist.