Why does the chain keep falling off a derailleur jockey wheel?
Diagnose a chain that leaves the rear-derailleur pulley by checking routing, fasteners, pulley wear, alignment, compatibility, and chain length in a safe order.
 Field guide / chain-falls-off-derailleur-jockey-wheel
A chain that repeatedly leaves a rear-derailleur jockey wheel is not an indexing problem to pedal through. Stop and inspect the complete chain path. Common categories include incorrect routing, a loose or badly worn pulley, a loose derailleur, a bent hanger or cage, the wrong chain or pulley, and incorrect chain length.
The short answer: start with the simplest visible faults, but expect more than one problem on a neglected or crash-damaged bike. Do not bend, shorten, or replace parts until you have identified which part is out of line.
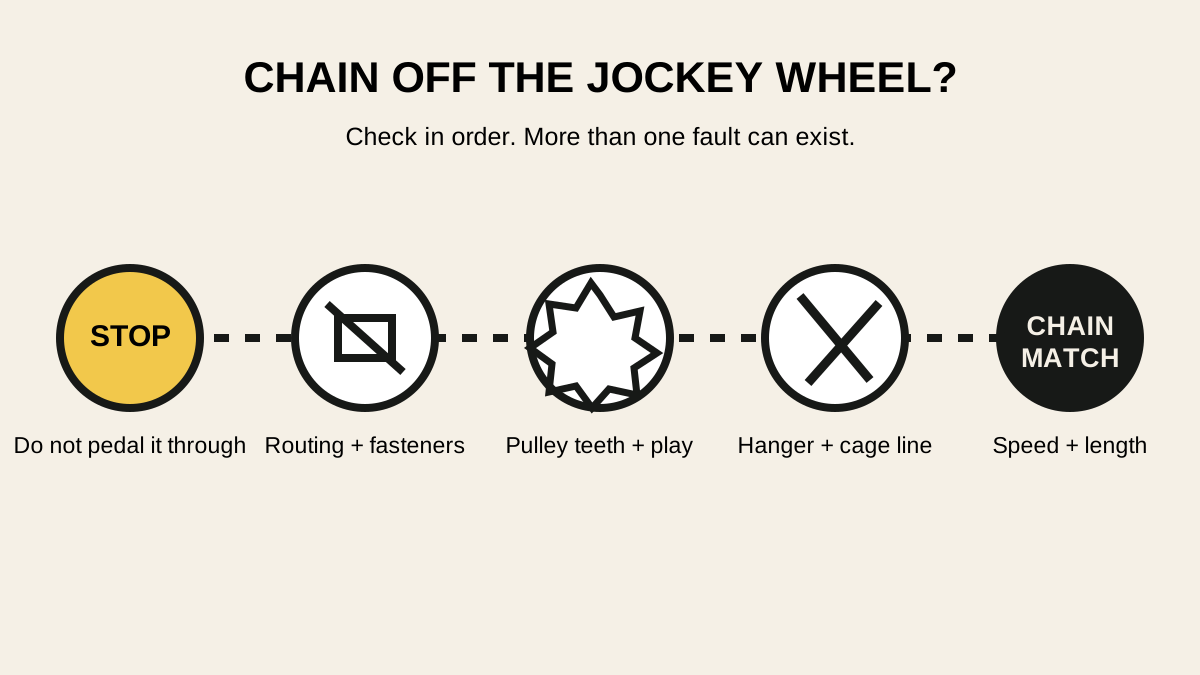
First identify what is actually happening
Recent repair discussions show the same visible symptom arising after a crash, with badly worn pulley teeth, and after drivetrain work. In one current thread, the rider reported a chain leaving the lower pulley after a crash. Other public threads show loose pulleys and incorrect chain routing. These are demand signals, not remote diagnoses.
Watch the bike only while it is secure and the rear wheel is off the ground. Turn the crank slowly by hand. Keep fingers, sleeves, and tools clear of the chain and spokes.
Record whether the chain:
- climbs off the upper guide pulley near the cassette;
- leaves the lower tension pulley;
- runs beside the pulley teeth rather than between them;
- rubs the small metal tab between the cage plates;
- derails only in the smallest or largest rear sprockets;
- began doing this immediately after a crash, wheel removal, chain replacement, or pulley service.
That pattern tells you where to inspect. It does not authorize continued riding.
1. Check the chain route before any adjustment
The chain must pass around both pulleys and on the correct side of every cage tab. A wrongly routed chain can still turn, but it may scrape continuously, sit at an angle, or leave a pulley.
Compare the route with the exploded diagram for the exact derailleur model. Do not rely on a photo of a similar-looking unit. If the chain is on the wrong side of a tab, correct it using the chain or cage procedure in the applicable manual. Reusing a quick link is manufacturer- and model-specific; see whether a chain quick link can be reused before opening it.
2. Inspect the pulley bolts, side play, and rotation
With the bike stationary, gently check each pulley for abnormal looseness. Some upper pulleys are designed with controlled lateral movement, so “it moves” is not enough to condemn it. Compare upper and lower pulleys with the model instructions.
Look for:
- a missing, backed-out, or visibly loose pulley bolt;
- a pulley that binds instead of rotating smoothly;
- a cracked pulley, cage plate, bushing, bearing, or dust cover;
- parts assembled in the wrong order;
- a directional pulley installed opposite its marked rotation;
- the guide and tension pulleys swapped.
Shimano’s current dealer documentation says pulley direction depends on the model and shows model-specific torque values. That means neither direction nor tightening torque should be guessed. Use the document for the actual derailleur, not a number copied from this article.
3. Decide whether the pulley is worn or merely dirty
Clean enough grime away to see the complete tooth profile. Dirt alone can make a pulley noisy, but teeth worn into narrow points, missing sections, deep asymmetry, or a centre that rocks independently are component faults.
Compare with a new maker image for the exact part. Modern pulleys are not all shaped alike: some use directional teeth, offset teeth, or narrow-wide profiles. A tooth shape that looks unusual may be intentional; severe loss of material is not.
Do not fit a random pulley with the same tooth count. Width, offset, tooth profile, bearing hardware, bolt diameter, cage clearance, and drivetrain speed can differ. Order by derailleur model and the maker’s compatible part number.
4. Check derailleur attachment, hanger, and cage alignment
A chain can leave a healthy pulley when the pulley is no longer in the chain’s path. This is especially important after a drive-side fall or impact.
From directly behind the bike, look for obvious misalignment without treating eyesight as a measurement. Check whether:
- the derailleur is firmly attached according to its manual;
- its stop sits against the correct hanger feature;
- the cage is twisted or damaged;
- the hanger is visibly bent;
- any part can approach the spokes in the largest rear sprocket.
Do not pull a derailleur straight by hand. Hanger alignment requires the correct tool and a sound, replaceable or frame-specific hanger. The separate guide to a bent rear-derailleur hanger explains why normal-looking indexing cannot rule it out.
If the incident followed a crash, keep the bike parked until the frame, hanger, derailleur, wheel, and spokes have been assessed.
5. Verify chain identity and length
Read the markings on the chain and count the rear sprockets. Confirm the chain is approved for the drivetrain, is routed in the correct direction when directional, and was joined using an approved connector.
A chain that is too long may leave the cage with insufficient tension in small-small combinations. A chain that is too short can overload the drivetrain in large-large and damage the derailleur. Do not remove links merely because the lower run looks relaxed in one gear.
Use the drivetrain maker’s chain-sizing method. Then compare the result with the chain-length warning signs. If the problem began immediately after chain replacement, also verify that the old chain had not worn the cassette or pulleys into a mismatched system.
What indexing and limit screws can—and cannot—fix
Indexing aligns the upper pulley with each sprocket. A high or low limit restricts travel at the cassette edges. B-gap adjustment controls guide-pulley clearance from the cassette. These settings matter, but they do not repair:
- missing pulley teeth;
- a loose pulley or derailleur bolt;
- incorrect chain routing;
- a bent cage or hanger;
- a wrong-width chain;
- an unsafe chain length.
Only after the physical parts, routing, and compatibility pass inspection should you follow the complete maker adjustment sequence. If ordinary shifting hesitation is the remaining symptom, use the rear-derailleur barrel-adjuster guide.
When to replace a pulley and when to book diagnosis
A model-correct pulley replacement may be reasonable when the pulley is demonstrably worn or damaged, the cage and hanger are straight, the chain is compatible and correctly sized, and the rest of the drivetrain passes inspection.
Book a mechanic when the cause is unclear, more than one fault is visible, alignment requires measurement, proprietary parts are involved, or the derailleur could enter the wheel. Ask the shop to identify the root cause rather than authorising only the most obvious part.
Your next step
Photograph the derailleur from the side and directly behind, record the derailleur and chain model markings, and stop riding the bike. Check routing, fasteners, pulley condition, alignment, compatibility, and length in that order. If the chain can leave the pulley after those checks—or the bike has been crashed—arrange a measured inspection.
Sources and further reading
- Shimano: current rear-derailleur pulley replacement instructions
- Shimano: RD-R7000 dealer manual and pulley details
- Park Tool: rear-derailleur adjustment and physical checks
- r/bikewrench reader context: chain leaving the lower pulley after a crash — used as an editorial question signal, not as a verified diagnosis.