Why does your bike saddle lean sideways?
Separate a crooked saddle shell from uneven rails, a mis-seated clamp, seatpost rotation, and frame alignment before tightening or replacing parts.
 Field guide / why-bike-saddle-leans-sideways
A saddle that sits lower on one side is not corrected by blindly tightening one bolt. First confirm that the bicycle is upright, then isolate the saddle shell, rails, clamp hardware, seatpost, and frame. The cause may be assembly, damage, or simply an unreliable visual reference.
The short answer: photograph the saddle from directly behind on level ground, compare both rails and clamp pieces, and check whether the seatpost itself is rotated or bent. If loosening and correctly reseating the approved clamp cannot make the rails sit symmetrically—or a rail or shell is visibly deformed—stop riding and replace or professionally inspect the faulty part.
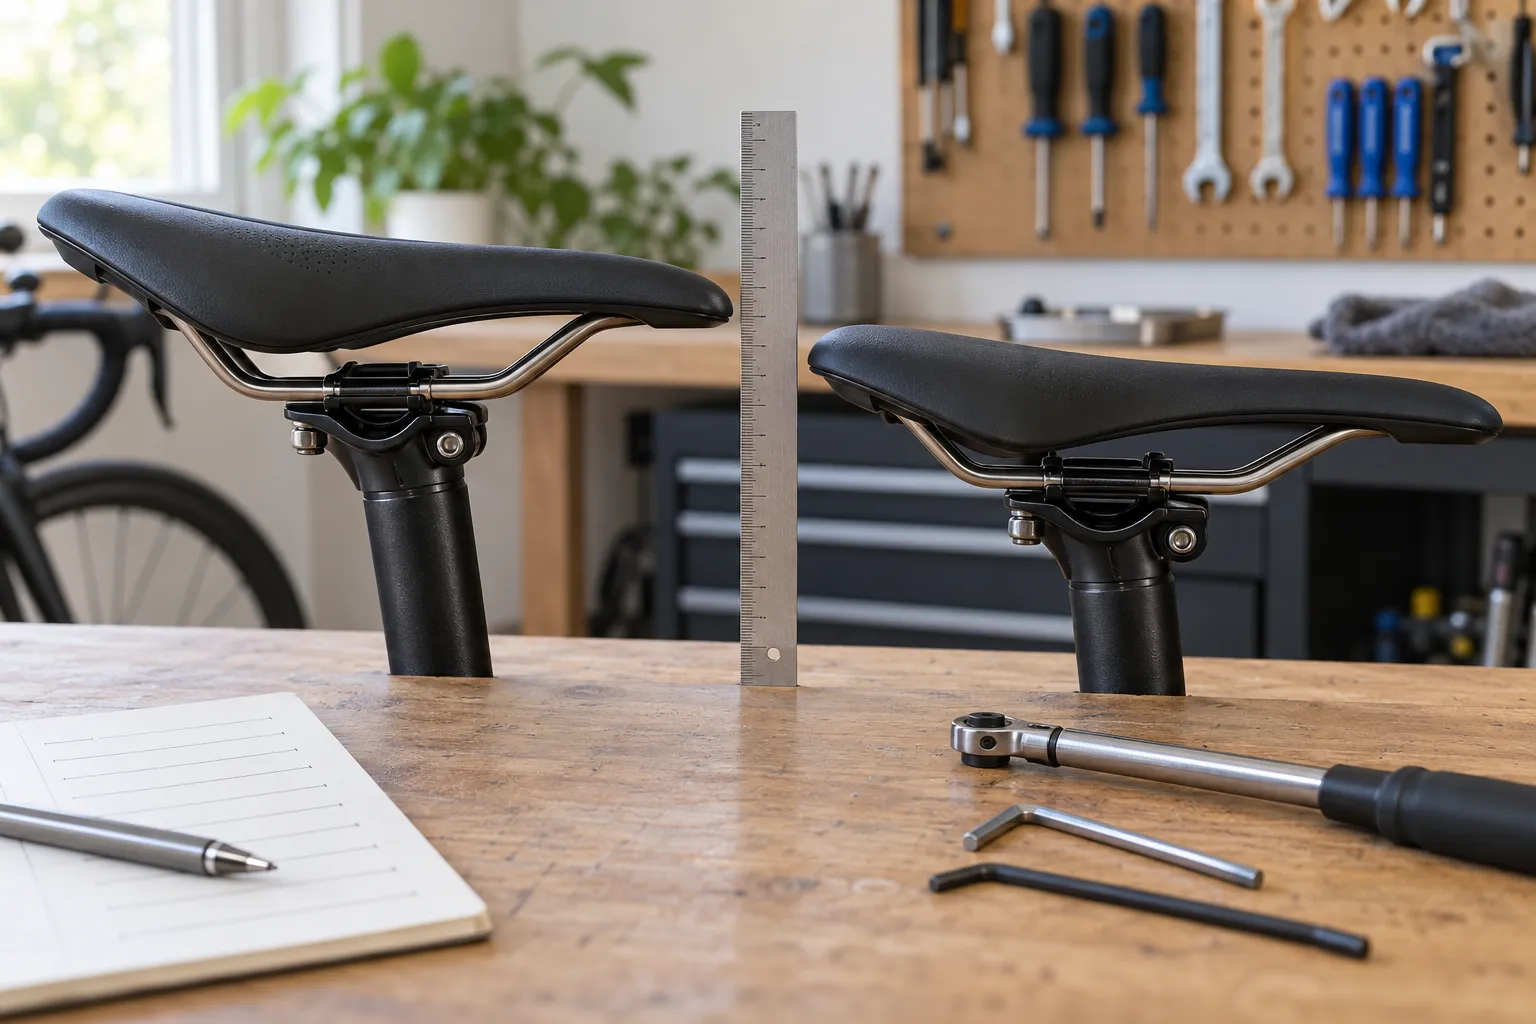
Make sure the lean is real
Park the bicycle on level ground with equal tyre pressure and hold it upright; do not judge while it rests on a side stand or leans against a wall. Align the rear wheel vertically and take a photograph from directly behind at saddle height.
Compare the saddle with stable references:
- the seatpost centreline;
- the rear tyre centre;
- the two saddle rails where they enter the clamp;
- the clamp cradle and upper plate;
- a straightedge laid across equivalent points on the saddle shell.
Saddle padding and covers are not always perfectly symmetrical, so a small visual difference in foam does not prove that the supporting rails are crooked. More important clues are unequal rail height, a twisted shell, clamp gaps that differ side to side, or movement under gentle hand pressure.
Check five possible causes in order
1. The saddle is uneven but the rails are not
Compare equivalent hard shell edges rather than soft cover seams. Manufacturing variation or worn padding can look crooked while the rail plane remains level. If the saddle is stable, undamaged, and comfortable, document the observation instead of forcing the clamp sideways.
2. One rail is not seated in the clamp
Many seatpost heads use a lower cradle and one or two upper clamp pieces. A rail can sit on an edge rather than inside its channel, especially after a saddle change. Uneven upper and lower pieces, reversed hardware, or a clamp assembled in the wrong orientation can create a lean.
Do not loosen the clamp until you have the instructions. Photograph both sides and note washers, curved pieces, bolt direction, rail markings, and setback position.
3. A rail or the saddle shell is bent
Look for unequal curves, cracks, chipped coating, stress marks, a rail pulling away from the shell, or evidence of an impact. Compare the rails from behind and below without trying to bend them back.
Bent rails are not a fit adjustment. Replace the saddle or ask its manufacturer or a qualified mechanic to assess it. Heating, clamping, or levering a rail straight can create damage you cannot verify.
4. The seatpost head or shaft is damaged
Inspect the clamp cradle, upper pieces, bolt threads, and the joint between the head and shaft. A seatpost can also be installed facing the wrong way when its design is unfamiliar, changing setback and clamp orientation.
If the post rotates in the frame rather than the saddle leaning on the post, use the slipping-seatpost diagnosis and stop repeatedly adding torque.
5. The frame or your reference is misleading
A misaligned wheel, tilted repair stand, uneven floor, shaped frame tube, or off-centre camera can make a correct saddle look wrong. If the seatpost and rail plane are demonstrably aligned but the whole assembly appears displaced relative to the tyre, have the bicycle checked for wheel seating, frame alignment, or damage—especially after a crash.
Reseat the clamp only by its instructions
If no part is damaged and the clamp was assembled incorrectly:
- Record saddle height, fore-aft position, and nose angle.
- Support the saddle while loosening the bolt or bolts in the maker’s sequence.
- Remove only enough hardware to identify every mating surface and its orientation.
- Clean as instructed; do not add grease or carbon compound unless the component maker specifies it for that interface.
- Seat both rails fully and symmetrically inside the correct grooves.
- Keep the clamp within the rail’s permitted marked zone.
- Tighten gradually and evenly in the specified sequence to the exact torque limit.
- Recheck side-to-side level, nose angle, and fore-aft position.
Single-bolt, two-bolt, side-clamp, round-rail, oval-rail, metal, and carbon systems are not interchangeable procedures. An oval carbon rail may require a different clamp cradle from a round metal rail even when both appear to fit.
Do not confuse side lean with nose angle
Side-to-side lean and nose-up or nose-down tilt are different axes. Correcting one can accidentally change the other if the clamp loosens fully.
After reseating, restore a documented neutral nose angle using the saddle maker’s datum. The guide to setting saddle angle explains why a curved saddle cannot always be measured from tip to tail.
Also restore saddle height and setback. A clamp repair that moves the saddle several millimetres can change knee extension and reach even if it now looks straight. If the saddle itself changed, reset the bike fit after a saddle swap.
Run a stationary and short-ride check
Before riding:
- grip the saddle at the nose and rear and check for movement;
- confirm the clamp is within the rail markings;
- inspect bolt seating and clamp gaps against the manual;
- verify the seatpost insertion and frame clamp;
- recheck that both wheels and the handlebar are aligned.
Then make a short, low-stress test away from traffic. Stop for clicking, movement, a sudden fit change, or renewed lean. Recheck torque only with the correct method; do not “give it another quarter-turn.”
Your next step
Take one square rear photograph and one underside photograph before touching a bolt. Identify whether the asymmetry begins at the shell, rail, clamp, seatpost, or the bicycle reference. If damage is visible or the approved clamp will not seat symmetrically, park the bike and bring those photographs and component model numbers to a qualified mechanic.
Sources and further reading
- Trek bicycle owner manual — manufacturer safety guidance on saddle, seatpost, inspection, correct fasteners, and torque.
- Park Tool: remove and install a bicycle saddle — identifies common rail-clamp arrangements and compatibility markings; the component maker’s instructions remain controlling.
- Recent r/bikewrench discussion about a saddle leaning to one side — used only as an editorial problem signal; photographs and comments were not treated as a diagnosis for another bicycle.