Why does your road bike seatpost keep slipping?
Diagnose a seatpost that loses height by checking the mark, diameter, clamp, surfaces, assembly compound, insertion depth, and exact torque in the right order.
 Field guide / road-bike-seatpost-keeps-slipping
A road-bike seatpost that loses height is not fixed by blindly tightening the clamp. Mark the height to confirm movement, then check the exact post diameter, minimum insertion, clamp orientation and condition, surface preparation, manufacturer-specified compound, and torque. If it still slips, stop: a mismatched or damaged part needs inspection.
The short answer: do not add torque first. A slipping post is evidence that the clamping system is not working as designed. Find out why, use the frame and seatpost instructions together, and treat any carbon damage, wrong diameter, or recurring movement as a no-ride fault.
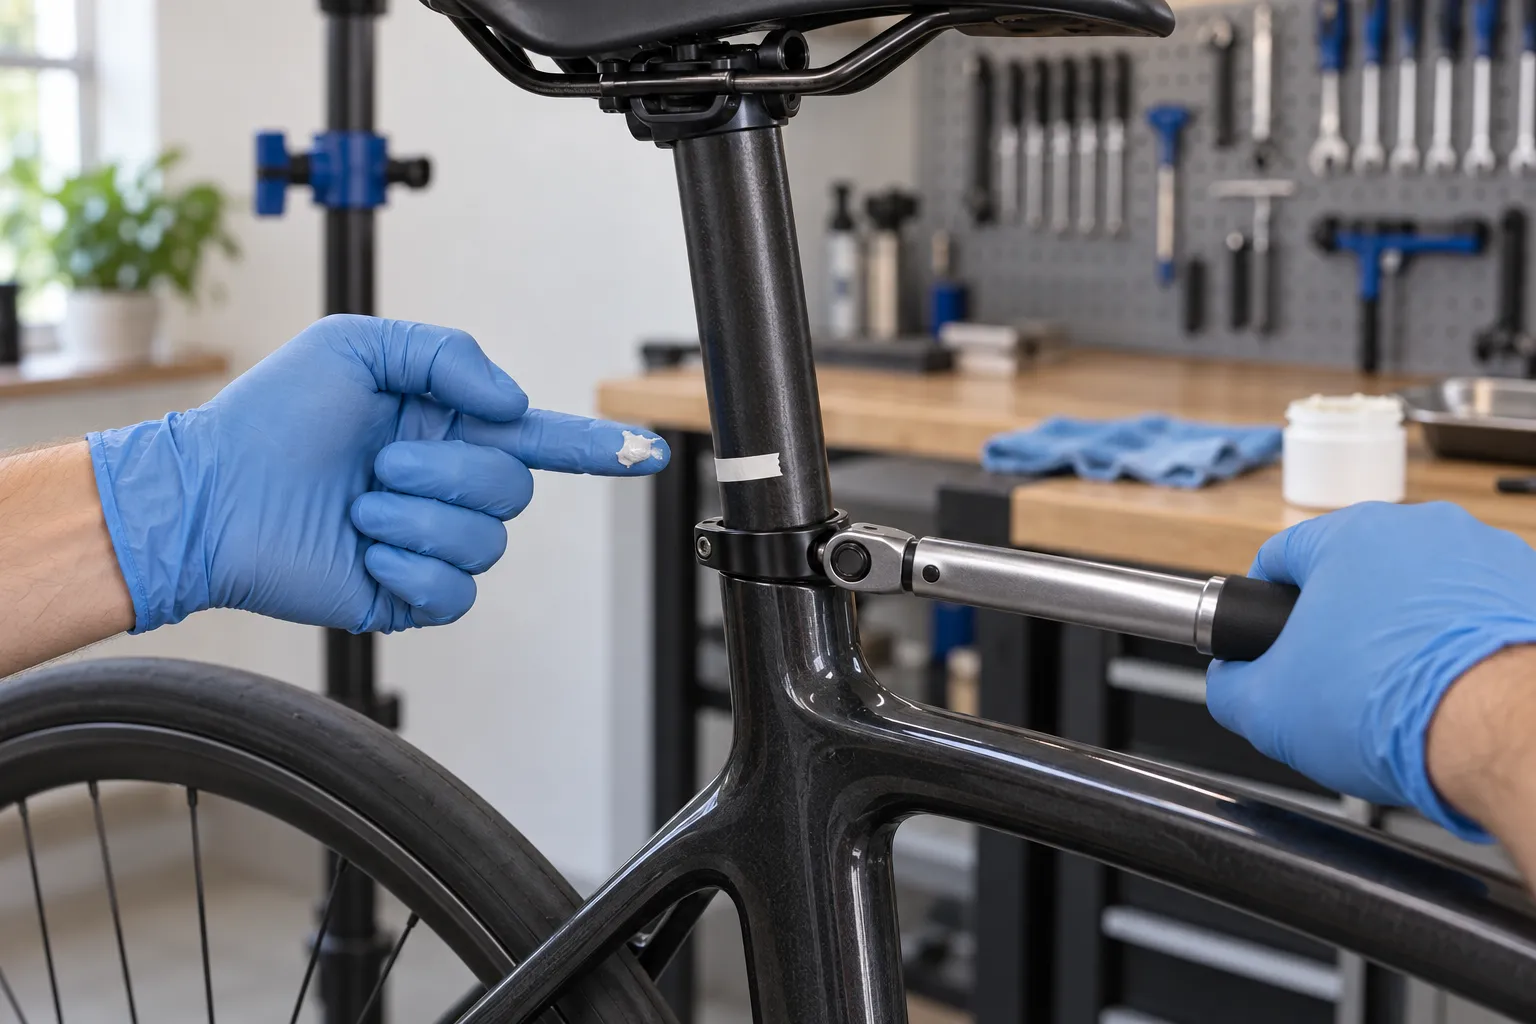
Why tightening harder is the dangerous answer
Recent repair questions describe an aluminium post dropping dramatically on every ride, a damaged-looking carbon post that still slips after paste and tightening, and recurring confusion about grease versus carbon assembly compound.
The common trap is assuming clamp force solves every cause. Too much torque can damage the post, clamp, frame, threaded insert, or hidden wedge. Trek’s general torque guidance warns that too much torque can cause part damage or failure, while too little can permit movement or fatigue. The correct value comes from the exact bicycle and component instructions.
First prove that the post is moving
Before disassembly:
- Measure saddle height using the same fixed points each time.
- Place a narrow piece of removable tape around the post immediately above the frame or make a small pencil reference where the finish permits it.
- Confirm the saddle itself is not rotating or sliding on its rails.
- Check whether the post drops, twists, or both.
- Note whether movement happens immediately, only over rough roads, or only while seated.
Photograph the starting position. A repeatable mark distinguishes seatpost movement from a saddle-clamp problem or a mistaken measurement.
Stop immediately for these red flags
Do not ride if you find:
- a crack, deep gouge, crushed area, delamination, bulge, or unusual soft spot;
- a clamp or wedge that is cracked, distorted, incomplete, or installed backward;
- corrosion bonding dissimilar metal parts;
- a post extended beyond its minimum-insertion requirement;
- a frame with a maximum-extension mark that is also exceeded;
- a post that is obviously smaller than the seat tube;
- a clamp bolt that turns without reaching torque or feels stripped;
- movement that returns after a correct model-specific installation.
Carbon damage may not be identifiable from a phone photograph. Use a qualified shop or carbon inspection specialist when the material is suspect.
Check the six causes in order
1. The diameter is wrong
Seatposts are made in many diameters that differ by fractions of a millimetre. A nearly correct post can enter the frame and still never clamp safely.
Read the size etched on the post and the bicycle specification. If either is absent or parts may have been changed, measure with a vernier caliper and have the seat tube checked by a mechanic. Do not wrap a post with tape, a drink can, or improvised metal. Use only an approved shim where the frame and post makers allow one.
2. Insertion is insufficient
The post’s minimum-insertion line must be inside the frame, but the frame may also require a greater insertion depth. Both requirements apply; obey whichever demands more insertion.
A short post extended too far can overload the frame even if the clamp seems tight. Buy the correct length rather than hiding the mark.
3. The clamp is misassembled
External collars, internal wedges, binder bolts, and integrated seatmast hardware work differently. Check:
- clamp direction and frame-slot alignment;
- the presence and orientation of wedges, sleeves, washers, and seals;
- whether the bolt and threads are clean and undamaged;
- whether an internal wedge is seated rather than bottomed out;
- whether paint, a ridge, or debris prevents even contact.
Do not copy another model’s clamp arrangement.
4. The surfaces or compound are wrong
Metal-on-metal, carbon-on-carbon, and mixed-material interfaces may have different instructions. Carbon assembly compound contains friction particles to reduce the clamp force needed, but it is not universally specified. Some frames require a named compound; some call for grease in particular locations; some require a clean, dry interface.
Read both manuals. Do not assume ordinary bearing grease, anti-seize, carbon paste, or a dry installation is interchangeable. Keep lubricant meant for bolt threads away from the post interface unless the procedure explicitly places it there.
5. Torque or bolt procedure is wrong
Look for a value on the frame, clamp, wedge, post, and manual. If several values appear, stop until you know which fastener each applies to and which limit controls the combination.
Use a torque wrench that is accurate in that range. Tighten using the maker’s sequence. Do not treat “maximum” as a target to exceed, and do not compensate for slipping by adding another newton-metre.
6. A part is damaged or out of tolerance
If size, insertion, assembly, surfaces, compound, and torque are correct but the post still moves, recurring slippage is the symptom. The cause may be a distorted collar, undersize post, oversize or damaged seat tube, worn wedge, cracked part, or manufacturing-tolerance problem.
This is the point for precise measurement and warranty or shop assessment—not a second clamp stacked above the first unless the manufacturer approves that remedy.
A clean reinstallation sequence
Only continue if the parts are undamaged and you have the exact instructions.
- Record saddle height and angle.
- Remove the post carefully without dropping internal hardware into the frame.
- Inspect the full inserted section, frame opening, clamp, and hardware under bright light.
- Clean surfaces using only methods approved for their finishes and materials.
- Apply the specified compound in the specified location and quantity.
- Insert beyond every applicable minimum line.
- Align the saddle with the frame.
- Install clamp hardware in the correct orientation.
- Tighten and torque exactly as specified.
- Mark the height again.
Check that the post does not rotate under a firm hand test. This is not a reason to apply extreme force.
Test without committing to a long ride
Start with a stationary check, then a short, flat ride close to home. Re-measure after a few minutes and again after the ride. Stop at once if the mark moves, the clamp creaks sharply, the saddle twists, or the frame area changes appearance.
Once the post holds, restore your recorded saddle height and confirm overall comfort with the beginner bike-fit guide. A slipping post can quietly lower the saddle enough to change knee movement and pedalling feel.
What not to do
- Do not exceed the printed or manual torque.
- Do not score, knurl, drill, sand, or crush the post to make it grip.
- Do not use household grit, glue, threadlocker, or tape as assembly compound.
- Do not ignore minimum insertion.
- Do not assume all carbon interfaces need paste.
- Do not hide movement with a second clamp unless the manufacturer explicitly approves it.
- Do not ride a post with suspected carbon damage.
Your next step
Mark the current height and collect the frame, post, and clamp model details. If the mark confirms movement, park the bike. Verify diameter and insertion, inspect the complete clamp, find the prescribed surface preparation and torque, and reinstall once. If it moves again, take the parts and your measurements to a qualified shop.
Sources and further reading
- Trek owner guidance: why exact fastener torque matters
- Trek assembly example: minimum insertion and model-specific seatpost setup
- r/bikewrench reader context: a metal seatpost that keeps dropping
- r/bikewrench reader context: recurring slippage with possible carbon damage
- r/bikewrench reader context: grease versus assembly-compound confusion