When should you bleed road-bike hydraulic brakes?
Separate air in the hydraulic system from worn pads, rotor rub, and reach adjustment—then choose the correct bleed interval and service path.
 Field guide / when-to-bleed-road-bike-hydraulic-brakes
Hydraulic road brakes need bleeding when their maker’s service interval arrives or when air, old fluid, a leak, or opened hoses require it. A long lever does not automatically mean “add fluid”: pad wear, reach adjustment, rotor condition, sticky pistons, and installation faults can produce similar complaints.
The short answer: check the exact brake model’s manual first. SRAM currently specifies at least an annual bleed for its road brakes, with more frequent service for heavy use. Shimano procedures are model-specific and focus on correct fluid replacement and air removal. Whatever the brand, a lever that will not become consistently firm after basic checks is a service problem, not something to pump through for another ride.
Start with the symptom, not the syringe
Use this quick separation before buying a bleed kit.
The lever feels spongy or changes after repeated squeezes
A healthy system should build a firm, repeatable lever feel. A lever that firms up only after pumping, feels compressible, or changes position may contain air or have another hydraulic fault. Check for visible fluid around the lever, hose, connections, and caliper without opening anything. A leak requires repair and a bleed; a bleed alone cannot repair a damaged seal or hose.
The lever travels farther as pads wear
Inspect pad thickness using the brake maker’s method. Do not compensate for pads below their service limit by overfilling the system. Replace pads when required, inspect the rotor, reset pistons only according to the manual, and reassess lever feel.
Our disc-brake pad inspection guide explains the visual check. If the lever approaches the bar, also work through the close-to-handlebar brake-lever checklist.
The lever is firm but braking is weak or noisy
That points more strongly toward contamination, glazed pads, a worn rotor, incorrect bedding-in, or a mechanical installation problem. Bleeding changes the hydraulic circuit; it does not clean friction surfaces. Read how to identify contaminated disc brakes before replacing fluid unnecessarily.
The rotor rubs but the lever feels normal
Look for caliper alignment, wheel seating, rotor truth, piston movement, or heat expansion. A bleed is not the first fix for ordinary rub after wheel removal; use the disc-rub diagnosis.
When a bleed is actually due
Plan the correct service when any of these applies:
- the manufacturer’s time or use interval has arrived;
- a hose has been shortened, disconnected, or replaced;
- the system has been opened for component service;
- a leak was repaired and air may have entered;
- the lever is spongy or inconsistent after pads, rotor, wheel seating, and reach are checked;
- fluid is known to be old, contaminated, or the wrong type;
- the official troubleshooting procedure calls for fluid replacement or air bleeding.
Do not invent one interval for every hydraulic brake. SRAM says its road brakes should be bled at least once a year and more often with frequent or aggressive use. A different SRAM mineral-oil brake family has a different published interval, illustrating why fluid type alone is not enough to set the schedule. Search the model number, not merely the brand.
Fluid compatibility is non-negotiable
Some brakes use DOT brake fluid; others use a manufacturer’s mineral oil. They are not interchangeable. Even within a broad brand ecosystem, current and older product families may differ.
Before opening the port, identify:
- the lever and caliper model numbers;
- the approved fluid specification;
- the current official bleed manual;
- the required bleed block, adapters, hose fittings, and syringe or funnel;
- fluid handling, disposal, and personal-protection instructions;
- tightening torques for bleed screws and fittings.
If any answer is uncertain, stop. A shop bleed is cheaper than damaged seals, contaminated pads, stripped ports, or a brake failure.
A full bleed, fluid change, and lever bleed are not synonyms
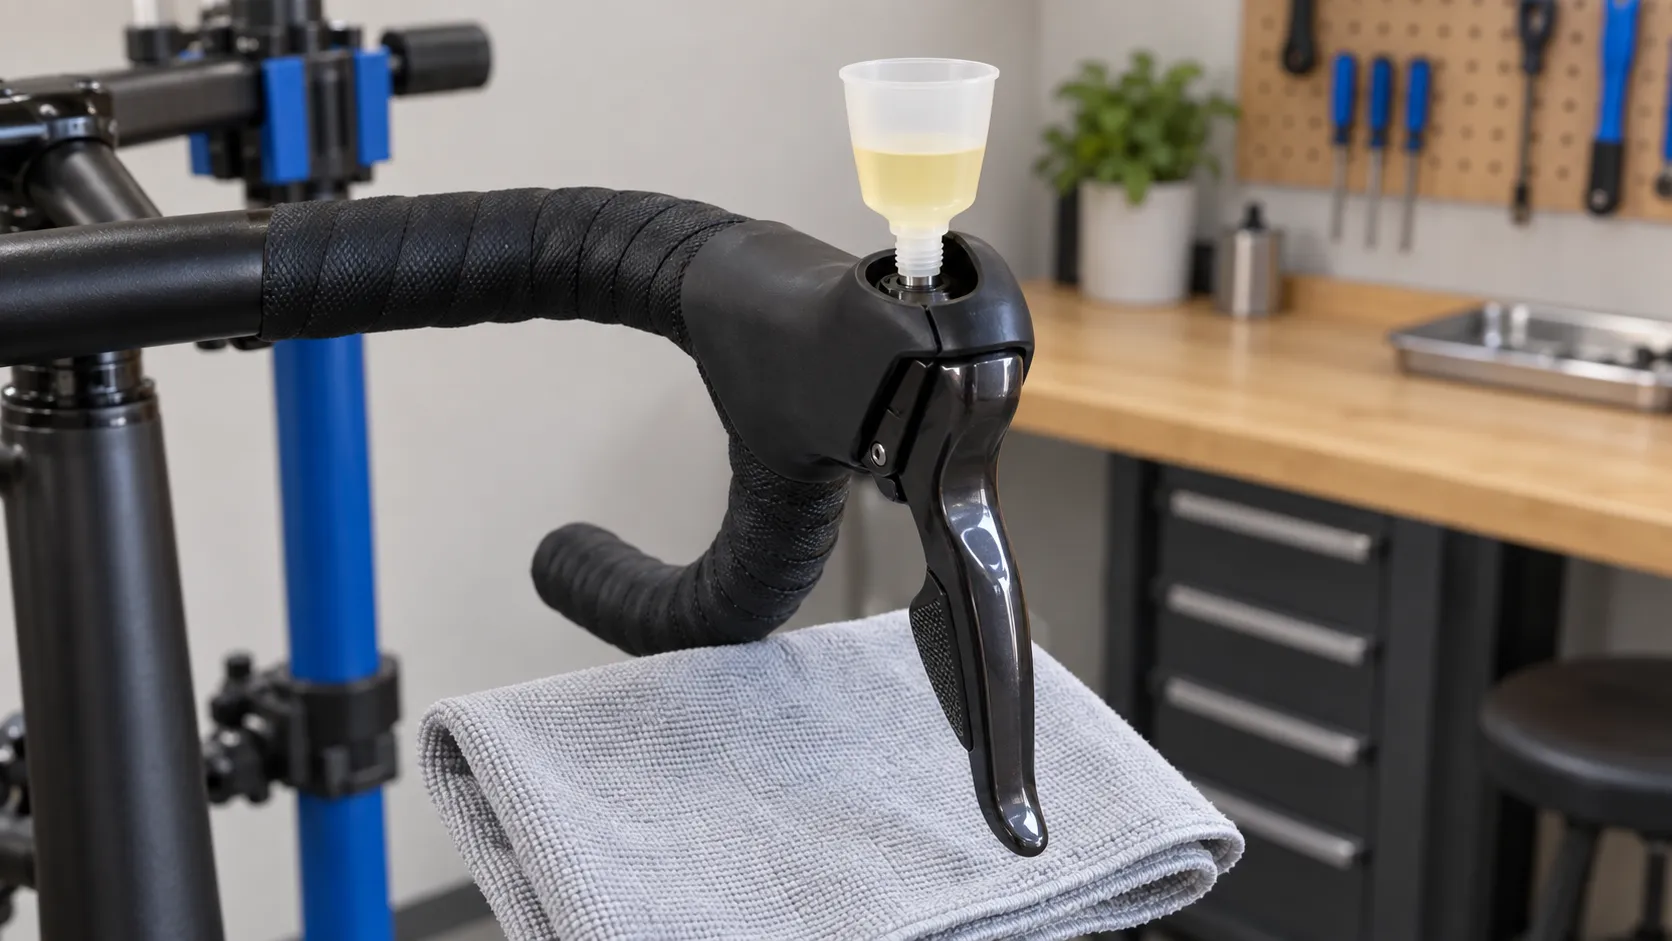
A full bleed pushes approved fluid through the system while removing air according to the complete procedure. A fluid replacement refreshes old fluid and normally uses that complete route. A lever or funnel bleed may remove a small amount of air near the lever on some systems, but it is not a universal shortcut and does not replace a maker-required service.
Online advice often describes hanging the bike, zip-tying the lever, tapping hoses, or adding fluid only at the reservoir. Do not make those community techniques the default. Shimano’s road dealer manual gives a specific sequence and warns that incorrect lever pumping can leave air in the caliper and lengthen the process. Follow the document for your exact system.
Decide whether this is a sensible first home job
Home bleeding can be reasonable when you already handle clean mechanical work, have the exact manual and compatible kit, can secure the bike and protect friction surfaces, and have time to redo the procedure without needing the bike immediately.
Choose a shop when:
- this is your first brake service and the symptom is ambiguous;
- the system leaks or has crash-damaged parts;
- fittings, hoses, or pistons need diagnosis;
- the lever or caliper model cannot be identified;
- you cannot keep fluid away from pads and rotors;
- the required torque tools, bleed block, or fluid are missing;
- the completed brake cannot pass a controlled function test.
Brake work is a poor place to learn by substituting similar-looking fluids and adapters.
Check the result before road speed
The official manual determines the finishing procedure. At minimum, the lever should feel firm and repeatable, there should be no fluid at any fitting, pads and rotors should be clean and correctly installed, the wheel should be secure, and the brake should engage without the lever touching the bar.
Then test each brake separately at walking pace in a clear area. Increase speed only after both operate predictably. New pads or cleaned/replaced friction parts may also require the maker’s bedding procedure; read how to bed in road disc brakes.
Your next step
Write down the lever and caliper model numbers. Check pad thickness, rotor condition, leaks, and whether the lever changes when pumped. Then open the official service document for that exact system. Bleed because the schedule or diagnosis calls for it—not because “hydraulic brake” and “long lever” appeared in the same sentence.