Should you rotate road-bike tyres front to rear?
Learn why bicycle tyres wear at different rates, why a worn rear should not simply move to the front, and how to replace one tyre while keeping the best rubber up front.
 Field guide / should-you-rotate-road-bike-tyres
Before you buy
Check the starter kit first
Print the one-page buying brief for helmet, lights, water, phone, and repair compatibility before comparing upgrades.
Do not rotate bicycle tyres on a calendar the way drivers rotate four car tyres. A road bike has only two contact patches, and the front tyre is responsible for steering as well as a large share of braking control. The safer rule is to keep the better tyre at the front.
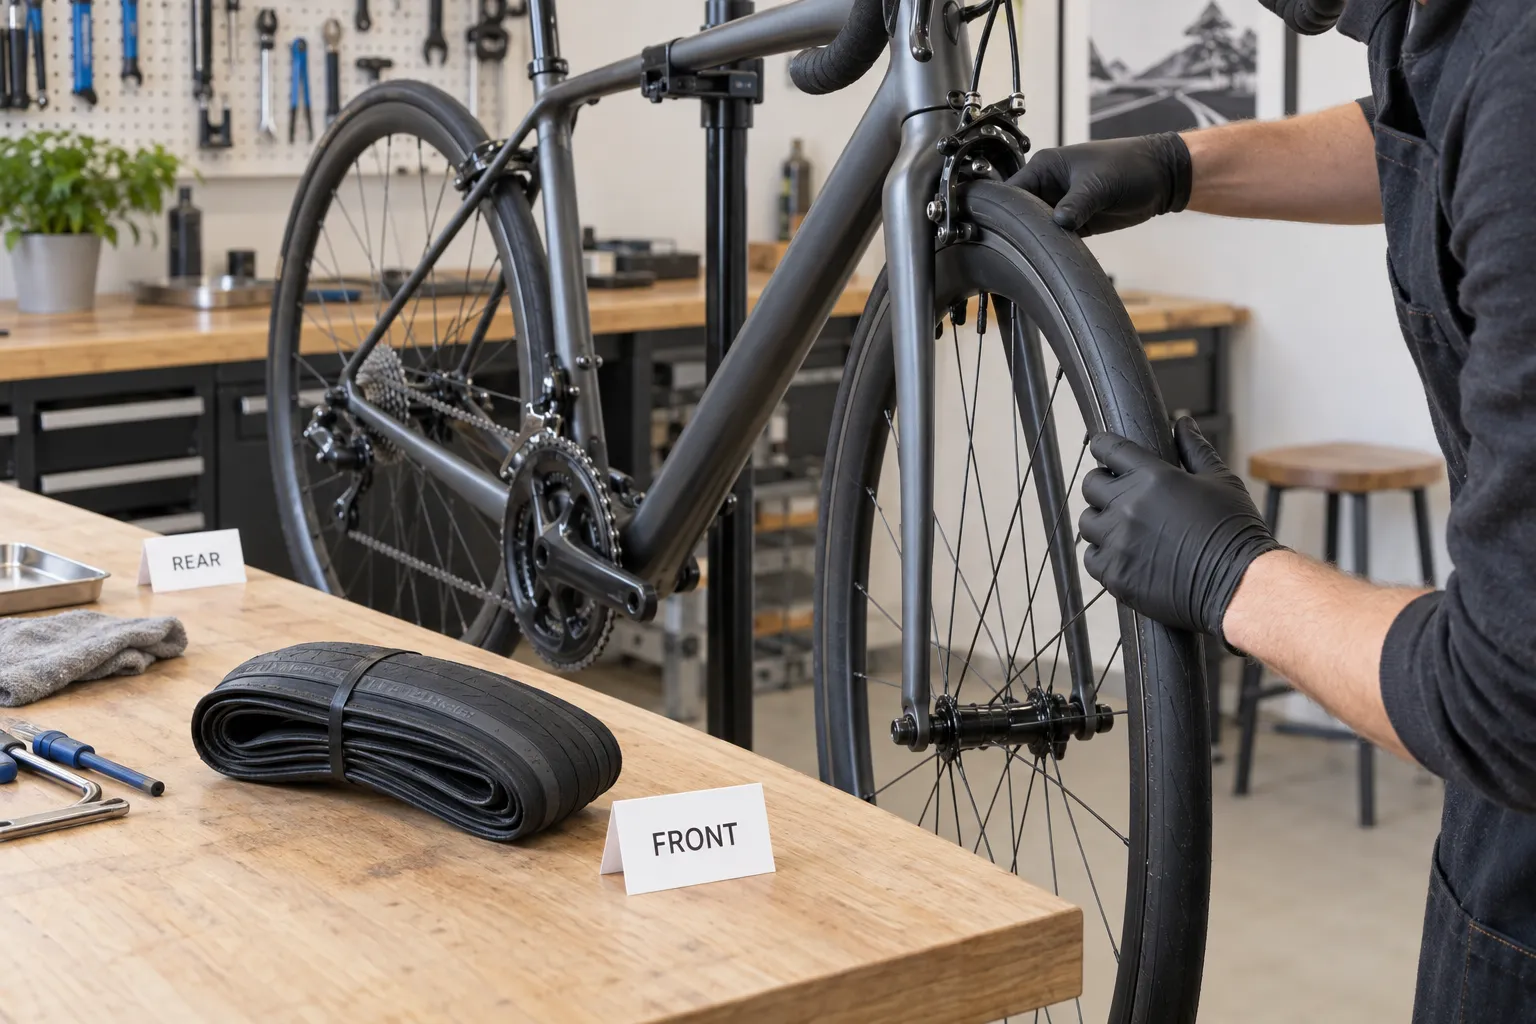
The short answer: when the rear wears out first, discard it. If the existing front tyre is still genuinely sound, move that tyre to the rear and install the new tyre at the front. Do not move a worn rear tyre forward merely to equalise wear.
Why this question keeps returning
A recent r/cycling discussion asks directly whether riders swap front and rear tyres, while an earlier recurring thread asks whether to rotate or replace one tyre at a time. The car-maintenance analogy sounds logical: share the wear and make both tyres last together.
That analogy misses the consequence of a front-tyre failure or loss of grip. A rear slide can still cause a crash, but loss of the front contact patch is generally harder to recover because it removes steering control. Wear economy should not move the weaker casing or tread to that wheel.
Why the rear usually wears faster
The rear tyre carries substantial rider load and transmits pedalling force. On many road bikes it therefore flattens through the centre or reaches its wear indicators before the front. Rider position, tyre model, pressure, road surface, braking, load, wheel alignment, and indoor-trainer use can change the pattern.
Do not assume that faster wear is automatically normal. Investigate if one area wears much faster than the rest, the casing shows through, the tyre repeatedly punctures in one spot, or a brake rubs the tyre.
Use this replacement sequence
When the rear tyre reaches its replacement point:
- Inspect both tyres fully, including tread, sidewalls, bead, wear indicators, cuts, bulges, exposed casing, and embedded debris.
- Discard the worn rear tyre.
- Decide whether the front tyre is still sound enough for continued service—not merely better than the discarded tyre.
- If it is sound and both wheel positions accept that exact size and model, move the old front tyre to the rear.
- Install the new tyre at the front.
- Follow any sidewall rotation arrow or separate
FRONTandREARdirections. - Confirm bead seating, inflation limits, brake and frame clearance, and wheel security.
- Make a short, low-speed test before a normal ride.
This sequence uses the remaining life of a good tyre without promoting a more worn one to the steering wheel.
When not to move the front tyre rearward
Replace both tyres or keep them in their current positions when:
- the front has cracks, cuts, a bulge, exposed threads, damaged bead, hardened rubber, or uncertain history;
- front and rear use different widths, constructions, or position-specific models;
- the tyre maker specifies different front and rear versions;
- the rear rim, frame, brake, or mudguard cannot accept the front tyre’s measured width;
- the tyre has been repaired in a way the manufacturer does not approve for continued road use;
- you cannot preserve the required rotation direction;
- both tyres are already near the replacement threshold.
Tyre labels are nominal. A “28 mm” tyre can measure differently on another rim, so recheck physical clearance after moving it.
Direction arrows are a separate question
Rotation in this article means changing wheel position. A sidewall ROTATION arrow means the direction the tyre should roll once installed.
The European Tyre and Rim Technical Organisation recommends clear direction marking on directional bicycle tyres and says reverse installation should be discouraged except as a temporary measure. Schwalbe explains that some tyres have one general arrow while certain treaded tyres show different FRONT and REAR directions because the wheels handle different forces.
Read both sidewalls before removing a tyre. Photograph the arrow and valve position if that helps you reproduce the correct orientation.
Condition matters more than age or distance alone
There is no universal distance at which every road tyre is finished. Replace based on the maker’s wear indicators and actual condition. Stop using a tyre with:
- visible casing fabric or cords;
- a bulge or local distortion;
- a cut that reaches or exposes structural material;
- a damaged or deformed bead;
- repeated unexplained pressure loss;
- cracking, hardening, or deterioration that makes the casing doubtful;
- damage from being ridden flat;
- contamination or heat damage specified as unsafe by the maker.
Our road-bike tyre replacement guide covers the complete inspection. If punctures repeat at the same location, diagnose the tyre, tube, rim tape, and rim instead of sacrificing another tube.
Refit without creating a pinch or seating fault
Check that the tube is not trapped under the bead. Inflate gradually and inspect the moulded bead line around both sides: it should stay even relative to the rim. For tubeless setups, use only tyre-rim combinations and sealant procedures approved by the manufacturers.
Set pressure from measured system weight, actual tyre width, surface, and tyre/rim limits—not the maximum number printed on the sidewall. The beginner tyre-pressure guide provides the starting process.
Your next step
Mark the front and rear tyres with removable tape, then inspect each under bright light. If only the rear has reached its limit, discard it, move the demonstrably sound front tyre rearward only if fully compatible, and place the new tyre at the front. If either condition judgment is uncertain, replace the doubtful tyre or ask a mechanic to inspect it in person.